Introduction
Welcome to this guide on how to forward Outlook emails to another email address. Microsoft Outlook is a powerful email client that allows users to manage their emails efficiently. However, there may be situations where you need to forward your Outlook emails to another email address. Whether it’s to stay updated while on the go, collaborate with team members, or simply keep a backup of your important messages, forwarding emails can be a useful feature to have.
In this article, we will explore the various methods and steps involved in forwarding Outlook emails. We will cover the process of setting up forwarding in Outlook, forwarding emails manually, as well as setting up rules for automatic forwarding. Additionally, we will discuss common issues that may arise while forwarding emails and provide troubleshooting tips to overcome them.
Before we dive into the details, it’s important to note that the steps and options mentioned may vary slightly depending on the version of Outlook you are using. However, the core concepts and functionalities remain the same across versions, so you should be able to follow along regardless.
Whether you are a professional seeking to streamline your communication or an individual looking for ways to manage your emails more effectively, this guide will provide you with the information you need to successfully forward Outlook emails to another email address.
Setting up forwarding in Outlook
Setting up email forwarding in Outlook is a straightforward process. Follow these steps to get started:
- Launch the Outlook application and log in to your email account.
- Click on the “File” tab located at the top-left corner of the screen.
- Select the “Options” button from the drop-down menu. This will open the Outlook Options window.
- In the Outlook Options window, click on “Mail” in the left-side menu.
- Scroll down to the “Mail” section and locate the “Forwarding” option.
- Click on the “Forwarding” button to open the Forwarding Options window.
- In the Forwarding Options window, select the “Start forwarding” checkbox.
- Enter the email address where you want to forward your Outlook emails in the provided text box.
- Choose the option that suits your preference for handling forwarded messages. You can either keep a copy of forwarded messages in your Outlook inbox or delete them after forwarding.
- Click “OK” to save the changes and close the Forwarding Options window.
Once you have completed these steps, Outlook will activate the forwarding feature, and all incoming emails will be forwarded to the specified email address. It’s worth noting that Outlook will only forward new emails received after the forwarding is set up.
Please keep in mind that when setting up forwarding in Outlook, it’s crucial to choose a trusted email address for forwarding. Also, take into consideration any privacy and security concerns regarding the information contained in your emails.
In the next section, we will discuss how to manually forward Outlook emails to another email address.
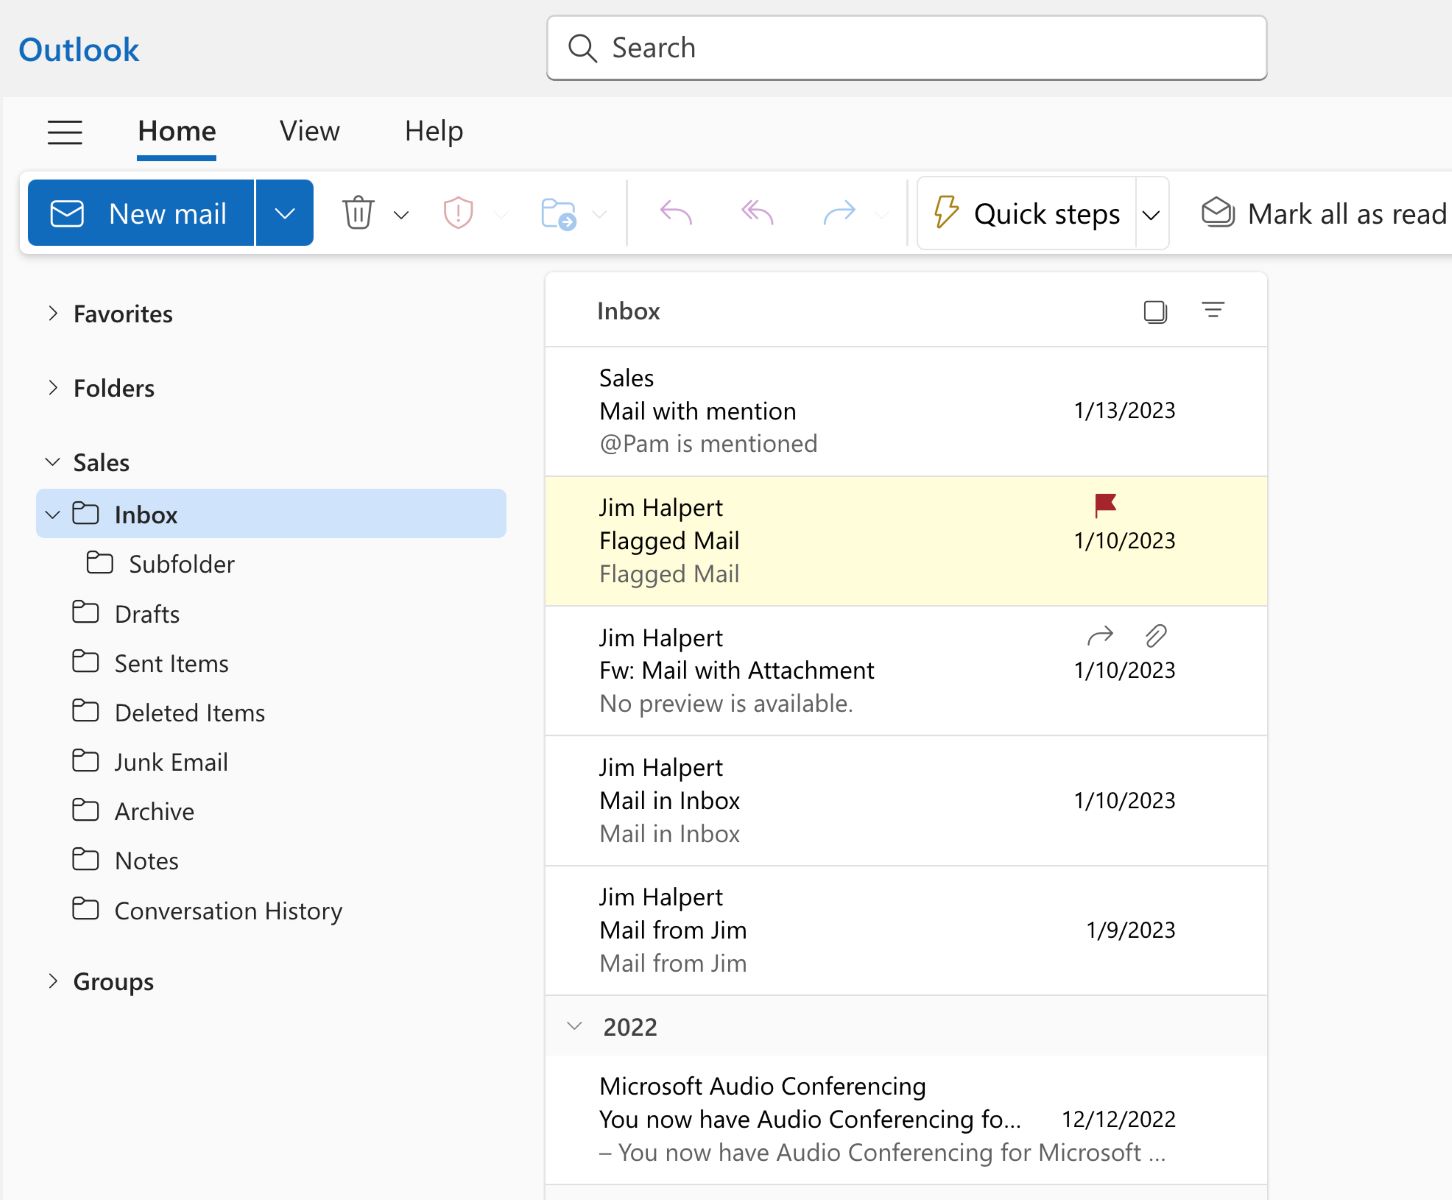
Forwarding Outlook emails to another email address
In addition to setting up forwarding in Outlook, you may also need to manually forward specific emails to another email address. Follow these steps to forward your Outlook emails:
- Open the Outlook application and navigate to the email you want to forward.
- Select the email by clicking on it in your inbox or any other folder.
- Click on the “Forward” button located in the Ribbon at the top of the Outlook window. You can also right-click on the email and select “Forward” from the context menu.
- A new email message window will open with the selected email already added as an attachment. Enter the email address of the recipient in the “To” field.
- If desired, you can add a message to accompany the forwarded email. This can provide context or additional information for the recipient.
- Click on the “Send” button to forward the email to the specified email address.
By following these steps, you can manually forward individual emails to another email address. This can be useful when you want to share specific messages with colleagues, clients, or others who may need access to the information within the email.
It’s worth noting that when forwarding emails manually, the original message is sent as an attachment. This ensures that the recipient receives the email in its original format, including any attachments, images, or formatting.
If you find yourself frequently forwarding emails to the same email address, you may consider setting up rules in Outlook for automatic forwarding. This will allow you to streamline the process and save time.
In the next section, we will explore how to set up rules for automatic forwarding in Outlook.
Setting up rules for automatic forwarding
Setting up rules in Outlook can automate the forwarding process, saving you time and effort. Here’s how you can create a rule for automatic forwarding:
- Open the Outlook application and go to the “File” tab.
- Select “Options” and click on “Manage Rules & Alerts.”
- In the Rules and Alerts window, click on the “New Rule” button.
- Choose “Apply rule on messages I receive” and click “Next.”
- Specify the conditions that the incoming emails must meet in order to be forwarded. You can choose from various options such as specific senders, subject lines, or keywords.
- Click on “Next” and select the action “forward it to people or distribution list.”
- In the “Step 2” box, click on the link to specify the people or distribution list to whom the emails should be forwarded.
- Enter the email address(es) of the recipient(s) in the provided field and click “OK.”
- Click “Next” and choose any exceptions if desired. This step is optional and allows you to set conditions for emails that should not be forwarded.
- Click “Next” and provide a name for the rule. You also have the option to assign a shortcut key to activate the rule manually.
- Click “Finish” to save the rule and enable automatic forwarding.
With the rule in place, Outlook will automatically forward the incoming emails that meet the specified conditions to the designated email address(es). This can be particularly useful when you want to forward specific types of emails or filter messages from certain contacts.
Keep in mind that creating rules for automatic forwarding requires careful consideration. Make sure to review the rule settings periodically to ensure they are still relevant and serving your needs.
In the next section, we will address some common issues that may arise when forwarding Outlook emails and provide troubleshooting tips.
Troubleshooting common issues with forwarding
While forwarding Outlook emails can be a helpful feature, there are times when you may encounter issues. Here are some common problems that may arise and steps to troubleshoot them:
- Emails not forwarding: Ensure that forwarding is properly set up in Outlook. Double-check the forwarding settings, including the email address entered for forwarding. Make sure that the email is not blocked or marked as spam by the recipient’s email provider.
- Forwarding to multiple recipients: If you are forwarding emails to multiple recipients, ensure that the email addresses are entered correctly and separated by commas or semicolons. Check if any of the recipients have email restrictions or filters that may prevent them from receiving forwarded emails.
- Forwarded emails not displaying correctly: When manually forwarding emails, ensure that the email is being forwarded as an attachment rather than inline. This ensures that the recipient receives the email in its original format. Check if any attachments or embedded images are missing in the forwarded email.
- Rules not working: If the rules for automatic forwarding are not working as expected, review the rule settings to ensure they are accurate. Make sure that there are no conflicting rules or exceptions that may be causing the issue. Restart Outlook and test the rule again to see if it resolves the problem.
- Privacy and security concerns: When forwarding emails, consider any privacy and security implications. Be cautious when forwarding sensitive information and ensure that the recipient’s email address is secure and trustworthy. If necessary, encrypt the email or use secure file-sharing methods to protect confidential information.
If you encounter any other issues while forwarding Outlook emails, refer to the official documentation or seek assistance from Microsoft support for further guidance.
By troubleshooting common issues, you can ensure that your forwarding process is smooth and efficient, allowing you to effectively manage your emails.
In the next section, we will conclude our guide on forwarding Outlook emails to another email address.
Conclusion
In this guide, we explored the various methods of forwarding Outlook emails to another email address. Whether you need to set up forwarding in Outlook, manually forward specific emails, or create rules for automatic forwarding, we covered the necessary steps to accomplish each task. By knowing how to forward your emails effectively, you can stay connected, share information, and manage your communication more efficiently.
We discussed how to set up forwarding in Outlook through the options menu, as well as the process of manually forwarding emails by selecting and forwarding individual messages. We also explored the concept of creating rules for automatic forwarding, allowing you to streamline the process and save time by automating the forwarding process based on specific criteria.
Additionally, we highlighted some common issues that may arise when forwarding Outlook emails and provided troubleshooting tips to overcome these challenges. By following these troubleshooting steps, you can ensure that your forwarding process remains smooth and uninterrupted.
Remember to consider privacy and security concerns while forwarding emails, especially when dealing with sensitive information. Choose trusted email addresses for forwarding, encrypt emails if necessary, and be cautious when sharing confidential information.
We hope that this guide has provided you with the knowledge and tools necessary to successfully forward Outlook emails to another email address. By leveraging these techniques, you can enhance your email management, collaboration, and productivity. Whether you are a professional or an individual seeking to optimize your email workflow, forwarding emails in Outlook can be a valuable feature in your arsenal.
Thank you for reading, and we wish you all the best in your email forwarding endeavors!