Introduction
When it comes to managing emails, Outlook is one of the most popular tools used by professionals. It offers a wide range of features to help users stay organized and efficient in their communication. One such feature is the ability to pin emails, which allows you to easily access and prioritize important messages. In this article, we will guide you step by step on how to pin an email in Outlook.
Whether you want to keep an important email at the top of your inbox or create a separate folder for pinned emails, this feature can significantly enhance your email management experience. By pinning an email, you can ensure that it remains easily accessible and doesn’t get buried under a pile of other messages.
Pinning an email in Outlook is a simple and straightforward process that can be done in just a few clicks. We will walk you through the entire process, from opening Outlook to pinning and accessing your pinned emails. So, let’s get started and make your email management more efficient and organized!
Step 1: Open Outlook
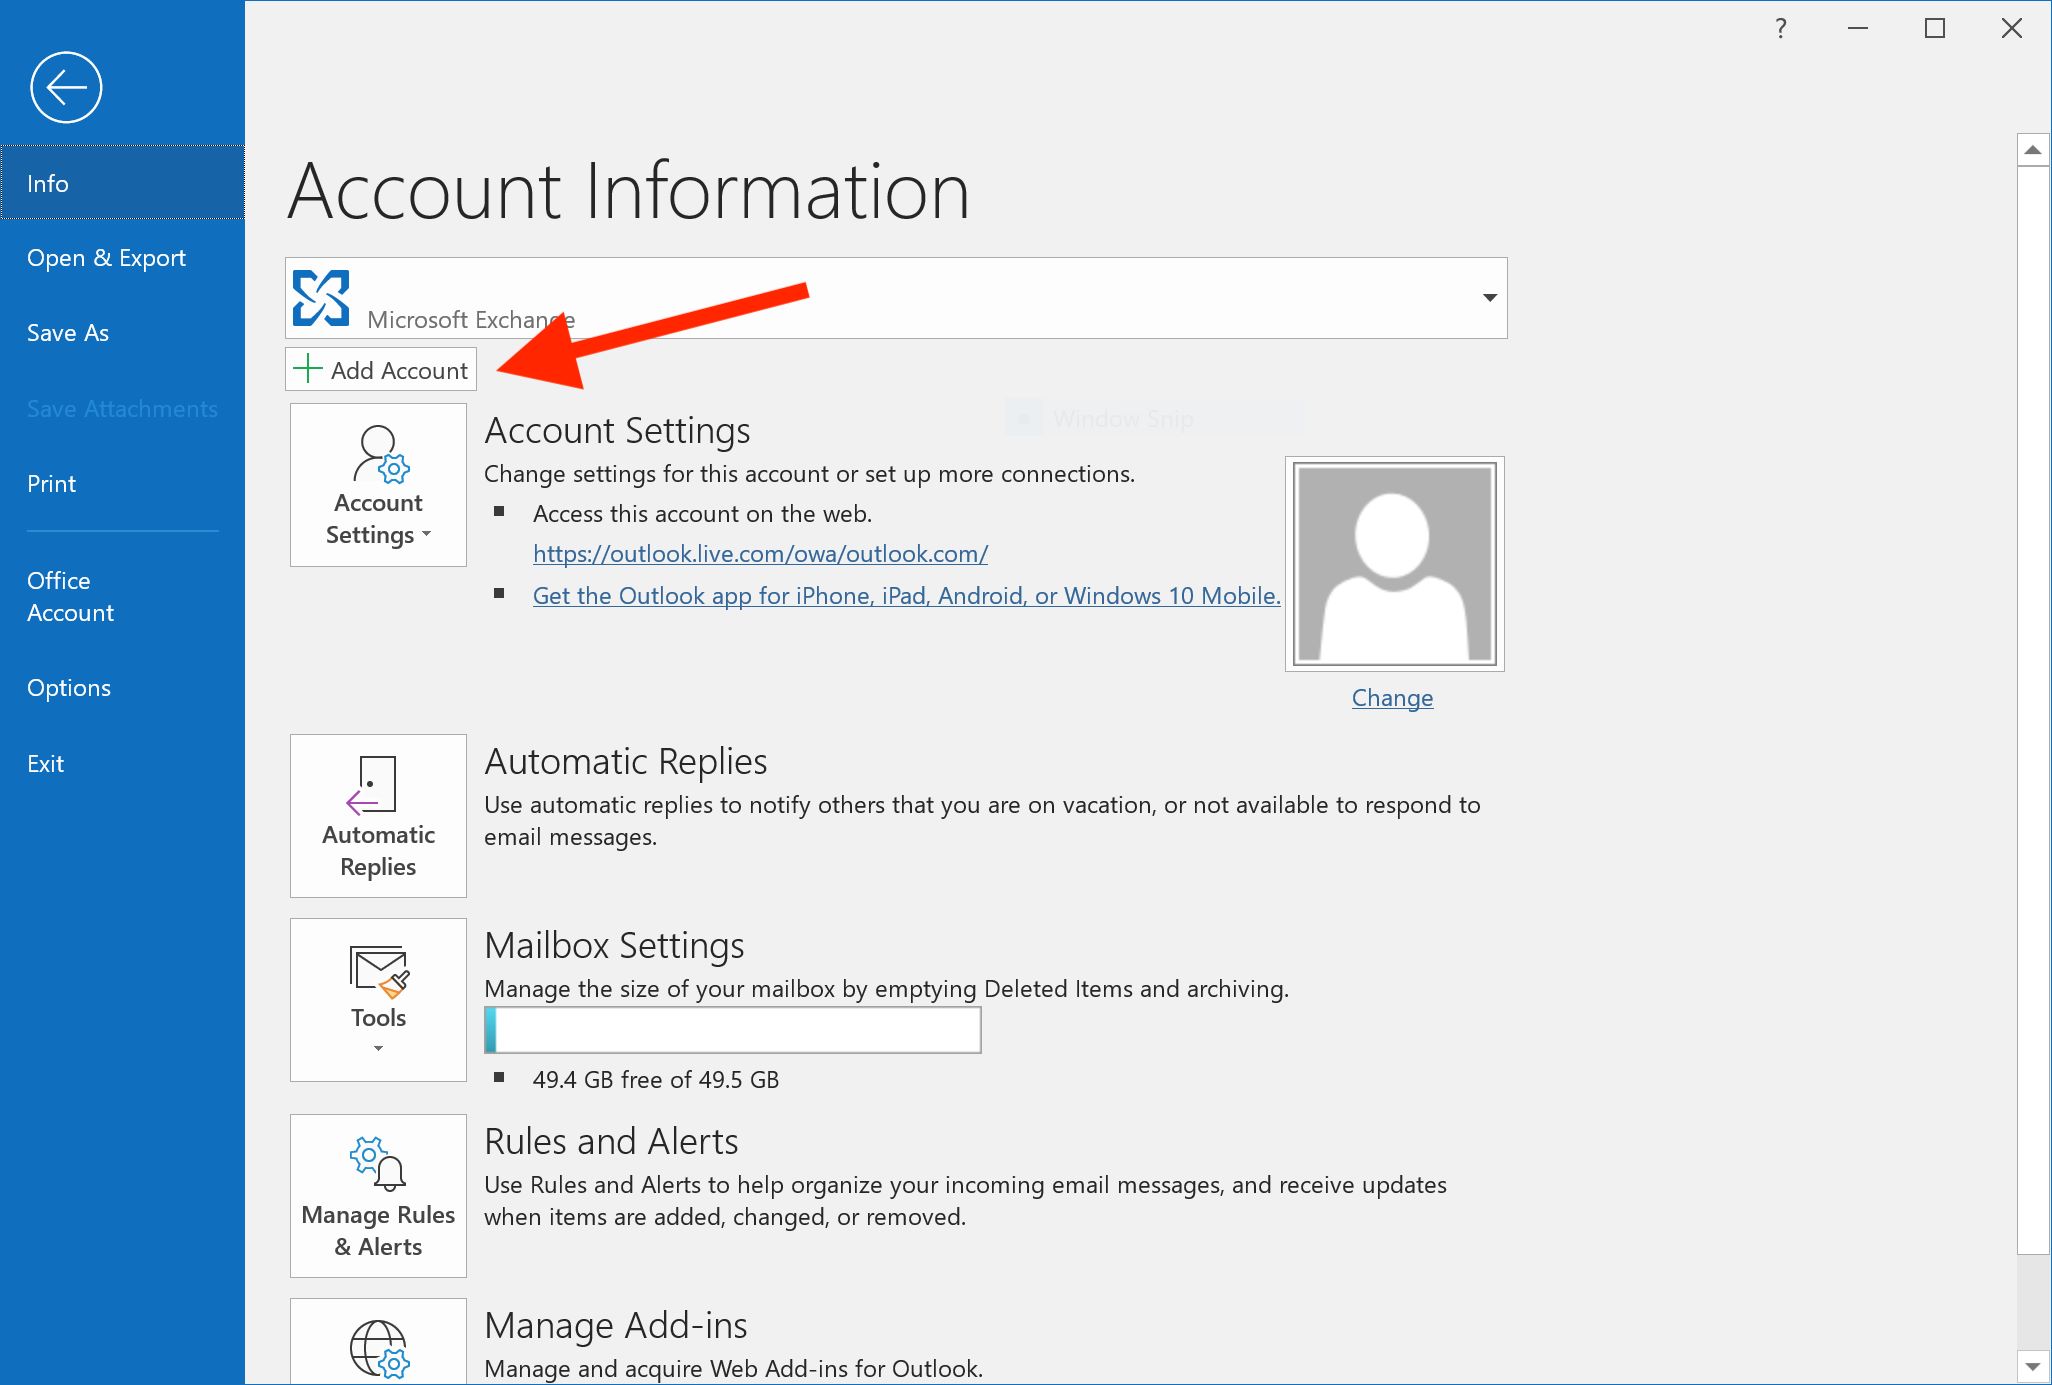
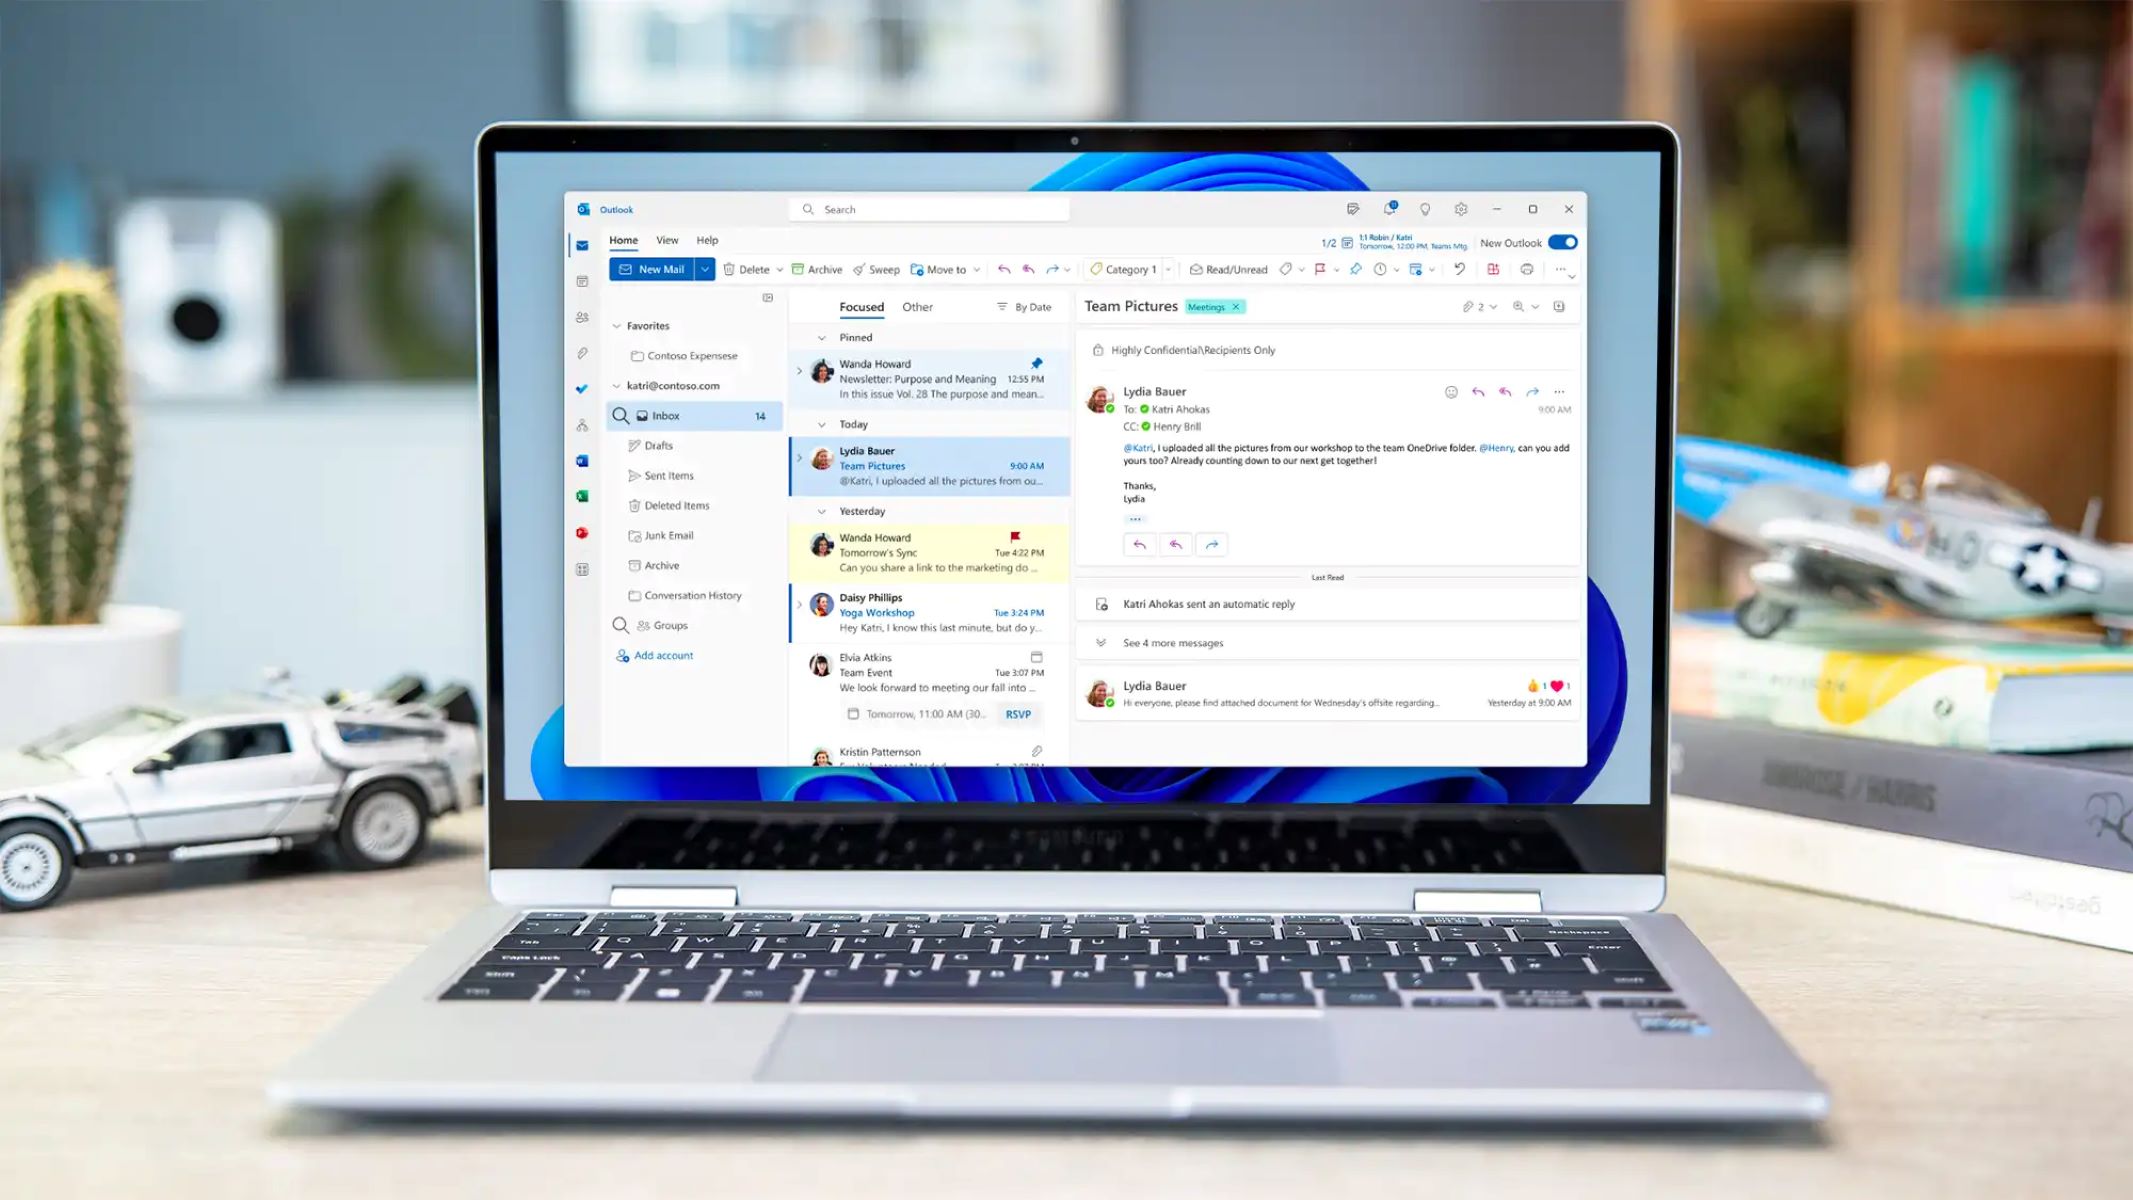
To begin pinning your emails in Outlook, the first step is to open the Outlook application on your computer. If you have already set up Outlook, you can find the application icon on your desktop or in your system’s applications folder. Simply double-click on the icon to launch the program.
If you are accessing Outlook through a web browser, open your preferred browser and navigate to the Outlook login page. Enter your email address and password to sign in to your account. Once logged in, you will be directed to your Outlook inbox.
It’s important to ensure that you have a stable internet connection while accessing Outlook online. This will help in maintaining a seamless experience while pinning your emails and performing other tasks within the application.
Once you have successfully opened Outlook, you will be able to view your inbox, which lists all the emails you have received. The interface may vary depending on the version of Outlook you are using, but the general layout and features remain consistent.
The next step is to select the email that you want to pin. We will guide you through this process in the following step.
Step 2: Select the email to pin
Once you have opened Outlook and are in your inbox, you can now proceed to select the email that you want to pin. This can be any email that you consider important and want to keep easily accessible at all times.
To select an email, simply click on it in your inbox. The selected email will be highlighted, indicating that it is currently active. You can also use the arrow keys on your keyboard to navigate through your emails and select the desired one.
It’s important to note that you can only pin one email at a time in Outlook. If you want to pin multiple emails, you will have to repeat the pinning process for each individual email.
Consider the relevance and importance of the email before deciding to pin it. Pinning should be reserved for emails that require immediate attention or that you need to reference frequently. Pinning every email can clutter your pinned section and defeat the purpose of the feature.
Once you have selected the email you wish to pin, we can move on to the next step, which is pinning the email in Outlook. This step is crucial in ensuring that your selected email remains easily accessible.
Step 3: Pin the email
Now that you have selected the email you want to pin in Outlook, it’s time to actually pin it. Pinning an email will keep it at the top of your inbox or in a separate folder designated for pinned emails, making it easily accessible and visible.
To pin an email, you have a couple of options depending on the version of Outlook you are using. In most versions, you can simply right-click on the selected email and a context menu will appear. From this menu, choose the “Pin” or “Pin to Top” option.
Alternatively, you can look for a pin icon, which is usually represented by a small icon in the shape of a pushpin. This icon is typically displayed next to the email subject or in the toolbar at the top of the Outlook window. Clicking on this icon will instantly pin the selected email.
Once you have pinned the email, you will notice that it remains at the top of your inbox or in the designated pinned folder, depending on your Outlook settings. This makes it easy for you to find and access the email whenever you need it without having to search through your entire inbox.
It’s worth noting that pinned emails are not automatically marked as read. If you read a pinned email and want to mark it as read, simply click on the email to open it, and Outlook will automatically mark it as read or unread based on your settings.
By following these simple steps, you can effectively pin an email in Outlook and keep it easily accessible and prioritized.
Now that you have successfully pinned the email, let’s move on to the next step, where we will explore how to access your pinned emails in Outlook.
Step 4: Access pinned emails
After pinning an email in Outlook, you’ll want to be able to easily access your pinned messages. This step will guide you on how to access and view your pinned emails.
To access your pinned emails, navigate to the designated location where pinned emails are stored. In most versions of Outlook, this will either be at the top of your inbox, above your other emails, or in a separate folder specifically for pinned emails.
If your pinned emails are at the top of your inbox, you’ll see them displayed prominently, with a visual indicator such as a pin icon or a different background color. This allows you to quickly identify and locate your pinned emails.
If you have a separate folder for pinned emails, you may find it in your folder list, usually located on the left-hand side of the Outlook window. Look for a folder with a name like “Pinned” or “Important” and click on it to view the contents.
Once you have accessed your pinned emails, you can click on any of them to open and read the contents. Pinned emails are just like any other email in Outlook, so you can reply, forward, or perform any other actions you would normally take with an email.
When you have finished working with a pinned email, you may choose to unpin it if it’s no longer a priority or if you want to replace it with another important email. The next section will guide you through the process of unpinning an email in Outlook.
Now that you know how to access your pinned emails, you can quickly refer back to important messages without the need to search through your entire inbox.
Step 5: Unpin an email
If you have pinned an email in Outlook and no longer need it to be easily accessible or a priority, you can unpin it. Unpinning an email will remove it from the pinned location and place it back into its original position within your inbox or folders.
To unpin an email in Outlook, you have a couple of options depending on the version of Outlook you are using. If you have the email open, you can look for the pin icon that indicates that it is currently pinned. Simply clicking on this pin icon will unpin the email.
Alternatively, you can right-click on the pinned email and select the “Unpin” option from the context menu that appears. This will also remove the pin from the email and return it to its original location.
Once you have un-pinned an email, it will no longer be displayed in the pinned section at the top of your inbox or in the designated pinned folder. Instead, it will be sorted back into the chronological order of your emails according to their dates.
If you change your mind and want to pin the email again at a later time, you can follow the steps outlined in the previous sections on how to pin an email in Outlook.
By unpinning emails that are no longer relevant or important, you can keep your pinned section clear and focused on the most essential messages. This ensures that you can easily access and prioritize the emails that matter the most.
Congratulations! You have successfully learned how to unpin an email in Outlook. Now you can confidently manage your pinned emails and keep your Outlook inbox organized.
Conclusion
Managing emails effectively is a crucial aspect of staying organized and efficient, and Outlook provides powerful tools to help streamline this process. By learning how to pin emails in Outlook, you can prioritize important messages, keep them easily accessible, and reduce the time spent searching for crucial information.
In this guide, we have walked you through the step-by-step process of pinning and accessing emails in Outlook. From opening the Outlook application to selecting and pinning an email, we have covered the essential steps to ensure a seamless experience.
Remember, pinning should be reserved for emails that require immediate attention or frequent reference. Pinning every email can clutter your pinned section and defeat its purpose. Be selective and prioritize the most important emails that you need quick access to.
Furthermore, if you no longer need an email to be pinned, you can easily unpin it to return it to its normal position within your inbox or folders. This allows you to keep your pinned section focused on the most crucial messages without unnecessary clutter.
By incorporating these tips into your Outlook workflow, you can optimize your email management and improve productivity. Take advantage of the pinning feature in Outlook to make sure that important emails are always at your fingertips.
Now that you have a clear understanding of how to pin and unpin emails in Outlook, you can confidently navigate the process and enhance your email organization. So go ahead, give it a try, and experience the benefits of efficient email management with Outlook!