Introduction
Welcome to this step-by-step guide on how to download an email as a PDF in Outlook. Whether you need to save an important email for future reference or share it with others securely, converting it to a PDF file format can be a convenient solution. PDF files are widely compatible, easy to view, and retain the original formatting of the email.
Outlook, a popular email client, offers a user-friendly interface and a range of features to manage your emails efficiently. While Outlook provides options to save emails locally, saving them as PDF files ensures they can be accessed and viewed independently of the email client.
In this guide, we will walk you through the process of downloading an email as a PDF in Outlook, step-by-step. Whether you are using Outlook on a computer or mobile device, the process is relatively straightforward. By following these instructions, you’ll be able to save emails as PDFs in no time.
Before we start, make sure you have Outlook installed and set up on your device. Let’s get started with the first step: opening Outlook.
Step 1: Open Outlook
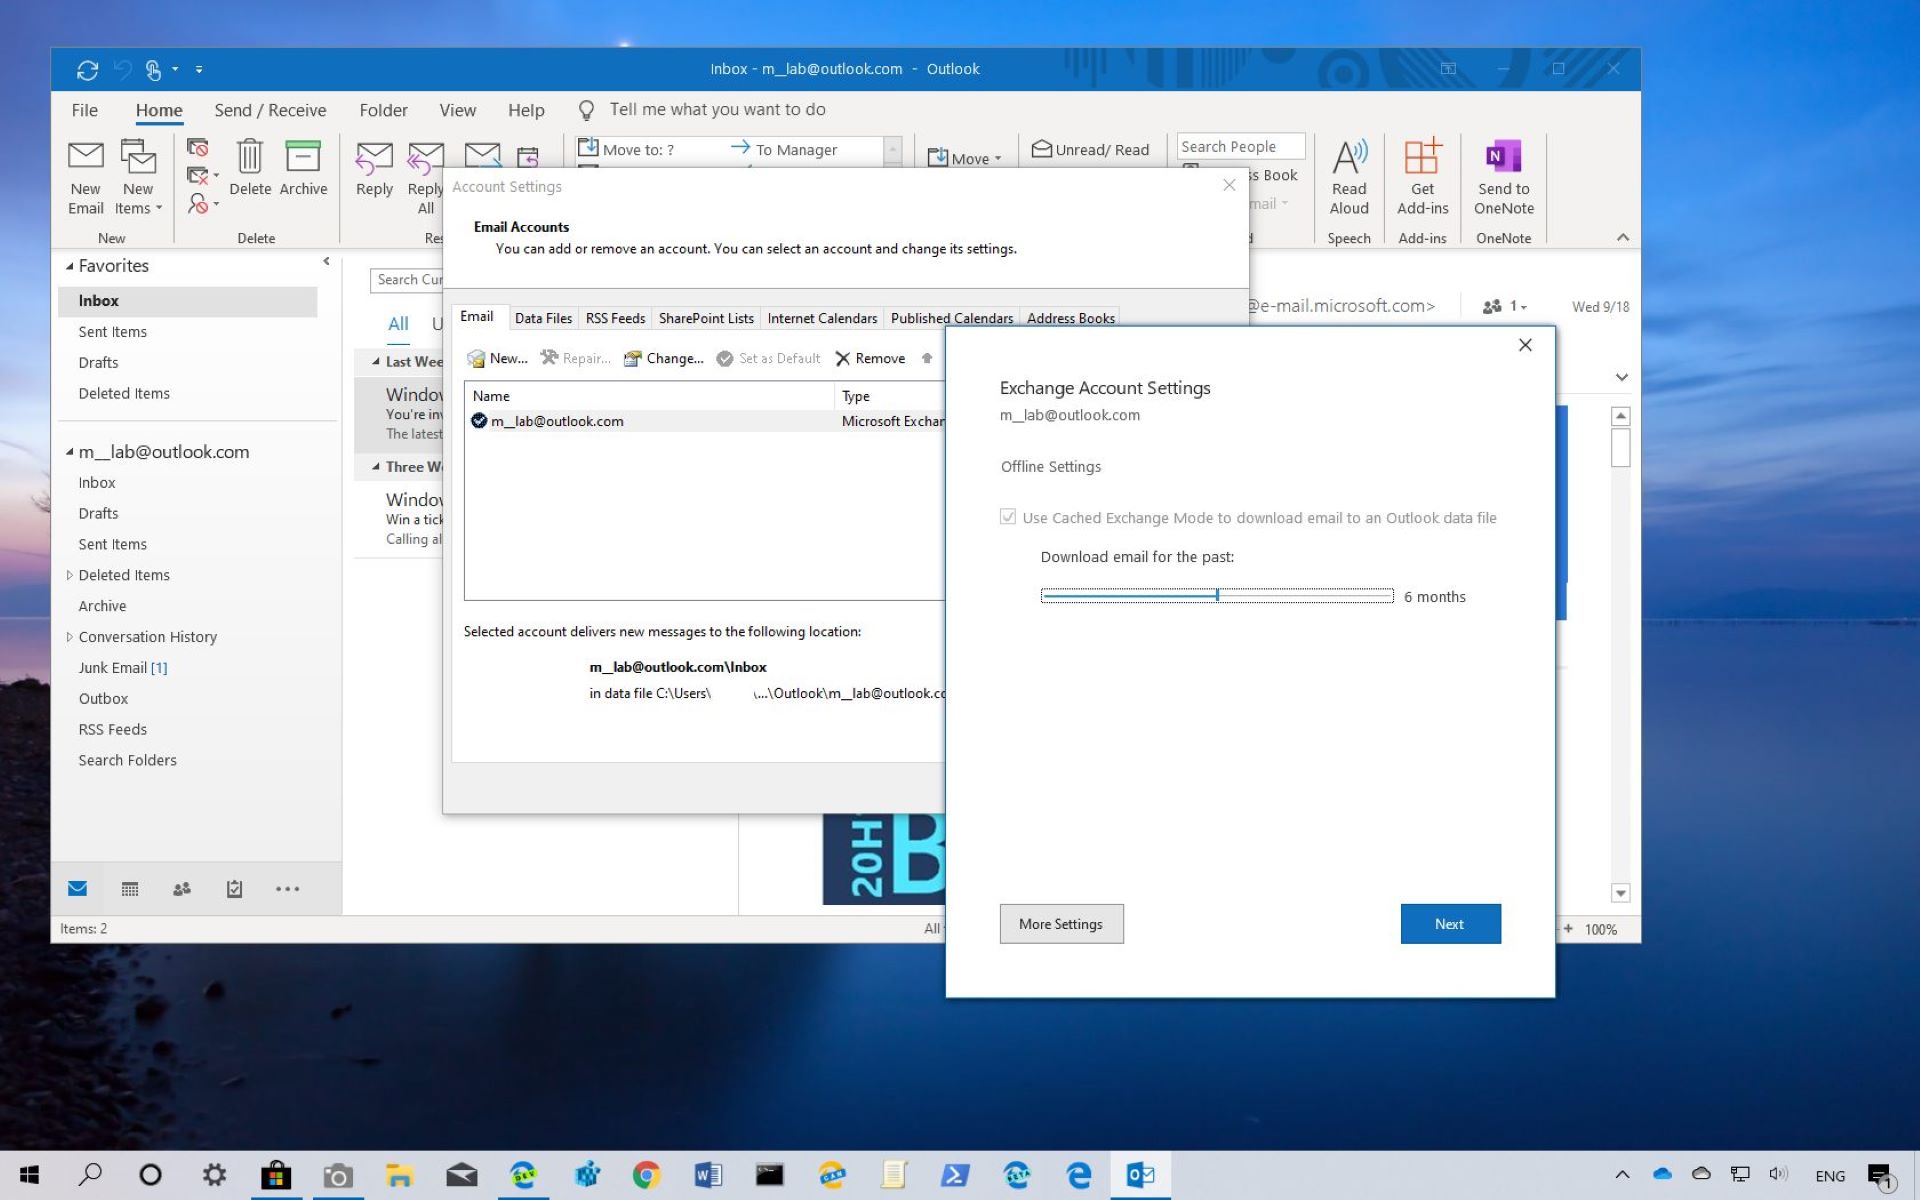
The first step in downloading an email as a PDF in Outlook is to open the Outlook application on your device. Outlook is available for both Windows and Mac computers as well as iOS and Android mobile devices.
If you are using a computer, look for the Outlook icon on your desktop or in the start menu. Double-click on it to launch the application. On mobile devices, locate the Outlook app icon on your home screen or in the app drawer and tap on it to open the app.
Once Outlook is open, you will be prompted to sign in with your email account. Enter your email address and password associated with your Outlook or Microsoft account. If you have multiple accounts configured in Outlook, make sure to select the account that contains the email you want to save as a PDF.
After signing in, you will be taken to your inbox, where you can see all your received emails. Locate the email that you wish to download as a PDF and proceed to the next step.
Now that you have successfully opened Outlook and accessed your inbox, let’s move on to the next step: selecting the email you want to save as a PDF.
Step 2: Select the Email
Once you have opened Outlook and accessed your inbox, the next step is to select the email that you want to save as a PDF. This email can be a newly received message or an older one that you want to keep for future reference.
To select the email, simply click on it in your inbox. The email will be highlighted or appear as if it has been selected, depending on your device and Outlook version.
If you are using a touch-enabled device, such as a tablet or smartphone, you can tap on the email to select it. Outlook will display the selected email, allowing you to view its contents and proceed with the next steps.
In some versions of Outlook, you may also have the option to select multiple emails at once. To select multiple emails, hold down the Ctrl key (Windows) or Command key (Mac) on your keyboard while clicking on each email that you want to include in the PDF. This can be useful if you want to save multiple related emails as a single PDF document.
Once you have selected the desired email or emails, you are ready to move on to the next step: clicking on the “File” menu.
Step 3: Click on the “File” Menu
After selecting the email that you want to save as a PDF in Outlook, the next step is to access the “File” menu. This menu contains various options for managing your email, including the option to save the email as a PDF file.
To access the “File” menu, look for it at the top-left corner of the Outlook window. In newer versions of Outlook, the “File” menu may be represented by an icon that looks like a folder or a sheet of paper. Click on this icon to open the menu.
When you click on the “File” menu, a dropdown list of options will appear. In this list, you will find various actions that you can perform on the selected email, such as printing, forwarding, or saving it as a PDF.
Take a moment to familiarize yourself with the options available in the “File” menu. In addition to saving emails as PDFs, you may discover other useful features that can enhance your email management experience.
Now that you have accessed the “File” menu in Outlook, you are ready to proceed to the next step: choosing the “Save As” option.
Step 4: Choose “Save As”
After clicking on the “File” menu in Outlook, the next step is to choose the “Save As” option. This option allows you to specify the format in which you want to save the selected email.
In the “File” menu dropdown list, look for the “Save As” or “Save As” option and click on it. This will open a window or dialog box where you can further customize the saving options.
In some versions of Outlook, the “Save As” option may be listed directly in the “File” menu, without a dropdown list. In this case, simply click on the “Save As” option to proceed.
Upon selecting the “Save As” option, you may be prompted to choose a location or folder where you want to save the PDF file. If prompted, navigate to the desired destination folder or choose a new folder, and then click on the “Save” or “OK” button to confirm.
By choosing the “Save As” option in Outlook, you are now one step closer to converting your selected email into a PDF file format. Next, we will explore how to specify PDF as the file format for saving.
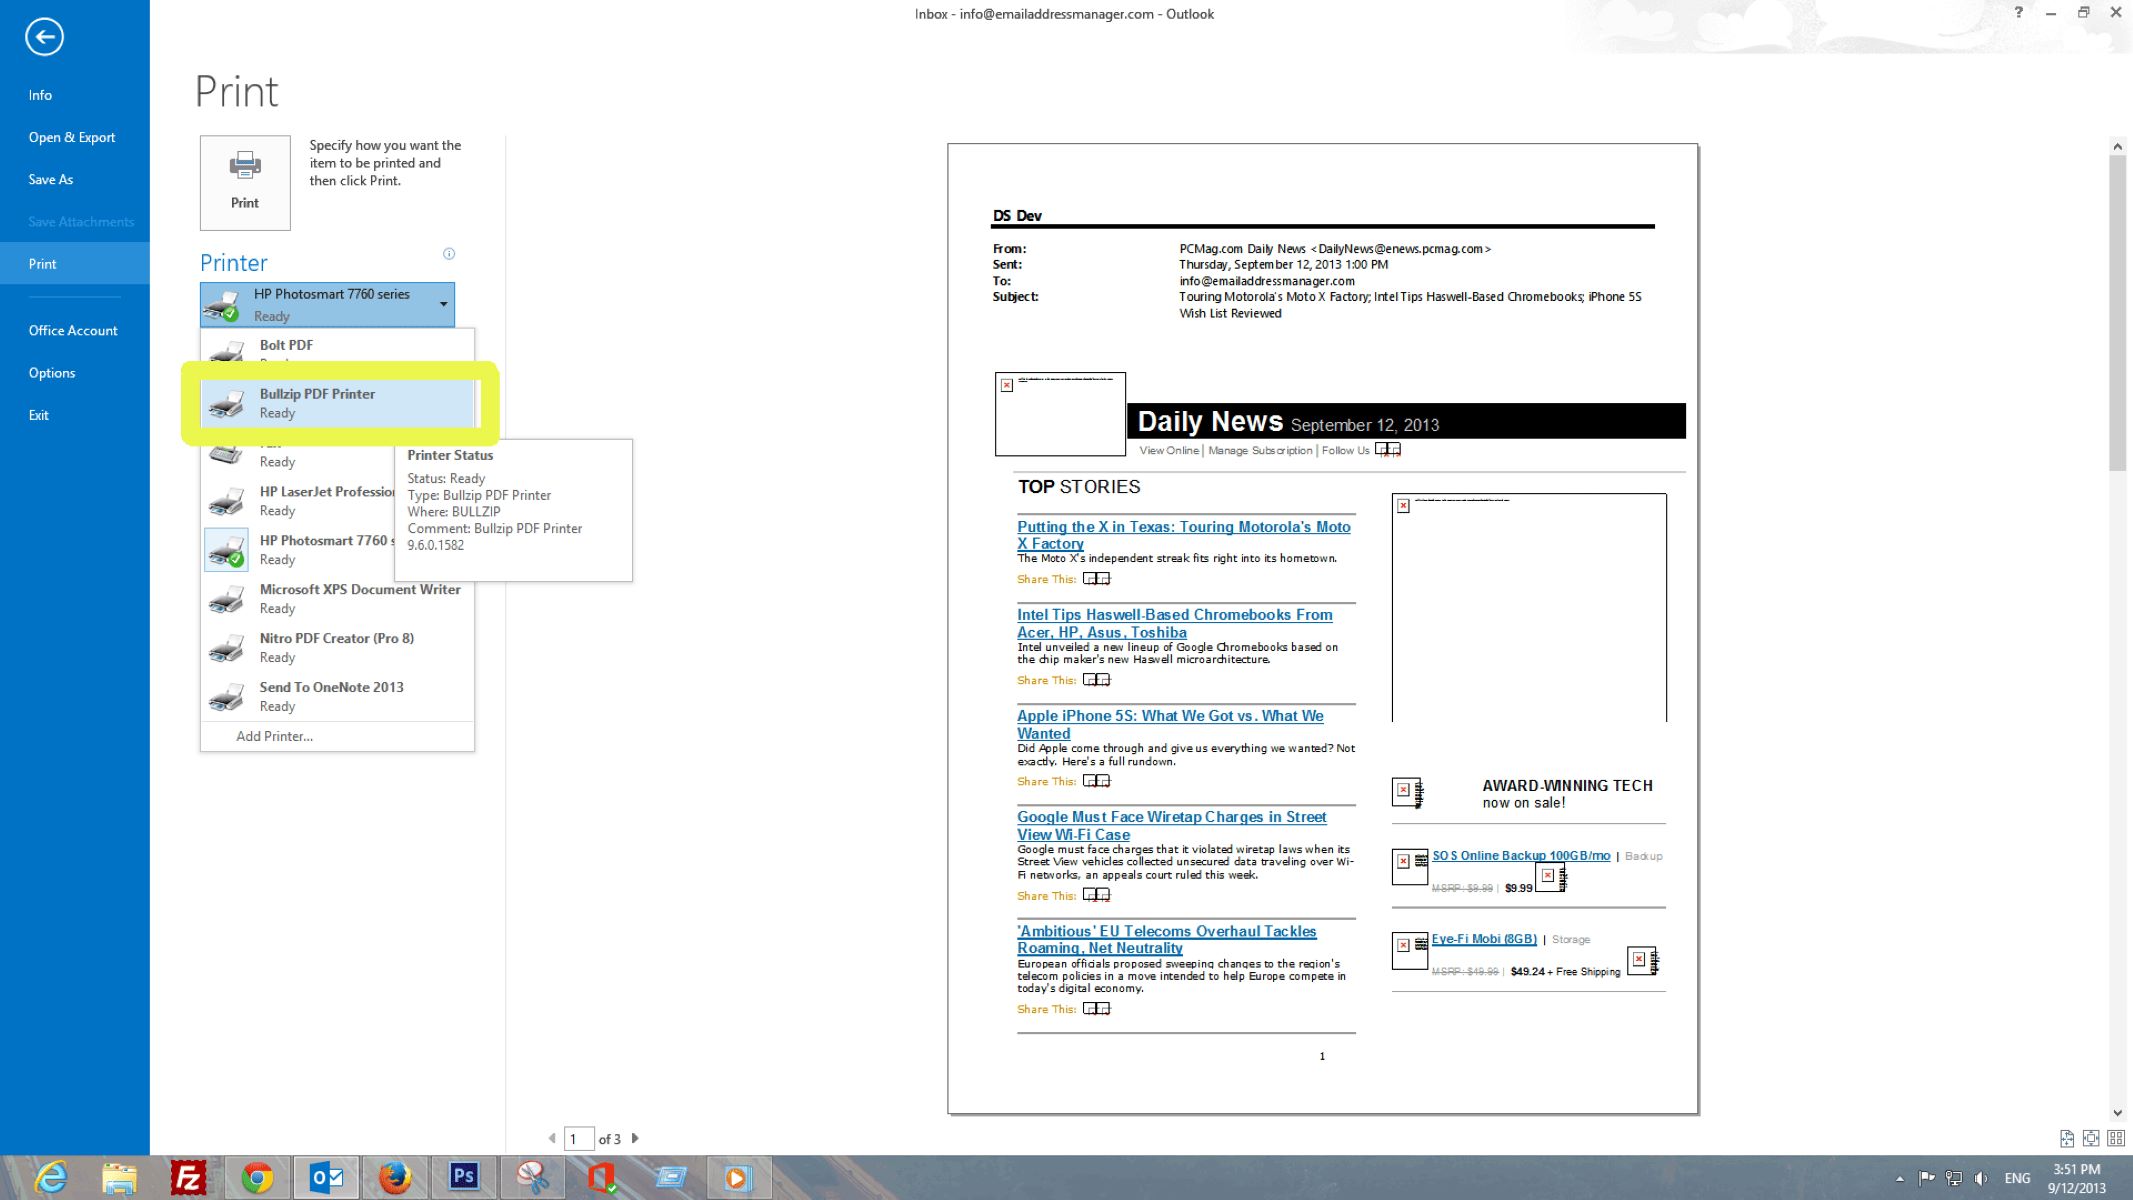
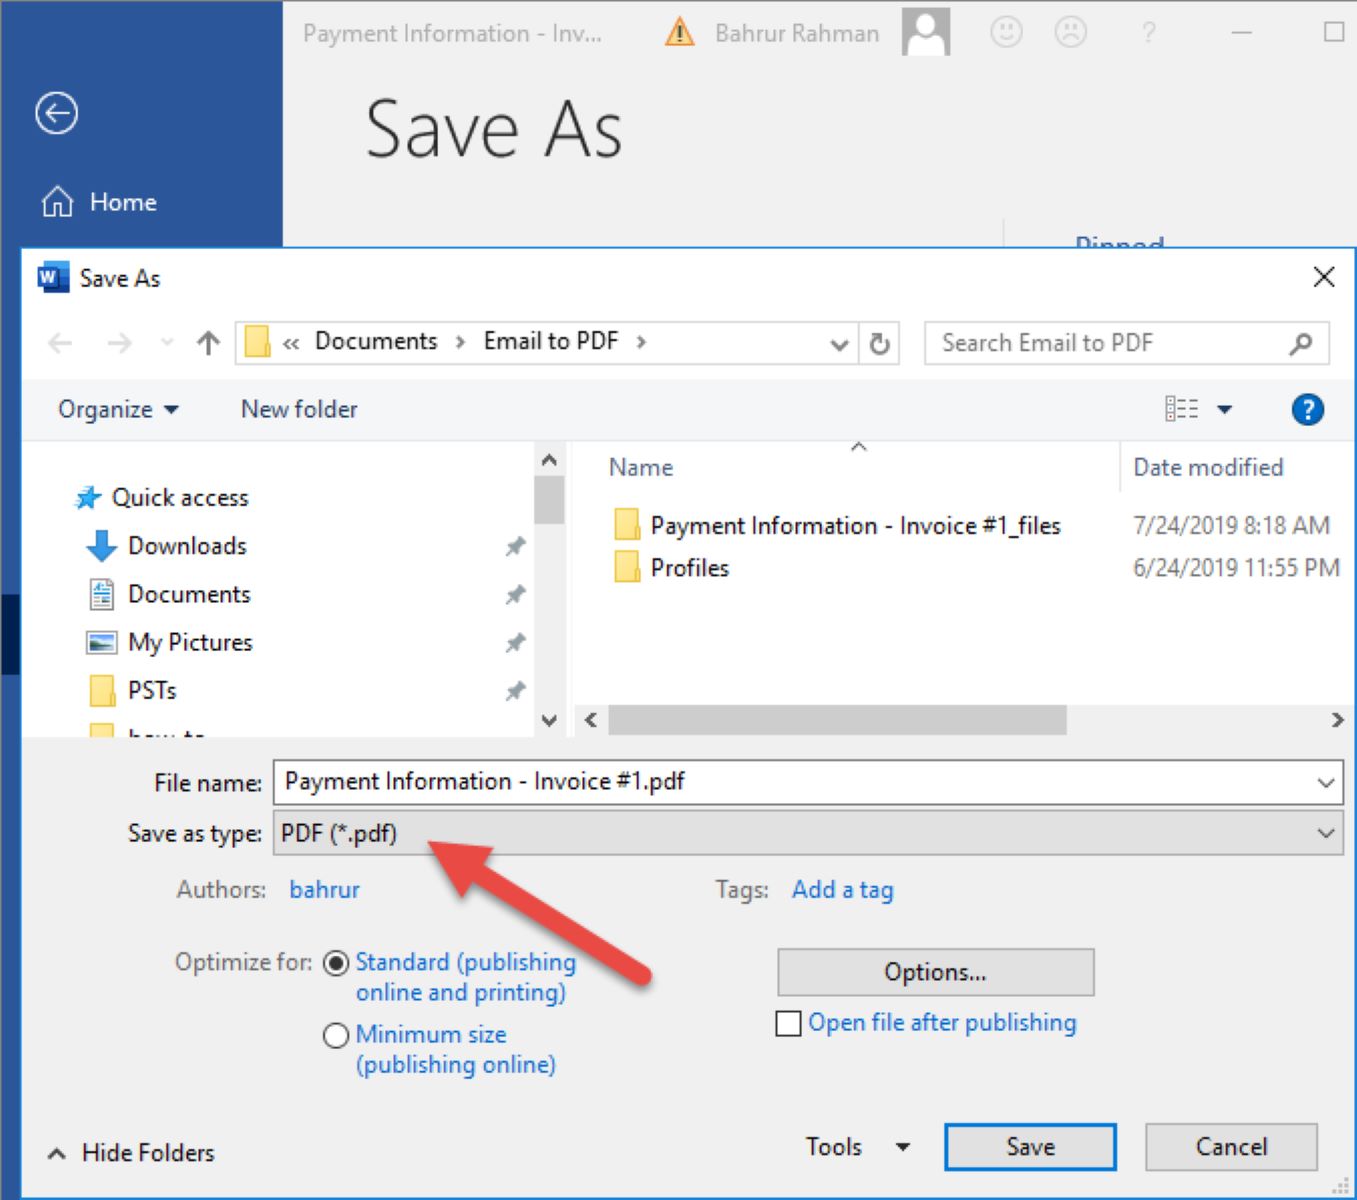
Step 5: Select PDF as the File Format
After choosing the “Save As” option in Outlook, the next step is to select PDF as the file format for saving the selected email. This ensures that the email is converted into a PDF file that can be easily viewed and shared.
In the window or dialog box that appears after selecting “Save As,” you will see a dropdown menu or a list of available file formats. Look for the option that indicates PDF or Portable Document Format.
Click on the dropdown menu or select the PDF option from the list. This will inform Outlook that you want to save the email as a PDF file format.
In some versions of Outlook, the option to select PDF as the file format may be labeled as “Export to PDF” or “Convert to PDF.” These labels serve the same purpose, allowing you to save the email as a PDF file.
Once you have selected PDF as the file format, you may have the option to further customize the settings or properties of the PDF file. This can include specifying the page orientation, adjusting the quality or resolution, or including additional information in the PDF file.
After selecting the desired PDF settings, click on the “Save” button or a similar option to proceed with saving the selected email as a PDF file.
By specifying PDF as the file format, you are now ready to move on to the next step: choosing a destination folder for saving the PDF file.
Step 6: Choose a Destination Folder
After selecting PDF as the file format for saving the email in Outlook, the next step is to choose a destination folder where you want to save the PDF file. This folder will determine the location on your device where the PDF file will be stored.
In the window or dialog box that appears after selecting the PDF format, you will typically see a field or option labeled “Save in” or “Save to.” This will display the current default folder where your files are saved.
If you want to save the PDF file in the default folder, you can proceed by clicking on the “Save” or “OK” button. However, if you prefer to save the file in a different folder, you have the option to browse and select a new location.
To choose a different destination folder, click on the “Browse,” “Choose,” or “Select Folder” button (the label may vary depending on your version of Outlook). This will open a file explorer or folder selection window.
Navigate through your device’s directory structure to find the folder where you want to save the PDF file. You can select an existing folder or create a new one by clicking on the “New Folder” or “Create Folder” option.
Once you have selected or created the desired destination folder, click on the “Save” or “OK” button to confirm your selection. The chosen folder path will be displayed in the destination field in the Outlook window.
By choosing a destination folder, you have specified where the PDF file will be saved. Now, let’s move on to the next step: clicking the “Save” button to complete the process.
Step 7: Click on the “Save” Button
After choosing the destination folder for saving the PDF file in Outlook, the next step is to click on the “Save” button. This action will initiate the conversion process and save the selected email as a PDF file in the specified location.
Look for the “Save” or “Save As” button in the Outlook window. It is usually located at the bottom or right side of the window. The button may have an icon representing a floppy disk or the word “Save” written on it.
Once you have located the “Save” button, simply click on it to start the process of saving the email as a PDF file.
Outlook will convert the selected email into a PDF file format and save it in the chosen destination folder. The time taken for the conversion process may vary depending on the size and complexity of the email.
During this process, it is essential to ensure that you do not interrupt or close Outlook. Let the program complete the conversion and saving process before proceeding to other tasks.
Once the conversion and saving process is complete, Outlook will typically display a confirmation message indicating that the email has been successfully saved as a PDF. You can close the message or click on the “OK” button to dismiss it.
By clicking on the “Save” button, you have successfully saved the selected email as a PDF file in Outlook. Now, let’s move on to the final step: opening the PDF file to view the saved email.
Step 8: Open the PDF File
After successfully saving the selected email as a PDF file in Outlook, the final step is to open the PDF file to view the saved email. Opening the PDF file allows you to see the email’s contents, attachments, and formatting in a convenient and portable format.
Locate the destination folder where you saved the PDF file. This is the folder you selected in the previous steps while specifying the saving options for the email.
Open File Explorer (Windows) or Finder (Mac) and navigate to the folder location. Browse through the files until you find the PDF file that corresponds to the saved email.
Double-click on the PDF file to open it. Your device’s default PDF viewer, such as Adobe Acrobat Reader or a web browser, will launch and display the PDF file’s content.
Once the PDF file is open, you can scroll through the pages to read the email’s content. If the email had any attachments, they will be embedded or displayed as separate pages in the PDF file.
Depending on your PDF viewer, you may have additional options to zoom in or out, search for specific text within the PDF, or even annotate and highlight sections of the email.
If you want to share the saved email with others, you can also use the PDF file as an attachment in your emails or share it via file-sharing platforms. This way, recipients can view the email’s content without needing access to the original Outlook application.
By successfully opening the PDF file, you have completed the process of downloading an email as a PDF in Outlook. Congratulations!
Remember to save and back up your PDF files in a secure location to ensure they remain accessible for future reference. If necessary, you can repeat the same process to save other emails as PDF files from Outlook.
Conclusion
In this step-by-step guide, we have explored how to download an email as a PDF in Outlook. By following these instructions, you can easily convert and save your emails in a PDF format that is compatible with various devices and can be shared conveniently.
We started by opening Outlook and accessing the email you wanted to save. Then, we clicked on the “File” menu and chose the “Save As” option. From there, we selected PDF as the file format and specified a destination folder for saving the PDF file. Finally, we clicked on the “Save” button to complete the process.
Once the email is saved as a PDF, you can open the PDF file with a compatible PDF viewer to read and share the email’s content. This provides a portable and accessible format for storing and viewing important emails.
Remember to save and back up your PDF files in a secure location to ensure their availability. By incorporating these steps into your Outlook workflow, you can harness the power of PDFs for organizing and archiving your emails effectively.
Now that you are familiar with the process of downloading an email as a PDF in Outlook, you can easily save important emails and refer to them at any time. Utilize this feature to streamline your email management and maintain a digital archive of essential communications.