Introduction
Welcome to our guide on how to remove an email address from Gmail. If you no longer use a specific email address or want to tidy up your Gmail account, it’s essential to remove any unnecessary email addresses to keep your inbox organized. Removing an email address from Gmail is a straightforward process that can be done with just a few simple steps.
Gmail is one of the most popular email providers, offering users a wide range of features and functionality. However, as time goes on, you may accumulate multiple email addresses that you no longer need or want to see in your Gmail inbox. Taking the time to remove these addresses can help streamline your email management and ensure that you only receive important communications in your primary email account.
In this article, we will walk you through the step-by-step process to remove an email address from Gmail. Whether you want to remove an email address associated with a secondary account or an old email address you no longer use, our guide will provide you with all the information you need.
Before we dive into the steps, it’s worth noting that when you remove an email address from Gmail, it only removes it from your Gmail account. It does not delete the email account itself or affect any other services associated with that email address, such as Google Drive or Google Calendar.
Now, let’s get started with the first step: signing in to your Gmail account.
Step 1: Sign in to your Gmail account
The first step in removing an email address from Gmail is to sign in to your Gmail account. Open your preferred web browser and navigate to www.gmail.com. If you are already signed in to a different Gmail account, make sure to sign out before proceeding.
Once you are on the Gmail login page, enter your email address and password in the respective fields and click on the “Sign in” button. If you have two-step verification enabled, you may be prompted to enter a verification code sent to your mobile device or email address.
After successfully signing in, you will be directed to your Gmail inbox. Double-check that you are signed in to the correct Gmail account before proceeding to the next step.
Now that you are signed in to your Gmail account, you are ready to access the Google Account settings, which is where the option to remove an email address from Gmail is located. In the following step, we will guide you on how to access the Google Account settings.
Step 2: Access the Google Account Settings
Once you are signed in to your Gmail account, accessing the Google Account settings is the next step in removing an email address from Gmail. Follow these instructions to access the settings:
- Click on the round profile picture or initial icon located at the top right corner of the Gmail interface. This will open a dropdown menu.
- In the dropdown menu, select the “Manage your Google Account” option. You will be redirected to the Google Account settings page.
- On the Google Account settings page, you will find various tabs with different settings options. Look for the “Data & personalization” tab, and click on it.
- Scroll down the page until you find the section labeled “Download, delete, or make a plan for your data.” Under this section, click on the “Delete a service or your account” option.
- You may be asked to re-enter your password for security purposes. Provide your password and click on the “Next” button.
By completing these steps, you have successfully accessed the Google Account settings, where you can proceed to the next step of removing the unwanted email address from Gmail.
Now that you have accessed the Google Account settings, let’s move on to the next step where we will guide you on how to remove the email address from Gmail.
Step 3: Remove the email address from Gmail
Now that you have accessed the Google Account settings, it’s time to remove the unwanted email address from Gmail. Follow these steps:
- In the “Delete a service or your account” section, you will find a list of services associated with your Google Account. Look for the “Gmail” option and click on the “Delete” link next to it.
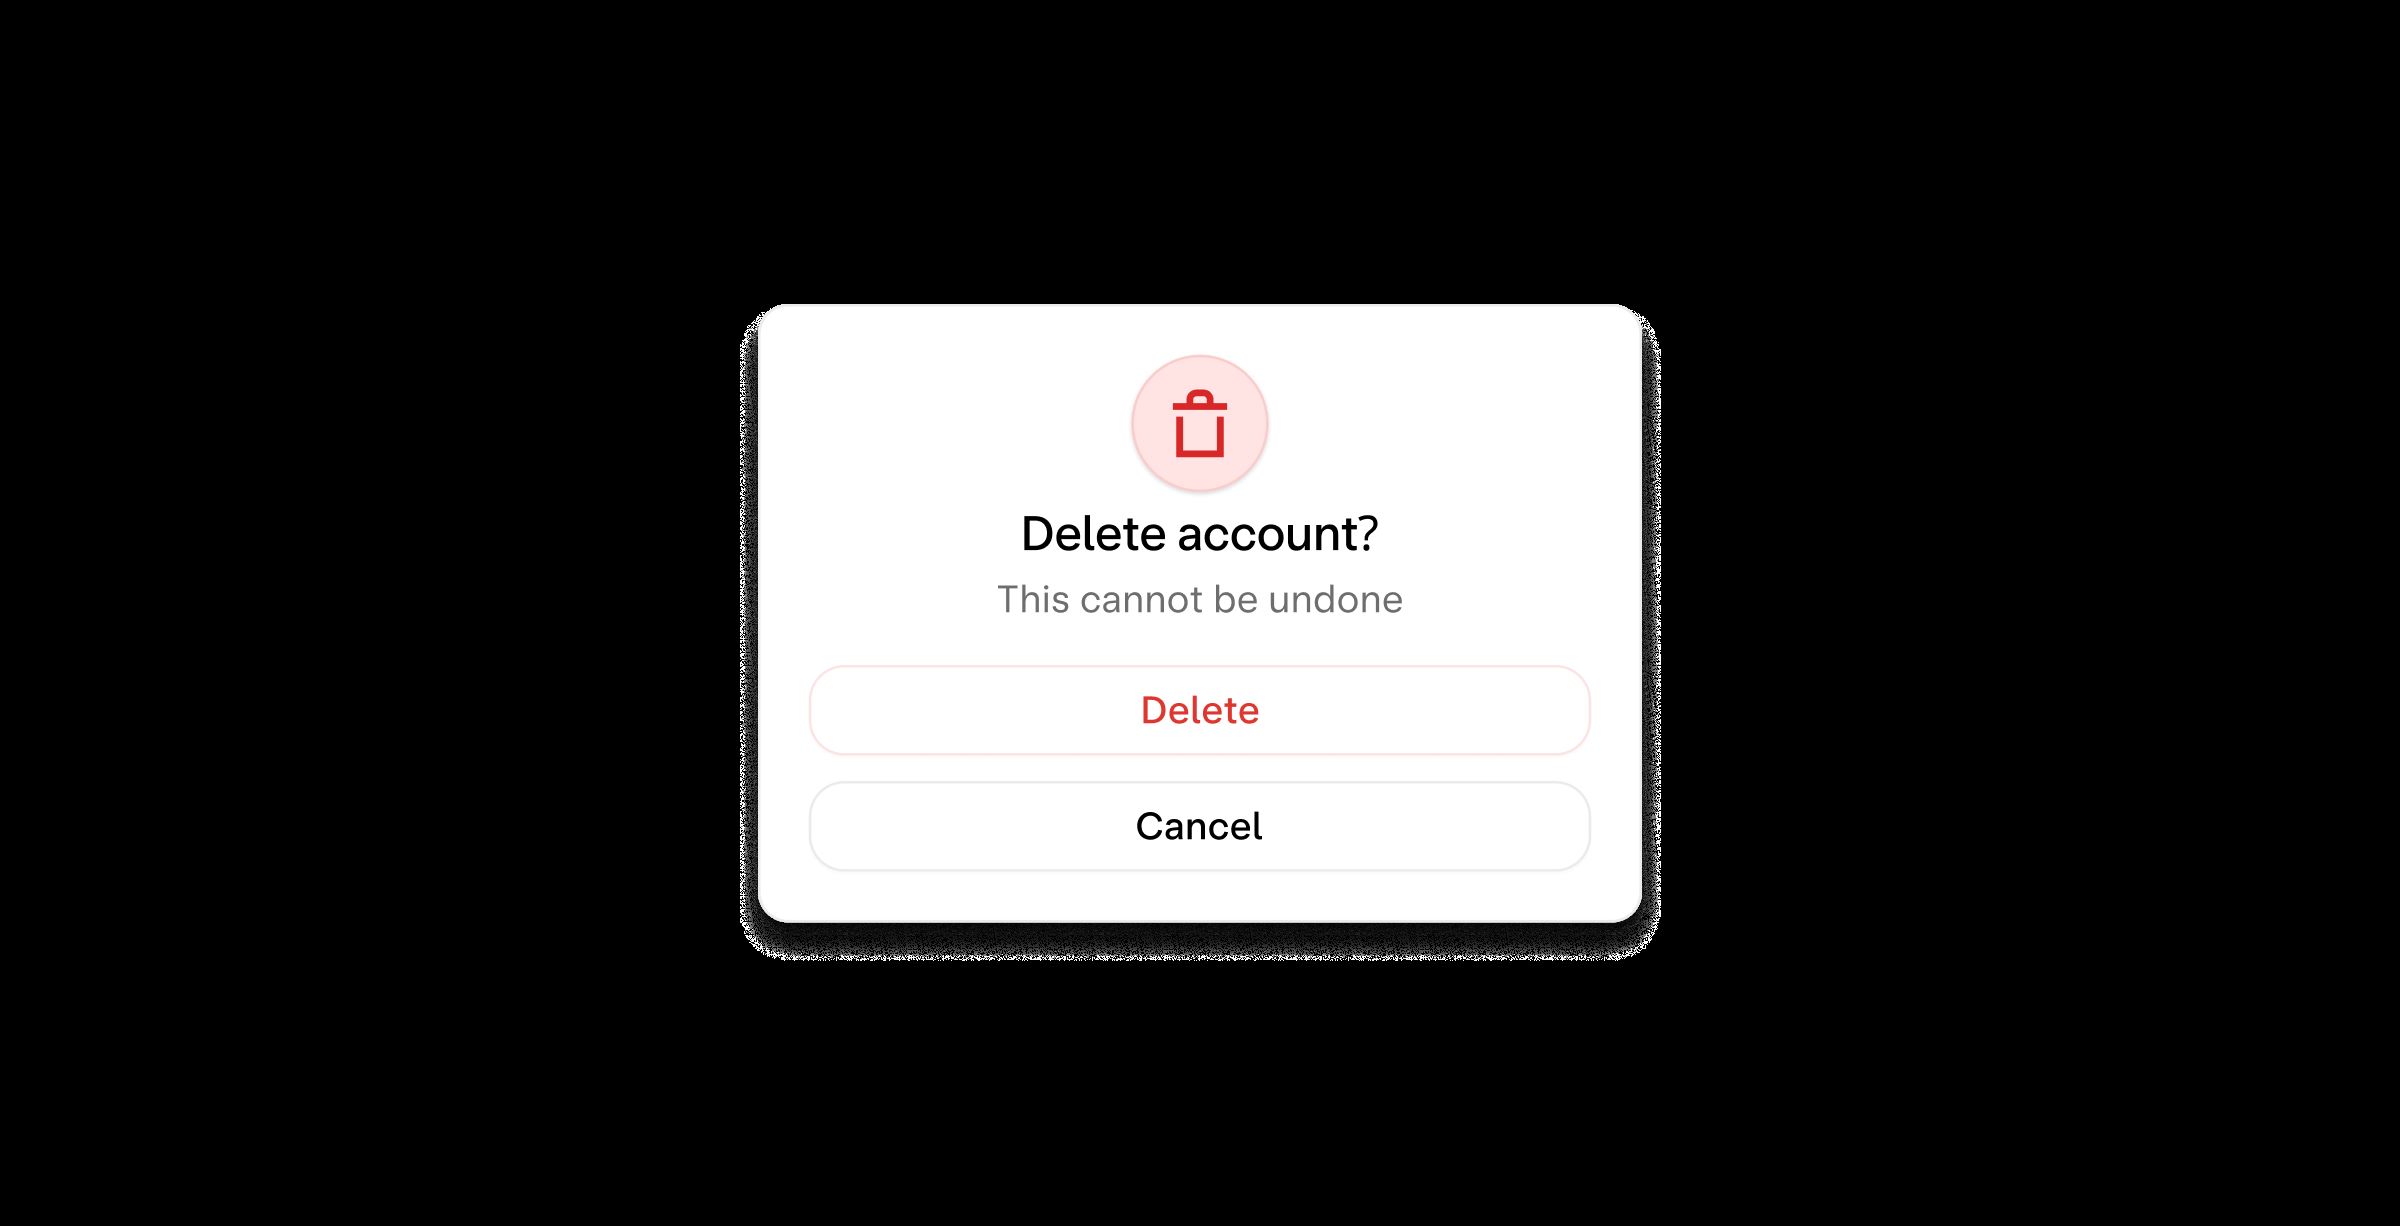
- You will be presented with a warning message informing you about the consequences of deleting Gmail from your account. Take a moment to read through the message and understand that by deleting your Gmail, you will no longer have access to messages, contacts, and other data associated with the Gmail account.
- Scroll down to the bottom of the page and check the box next to “Yes, I want to delete [email address]@gmail.com permanently from my Google Account,” replacing [email address] with the email address you wish to remove.
- Click on the “Delete Gmail” button to initiate the removal process. A confirmation window will appear asking you to re-enter your password for verification.
- Enter your password and click on the “Next” button to confirm the removal of the email address from Gmail.
Once you have completed these steps, the selected email address will be removed from your Gmail account. However, please note that any emails, contacts, and other associated data will no longer be accessible.
Now that you have successfully removed the email address from Gmail, we move on to the final step where you will confirm the removal.
Step 4: Confirm the removal
After removing the email address from Gmail, it’s important to confirm the removal to ensure that the email address is no longer associated with your Gmail account. Follow these steps to confirm the removal:
- Once you have clicked on the “Next” button in the previous step, you will see a confirmation message indicating that the email address has been successfully removed from your Gmail account.
- To verify the removal, go back to the Gmail interface by clicking on the “Gmail” logo or navigating to www.gmail.com. Sign in again if prompted.
- In your Gmail inbox, compose a new email. When you start typing the email address you just removed, you should notice that it does not appear in the auto-suggest dropdown list.
- Additionally, you can check your Gmail settings by clicking on the gear icon located at the top right corner of the Gmail interface, selecting the “See all settings” option, and navigating to the “Accounts and Import” tab. The removed email address should no longer be listed under the “Send mail as” section.
By completing these steps, you have successfully confirmed the removal of the email address from Gmail. Congratulations! The email address is no longer associated with your Gmail account, ensuring a cleaner and more organized inbox going forward.
Remember, removing an email address from Gmail only removes it from your Gmail account and does not delete the email account itself or affect any other services associated with that email address. If you ever wish to use the removed email address with Gmail again, you can simply add it as an additional account.
Thank you for following our guide on how to remove an email address from Gmail. We hope this information has been helpful to you.
Conclusion
Congratulations! You have now successfully removed an email address from your Gmail account. By following the steps outlined in this guide, you have taken a proactive approach to decluttering your inbox and ensuring that only relevant and important email addresses remain associated with your Gmail account.
Removing an email address from Gmail is a straightforward process that can be done in just a few simple steps. Remember, by removing an email address from Gmail, you are only removing it from your mailbox and not deleting the email account itself or affecting any other associated services.
Having a clean and organized Gmail account can greatly improve your productivity and reduce the chances of important emails getting lost in a sea of irrelevant messages. By removing unnecessary email addresses, you can streamline your communication and focus on what matters most.
If you ever need to use the email address you removed from Gmail again in the future, you can add it as an additional account.
We hope this guide has provided you with the information you need to remove an email address from Gmail. If you have any further questions or need assistance, feel free to refer back to this guide or reach out to Gmail support for help.
Thank you for reading, and we wish you all the best in managing your Gmail account!