Introduction
Welcome to this guide on how to block an email on Gmail. With the ever-increasing amount of unwanted emails, it’s essential to know how to take control of your inbox. Gmail offers a simple and effective way to block unwanted senders, ensuring that their emails no longer clutter your mailbox.
Blocking an email address on Gmail not only helps you maintain a clutter-free inbox but also protects you from potential spam, phishing attempts, and unwanted communication. This feature empowers you to filter out unwanted emails, providing a more streamlined email experience.
In this step-by-step guide, I will walk you through the process of blocking an email on Gmail. We will cover all the necessary steps, starting from accessing Gmail all the way to managing your blocked senders list.
By following this guide, you will be able to take control of your inbox, minimizing distractions, and ensuring that you only receive emails from trusted sources. So, let’s get started by opening Gmail and exploring the methods to block an email address!
Step 1: Open Gmail
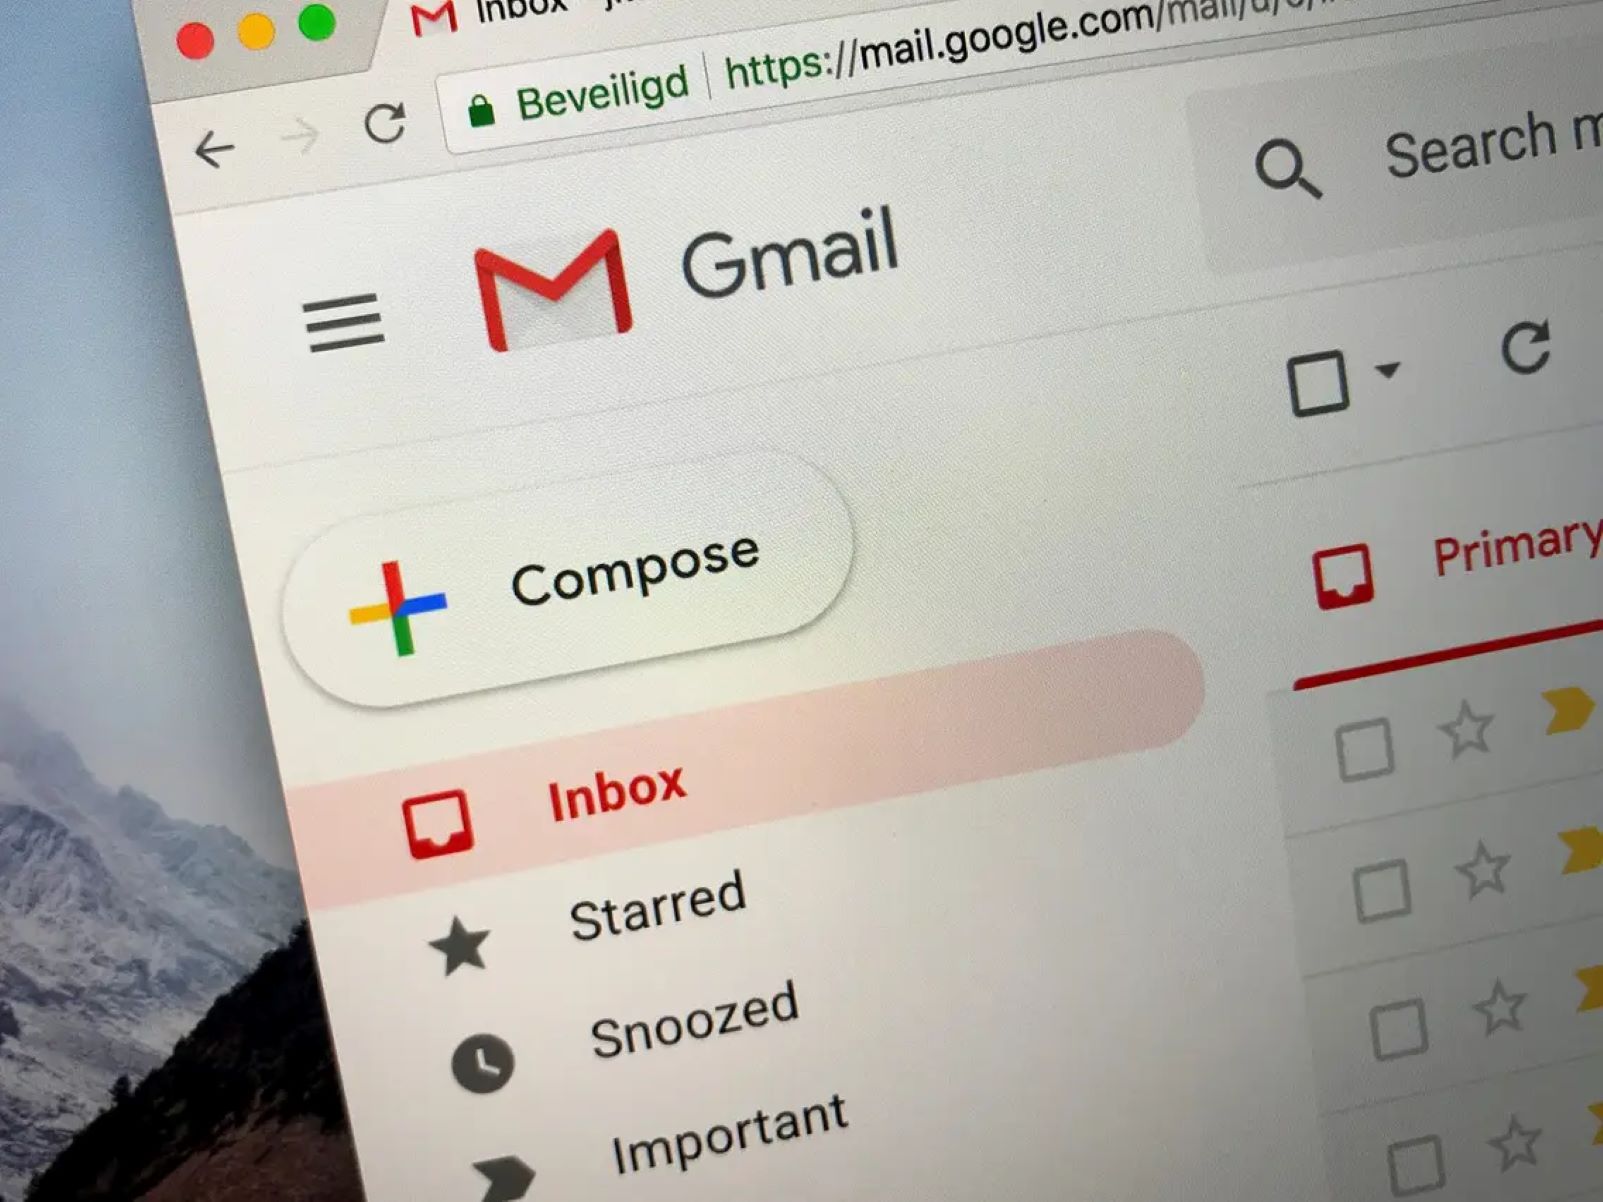
The first step in blocking an email on Gmail is to open the Gmail website or launch the Gmail app on your mobile device. If you haven’t already done so, sign in to your Gmail account using your email address and password.
If you are using a web browser, simply enter “gmail.com” in the address bar, or you can access Gmail through the Google homepage. Once the Gmail page loads, enter your email address and password in the designated fields to sign in.
If you prefer to use the Gmail app on your mobile device, locate and tap on the Gmail icon to open the app. If you haven’t already logged in, enter your email address and password when prompted.
Once you have successfully signed in to your Gmail account, you will be directed to your inbox, where you can access and manage your emails. You are now ready to proceed to the next step and find the email you want to block.
Step 2: Find the email you want to block
Now that you have opened your Gmail account, it’s time to locate the email that you want to block. Gmail provides various ways to find specific emails, making it easier to identify and take action against unwanted senders.
To begin, navigate to your inbox, where you will see a list of your most recent emails. Scroll through the list to find the email you wish to block. If the email is relatively recent or you remember specific details about it, you can use the search bar at the top of the page to search for keywords, sender’s name, or subject line related to the email.
Gmail’s powerful search function allows you to refine your search and quickly locate the email you’re looking for. You can also make use of filters and labels to organize your emails and easily find the one you want to block.
Once you have found the email you want to block, you are ready to proceed to the next step and open the email to view its contents. Remember, finding the email is a crucial step in the process, ensuring that you accurately block the sender and avoid blocking any other legitimate emails.
Step 3: Open the email
After successfully locating the email that you want to block, it’s now time to open the email and view its contents. Opening the email allows you to confirm that it is indeed the one you wish to block and provides you with information about the sender.
To open the email, simply click on it within your Gmail inbox. Upon clicking, the email will expand, displaying its content, including the subject line, message body, and any attachments that may be included.
Take a moment to carefully review the email’s contents to ensure that it matches your expectations. Pay attention to the sender’s name or email address, subject line, and any other details that can help you confirm that this is the email you want to block.
If you have any concerns or doubts about the email, consider checking the sender’s email address for any suspicious or unfamiliar elements. This will help you make an informed decision before proceeding to block the email.
By opening the email and reviewing its contents, you can be confident that you are taking the right steps to block the correct sender and prevent any future emails from them from reaching your inbox.
Step 4: Block the email address
Now that you have opened the email and confirmed that it is the one you want to block, it’s time to proceed with blocking the email address on Gmail. Blocking the email address ensures that any future emails from that sender will be automatically sent to your spam folder, preventing them from appearing in your inbox.
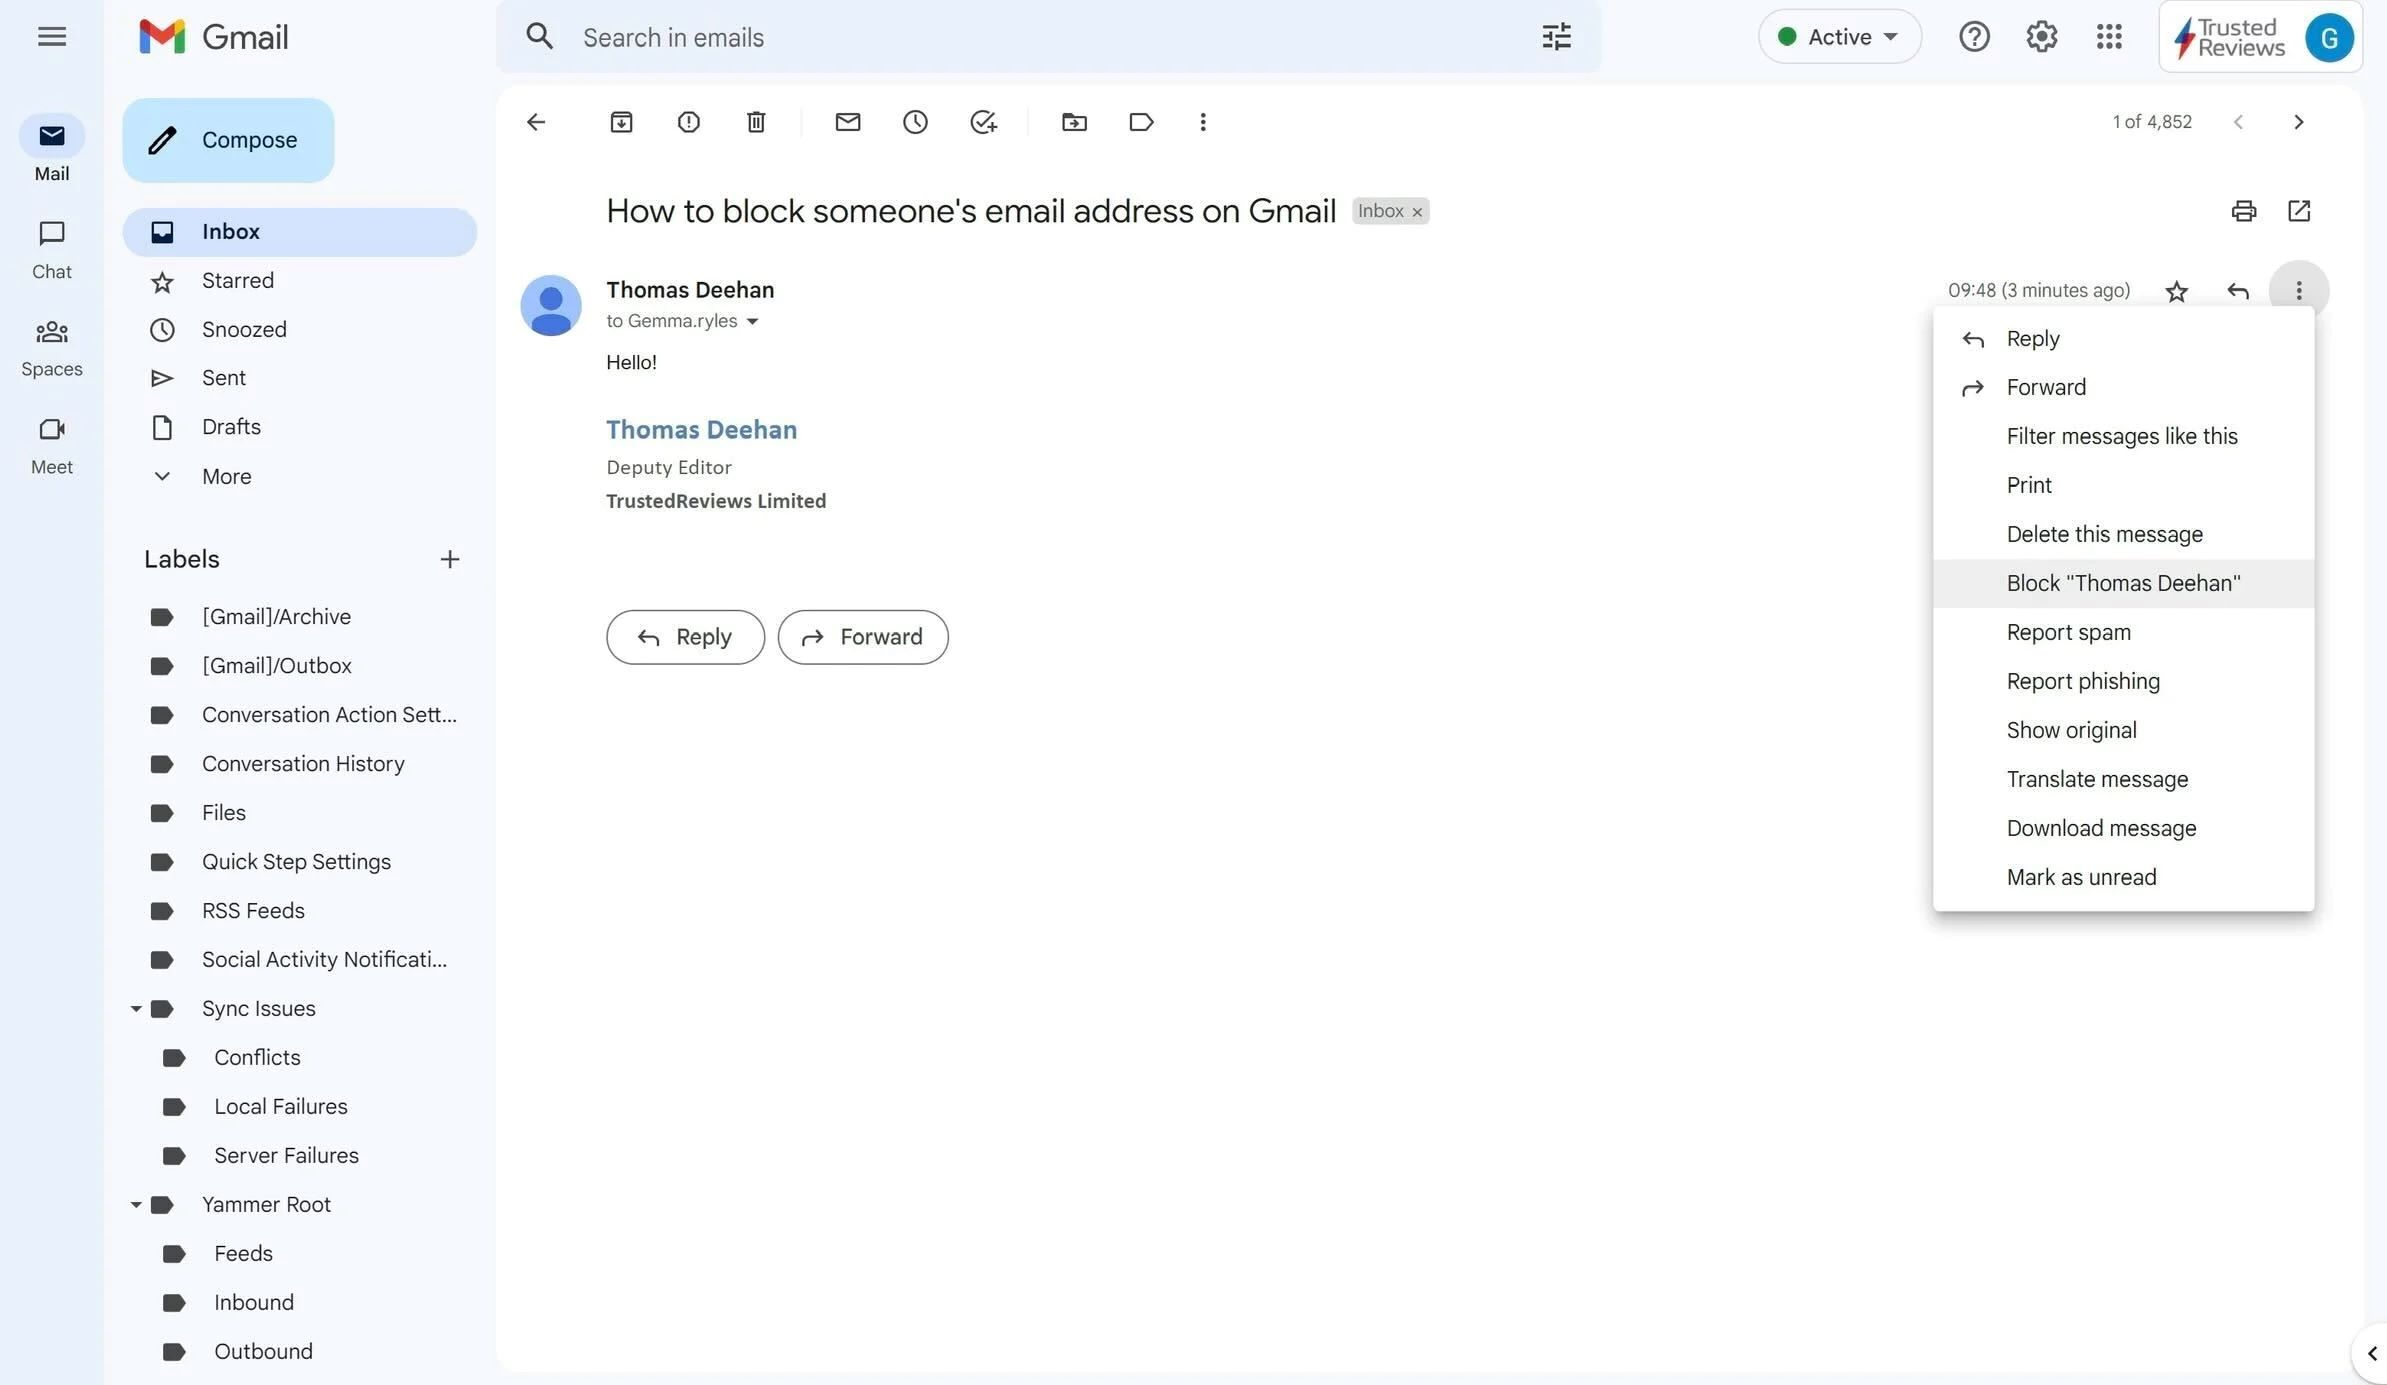
To block the email address, locate the options menu represented by three vertical dots (⋮) located near the top-right corner of the email. Click on this menu to reveal a list of actions that you can perform on the email.
In the dropdown menu, navigate to and select the option that says “Block [sender’s name].” This action will prompt a confirmation message asking if you want to block the email address.
Read the confirmation message carefully, as it will provide additional information about the consequences of blocking the email address. This includes the fact that you will no longer receive any emails from this sender, and all existing emails from this sender will be moved to your spam folder.
If you are sure that you want to proceed with blocking the email address, click on the “Block” or “Block [sender’s name]” button to confirm your decision.
Once you have blocked the email address, Gmail will immediately update the settings to ensure that any future emails from that sender are diverted to your spam folder. This helps you maintain a clutter-free inbox and prevents any further communication from that specific email address.
Now that you have successfully blocked the email address, you can move on to the next step and confirm the block.
Step 5: Confirm the block
After blocking the email address, it is important to confirm that the block has been successfully applied. This step ensures that you have taken the necessary action to prevent any future emails from that sender from reaching your inbox.
Once you have blocked the email address, Gmail will display a confirmation message to let you know that the email address has been blocked successfully. This message usually appears at the top of your screen, notifying you that emails from the blocked sender will be sent to your spam folder.
Take a moment to read the confirmation message and ensure that it states that the block has been applied. This confirmation provides you with peace of mind, knowing that any future emails from that sender will not clutter your inbox.
To further confirm the block, you can also check the sender’s email address in your blocked senders list. To access this list, open your Gmail settings and navigate to the “Blocked” or “Filters and Blocked Addresses” section. Here, you should see the email address of the blocked sender.
By verifying the confirmation message and checking your blocked senders list, you can be certain that the block has been successfully applied. This gives you the assurance that any future emails from the blocked sender will be efficiently filtered into your spam folder.
With the confirmation of the block, you can now move on to the final step, which is managing your blocked senders list in Gmail.
Step 6: Manage your blocked senders list
Once you have blocked an email address on Gmail, it’s important to know how to manage your blocked senders list. This allows you to review and update the list as needed, ensuring that you have control over who is blocked and who can reach your inbox.
To manage your blocked senders list, start by accessing your Gmail settings. On the Gmail website, click on the gear icon in the top-right corner of the screen and select “Settings” from the dropdown menu. On the Gmail app, tap on the three horizontal lines (☰) in the top-left corner, scroll down, and select “Settings”.
Once you are in the settings menu, navigate to the “Blocked” or “Filters and Blocked Addresses” section. Here, you will find a list of all the email addresses that you have blocked in the past. You can scroll through this list to review the blocked senders.
If you want to unblock an email address, simply click on the “Unblock” or “Remove” option next to the sender’s email address. This action will remove the sender from your blocked senders list, allowing emails from them to appear in your inbox as usual.
Additionally, you can add new email addresses to your blocked senders list by selecting the “Add” or “Block” option. Enter the email address of the sender you want to block, and Gmail will automatically block all future emails from that address.
Regularly reviewing and managing your blocked senders list is crucial to ensure that you are blocking the right email addresses and maintaining control over your inbox. It allows you to update the list as needed and refine your email filtering preferences.
By following these steps to manage your blocked senders list, you can have a clean and organized inbox, free from the emails of unwanted or spammy senders.
Conclusion
Congratulations! You have successfully learned how to block an email on Gmail. By following the steps outlined in this guide, you can now take control of your inbox and prevent unwanted emails from cluttering your mailbox.
Gmail’s blocking feature provides a simple and effective way to filter out unwanted senders, ensuring that their emails are automatically sent to your spam folder. This not only helps you maintain a clutter-free inbox but also protects you from potential spam, phishing attempts, and unwanted communication.
Remember, the process of blocking an email on Gmail involves opening Gmail, finding the email you want to block, opening the email, blocking the email address, confirming the block, and managing your blocked senders list. By following each of these steps, you can confidently filter out unwanted emails and enjoy a more streamlined email experience.
Regularly reviewing and managing your blocked senders list is also important to ensure that you are blocking the desired email addresses and maintaining control over your inbox. This allows you to update the list as needed and refine your email filtering preferences based on your evolving needs.
Now that you have the knowledge and tools to block unwanted emails on Gmail, you can enjoy a clutter-free inbox and focus on the emails that matter. Take advantage of this feature to create a more efficient and enjoyable email experience.
Thank you for following this guide. Happy blocking!