Introduction
The digital age has revolutionized the way we communicate, and email has become an integral part of our daily lives. However, with the increasing volume of spam and phishing emails, it can be challenging for legitimate emails to reach our inboxes. This is where email whitelisting comes into play.
Whitelisting an email involves adding a trusted sender’s email address or domain to a designated list, ensuring that their emails bypass the spam filters and land directly in your inbox. By whitelisting an email, you can ensure that important messages from trusted sources are not lost or diverted to the spam folder.
In this comprehensive guide, we will explore the concept of email whitelisting and its importance in today’s digital landscape. We will also provide step-by-step instructions on how to whitelist emails on various popular email clients such as Gmail, Outlook, Yahoo Mail, Apple Mail, Thunderbird, and both Android and iOS devices. Whether you are a professional, a business owner, or a regular email user, this guide will equip you with the knowledge and skills to ensure that you never miss out on important emails.
Furthermore, we will discuss best practices for email whitelisting, including tips on identifying legitimate senders, managing whitelist settings, and staying vigilant against phishing attempts. By following these best practices, you can enhance the security of your email account while enjoying seamless communications with trusted contacts.
Now, let’s dive into the world of email whitelisting and discover how you can take control of your inbox by prioritizing the emails that matter to you.
What is Whitelisting an Email?
Whitelisting an email refers to the act of designating an email address or domain as a trusted source, allowing their messages to bypass spam filters and be delivered directly to your inbox. By adding an email address or domain to your whitelist, you are essentially telling your email client that you trust the sender and want to receive their emails without any filtering.
When an email is sent, it goes through various filters and algorithms that determine its legitimacy and whether it should be classified as spam or delivered to the inbox. These filters analyze factors such as the sender’s reputation, email content, and previous interaction with the recipient. Unfortunately, legitimate emails from trusted sources can sometimes get caught in these filters and end up in the spam folder, leading to missed opportunities and important communications.
By whitelisting an email, you are effectively bypassing these filters for that specific sender, ensuring that their emails are delivered directly to your inbox. This can be especially useful for receiving newsletters, notifications, and important communications from businesses, organizations, or individuals you trust.
It’s essential to understand that whitelisting an email is different from blacklisting. Blacklisting involves blocking specific email addresses or domains that are known sources of spam or malicious content. Whitelisting, on the other hand, is focused on allowing emails from trusted senders to reach your inbox without any filtering.
Whitelisting email addresses or domains can be done at the individual email client level, where you have control over your personal email settings, or it can be implemented at the domain level by email administrators for an entire organization.
Now that we have a clear understanding of what whitelisting an email entails, let’s explore the reasons why whitelisting is important in ensuring that you receive the emails that matter to you.
Why Whitelist an Email?
Whitelisting an email address or domain can bring several benefits and ensure that you never miss important messages. Let’s explore the reasons why you should consider whitelisting emails:
1. Priority Inbox: By whitelisting an email, you are telling your email client that messages from that sender should be considered a priority and delivered directly to your inbox. This ensures that you don’t have to sift through the clutter of the spam folder to find important emails, saving you time and ensuring efficient communication.
2. Reliable Communication: Whitelisting trusted senders allows you to establish a reliable line of communication. Whether it’s receiving important updates from your bank, notifications from your favorite online store, or newsletters from industry experts, whitelisting ensures that you receive these communications without any disruption.
3. Avoid Missing Critical Information: Whitelisting is particularly crucial for receiving essential information, such as account activations, password resets, and important confirmations. By whitelisting the sender’s email, you can ensure that you don’t miss out on crucial details that could affect your personal or professional life.
4. Increased Security: Whitelisting helps you stay secure by allowing emails only from trusted sources to reach your inbox. This minimizes the risk of falling victim to phishing attempts, as emails from unknown or suspicious senders will still be filtered and flagged as potential threats.
5. Seamless Collaboration: If you collaborate with specific individuals or teams on projects or documents, whitelisting their email addresses ensures smooth communication and uninterrupted workflow. It prevents essential project-related emails from being lost or delayed, keeping everyone on the same page.
6. Support for Newsletters and Subscriptions: If you subscribe to newsletters or blogs, whitelisting the respective email addresses allows you to receive the content you’re interested in directly to your inbox. It saves you the hassle of regularly checking spam folders or missing out on valuable updates from your favorite sources.
7. Personalization and Productivity: By whitelisting specific senders, you can customize your email experience and prioritize the emails that matter to you. This helps streamline your inbox, keeping it organized and boosting productivity by allowing you to focus on important messages.
Overall, whitelisting an email provides a range of benefits, from efficient communication and increased security to personalized inbox management. Now that we understand the importance of whitelisting, let’s explore how to whitelist emails on various popular email clients.
How to Whitelist an Email on Different Email Clients
Whitelisting an email can vary depending on the email client you are using. To help you navigate through the process, let’s explore the steps to whitelist emails on various popular email clients:
Whitelisting an Email on Gmail:
- Open your Gmail account and click on the gear icon in the top-right corner.
- Select “Settings” from the drop-down menu.
- Go to the “Filters and Blocked Addresses” tab.
- Click on “Create a new filter”.
- In the “From” field, enter the email address or domain you want to whitelist.
- Click on “Create filter” at the bottom of the window.
- Check the box next to “Never send it to Spam”.
- Click on “Create filter” to save the changes.
Whitelisting an Email on Outlook:
- Open your Outlook account and click on the gear icon in the top-right corner.
- Select “View all Outlook settings” at the bottom of the drop-down menu.
- Go to the “Junk email” tab.
- Click on “Safe senders and domains”.
- Enter the email address or domain you want to whitelist in the provided text box.
- Click on “Add” and then on “Save” to apply the changes.
Whitelisting an Email on Yahoo Mail:
- Open your Yahoo Mail account and click on the gear icon in the top-right corner.
- Select “More Settings” from the drop-down menu.
- Go to the “Filters” tab.
- Click on “Add new filters”.
- Enter a name for the filter.
- In the “From” field, enter the email address or domain you want to whitelist.
- Choose the folder where you want the filtered emails to be delivered.
- Click on “Save” to apply the changes.
Whitelisting an Email on Apple Mail:
- Open your Apple Mail application.
- Go to “Mail” and select “Preferences” from the drop-down menu.
- Click on the “Rules” tab.
- Click on “Add Rule” to create a new rule.
- In the “Description” field, enter a name for the rule.
- In the conditions section, choose “From” and enter the email address or domain you want to whitelist.
- In the actions section, choose “Move Message” to a specific mailbox or folder.
- Click on “OK” to apply the rule.
Whitelisting an Email on Thunderbird:
- Open your Thunderbird application.
- Go to “Tools” and select “Message Filters” from the drop-down menu.
- Click on “New” to create a new filter.
- In the “Filter Rules” window, enter a name for the filter.
- In the “From” field, enter the email address or domain you want to whitelist.
- In the “Perform these actions” section, choose “Move Message to” and select the desired folder.
- Click on “OK” to save the filter.
These are just a few examples of how to whitelist emails on popular email clients. Remember that the exact steps may differ slightly based on different versions and configurations, but the general concept remains the same. Always consult the help documentation of your email client for specific instructions tailored to your setup.
Now, let’s explore how to whitelist emails on Android devices.
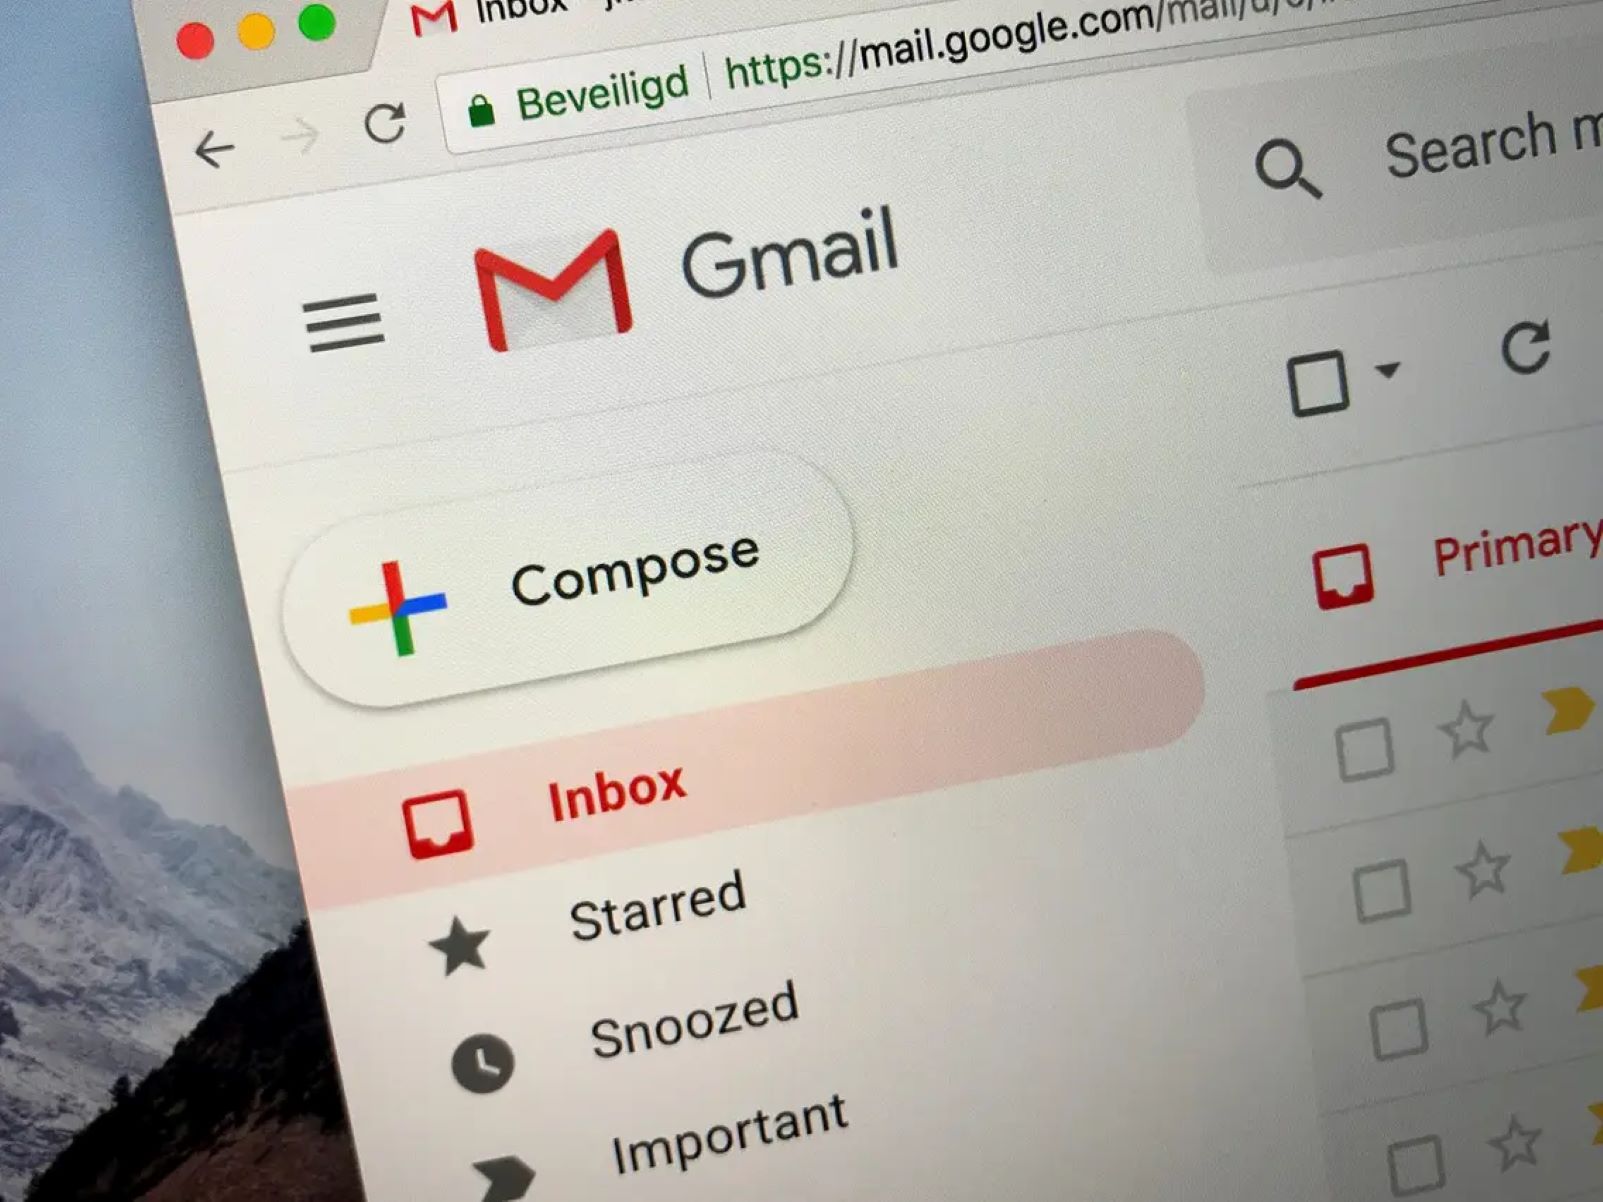
Whitelisting an Email on Gmail
Gmail is one of the most widely used email clients, and whitelisting an email on Gmail is a straightforward process. Here are the steps to whitelist an email on Gmail:
- Open your Gmail account and click on the gear icon located in the top-right corner of the screen.
- In the drop-down menu, select “Settings”.
- Once inside the Settings menu, click on the “Filters and Blocked Addresses” tab.
- Scroll down and click on the “Create a new filter” link.
- A new window will appear with various filter options. In the “From” field, enter the email address or domain you want to whitelist. You can also specify additional criteria, such as the subject or specific keywords.
- Click on the “Create filter” button located at the bottom of the window.
- In the next window, check the box next to “Never send it to Spam”.
- If desired, you can also apply the filter to existing emails in your inbox by checking the box next to “Also apply filter to matching conversations”.
- Click on the “Create filter” button to save your changes.
By following these steps, you have successfully whitelisted the specified email address or domain on Gmail. Emails from this sender will now bypass the spam folder and be delivered directly to your inbox.
It’s important to note that Gmail also provides the option to “Report as not spam” for any emails that may have been mistakenly marked as spam. This helps improve the spam filter accuracy and ensures that future emails from similar senders are not classified as spam.
Whitelisting emails on Gmail is a valuable step in ensuring that you never miss important messages from trusted senders. Whether it’s receiving professional communications, staying connected with friends and family, or receiving notifications from your favorite websites, whitelisting guarantees that these emails get the attention they deserve.
Now that we have learned how to whitelist emails on Gmail, let’s move on to whitelisting emails on Outlook.
Whitelisting an Email on Outlook
Microsoft Outlook is a popular email client used by many individuals and organizations. Whitelisting an email on Outlook ensures that emails from trusted senders bypass the junk folder and reach your inbox. Here’s how to whitelist an email on Outlook:
- Open your Outlook account and click on the gear icon located in the top-right corner.
- In the drop-down menu, select “View all Outlook settings” at the bottom of the list.
- From the settings menu, click on the “Junk email” tab.
- Scroll down to find the “Safe senders and domains” section and click on it.
- In the “Safe senders and domains” section, click on the “+ Add” button.
- Enter the email address or domain you want to whitelist in the provided input field. You can also include multiple addresses or domains by separating them with a semicolon.
- Click on the “Enter” key or press the “Save” button to add the email address or domain to the safe senders list.
By completing these steps, you have successfully whitelisted the specified email address or domain on Outlook. Emails from this sender will now bypass the junk folder and be delivered directly to your inbox.
Additionally, Outlook also provides an option to “Mark as not junk” for any emails that may have been incorrectly filtered as junk. This helps improve the junk filter’s accuracy and ensures that future emails from similar senders are correctly delivered to your inbox.
Whitelisting emails on Outlook is an effective way to ensure that you receive important messages from trusted contacts, whether they are from colleagues, clients, or personal connections. Outlook’s robust spam filtering system combined with the ability to whitelist emails provides a seamless email experience, free from the frustration of missed emails and false positives.
Now that we understand how to whitelist emails on Outlook, let’s explore how to whitelist emails on Yahoo Mail.
Whitelisting an Email on Yahoo Mail
Yahoo Mail is a popular email service that allows users to whitelist specific email addresses or domains to ensure that important messages reach their inbox. Whitelisting an email on Yahoo Mail is a simple process. Here’s how you can do it:
- Open your Yahoo Mail account and click on the gear icon located in the top-right corner of the screen.
- In the drop-down menu, select “More Settings”.
- In the Settings menu, click on the “Filters” tab.
- Under the Filters section, click on the “Add new filters” button.
- A new window will appear where you can set up the filter.
- Enter a name for the filter in the provided text box.
- In the “Sender” field, enter the email address or domain that you want to whitelist.
- Choose the folder where you want the filtered emails to be delivered.
- Click on the “Save” button to apply the changes.
By following these steps, you have successfully whitelisted the specified email address or domain on Yahoo Mail. Emails from this sender will now bypass any filters and be delivered directly to your inbox.
It’s worth noting that Yahoo Mail also provides the option to mark emails as “Not Spam” if they have been mistakenly classified as such. This helps improve the accuracy of the spam filter and ensures that future emails from similar senders are delivered to your inbox.
Whitelisting emails on Yahoo Mail is an effective way to ensure that important emails from trusted senders are not missed or accidentally filtered as spam. Whether it’s receiving personal communications or staying updated with subscriptions and newsletters, whitelisting allows you to prioritize the emails that matter.
Now that we have learned how to whitelist emails on Yahoo Mail, let’s move on to whitelisting emails on Apple Mail.
Whitelisting an Email on Apple Mail
Apple Mail is the default email application on Apple devices, including iPhones, iPads, and Mac computers. Whitelisting an email on Apple Mail ensures that messages from trusted senders are delivered directly to your inbox. Here’s how you can whitelist an email on Apple Mail:
- Open the Apple Mail application on your device.
- Click on the “Mail” menu at the top of the screen and select “Preferences” from the drop-down menu.
- In the Preferences window, click on the “Rules” tab.
- Click on the “Add Rule” button to create a new rule.
- In the “Description” field, enter a name for the rule (e.g., Whitelist).
- In the conditions section, choose “From” from the drop-down menu, and enter the email address or domain you want to whitelist.
- In the actions section, choose “Move Message” to a specific mailbox or folder where you want the emails to be delivered.
- Click on the “OK” button to save the rule.
Following these steps will ensure that emails from the specified email address or domain bypass any filters and are delivered directly to your inbox in Apple Mail.
It’s important to note that Apple Mail also provides options to mark emails as “Not Junk” or “Not Junk Mail” if they have been mistakenly classified as such. This helps improve the accuracy of the junk mail filter and ensures that future emails from similar senders are delivered to your inbox.
Whitelisting emails on Apple Mail is a valuable step in ensuring that you receive important messages from trusted sources without any disruption. Whether it’s personal emails, business communications, or newsletters from your favorite websites, whitelisting allows you to prioritize the emails that matter to you.
Now that we understand how to whitelist emails on Apple Mail, let’s explore how to whitelist emails on Thunderbird.
Whitelisting an Email on Thunderbird
Thunderbird is a popular email client that allows users to whitelist specific email addresses or domains, ensuring that important messages are not mistakenly filtered as spam. Whitelisting an email on Thunderbird is a simple process. Here’s how you can do it:
- Open the Thunderbird application on your computer.
- Click on the “Tools” menu at the top of the screen and select “Message Filters” from the drop-down menu.
- In the Message Filters window, click on the “New” button to create a new filter.
- In the “Filter Rules” window, enter a name for the filter in the provided text box.
- In the “From” field, enter the email address or domain that you want to whitelist.
- In the “Perform these actions” section, choose “Move Message to” and select the desired mailbox or folder where you want the filtered emails to be delivered.
- Click on the “OK” button to save the filter.
By following these steps, you have successfully whitelisted the specified email address or domain on Thunderbird. Emails from this sender will now bypass any filters and be delivered directly to your designated mailbox or folder.
Thunderbird also provides the option to mark emails as “Not Junk” if they have been mistakenly classified as such. This helps improve the accuracy of the junk mail filter and ensures that future emails from similar senders are delivered to your inbox.
Whitelisting emails on Thunderbird is an effective way to ensure that important messages from trusted senders are not missed or incorrectly filtered. Whether it’s personal communications, professional emails, or newsletters, whitelisting allows you to have control over your inbox and prioritize the emails that matter to you.
Now that we have learned how to whitelist emails on Thunderbird, let’s move on to whitelisting emails on Android devices.
Whitelisting an Email on Android Devices
Android devices offer various email apps that allow users to whitelist specific email addresses or domains, ensuring that important messages are delivered directly to their inbox. The steps to whitelist an email may vary depending on the email app you are using on your Android device. Here’s a general guide on how to whitelist an email on Android:
- Open the email app on your Android device.
- Go to the settings or options menu, usually represented by three vertical dots or lines in the top-right or top-left corner.
- Look for the “Filters” or “Rules” option, or a similar name that deals with managing email filters.
- Select the “Add” or “New” option to create a new filter or rule.
- Specify the criteria for the filter or rule. This usually includes the “From” field where you can enter the email address or domain you want to whitelist.
- Choose the action that should be taken when a matching email is received, such as “Move to Inbox” or “Never mark as spam”.
- Save the filter or rule and exit the settings.
It’s important to note that the exact steps may vary depending on the email app you are using. Some popular email apps for Android devices include Gmail, Outlook, Yahoo Mail, and Thunderbird, each with its unique interface and settings. Therefore, it’s recommended to refer to the specific documentation or help resources of the email app you are using to understand the exact steps for whitelisting emails.
Whitelisting emails on Android devices ensures that you receive important messages from trusted senders without any interference. Whether it’s personal emails, work-related communications, or newsletters, whitelisting allows you to have control over your inbox and prioritize the emails that matter to you.
Now that we have explored how to whitelist emails on Android devices, let’s move on to whitelisting emails on iOS devices.
Whitelisting an Email on iOS Devices
iOS devices, such as iPhones and iPads, offer built-in Mail apps that allow users to whitelist specific email addresses or domains. Whitelisting an email on iOS ensures that important messages from trusted senders are delivered directly to your inbox. Here’s how to whitelist an email on iOS devices:
- Open the “Settings” app on your iOS device.
- Scroll down and tap on “Mail” or “Mail, Contacts, Calendars”.
- Tap on “Blocked” or “Blocked Senders” (depending on the iOS version).
- Tap on “Add New…” or “Add a Blocked Sender…”.
- Enter the email address or domain you want to whitelist in the provided text field.
- Tap on “Done” or “Add” to save the changes.
By following these steps, you have successfully whitelisted the specified email address or domain on iOS devices. Emails from this sender will now bypass any filtering and be delivered directly to your inbox in the Mail app.
For more advanced options, you can also use third-party email apps available on the App Store, which often offer more comprehensive filtering and customization options, including whitelisting specific emails or domains. These apps typically have dedicated settings sections to manage email filters, and the process of whitelisting will vary depending on the app you choose.
Whitelisting emails on iOS devices allows you to have control over your inbox and ensures that important messages from trusted senders are not missed or mistaken for spam. Whether it’s personal communications, work-related emails, or newsletters, whitelisting facilitates efficient and seamless email management on your iOS device.
Now that we have covered how to whitelist emails on iOS devices, let’s explore the process of whitelisting emails on other email clients.
Whitelisting an Email on Other Email Clients
While we have covered the process of whitelisting emails on popular email clients such as Gmail, Outlook, Yahoo Mail, Apple Mail, Thunderbird, Android devices, and iOS devices, there are many other email clients available that may have different methods for whitelisting emails. Here are some general guidelines for whitelisting on other email clients:
- Open your email client and navigate to the settings or options menu.
- Look for a section related to spam or junk mail settings. This might be labeled as “Spam Filters,” “Security,” “Filters,” or something similar.
- Within the spam or junk mail settings, find an option to manage “Allowed” or “Whitelisted” senders or domains.
- Add the email address or domain you want to whitelist to the list of trusted senders or domains.
- Save your changes and exit the settings.
It’s important to note that the exact steps may vary depending on the email client you are using. If you are unsure about how to whitelist an email on a specific email client, it is recommended to refer to the documentation or help resources provided by the email client or consult their support team for further assistance.
Whitelisting emails on other email clients ensures that important messages from trusted senders are not missed or incorrectly filtered. Whether you are using a less popular email client or a specialized business email client, the ability to whitelist emails allows you to have control over your inbox and prioritize the emails that matter to you.
Now that we have explored the process of whitelisting emails on various email clients, let’s discuss some best practices for email whitelisting to enhance your email experience.
Best Practices for Email Whitelisting
While whitelisting emails can greatly improve your email experience and ensure that important messages reach your inbox, it’s important to follow some best practices to optimize the process. Here are some recommended best practices for email whitelisting:
1. Verify sender authenticity: Before whitelisting an email address or domain, ensure that the sender is legitimate and trustworthy. Be cautious of phishing attempts and suspicious emails that may try to deceive you into whitelisting them.
2. Regularly review your whitelist: Periodically review your whitelisted email addresses or domains to ensure that they are still relevant and trustworthy. Remove any outdated or suspicious entries from your whitelist to maintain a clean and secure inbox.
3. Keep an eye on spam filters: While whitelisting ensures that trusted emails bypass spam filters, it’s important to regularly check your spam or junk folder to review any potentially false positives or important emails that may have been filtered incorrectly. Mark any mistakenly filtered emails as “Not Spam” to improve the filtering accuracy.
4. Use additional security measures: Whitelisting alone may not fully protect you from all spam or malicious emails. Consider implementing additional security measures such as two-factor authentication, email encryption, and reputable anti-virus software to enhance your overall email security.
5. Exercise caution with unknown senders: Even with whitelisting in place, exercise caution when opening emails from unknown senders. Be vigilant for phishing attempts, suspicious attachments, or unexpected requests for personal information. When in doubt, verify the legitimacy of the sender before interacting with the email.
6. Educate yourself on email security: Stay informed about the latest email security best practices and techniques employed by cybercriminals. By educating yourself on common phishing techniques and email scams, you can better protect yourself and make informed decisions regarding the emails you whitelist.
7. Use separate email accounts for different purposes: To further enhance your email security and organization, consider using separate email accounts for different purposes. This can help you better manage permissions, filters, and whitelisting for different types of emails, such as personal, professional, or subscriptions.
8. Regularly update your email client: Keeping your email client up to date ensures that you have the latest security features, bug fixes, and improvements. This helps protect your email account and ensures compatibility with whitelisting functionality.
By following these best practices, you can optimize your email whitelisting efforts and enjoy a secure and streamlined email experience. Remember to always prioritize email security and verify the authenticity of senders before adding them to your whitelist.
Now that we have covered the best practices for email whitelisting, let’s conclude our comprehensive guide.
Conclusion
Whitelisting an email is a valuable technique that allows you to prioritize and ensure the delivery of important messages from trusted senders. By adding trusted email addresses or domains to your whitelist, you can bypass spam filters and have peace of mind that important emails will reach your inbox.
In this comprehensive guide, we explored the concept of whitelisting emails and its importance in today’s digital landscape. We learned how to whitelist emails on various popular email clients, including Gmail, Outlook, Yahoo Mail, Apple Mail, Thunderbird, Android devices, and iOS devices. Each email client has its own unique steps, but the general concept remains the same – adding trusted senders to a whitelist to bypass filters.
Furthermore, we discussed best practices for email whitelisting, including verifying sender authenticity, regularly reviewing your whitelist, keeping an eye on spam filters, using additional security measures, exercising caution with unknown senders, educating yourself on email security, using separate email accounts for different purposes, and regularly updating your email client.
By following these best practices and implementing email whitelisting, you can take control of your inbox, enhance your email experience, and ensure that important messages are not missed or incorrectly filtered. Whether it’s personal communications, professional emails, or subscriptions, whitelisting allows you to prioritize the emails that matter to you.
As email continues to be a vital communication channel, it’s important to stay informed about email security practices and adapt to changes in technology. By combining email whitelisting with other security measures, staying vigilant against phishing attempts, and regularly updating your knowledge, you can create a secure and efficient email environment.
We hope that this guide has provided you with the necessary knowledge and steps to effectively whitelist emails on your preferred email client. Remember to stay proactive, review and update your whitelist regularly, and follow best practices to ensure a seamless and secure email experience.