Introduction
Having a cluttered email inbox can be overwhelming and hinder your productivity. Whether it’s spam emails, newsletters, or outdated messages, keeping your email organized is essential. If you’re an iPhone user, you might be wondering how to efficiently delete emails on your device. Fortunately, there are several methods you can employ to clear out your inbox and regain control over your digital communication.
In this article, we will explore five different approaches to deleting emails on your iPhone. From deleting single emails to clearing out entire folders, we’ll cover a range of techniques to suit your specific needs. Additionally, we’ll delve into using the Junk Email folder and even utilizing third-party email apps to help streamline the process.
Before we dive into the methods, it’s important to note that these instructions are applicable to iPhones running iOS 14 or later. If you have an older version of iOS, the steps may differ slightly, but the general concepts should remain the same. So, whether you’re using the latest iPhone 12 or have an older model, let’s get started on decluttering your email!
Without further ado, let’s explore the various methods for deleting email on your iPhone:
Method 1: Deleting Single Emails
If you want to delete a single email on your iPhone, the process is straightforward. Follow these simple steps:
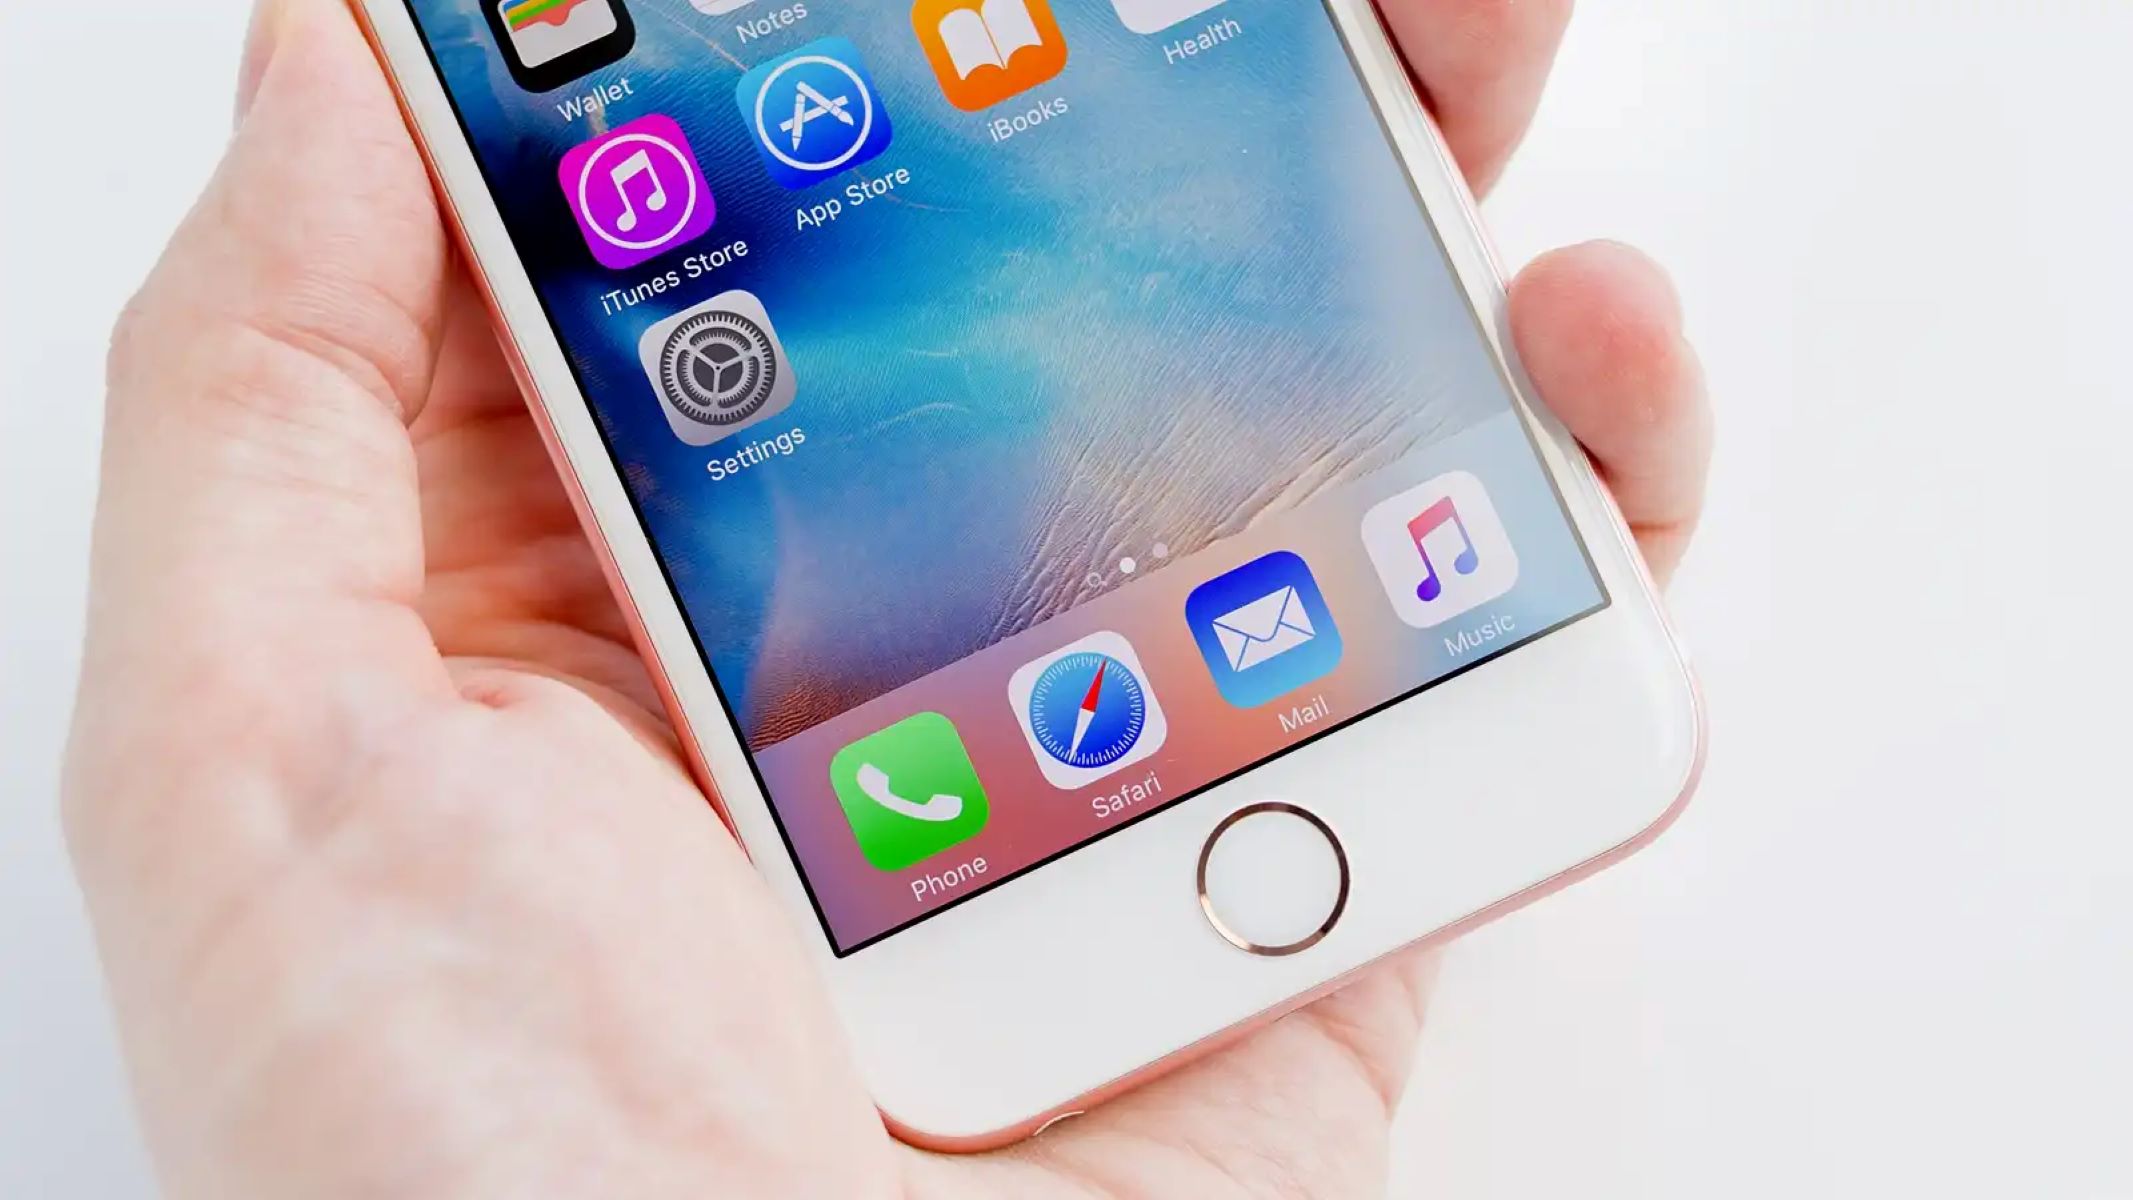
- Open the Mail app on your iPhone. It is represented by a blue envelope icon.
- Navigate to the inbox or folder where the email you want to delete is located.
- Scroll through the list to find the specific email you wish to remove.
- Tap on the email to open it and view its contents.
- Look for the trash bin icon, usually located at the bottom of the screen or in the top-right corner. Tap on the icon.
- A confirmation pop-up will appear asking you to confirm the deletion. Select “Delete” to complete the process.
And that’s it! The selected email will be instantly deleted from your iPhone. It’s important to note that deleting an email through this method will permanently remove it from your device and cannot be undone. If there is any important information in the email, make sure to save it or take a screenshot before deleting.
This method is perfect for dealing with individual emails that are no longer needed or relevant. By regularly deleting single emails, you can ensure a clean and organized inbox, making it easier to manage your incoming messages.
Method 2: Deleting Multiple Emails
If you have a batch of emails that you want to delete at once, the Mail app on your iPhone provides a convenient way to select and delete multiple emails simultaneously. Here’s how you can do it:
- Launch the Mail app on your iPhone and navigate to the inbox or folder containing the emails you wish to delete.
- Tap on the “Edit” button located at the top-right corner of the screen. This will enable the selection mode for deleting multiple emails.
- You will now notice small circles or squares appearing alongside each email. Tap on these circles to select the emails you want to delete. You can select as many emails as you want.
- Once you’ve selected all the desired emails, look for the trash bin icon at the bottom or top-right corner of the screen. Tap on the icon.
- A confirmation message will appear, asking if you want to delete the selected emails. Tap on “Delete” to confirm and remove the emails from your iPhone.
By using this method, you can efficiently delete multiple emails without the need to select and delete each one individually. It’s a time-saving technique to keep your inbox clutter-free and ensure that only the important messages remain.
Remember, deleting multiple emails is a permanent action, and once deleted, the emails cannot be recovered. If you have any essential information in the emails, make sure to review and backup the content before proceeding with the deletion process.
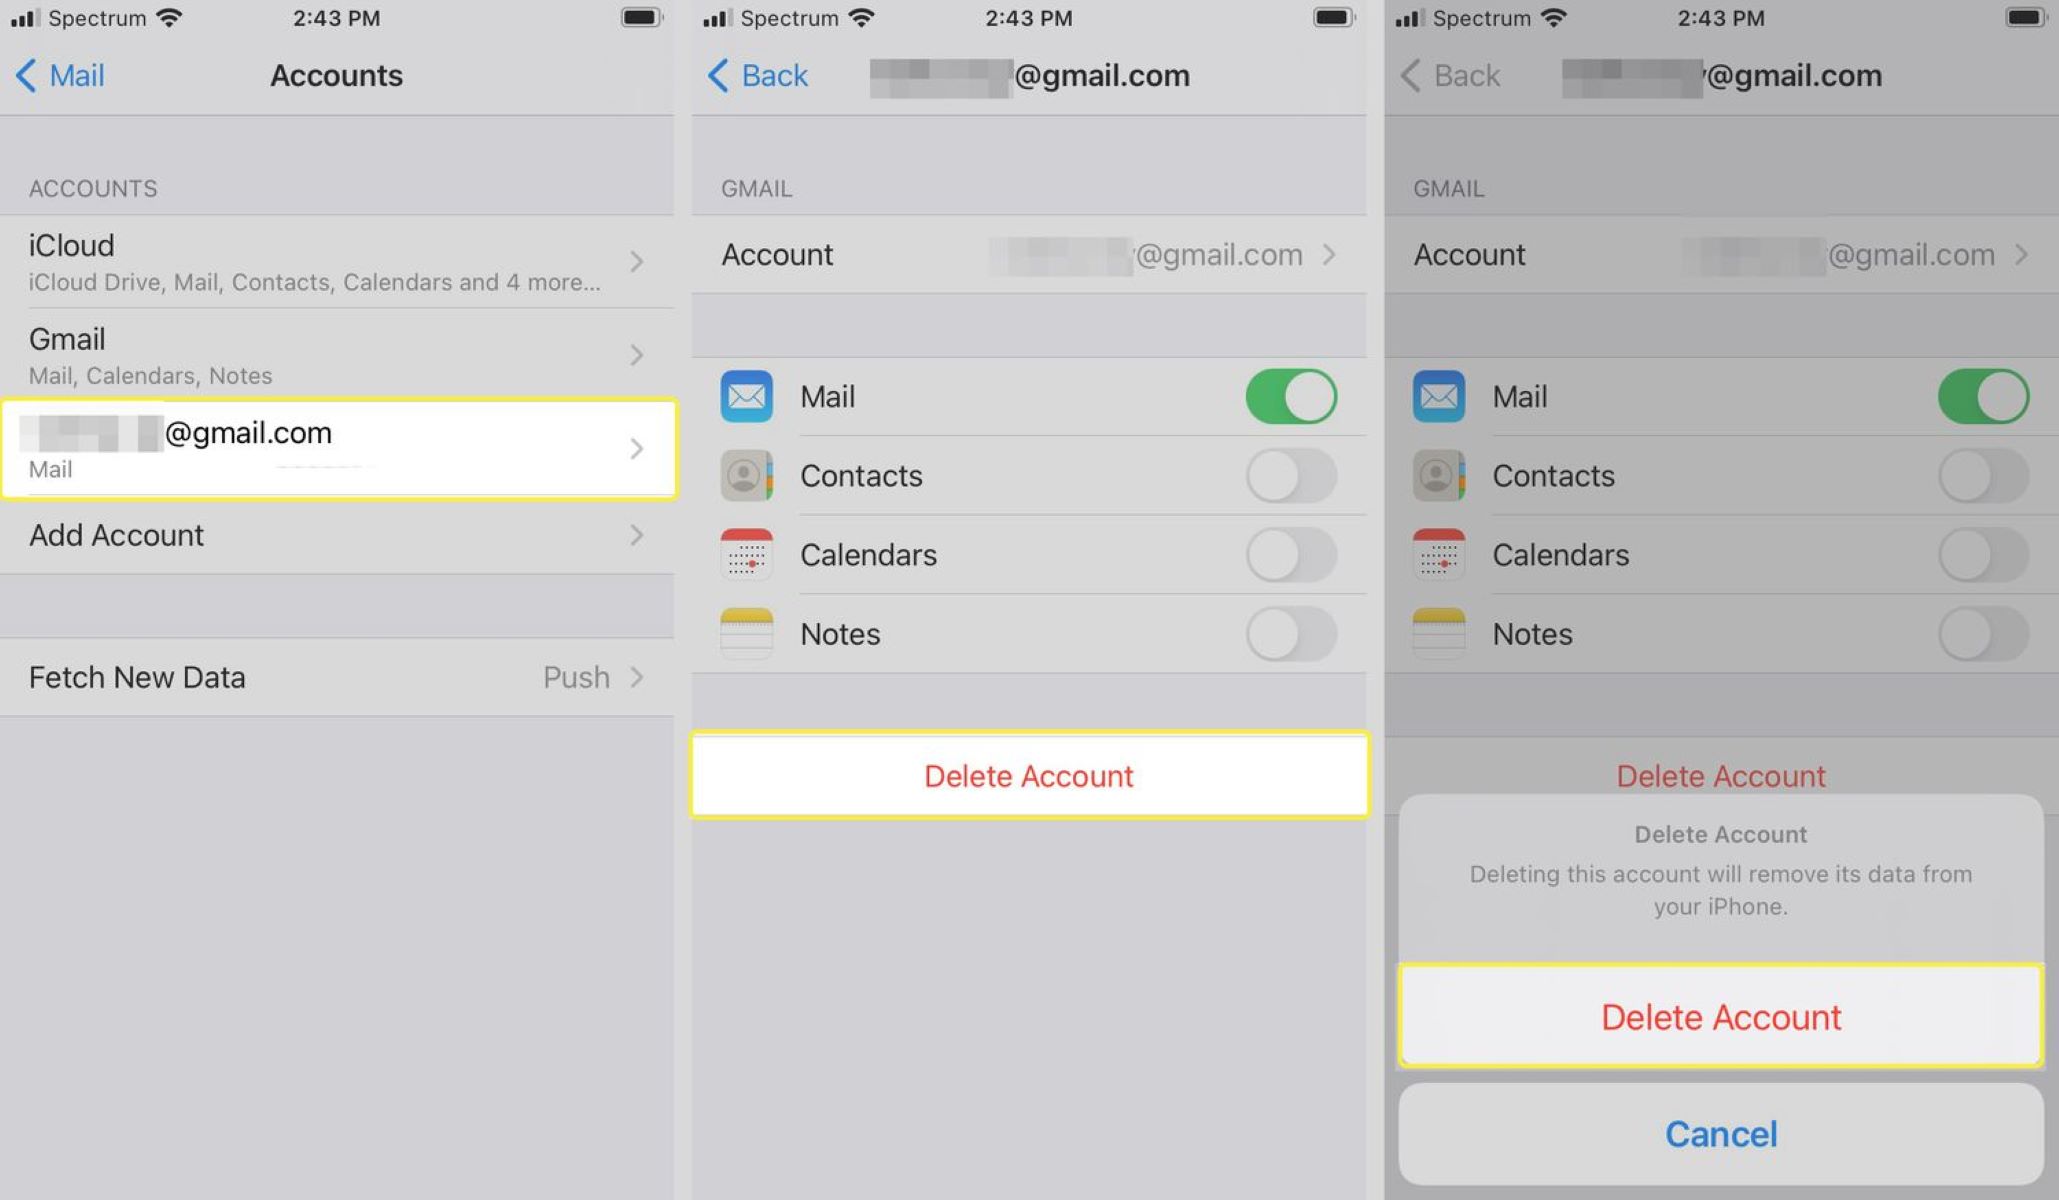
Method 3: Using the Junk Email Folder
If you find yourself receiving a lot of spam or unwanted emails on your iPhone, utilizing the Junk Email folder can be an effective way to automatically filter and delete such messages. Here’s how you can use this feature:
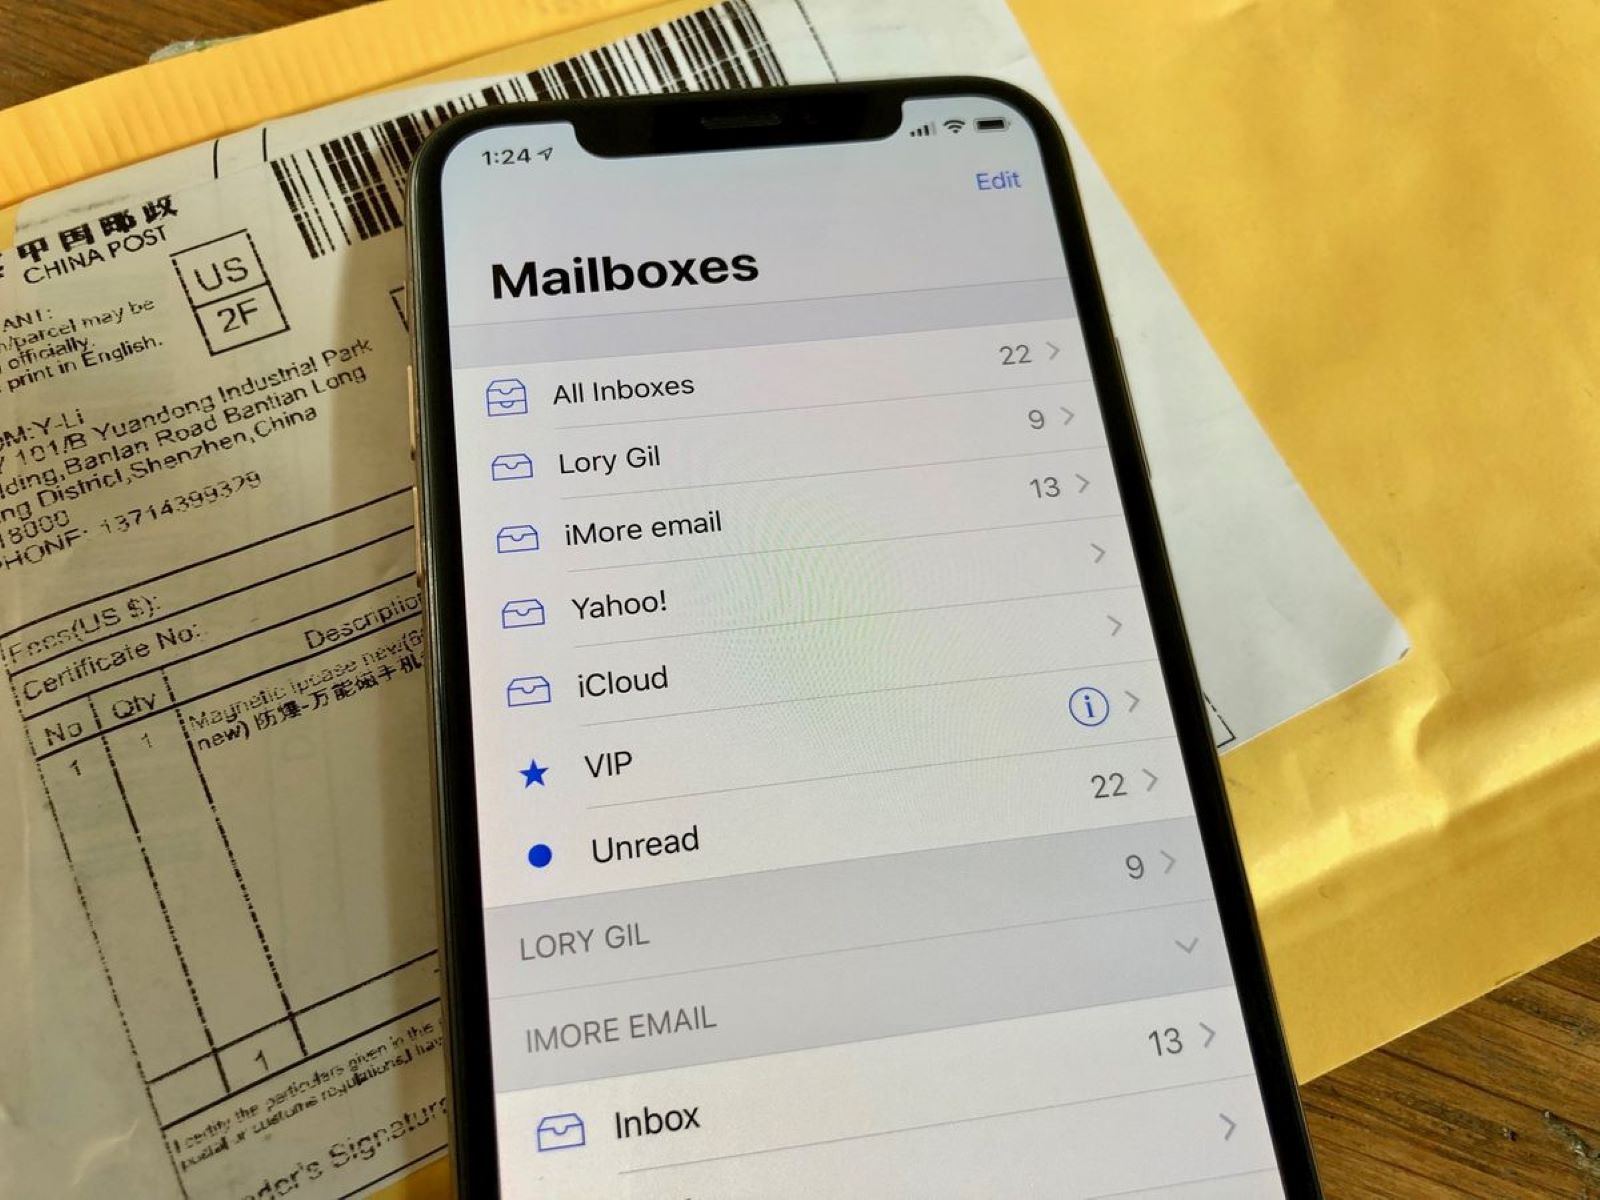
- Launch the Mail app on your iPhone and locate the “Junk” or “Spam” folder. This folder is typically located in the list of mailboxes, alongside the inbox and other folders.
- Open the “Junk” folder to view the emails that have been marked as spam by your email provider or manually flagged by you.
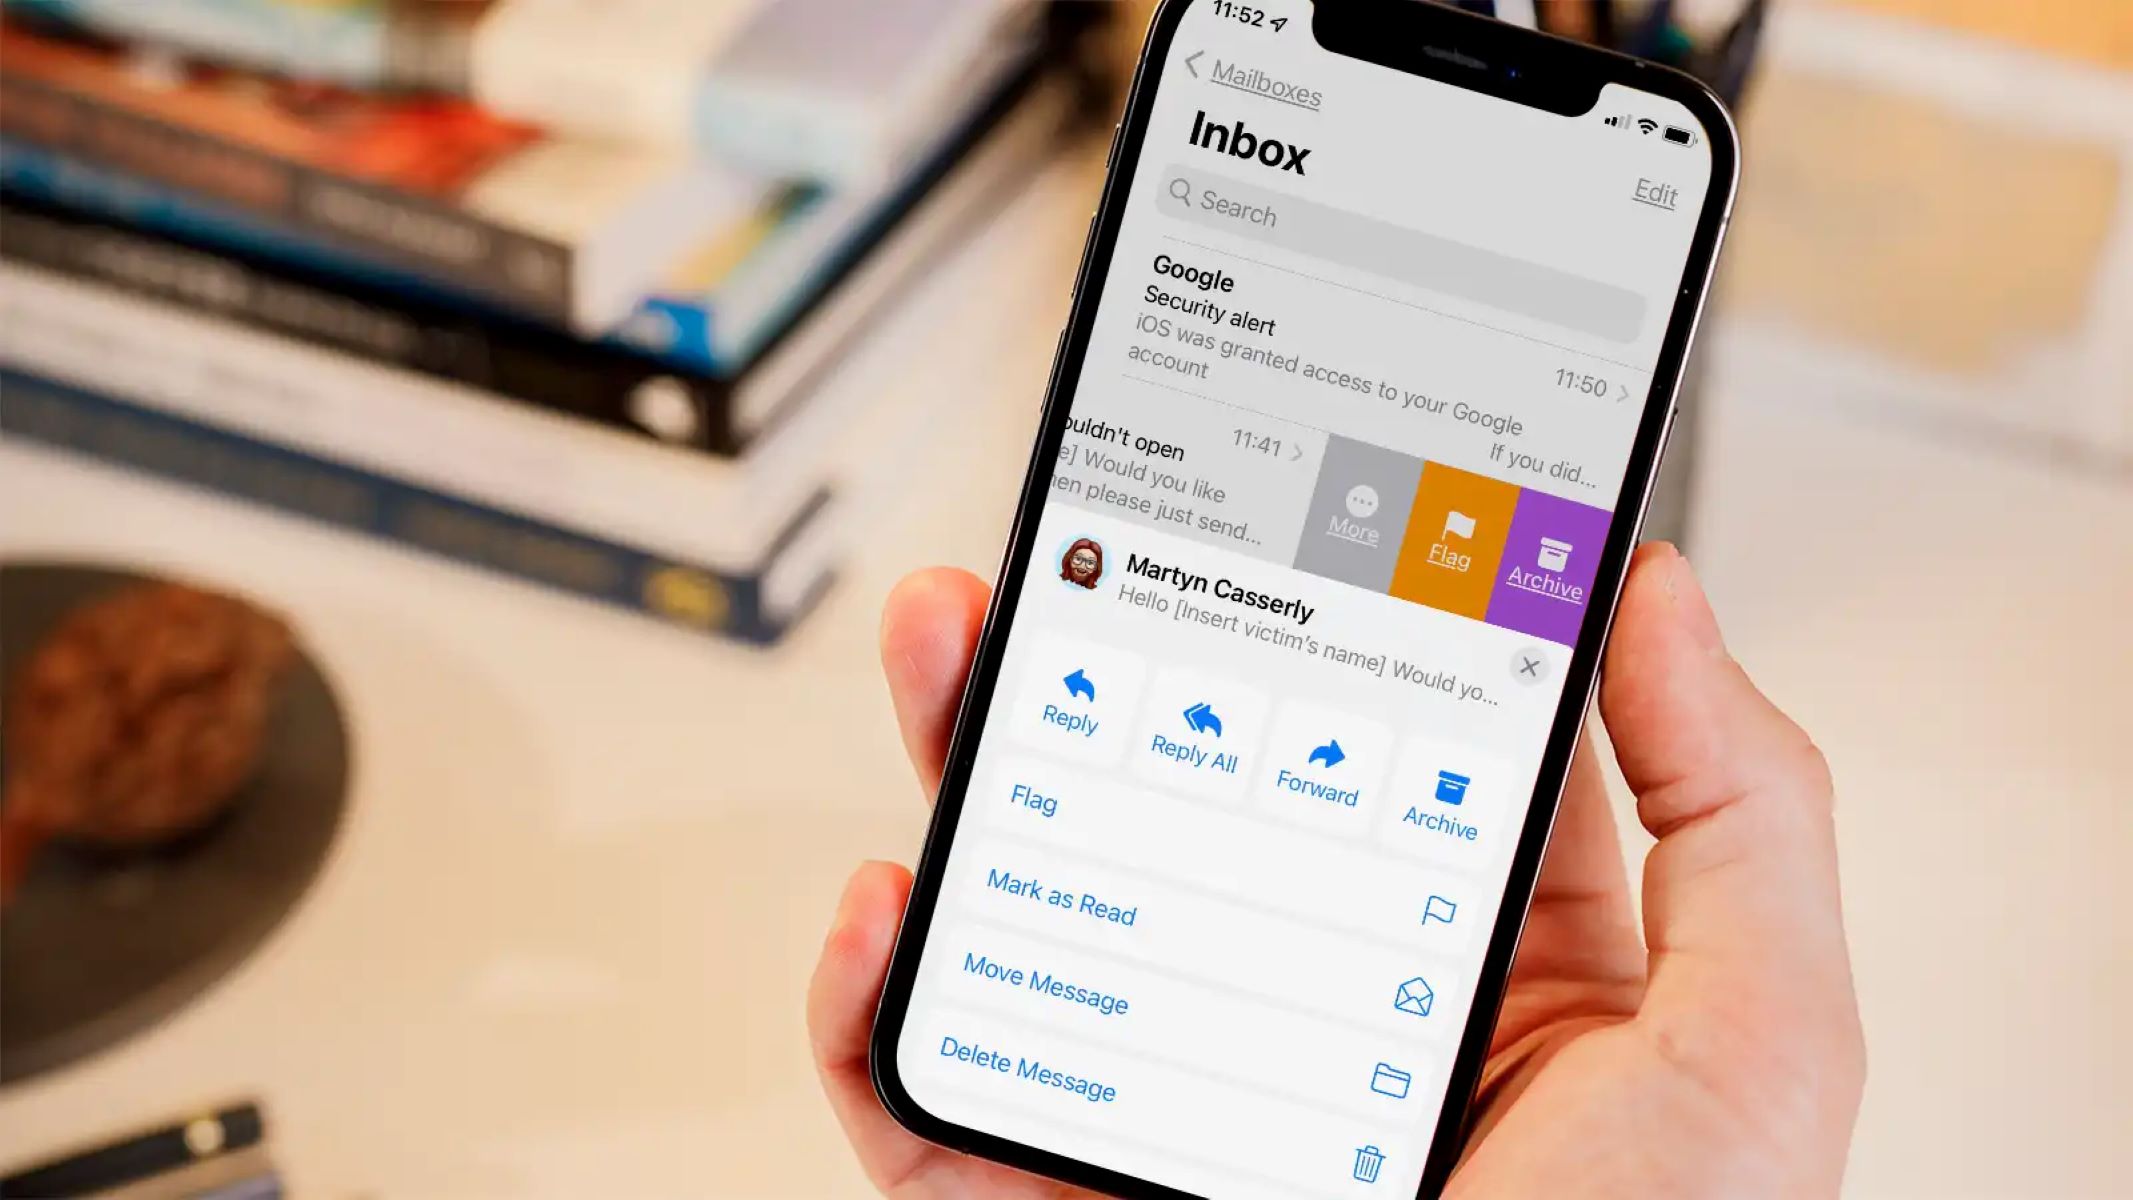
- Browse through the emails in the Junk folder and select the ones you want to delete. You can either swipe left on the email and tap “Delete” or tap on the circle/square beside each email to select them.
- Once you’ve selected the emails, tap on the trash bin icon usually located at the bottom or top-right corner of the screen. Confirm the deletion by tapping on “Delete” in the pop-up message.
Using the Junk Email folder helps keep unwanted and potentially harmful emails out of your main inbox. It automatically filters out suspicious messages, saving you time and minimizing the risk of falling victim to phishing attempts or scams.
However, it’s essential to review the messages in the Junk folder regularly as legitimate emails can sometimes end up there by mistake. Make sure to scan through the contents of the folder to ensure that no important messages have been misclassified. If you find any such emails, mark them as “Not Junk” to prevent similar messages from being filtered in the future.
Method 4: Deleting All Emails in a Folder
If you want to clear out an entire folder or mailbox on your iPhone and delete all the emails within it, there’s a method to do it efficiently. Here’s how:
- Open the Mail app on your iPhone and navigate to the specific folder or mailbox containing the emails you want to delete.
- Tap on the “Edit” button located at the top-right corner of the screen. This will activate the selection mode, allowing you to select multiple emails.
- Next, tap on the circle/square located at the top-left corner of the screen. This will select all the emails in the folder.
- Once all the emails are selected, look for the trash bin icon at the bottom or top-right corner of the screen and tap on it.
- A confirmation message will appear, asking if you want to delete all the selected emails. Tap on “Delete All” or “Delete x Emails” to confirm and initiate the deletion process.
By choosing this method, you can quickly and efficiently delete all the emails in a specific folder, whether it’s the inbox, sent folder, or any custom folder you have created. It is particularly useful when you need to clean up a large number of emails without deleting them individually.
However, it’s important to exercise caution when using this method, as deleting all emails in a folder is a permanent action and cannot be undone. Make sure to double-check the folder’s contents before confirming the deletion to avoid any accidental loss of important emails.
If you want to keep a backup of certain emails before deleting them, you can forward them to yourself or take screenshots. Ensure that you have saved any necessary information from the emails before proceeding with the deletion process.
Method 5: Using a Third-Party Email App
While the native Mail app on your iPhone provides a reliable and convenient email experience, there are also third-party email apps available that offer advanced features and customization options. If you’re looking for a different email management experience, you can consider using a third-party email app. Here’s how:
- Visit the App Store on your iPhone and search for third-party email apps. Some popular options include Gmail, Outlook, Spark, and Edison Mail.
- Select the app that best suits your needs and download it to your iPhone.
- Launch the newly installed email app and follow the on-screen instructions to set up your email account(s). This usually involves entering your email address and password, and granting the necessary permissions.
- Once you have set up your email account(s) in the third-party app, you can start using it to manage your emails.
- Depending on the app you choose, you can benefit from features like advanced email filtering, email snoozing, custom swipe gestures, and more.
- When you want to delete emails using the third-party app, the process may vary slightly compared to the native Mail app. Typically, you can select individual emails or multiple emails and use the app’s built-in delete function to remove them from your account.
Using a third-party email app can offer you a different interface, additional functionality, and improved organization options for your email management. It allows you to personalize your email experience and may provide features that better align with your preferences and requirements.
However, keep in mind that third-party email apps may require in-app purchases or have different privacy policies than the native Mail app. It’s essential to review and understand the app’s terms and conditions, as well as the permissions it may require, to ensure your data privacy and security.
Ultimately, the decision to use a third-party email app comes down to personal preference and specific requirements. Exploring different apps can be a great way to find the email management experience that works best for you.
Conclusion
Managing your email inbox on your iPhone doesn’t have to be a daunting task. By utilizing the various methods outlined in this article, you can efficiently delete emails and maintain an organized digital communication system.
We started by covering the basic method of deleting single emails, which is perfect for removing individual messages that are no longer needed. Then, we explored the process of deleting multiple emails, allowing you to clear out a batch of messages in one go.
Next, we discussed the use of the Junk Email folder to filter and delete spam or unwanted emails. This helps keep your main inbox clutter-free and reduces the risk of falling victim to phishing attempts.
We also explored the method of deleting all emails in a folder, providing a quick and efficient way to declutter your mailbox, whether it’s the inbox, sent folder, or any custom folder.
Finally, we discussed the option of using a third-party email app, which can provide additional features and customization options to enhance your email management experience.
Remember, it’s important to be cautious when deleting emails, as this action is often permanent and cannot be undone. Always review the contents of your emails before confirming the deletion to avoid accidental loss of important information.
Now that you have learned these various methods, you can choose the approach that best suits your needs and preferences. Whether you prefer a traditional approach using the native Mail app or want to explore the features of a third-party email app, the goal is to keep your inbox organized, reduce clutter, and enhance your productivity.
So, go ahead and start implementing these methods to delete email on your iPhone, and enjoy a streamlined and efficient email experience!