Introduction
Welcome to this helpful guide on how to remove an email account from your iPhone. Whether you want to streamline your email accounts or no longer need to access a specific account on your device, removing it is a simple process that will free up space and declutter your email setup. In this article, we will take you through the step-by-step process of removing an email account from your iPhone, ensuring that you can easily manage your email accounts to suit your needs.
Having multiple email accounts synced to your iPhone can be convenient, but there may come a time when you need to remove an account. This could be due to various reasons, such as eliminating a redundant account, changing your email provider, or simply wanting to reduce the number of accounts you have on your device. Whatever the reason may be, we have got you covered with clear instructions and easy-to-follow steps.
By removing an email account from your iPhone, you will no longer receive notifications or have access to the emails associated with that account on your device. However, it is important to note that removing an email account from your iPhone does not delete the account itself. Your email account will still be active and accessible through other platforms or on other devices.
Now, let’s dive into the step-by-step process of removing an email account from your iPhone.
Step 1: Open the Settings app
The first step in removing an email account from your iPhone is to open the Settings app. The Settings app is where you can customize various settings and configurations on your device. To access it, locate the gray icon with gears on your home screen and tap on it.
Once you have opened the Settings app, you will be presented with a list of different settings options. Scroll through the list until you find the section labeled “Mail” and tap on it. This section controls all the settings related to your email accounts, including adding, removing, and managing them on your device.
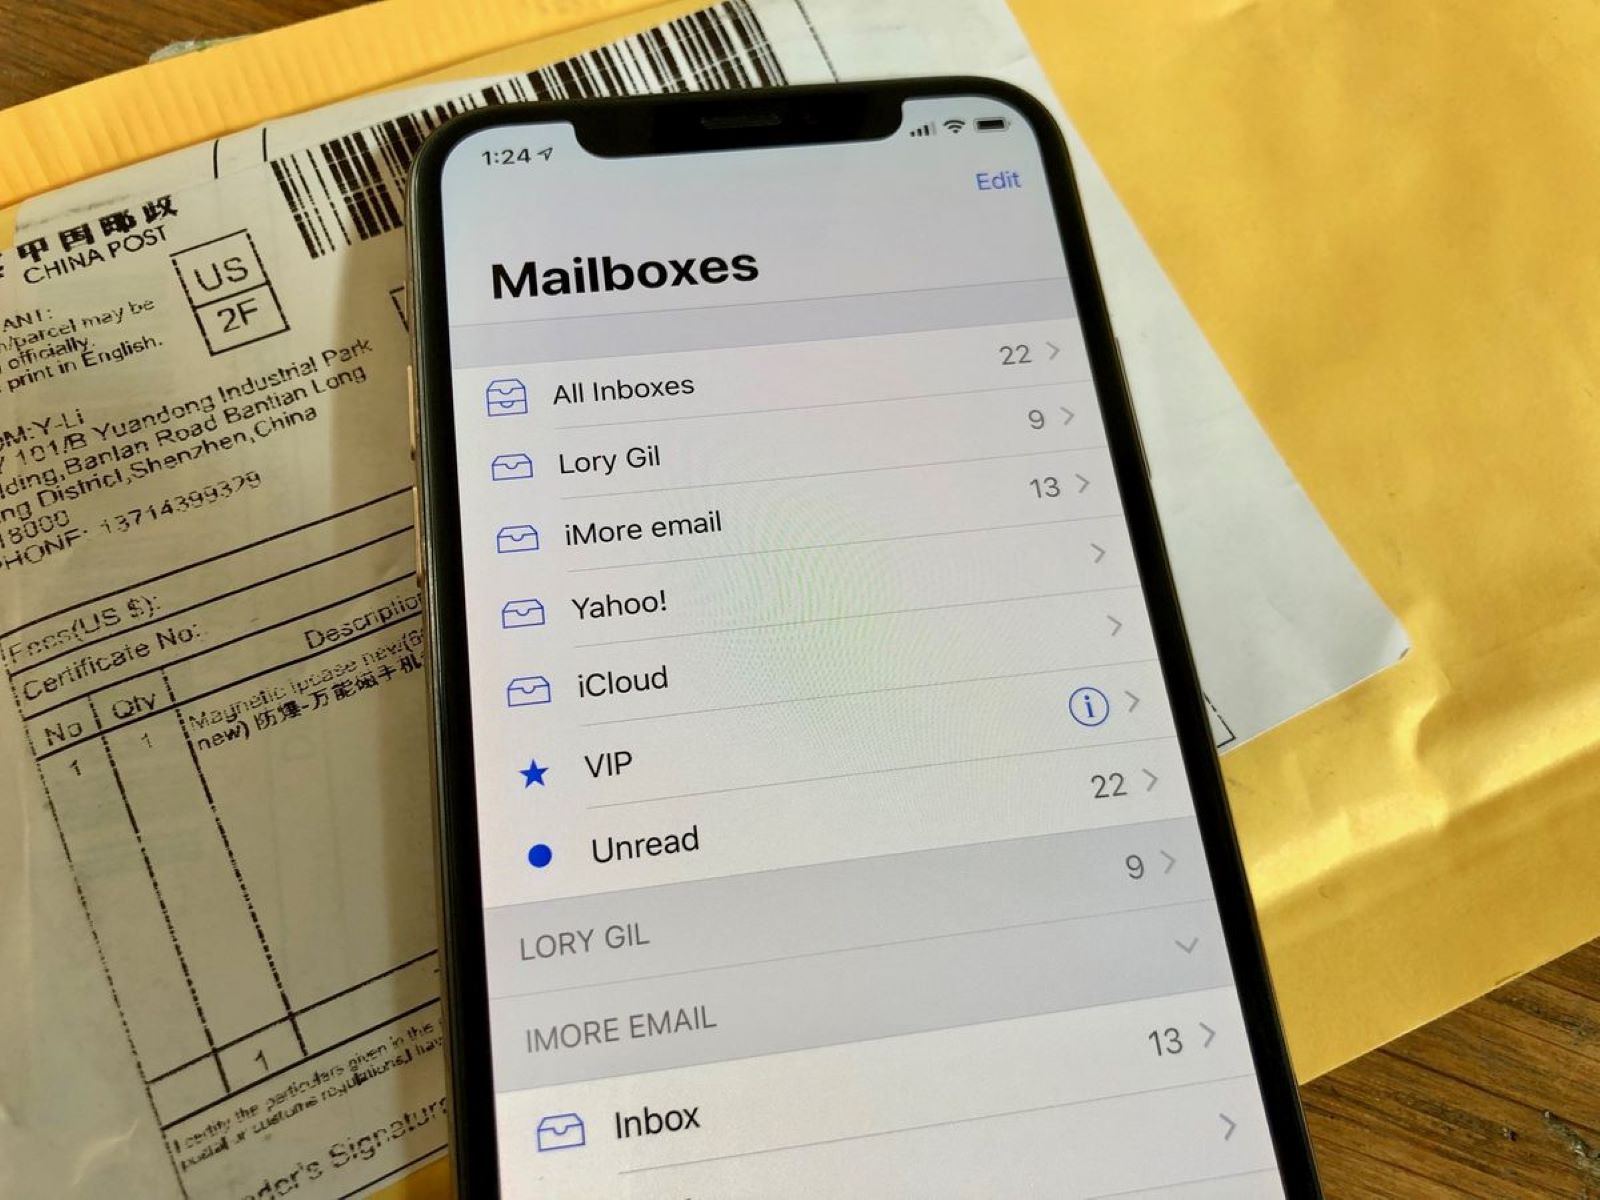
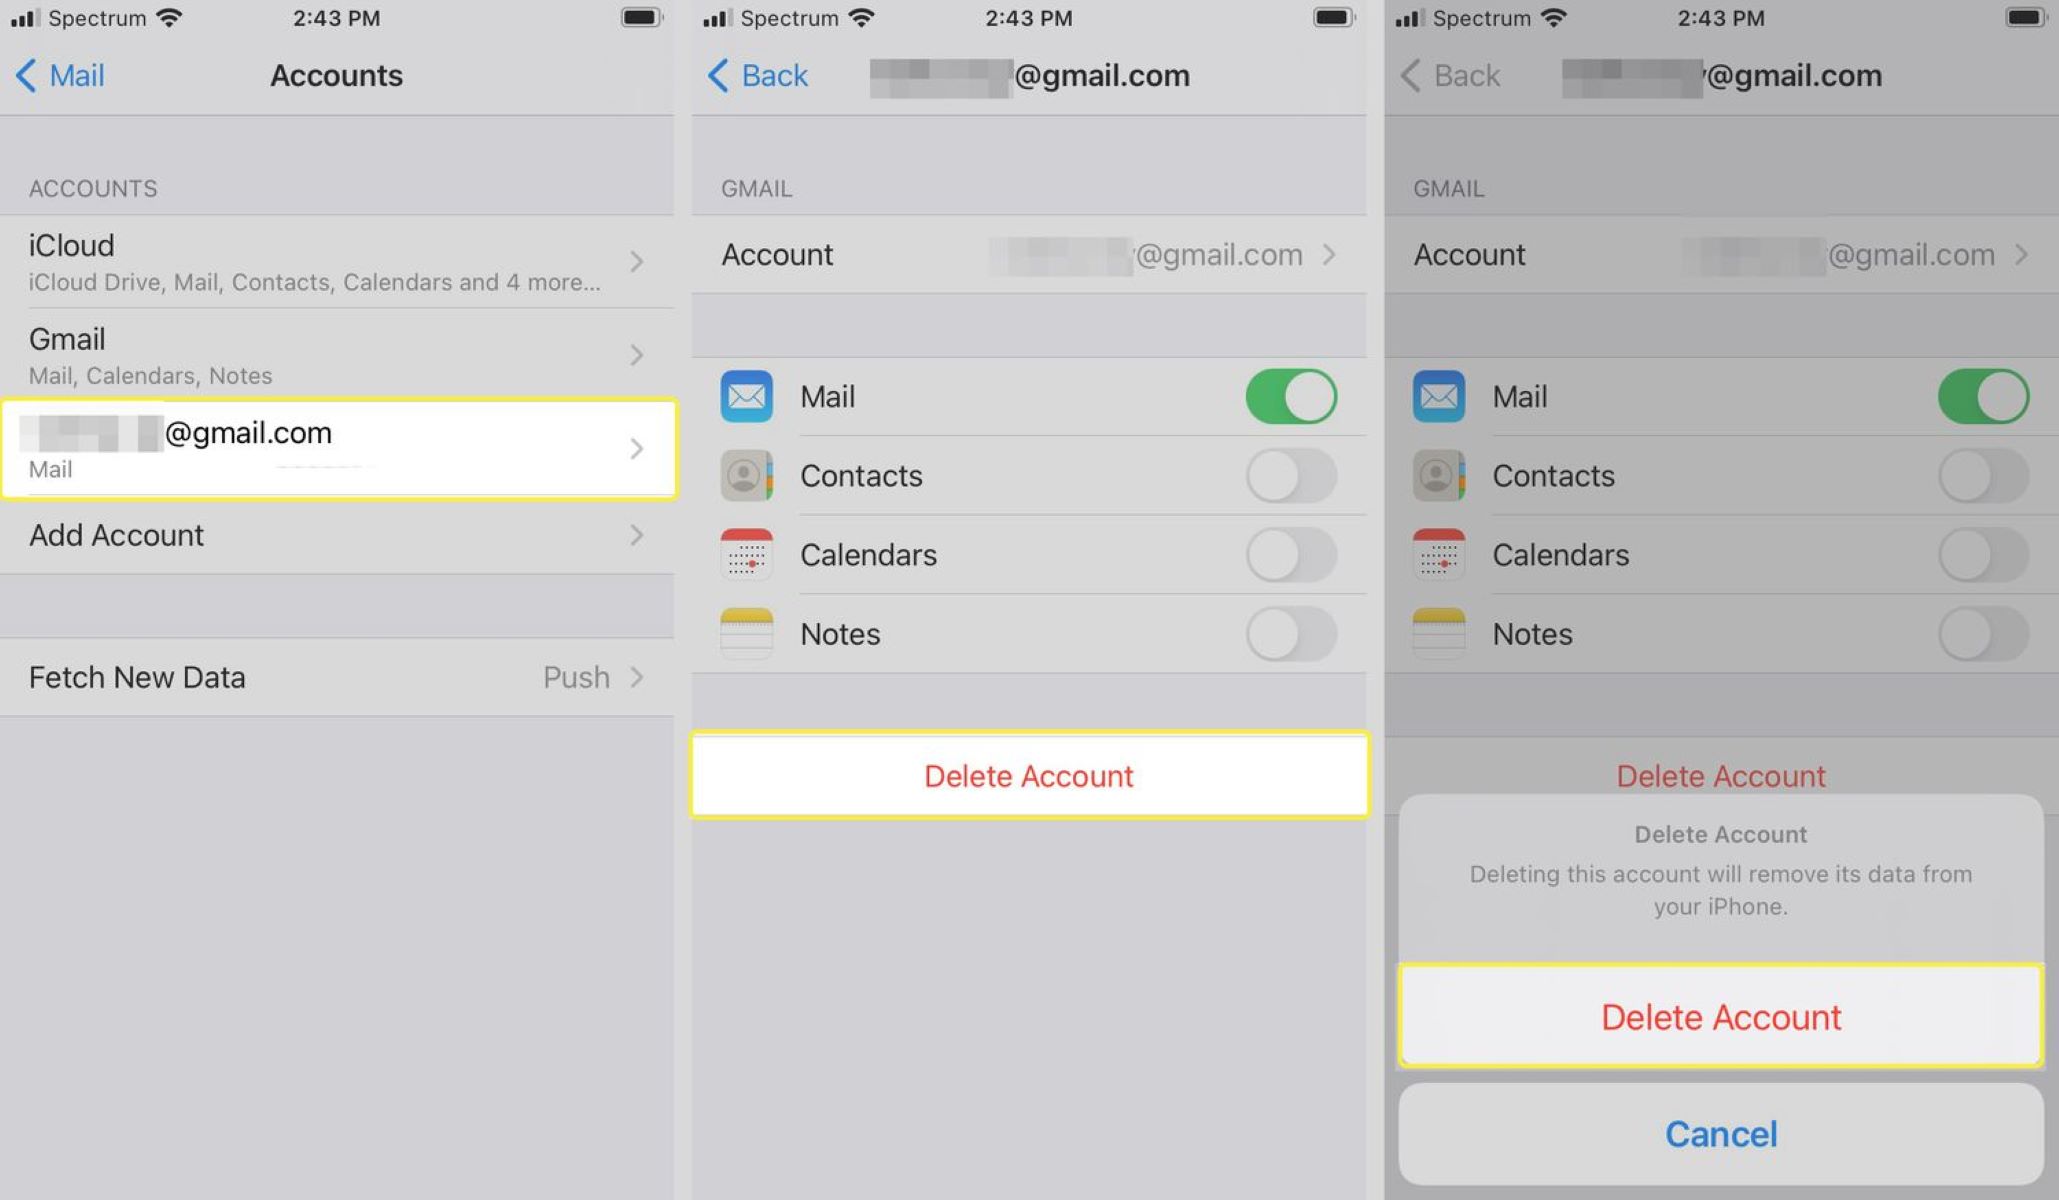
By selecting the “Mail” option, you will be taken to a new page that displays all the email accounts that are currently synced to your iPhone. This is where you will be able to remove the specific email account you no longer wish to have on your device.
It’s worth mentioning that if you have multiple email accounts linked to your iPhone, they will all be listed on this page. Scroll through the list until you find the account that you want to remove in the upcoming steps.
With this step completed, you are now ready to move on to the next step, where we will guide you through the process of selecting the email account you wish to remove from your iPhone.
Step 2: Select the Mail tab
After opening the Settings app and accessing the “Mail” section, it’s time to select the specific email account that you want to remove from your iPhone. On the “Mail” page, you will see a list of all the email accounts currently synced to your device.
Scroll through the list until you find the email account you wish to remove. Each account will be listed with its corresponding email address. Tap on the account that you want to delete, and you will be directed to a new page that displays the account details and settings.
On this page, you will find various options related to the selected email account, such as the account description, email address, and toggles for specific features like Mail, Contacts, Calendars, and Notes. These options allow you to enable or disable certain functionalities for the selected account.
Scroll down to the bottom of the account details page, and you will see a red “Delete Account” button. This button is specifically designed for removing the selected email account from your iPhone. When you tap on it, a confirmation message will appear, asking you to confirm the deletion of the account.
By selecting the Mail tab and navigating to the specific email account, you have completed the necessary steps to ultimately remove the account from your iPhone. However, it is crucial to proceed with caution and be certain that you want to delete the account, as this action is irreversible and will result in the permanent removal of all associated emails and data from your device.
Now that you have selected the account and reached the deletion confirmation stage, it’s time to move on to the next vital step: confirming the removal of the email account from your iPhone.
Step 3: Choose the email account you want to remove
Once you have accessed the account details page, you are now ready to choose the specific email account you want to remove from your iPhone. This step ensures that you are targeting the correct account for deletion.
On the account details page, you will find all the relevant information and settings for the selected email account, such as the email address, description, and toggles for various features associated with the account. Take a moment to review this information to ensure that you have selected the correct account for removal.
If you have multiple email accounts linked to your device, it is crucial to double-check and confirm that you have selected the desired account. This will prevent any accidental deletion of the wrong account and the loss of important emails and data.
Keep in mind that choosing the correct email account is crucial because once you proceed with the removal process, all the associated emails, contacts, calendars, and other data linked to that account will be permanently deleted from your iPhone.
If you are certain that you have selected the correct email account and are ready to proceed, continue to the next step, where we will guide you through the process of actually deleting the account from your device.
Step 4: Tap on the Delete Account option
Once you have chosen the email account you want to remove from your iPhone, it’s time to initiate the deletion process. On the account details page, scroll to the bottom until you find the red “Delete Account” button. Tap on this button to proceed with removing the account from your device.
Upon tapping the “Delete Account” button, a confirmation message will appear, asking you to confirm the deletion of the account. This message serves as a safety precaution to ensure that you intentionally want to remove the email account from your iPhone.
Take a moment to carefully read the confirmation message and verify that you indeed want to proceed with deleting the account. It’s important to note that once you confirm the deletion, all emails, contacts, calendars, and other data associated with the account will be permanently removed from your iPhone.
If you are certain that you want to delete the account, tap on the “Delete Account” button within the confirmation message. Your iPhone will then begin the process of removing the selected email account from your device. This may take a few moments, depending on the amount of data associated with the account.
It’s normal for your iPhone to prompt you to enter your Apple ID password as part of the account removal process. This is a security measure to ensure that only authorized users can make changes to the device’s settings. Enter your password when prompted to proceed with deleting the account.
With the “Delete Account” option tapped and the confirmation message acknowledged, you have successfully initiated the removal of the email account from your iPhone. However, there is one final step left to ensure the account is genuinely deleted, and we will cover that in the next section.
Step 5: Confirm the deletion of the email account
After tapping on the “Delete Account” button and entering your Apple ID password, the final step is to confirm the deletion of the email account from your iPhone. This step ensures that you have successfully removed the chosen account and prevents any accidental deletions.
Once you have entered your Apple ID password, your iPhone will begin the process of deleting the account from your device. A progress indicator may appear, indicating that your device is removing the selected email account.
After a few moments, your iPhone will display a notification confirming the successful deletion of the email account. This notification serves as confirmation that the account has been removed from your device and that all associated emails, contacts, calendars, and other data have been permanently deleted.
It’s important to note that once you confirm the deletion, there is no way to recover the deleted account or its data. Therefore, it is crucial to double-check that you have removed the correct email account and that you have backed up any important emails or data before proceeding with the deletion process.
If you did not intend to remove the account or if you have changed your mind, you can tap on the option to cancel or go back before confirming the deletion. This will prevent the selected email account from being removed from your iPhone.
Once you have confirmed the deletion and received the notification confirming the successful removal of the account, you can close the Settings app and continue using your iPhone without that specific email account.
Congratulations! You have now successfully removed the chosen email account from your iPhone, freeing up space and streamlining your email setup according to your preferences.
Conclusion
Removing an email account from your iPhone is a simple process that can help declutter your device and streamline your email setup. By following the step-by-step instructions provided in this guide, you can easily remove a specific email account that you no longer need or want to access on your iPhone.
Throughout this guide, we have covered the essential steps to remove an email account from your iPhone. Starting with opening the Settings app and navigating to the Mail tab, you can then choose the specific email account you want to delete. From there, tapping on the Delete Account option initiates the removal process. Finally, confirming the deletion ensures that the account is successfully removed from your device.
It’s important to note that removing an email account from your iPhone does not delete the account itself. The email account will still be active and accessible through other platforms or on other devices. Additionally, keep in mind that once an email account is removed, all associated emails, contacts, calendars, and other data will be permanently deleted from your device.
Before proceeding with the deletion process, make sure to double-check that you have chosen the correct email account for removal. It’s also a good idea to back up any important emails or data before confirming the deletion. This will prevent any accidental data loss and allow you to access the necessary information in the future.
Now that you have successfully removed the selected email account from your iPhone, you can enjoy a clutter-free email setup and make the most of your device. Feel free to repeat these steps for any additional email accounts you wish to remove from your iPhone.
Thank you for following this guide, and we hope it has been helpful in assisting you with the process of removing an email account from your iPhone.