Introduction
Welcome to this step-by-step guide on how to add an email on your MacBook. Whether you’re a new MacBook user or just need a refresher, this tutorial will walk you through the process of adding an email account to your Mail app.
In today’s digital world, staying connected through email is essential. MacBooks are known for their user-friendly interface, and adding an email account is a quick and straightforward process. Once set up, you’ll be able to send and receive emails right from your MacBook, streamlining your communication and keeping you organized.
Whether you’re using a personal email account or a work email, the Mail app on your MacBook allows you to manage multiple email accounts all in one place. By following the steps outlined in this guide, you’ll be able to configure your email account and start using the Mail app right away.
Adding an email account to your MacBook has numerous benefits. It allows you to receive email notifications, organize your messages into folders, and quickly reply to emails without the need to open a browser. Moreover, having multiple email accounts set up in the Mail app helps you separate your personal and professional communications, ensuring efficient email management.
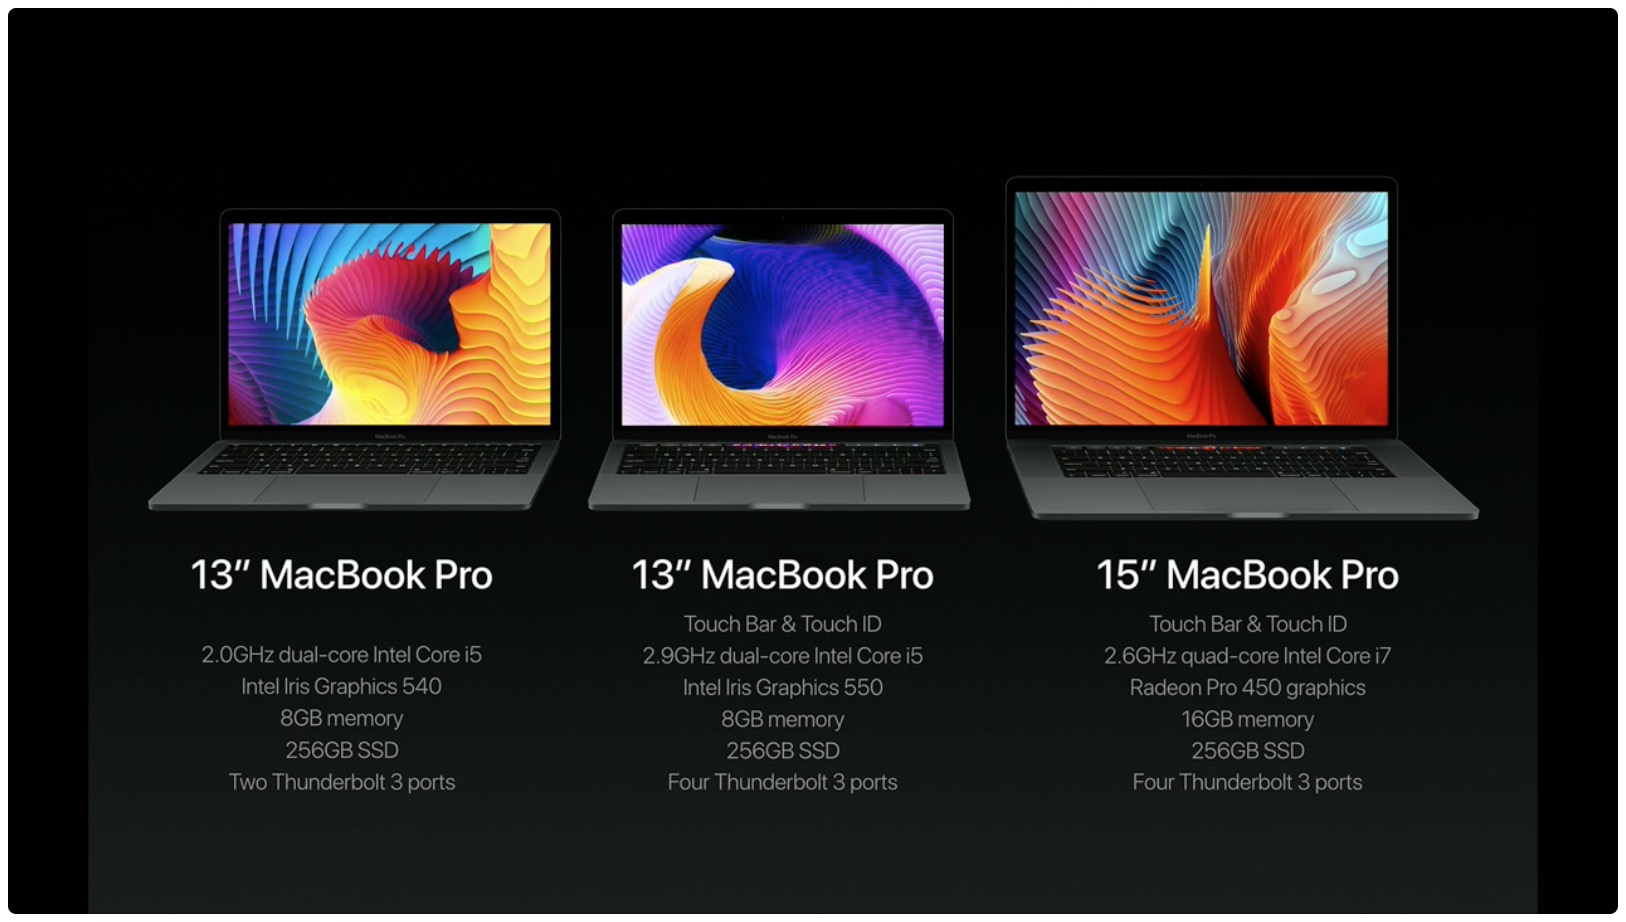
This tutorial is applicable to all MacBook models, including MacBook Air, MacBook Pro, and iMac. So, let’s dive in and get your email account up and running on your MacBook.
Step 1: Open the Mail App
The first step in adding an email account to your MacBook is to open the Mail app. This application, which comes pre-installed on your MacBook, allows you to manage all your email accounts in one place.
To open the Mail app, simply locate and click on the Mail icon in your Dock. Alternatively, you can use Spotlight Search by pressing Command + Spacebar, typing “Mail” in the search bar, and selecting the Mail app from the search results.
Once you’ve launched the Mail app, the main window will appear, showing your inbox and any email accounts that are already set up. If you haven’t added any accounts yet, the sidebar on the left side of the window will be empty.
With the Mail app open and ready, you’re now ready to proceed to the next step of adding your email account.
Note: If you have already added email accounts to the Mail app, make sure you are adding a new account and not modifying an existing one. To add a new account, navigate to Mail > Preferences and click on the “+” button to start the setup process.
Step 2: Click on the “Mail” menu
After opening the Mail app, the next step in adding an email account to your MacBook is to click on the “Mail” menu located in the top-left corner of the screen. This menu contains various options and settings related to your email accounts and the Mail app.
Clicking on the “Mail” menu will reveal a dropdown list of options. From this list, select “Preferences” to access the settings panel for the Mail app.
By clicking on the “Preferences” option, a new window will appear, displaying all the available settings for the Mail app. This is where you can modify various configurations, such as your email account settings, signature, and notification preferences.
The “Preferences” window is divided into different tabs, including Accounts, Composing, Viewing, and more, each providing access to specific settings related to different aspects of the Mail app. These tabs make it easy to navigate through the settings and customize the Mail app according to your preferences.
Now that you’ve clicked on the “Mail” menu and accessed the “Preferences” window, you’re ready to move on to the next step of adding your email account. In the following steps, you’ll be entering your email account details and configuring the necessary settings to start using your email on your MacBook.
Note: If you prefer using keyboard shortcuts, you can also access the “Preferences” window by pressing Command + Comma (,).
Step 3: Select “Preferences”
Once you have opened the Mail app on your MacBook, the next step in adding an email account is to select “Preferences.” This will allow you to access the settings panel, where you can configure your email account and customize the Mail app to suit your needs.
To access Preferences, click on the “Mail” menu at the top-left corner of the screen. A dropdown menu will appear, and from there, select “Preferences” to open the settings window.
Upon selecting “Preferences,” a new window will appear that contains various tabs, such as General, Viewing, Composing, and more. These tabs organize different settings related to the Mail app, allowing you to navigate through them easily.
The “Preferences” window serves as the central hub for configuring your email accounts on your MacBook. In this window, you can add new email accounts, modify existing ones, set up email signatures, manage mailbox behaviors, and adjust other preferences to streamline your email experience.
Make sure to select the “Accounts” tab in the Preferences window. This will display a list of all the email accounts currently configured on your MacBook. You will have the option to add a new account or modify the settings of an existing one.
By clicking on the “Preferences” option and accessing the settings window, you are one step closer to adding your email account to the Mail app. In the following steps, you will enter your email account details, such as your email address and password, to complete the setup process and start using your email on your MacBook.
Note: If you prefer using keyboard shortcuts, you can quickly access the Preferences window by pressing Command + Comma (,).
Step 4: Click on the “+” button
Once you have selected “Preferences” and opened the settings panel in the Mail app on your MacBook, the next step in adding an email account is to click on the “+” button. This button allows you to add a new email account to the Mail app.
In the Preferences window, navigate to the “Accounts” tab. Here, you will see a list of email accounts that are currently set up on your MacBook. To add a new account, click on the “+” button located at the bottom-left corner of the window.
Clicking on the “+” button will prompt a dropdown menu with several options for adding different types of email accounts, such as iCloud, Google, Yahoo, Exchange, and more. Choose the type of email account you want to add by clicking on the appropriate option from the list.
By clicking on the “+” button and selecting the type of email account you wish to add, you are taking the necessary steps to integrate your email account with the Mail app on your MacBook. This will allow you to receive and send emails directly from the Mail app, providing convenience and organization to your email management.
Each type of email account may require slightly different information during the setup process. For example, if you choose to add a Google account, you will be prompted to enter your Google credentials. If you select an Exchange account, you will need to provide the Exchange server details.
Don’t worry, the following steps will guide you through entering the required information for your specific email account type. So, let’s proceed to the next step and set up your email account on your MacBook!
Step 5: Choose the type of email account you want to add
After clicking on the “+” button in the Preferences window of the Mail app on your MacBook, the next step in adding an email account is to choose the type of email account you want to add. The dropdown menu that appears will provide you with several options to select from based on the type of email service you use.
The Mail app offers built-in support for various types of email accounts, including popular providers like iCloud, Google, Yahoo, Exchange, and more. Each option corresponds to a specific email service, so it’s important to choose the one that matches your email account type.
To select the type of email account you want to add, click on the appropriate option from the dropdown list. For example, if you have a Google email account, select the “Google” option. If you have an email account with Yahoo, choose the “Yahoo” option.
Choosing the correct email account type is crucial because it ensures that the Mail app uses the correct server settings to establish a secure connection and synchronize your emails, contacts, and calendar events.
Once you have selected the type of email account, you will be guided through the process of entering the necessary information to set up your account. This typically includes your email address, password, and additional details specific to your email provider.
By choosing the type of email account you want to add, you are one step closer to integrating your email with the Mail app on your MacBook. In the following steps, you will enter your account details and finalize the setup process to start using your email account seamlessly on your MacBook.
Step 6: Enter your email account details
Now that you have chosen the type of email account you want to add in the Mail app on your MacBook, the next step is to enter your email account details. These details include your email address, password, and any additional information required based on the email service provider you selected.
Once you have selected the type of email account, a new window will appear on your screen. In this window, enter your email address in the designated field. Make sure to input the full email address, including the domain (e.g., yourname@example.com).
After entering your email address, click on the “Next” or “Continue” button to proceed. The Mail app will then attempt to automatically configure the necessary settings for your email account based on the provided information.
If the Mail app is unable to automatically configure your email account, you may be prompted to manually enter additional information, such as the incoming and outgoing mail server details. These details can usually be obtained from your email service provider’s support documentation or customer support.
In addition to the server settings, you may also need to specify the authentication method, port numbers, and encryption settings for both incoming and outgoing mail. This ensures a secure and reliable connection between your MacBook and the email server.
Once you have entered all the required email account details, click on the “Next” or “Continue” button to proceed. The Mail app will then verify the entered information and establish a connection to your email account.
If the verification process is successful, you will see a confirmation message, indicating that your email account has been added to the Mail app on your MacBook. The account will now appear in the sidebar of the Mail app, allowing you to start sending and receiving emails.
By entering your email account details, you have successfully connected your email account to the Mail app on your MacBook. In the following steps, you can further customize the settings and preferences to enhance your email experience and maximize productivity.
Step 7: Verify your account settings
After entering your email account details in the Mail app on your MacBook, the next step is to verify your account settings. Verifying the settings ensures that your email account is correctly configured and ready for use.
Once you have entered your account details, the Mail app will automatically attempt to verify the entered information by communicating with the email server. This verification process checks if the server settings, username, and password are all correct.
If the verification is successful, you will see a confirmation message indicating that your account settings have been verified. This means that the Mail app is now set up to send and receive emails using your recently added email account.
However, in some cases, the verification process may fail. This could be due to incorrect server settings, an invalid username or password, or other configuration issues. If the verification fails, you will be prompted to review and update the account settings accordingly.
To address any verification issues, click on the “Details” or “Fix” button provided in the verification message. This will allow you to double-check the settings, make necessary corrections, or manually input any missing information.
If you are unsure about the correct account settings, it is advisable to refer to your email service provider’s support documentation or contact their customer support for assistance. They can provide you with the precise server settings and guide you through the configuration process.
It is essential to ensure that your account settings are verified and accurate before proceeding. Verifying the settings will help prevent any issues with sending or receiving emails, ensuring a smooth and uninterrupted email experience on your MacBook.
Once you have successfully verified your account settings, you can move on to the final step of completing the setup process and begin using your email account seamlessly in the Mail app on your MacBook.
Step 8: Complete the setup process
After verifying your account settings in the Mail app on your MacBook, you are now ready to complete the setup process and begin using your email account seamlessly. This final step ensures that all necessary configurations are in place for sending, receiving, and managing your emails.
Once your account settings are verified, you will typically be presented with additional options to customize your email experience. These options may include choosing whether to sync contacts and calendars, setting up email filters and rules, selecting notification preferences, and more.
Take a moment to review and adjust these settings according to your preferences. You can usually access these options by navigating to the “Accounts” tab in the Preferences window of the Mail app and selecting your newly added email account.
For example, if you want to enable email notifications for your account, make sure the appropriate options are selected. Similarly, if you wish to organize your incoming messages into specific folders or apply certain rules, you can configure these settings to suit your needs.
Once you have completed customizing your settings, click on the “Done” or “Apply” button to save and apply the changes you made. This will finalize the setup process and activate your email account within the Mail app.
With the setup process complete, you can start using your email account immediately. Open the Mail app on your MacBook, and you will see your email account listed in the sidebar. Click on your account name to access your inbox, sent messages, drafts, and other folders associated with your email account.
You can now compose and send emails, receive new messages, organize your mailbox, and take advantage of the various features offered by the Mail app. Enjoy the convenience and efficiency of managing all your email accounts in one centralized app.
If you have additional email accounts to add, you can repeat the previous steps to integrate them into the Mail app. This allows you to have all your email accounts in one place, making it easier to stay organized and respond promptly to messages.
Congratulations! You have successfully completed the setup process and added your email account to the Mail app on your MacBook. Embrace the power of efficient email management and stay connected with ease.
Conclusion
Adding an email account to your MacBook’s Mail app is a straightforward process that allows you to stay connected and organized. By following the steps outlined in this guide, you can easily configure your email account and start managing all your emails in one convenient location.
The Mail app on your MacBook offers a user-friendly interface, making it simple to handle multiple email accounts efficiently. Whether it’s a personal or work email account, the Mail app streamlines your communication and helps you stay on top of your inbox.
Throughout this guide, we walked you through each step, from opening the Mail app to completing the setup process. We emphasized the importance of verifying your account settings to ensure a seamless email experience.
With your email account successfully added to the Mail app, you can take advantage of its features, such as organizing your inbox, setting up filters, and customizing notification preferences. These options help you personalize the app to suit your needs and enhance your productivity.
Remember, if you have multiple email accounts, you can repeat the process to add them all to the Mail app. This centralizes your email management, allowing you to access and respond to all your messages in one place.
Now that you know how to add an email on your MacBook, you can enjoy the convenience of accessing and managing your emails with just a few clicks. Stay connected, organized, and efficient by leveraging the capabilities of the Mail app on your MacBook.
Thank you for following this guide. We hope it has been helpful in setting up your email account on your MacBook’s Mail app. Happy emailing!