Introduction
Deleting an email account from Outlook might seem like a daunting task, but it’s a relatively straightforward process that can be completed in just a few simple steps. Whether you’re looking to remove an old email account or want to reorganize your accounts, Outlook provides an easy-to-use interface to manage your email settings.
Outlook is a popular email client used by millions of individuals and organizations worldwide. It offers a wide range of features and functionalities to help you stay organized and communicate efficiently. However, there may come a time when you need to delete an email account for various reasons, such as switching to a different email provider or consolidating your accounts.
In this guide, we will walk you through the step-by-step process of deleting an email account from Outlook. Whether you’re using Outlook on a Windows PC, Mac, or a mobile device, the steps remain relatively similar. We will provide instructions for the Windows version of Outlook, but you can easily adapt them to other platforms.
Before proceeding with deleting your email account, it’s essential to note that this action is irreversible. Once you delete an account from Outlook, all associated emails, contacts, and other data will be permanently removed from your device. It’s crucial to back up any important emails or data before initiating the deletion process.
Now, without further ado, let’s dive into the step-by-step instructions to delete an email account from Outlook and streamline your email management. Whether you’re a novice or an experienced user, you’ll find this guide helpful in achieving a clutter-free and efficient email experience.
Step 1: Open Outlook
The first step in deleting an email account from Outlook is to open the Outlook application on your device. Locate the Outlook icon either on your desktop or in the Start menu and double-click to launch the application.
If you’re using a Mac, you can find Outlook in your Applications folder or click on the Launchpad icon and search for Outlook. On a mobile device, simply tap on the Outlook app to open it.
Once you have successfully launched Outlook, you will be prompted to enter your email address and password to access your account. If you have multiple accounts configured in Outlook, make sure you know which account you want to delete before proceeding to the next step.
Upon entering your credentials, Outlook will synchronize your email accounts and load your inbox. It may take a few moments depending on the size of your mailbox and internet connection speed. Once the synchronization is complete, you’re ready to move on to the next step in the process of deleting an email account.
It’s worth mentioning that if you’re using Outlook in a web browser, the interface and steps may differ slightly. However, the overall process remains similar, and you should be able to locate the necessary settings to delete your email account.
Deleting an email account from Outlook can help you declutter your inbox and streamline your email management. Whether you’re removing an account you no longer use or consolidating your accounts for better organization, the following steps will guide you through the process efficiently.
Now that you have successfully opened Outlook, let’s move on to the next step and continue with the process of deleting an email account from the application.
Step 2: Click on File
Once you have opened Outlook, the next step in deleting an email account is to click on the “File” tab located at the top left corner of the application window. The File tab is typically the first option in the navigation menu, alongside other tabs such as Home, Send/Receive, and Folder.
Clicking on the File tab will open a drop-down menu with various options related to your Outlook account settings and preferences. This menu provides access to essential features, including the ability to manage your email accounts, set up automatic replies, customize the Outlook interface, and much more.
In addition to accessing account settings, the File tab also allows you to create new emails, open or save attachments, print messages, and perform other commonly used functions within Outlook. It serves as a hub for many administrative and organizational tasks, making it a crucial component of the application’s functionality.
By clicking on the File tab, you gain access to a wide range of options that will help you navigate to the specific area where you can manage your email accounts. The next step will guide you through locating the Account Settings option, where you can proceed with deleting the desired email account from Outlook.
It’s important to note that the Outlook interface may differ slightly depending on the version you are using. However, regardless of the version, you should be able to locate the File tab easily as it is a prominent and consistent feature across all versions of Outlook.
Now that you’ve clicked on the File tab, you’re ready to move on to the next step and continue the process of deleting an email account from Outlook. The subsequent steps will provide you with more specific instructions to ensure a seamless account deletion experience.
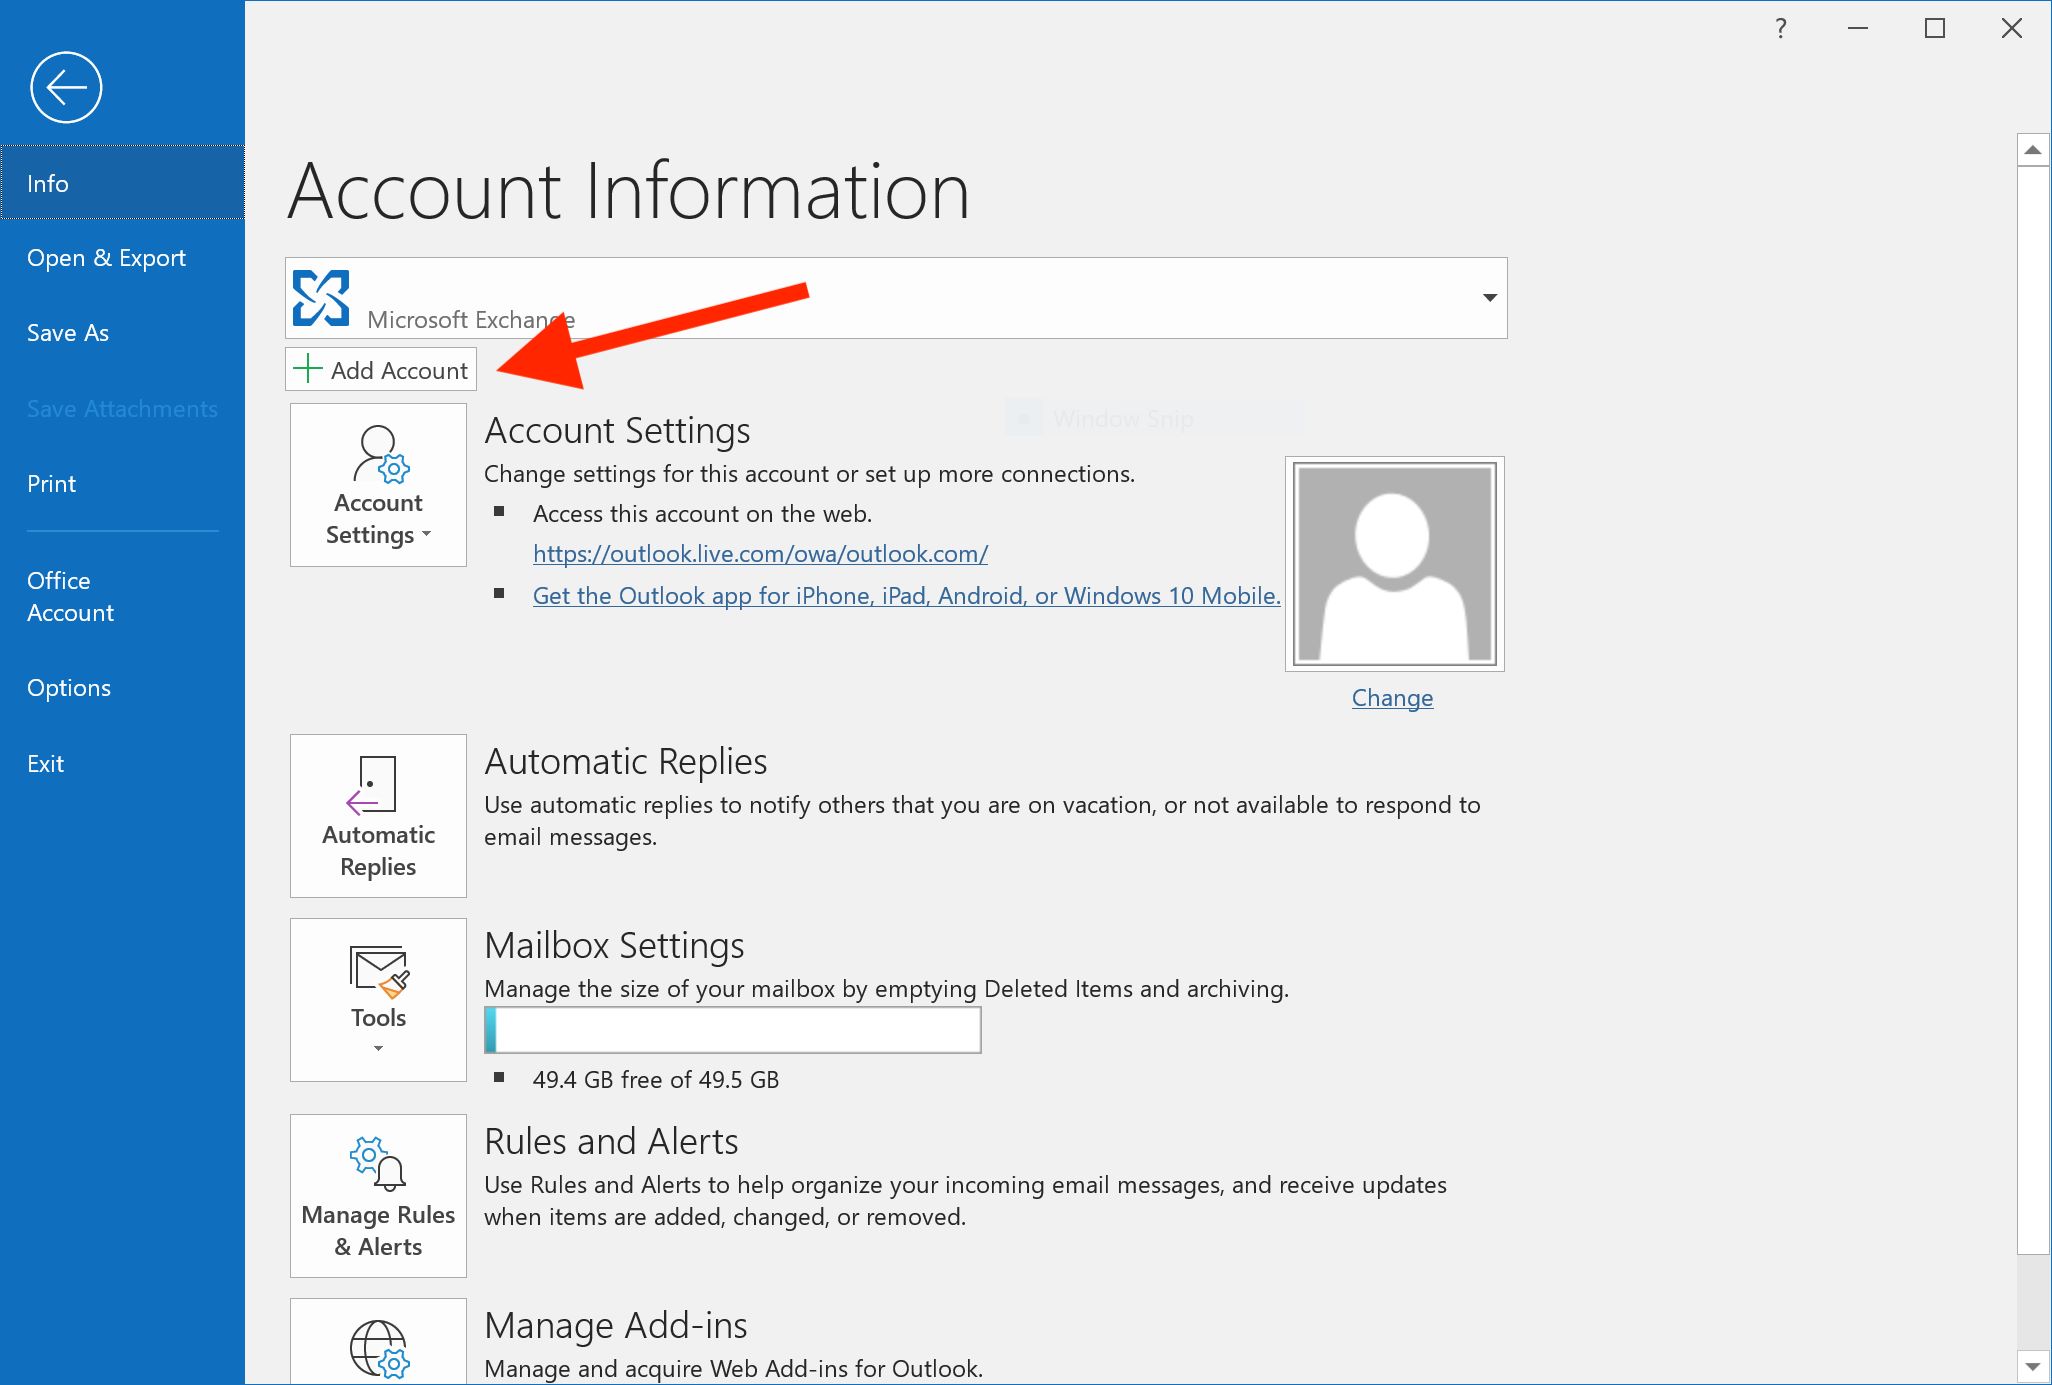
Step 3: Go to Account Settings
After clicking on the “File” tab in Outlook, the next step in deleting an email account is to locate and access the “Account Settings” option. Account Settings contains all the necessary controls and configurations for managing your email accounts, including the ability to add, modify, or delete accounts.
To find the Account Settings option, look for the “Options” or “Settings” category in the drop-down menu that appears after clicking on the File tab. The exact placement of Account Settings may vary depending on the version of Outlook you are using, but it is typically found within the Options or Settings section.
Once you locate the Account Settings option, click on it to open a new window or dialog box dedicated to managing your email accounts. In this window, you will find a list of all the email accounts that are currently configured in Outlook, including the one you wish to delete.
In some versions of Outlook, you may need to navigate through additional options or tabs within the Account Settings window before reaching the list of email accounts. Look for headings such as “Email,” “Accounts,” or “Account Information” to find the relevant section.
Clicking on the Account Settings option will bring up a menu that provides you with various account management options. These options may include view account details, add a new account, change password, and more. To delete the email account, you will need to select the specific account from the list and proceed to the next step.
Locating and accessing the Account Settings option is crucial in order to manage your email accounts within Outlook. It allows you to make necessary changes to your account settings and delete accounts that are no longer needed.
Now that you have successfully navigated to the Account Settings window, you’re ready to move on to the next step and proceed with deleting the desired email account from Outlook.
Step 4: Select the Email Account to Delete
After accessing the Account Settings window in Outlook, the next step in deleting an email account is to select the specific account you want to remove. In this step, you will be presented with a list of all the email accounts currently configured in Outlook, including any additional accounts you may have added.
Carefully review the list of accounts and identify the one you wish to delete. Double-check the account name and any associated email addresses to ensure you select the correct account. It’s important to note that once an email account is deleted, all the data and emails associated with it will be permanently removed from your Outlook application.
Depending on the version of Outlook you’re using, the process of selecting the email account to delete may vary slightly. In some versions, you can simply select the account from the list by clicking on it once. In other versions, you may need to highlight the account and then click on a specific button, such as “Change” or “Remove.”
Be sure to take your time and confirm that you have selected the correct email account before proceeding to the next step. It’s always a good practice to backup any important emails or data associated with the account you intend to delete.
Deleting an email account from Outlook is a permanent action, and there is no way to retrieve the data once it has been deleted. Therefore, exercise caution and make sure you have a backup of any critical information before proceeding with the deletion.
Now that you have selected the email account you want to delete, you’re ready to move on to the next step and initiate the removal process. Following the subsequent steps will guide you through confirming the deletion and completing the removal of the email account from Outlook.
Step 5: Click on Remove
Once you have selected the email account you want to delete in the Account Settings window, the next step is to proceed with removing the account from Outlook. To do this, locate the “Remove” or “Delete” button within the Account Settings window and click on it.
The specific placement and labeling of the Remove button may vary depending on the version of Outlook you’re using. It could be displayed as a separate button, or it may be incorporated within the account settings options menu for the selected email account.
Before clicking on the Remove button, ensure that you have selected the correct email account for deletion. Deleting the wrong account could result in the permanent loss of all associated emails and data. Take a moment to double-check the account name and email address before proceeding.
When you click on Remove, a confirmation prompt may appear, asking you to verify your decision to delete the email account. This prompt is a safety measure to prevent accidental deletions. Carefully review the confirmation message and click “OK” or “Delete Account” to continue the removal process.
After confirming the deletion, Outlook will begin the process of removing the selected email account from its system. Depending on the size of the account and the speed of your device, this process may take a few moments to complete.
During the removal process, Outlook may display a progress indicator or a completion message to indicate that the account has been successfully deleted. Once the removal process is complete, the email account will no longer be visible or accessible within Outlook.
It’s important to note that deleting an email account from Outlook does not affect the account itself or its associated emails on the server. The deletion only removes the account from the Outlook application on your device. If you wish to completely remove the account and its emails, you will need to follow the specific instructions provided by your email service provider.
Now that you have successfully clicked on the Remove button and confirmed the deletion of the email account, you’re ready to move on to the final steps to complete the process of deleting the email account from Outlook.
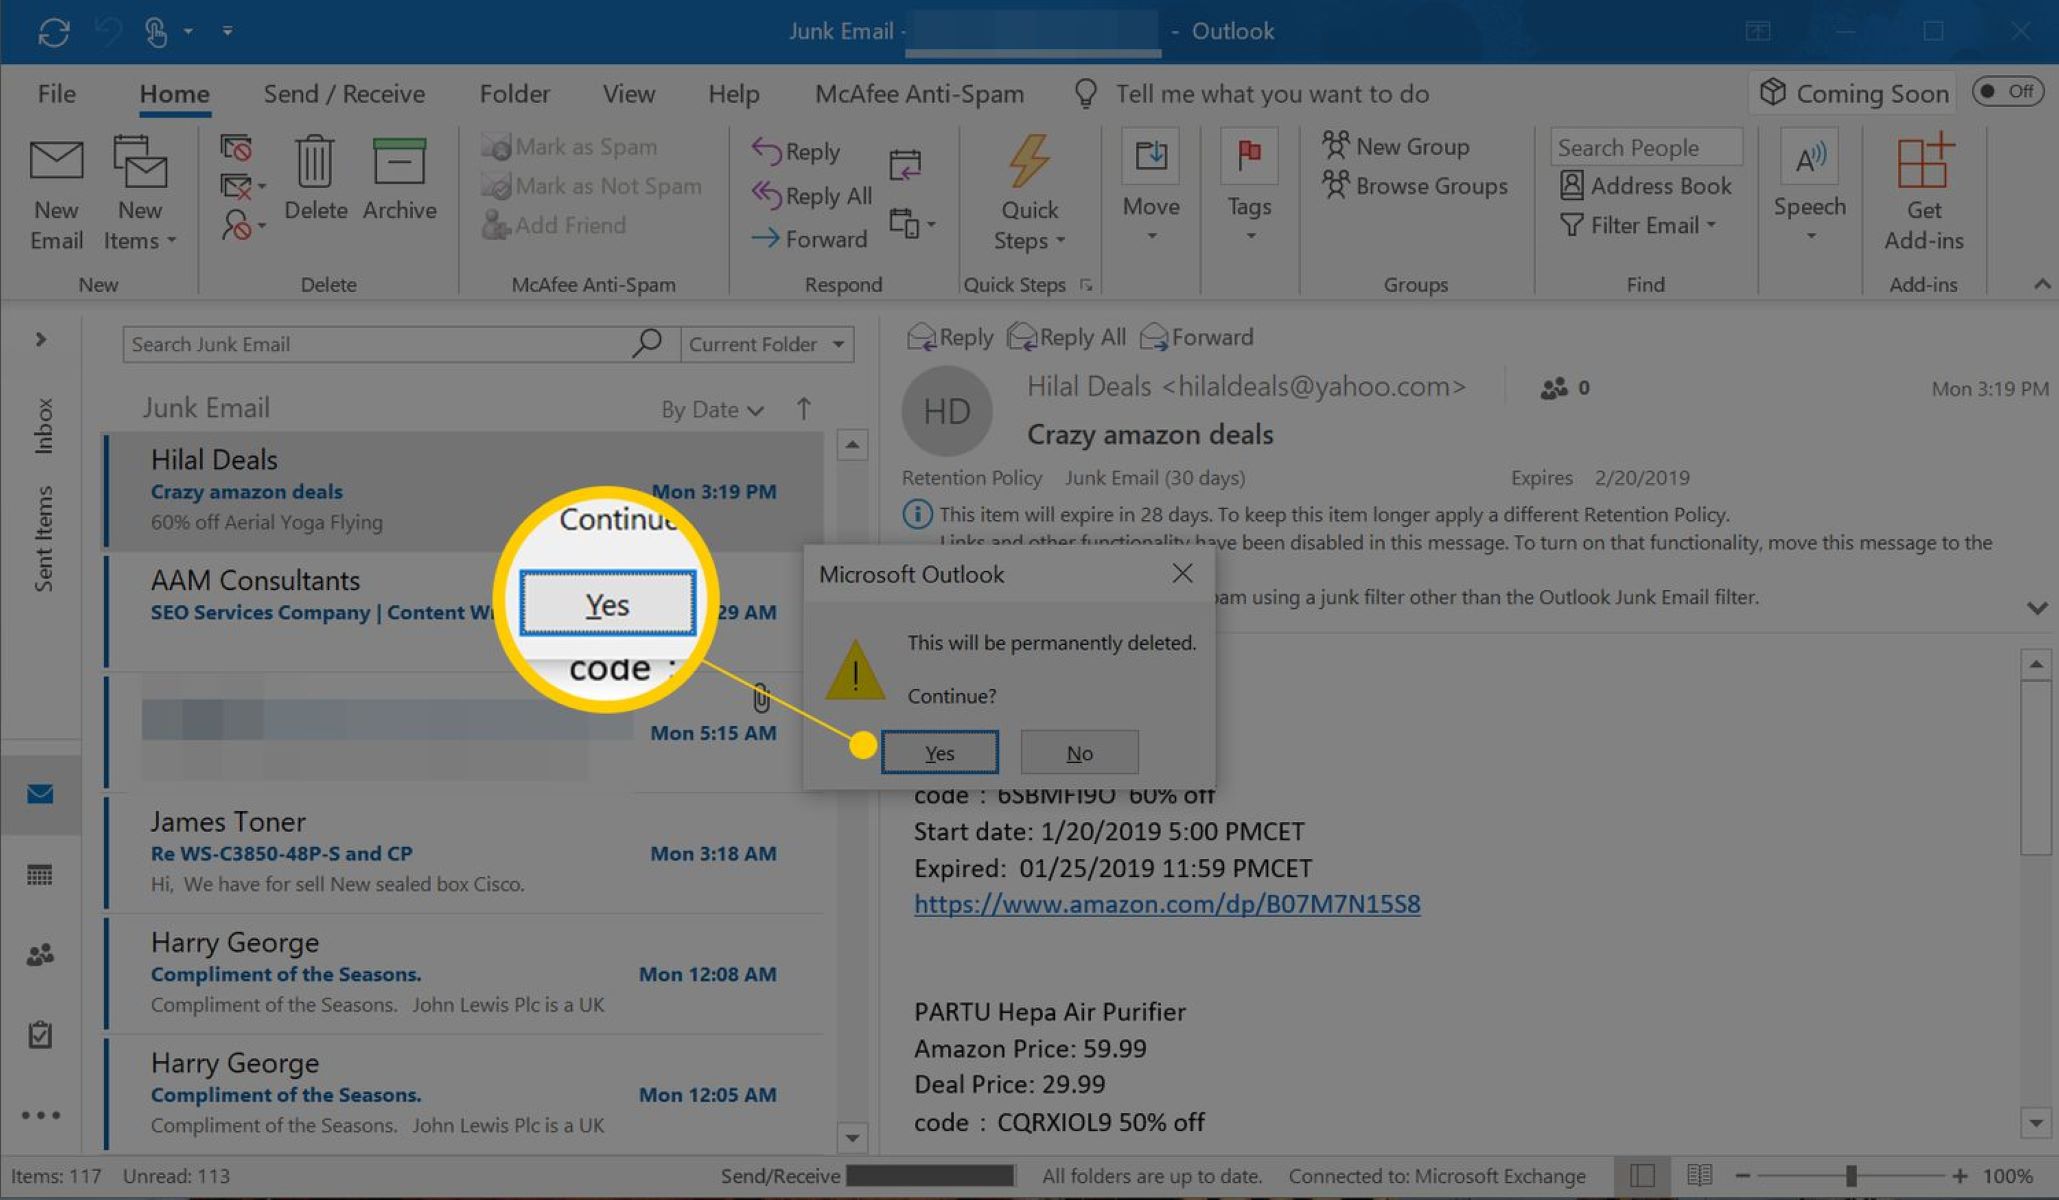
Step 6: Confirm Deletion
After clicking on the “Remove” or “Delete” button to initiate the removal of the email account from Outlook, the next step is to confirm the deletion. A confirmation dialog box or message will appear, asking you to verify your decision to delete the email account.
Confirming the deletion is an important step to ensure that you don’t accidentally remove the wrong account or any associated data. Take a moment to carefully review the confirmation message and consider the implications of deleting the account.
The confirmation message may provide details about the consequences of deleting the account, such as permanently removing all emails, contacts, and other associated data from Outlook. It’s essential to understand that this action cannot be undone, and the data cannot be recovered once the account is deleted.
If you are certain about deleting the account, click on the “Yes,” “OK,” or “Delete” button within the confirmation dialog box or message. This action will confirm your decision and proceed with deleting the email account from Outlook.
On the other hand, if you have second thoughts or realize that you have selected the wrong account, click on the “No” or “Cancel” button to stop the deletion process. This will prevent the account from being deleted, allowing you to review your choice and make any necessary adjustments.
It’s important to note that once you confirm the deletion, the process cannot be reversed. It’s crucial to have a backup of any important emails or data associated with the account before proceeding with the confirmation.
Now that you have confirmed the deletion of the email account, you’re ready to move on to the final steps to complete the process of deleting the email account from Outlook. The subsequent steps will guide you through closing the Account Settings window and completing the removal process.
Step 7: Close Account Settings
Once you have confirmed the deletion of the email account from Outlook, the final step is to close the Account Settings window. This step ensures that all changes made to your email accounts are saved and applied within the Outlook application.
To close the Account Settings window, locate the “Close,” “OK,” or “Finish” button within the window and click on it. This button is typically found at the bottom right or left corner of the window, depending on the version of Outlook you’re using.
Clicking on the close button will save any changes you made to your email accounts during the deletion process and exit the Account Settings window. The window will no longer be visible on your screen, and you will be returned to the main Outlook interface.
It’s important to close the Account Settings window after confirming the deletion to ensure that the changes are properly registered within Outlook. This step marks the end of the email account deletion process in Outlook.
Once you have closed the Account Settings window, the selected email account will no longer be visible or accessible within Outlook. The account, along with its associated emails, contacts, and other data, is permanently removed from the application.
Remember that deleting an email account from Outlook only affects the application on your device. The account and its data may still be accessible through other email clients or web-based interfaces, depending on your email service provider.
If you need to reconfigure or add new email accounts in Outlook, you can always reopen the Account Settings window following the same steps described earlier in this guide.
Now that you have successfully closed the Account Settings window, you have completed the process of deleting the email account from Outlook. Congrats! You have successfully streamlined your email management and removed the unnecessary account from your Outlook application.
Conclusion
Deleting an email account from Outlook is a simple and efficient process that can help you declutter your inbox and optimize your email management. By following the step-by-step instructions outlined in this guide, you can remove unwanted or unused email accounts from Outlook and create a more streamlined email experience.
In this guide, we walked you through the process of deleting an email account from Outlook, starting with opening the application and navigating to the Account Settings. We then guided you through selecting the email account to delete, clicking on the Remove button, and confirming the deletion. Finally, we concluded by closing the Account Settings window to complete the process.
It’s important to remember that deleting an email account from Outlook removes it only from the application on your device. The actual email account and its associated data may still be accessible through other email clients or web-based interfaces, depending on your email service provider.
Before deleting an email account, ensure that you have a backup of any important emails or data associated with the account. Once an email account is deleted, the associated data cannot be recovered.
By effectively managing your email accounts in Outlook, you can maintain a clean and organized inbox, improving your productivity and reducing email-related stress. Deleting unnecessary accounts can help you focus on the emails that matter and enhance your overall email experience.
We hope this guide has provided you with the necessary steps and information to confidently delete an email account from Outlook. Remember to review your choices carefully, and always have a backup of important data. Streamline your email management and enjoy a clutter-free inbox with Outlook.