Introduction
Welcome to the digital age, where email has become an essential part of our daily lives. Whether you’re applying for a job, communicating with friends and family, or signing up for online services, having an email address is crucial. One of the most popular email service providers is Gmail, which offers a user-friendly interface and a wide range of features.
If you’re new to the world of email or simply looking to create a new Gmail email address, you’ve come to the right place. In this article, we will guide you through the step-by-step process of setting up your own Gmail account. By following these instructions, you’ll be able to create a brand new email address that you can start using right away.
Gmail provides a convenient and secure platform for managing your emails. With its integrated search feature, organizing and finding past messages is a breeze. Additionally, Gmail offers a generous storage capacity, allowing you to keep important emails and attachments without worrying about running out of space.
Furthermore, having a Gmail email address grants you access to other Google services, such as Google Drive, Google Docs, and Google Calendar. This integration makes it easy to collaborate with others, store files in the cloud, and manage your schedule efficiently.
So, whether you’re a student, a professional, or simply someone who wants a reliable email service, creating a new Gmail email address is a smart choice. Without further ado, let’s jump into the step-by-step process of setting up your Gmail account, and soon enough, you’ll be enjoying the benefits of having a Gmail email address.
Step 1: Go to the Gmail website
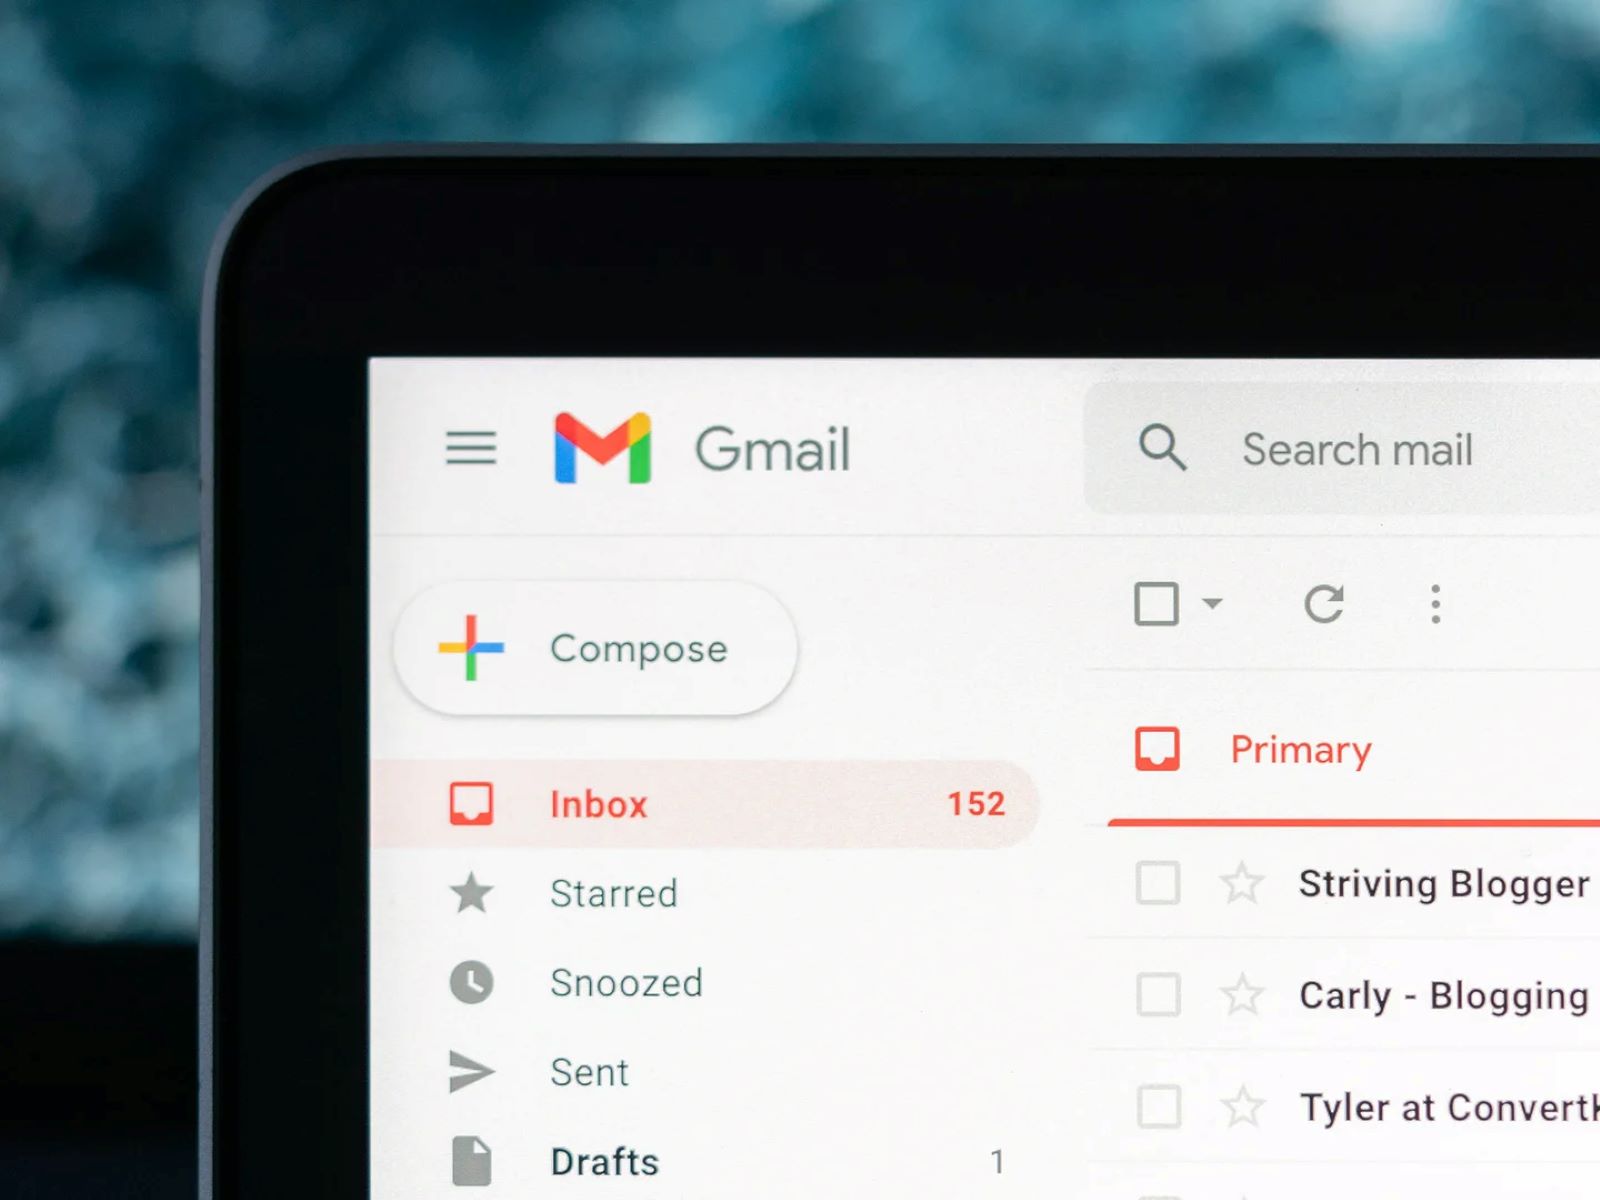
The first step in creating a new Gmail email address is to navigate to the official Gmail website. To do this, simply open a web browser on your computer or mobile device and type “www.gmail.com” in the address bar. Press Enter or click on the search icon to load the Gmail homepage.
Once the Gmail homepage has loaded, you will see the sign-in form if you already have a Gmail account. Since you’re looking to create a new email address, you need to locate the “Create account” option. This option is usually found at the bottom of the sign-in form, below the fields where you would enter your existing Gmail email address and password.
Clicking on the “Create account” option will redirect you to the Gmail account creation page. Here, you’ll be able to enter your personal information and set up your new Gmail email address. It’s important to note that you’ll need to provide accurate and valid information during this process, as Gmail uses this information to verify your identity and protect your account.
Before moving on to the next step, ensure that you are connected to a secure and reliable internet connection. Creating a Gmail account requires data transmission, and a stable internet connection will ensure a smooth and uninterrupted process.
Now that you know how to access the Gmail website, let’s move on to the next step: clicking on “Create account” and entering your personal information to set up your new Gmail email address.
Step 2: Click on “Create account”
After you have reached the Gmail website, the next step is to click on the “Create account” option. This will direct you to the Gmail account creation page, where you can start the process of setting up your new email address.
On the Gmail account creation page, you will find a form that requires your personal information to create your new account. The form will ask for details such as your first and last name, desired email address, password, phone number, and recovery email address.
It’s important to enter your personal information accurately and choose an email address that reflects your identity or is easy to remember. Gmail email addresses need to be unique, so if your desired email address is already taken, you may need to get creative by adding numbers or symbols.
When choosing a password, make sure it is strong and secure. Include a combination of uppercase and lowercase letters, numbers, and special characters. A strong password helps protect your account from unauthorized access. Remember to make a note of your password and keep it in a safe place, as you will need it to log in to your Gmail account in the future.
Furthermore, providing a phone number or recovery email address is crucial for account recovery and security purposes. In case you forget your password or need to verify your account, Gmail will send a verification code to your provided phone number or recovery email so that you can regain access to your account.
Once you have filled in all the required information and reviewed it for accuracy, you can move on to the next step of the account creation process. Click on the “Next” or “Continue” button, which will take you to the next page to verify your phone number or recovery email and complete the security verification.
We’ve completed step 2, which involved clicking on “Create account” and providing your personal information. Now, let’s move on to step 3, where we will fill in your personal details to proceed with the Gmail account creation process.
Step 3: Fill in your personal information
Now that you have clicked on “Create account” and reached the Gmail account creation page, it’s time to fill in your personal information to proceed with setting up your new email address.
The first piece of information you’ll be asked to provide is your first and last name. Enter your full legal name accurately as this will be associated with your Gmail account. It’s essential to provide your real name as it helps with account verification and makes it easier for others to recognize you when they receive emails from you.
Next, you’ll need to choose your desired email address. Depending on availability, you may have to get creative and include numbers, symbols, or variations of your name to find an available email address. Remember, your email address will be how you communicate and identify yourself online, so choose wisely.
After entering your email address, it’s time to create a strong and secure password for your Gmail account. Ensure that your password is unique and not easily guessable. Including a combination of uppercase and lowercase letters, numbers, and symbols is crucial for a strong password. Take the time to create a memorable yet secure password to protect your account from unauthorized access.
In addition to your personal information and password, Gmail also requires you to provide a recovery phone number or email address. This step is essential for account recovery and verification purposes. In case you forget your password or need additional verification, Gmail will use this information to send a verification code that allows you to regain access to your account.
Ensure that you enter the correct phone number or recovery email address to ensure a smooth account creation process. Double-check the accuracy of your personal information, email address, password, and recovery information before proceeding to the next step.
With your personal information entered, you’re one step closer to creating your new Gmail email address. In the next step, we will discuss how to choose your email address and complete the process of setting up your Gmail account.
Step 4: Choose your email address
Now that you have entered your personal information, it’s time to choose your email address. Your email address will be how you are identified and contacted by others, so it’s important to choose something that reflects your identity or is easy for others to remember.
When creating your email address, keep in mind that it must be unique. Gmail will prompt you if the email address you entered is already taken. If your desired email address is unavailable, you may need to get creative by adding numbers, periods, or underscores to find an available option.
Consider using your name or a variation of it in your email address to personalize it. For example, you could use your first name followed by your last name, separated by a period or underscore. This helps others easily recognize and remember your email address.
It’s recommended to keep your email address professional if you plan to use it for work or professional communications. Avoid using inappropriate or unprofessional words or phrases in your email address.
Once you have chosen an email address, double-check to ensure that it accurately reflects your desired identity and is easy for others to remember. Remember, your email address will be prominently displayed whenever you send an email, so choose something that you’ll be comfortable sharing with others.
Once you have finalized your email address, you can proceed to the next step of the Gmail account creation process, which involves creating a strong and secure password for your account. In the upcoming step, we will guide you through the process of creating a password that protects your account while being easy for you to remember.
Step 5: Create your password
Now that you have chosen your email address, the next step in creating your Gmail account is to create a strong and secure password. Your password is your key to accessing your account and keeping your information safe from unauthorized access.
When creating your password, it’s important to choose a combination of uppercase and lowercase letters, numbers, and symbols. This combination helps make your password more secure and harder for others to guess.
Avoid using common words, personal information, or easily guessable patterns in your password. Instead, opt for a unique and memorable combination of characters that is difficult for others to crack or guess. Consider using a mix of unrelated words or phrases, or even a passphrase that is easy for you to remember but hard for others to guess.
Ensure that your password meets the security requirements set by Gmail. These requirements may include a minimum length, a mix of character types, and the exclusion of commonly used passwords.
While it’s important to create a strong password, it’s equally important to choose one that is easy for you to remember. Avoid writing down your password or sharing it with others, as this increases the risk of it being compromised.
Take the time to create a password that you can remember and use for your Gmail account. You may want to consider using a password manager, which securely stores your passwords and helps generate strong, unique passwords for each of your accounts.
Once you have created a strong and memorable password, enter it into the designated field to proceed with the Gmail account creation process.
With your password set, you are one step closer to completing the process of setting up your Gmail account. In the next step, we will discuss the importance of adding a phone number or recovery email address to enhance the security and recovery options for your account.
Step 6: Add a phone number or recovery email
As you proceed with creating your Gmail account, it is highly recommended to add a phone number or a recovery email to enhance the security and recovery options for your account. This step is vital in case you forget your password, need to verify your identity, or require account recovery.
Adding a phone number allows Gmail to send a verification code via SMS, which you can use to regain access to your account if needed. It serves as an additional layer of security to ensure that only you can access your account.
Alternatively, if you prefer not to provide a phone number, you can add a recovery email address instead. This recovery email will receive a verification code that you can use to reset your password or regain access to your account in case you forget your login credentials.
When providing a phone number or recovery email address, make sure that you enter the correct details. Double-check the accuracy of your phone number or recovery email to avoid any issues with account recovery in the future.
Ensure that the phone number or recovery email address you add is accessible to you. It’s beneficial to link an email or phone number that you frequently use to ensure prompt access to any verification codes or account recovery information sent by Gmail.
By adding a phone number or recovery email, you strengthen the security measures for your Gmail account and increase your chances of quickly regaining access in case of any login issues or account compromise.
With a phone number or recovery email added, you have taken another important step in completing the setup of your Gmail account. In the next step, we will guide you through the security verification process, which helps safeguard your account from unauthorized access.
Step 7: Complete the security verification
Once you have provided your personal information and added a phone number or recovery email, the next step is to complete the security verification process. This verification step is crucial for ensuring the security of your Gmail account and protecting it from unauthorized access.
During the security verification process, Gmail may prompt you to prove that you are a real person and not a bot or automated program attempting to create an account. This verification step usually involves completing a captcha or confirming your identity through other means.
Captchas are designed to present you with a challenge or task that requires human intelligence to complete. These tasks can include selecting specific images from a grid, identifying distorted text, or solving simple mathematical problems. This step helps Gmail ensure that the account creation process is being carried out by a human user.
In some cases, Gmail may require additional security measures, such as two-factor authentication. Two-factor authentication adds an extra layer of security by requiring you to provide a verification code or approve a login request through another device or application.
Follow the on-screen instructions provided by Gmail to successfully complete the security verification process. Make sure to double-check your responses or actions to ensure accuracy and prevent any delays in verifying your account.
Completing the security verification process strengthens the security measures for your Gmail account, making it harder for unauthorized individuals to gain access. It ensures that only individuals with legitimate intentions can create and access Gmail accounts.
With the security verification process successfully completed, you are one step closer to fully setting up your Gmail account. In the next step, we will cover the importance of reviewing and accepting the terms of service before finalizing the account creation process.
Step 8: Review and accept the terms of service
As you near the completion of your Gmail account creation, it’s important to review and accept the terms of service set by Google. The terms of service outline the rules, regulations, and conditions that govern your use of the Gmail service.
Reviewing the terms of service allows you to understand the rights and responsibilities associated with using Gmail. It covers essential aspects such as privacy policies, acceptable use guidelines, and the handling of personal information.
Reading and understanding the terms of service is crucial to ensure that you are aware of the rights and limitations associated with using Gmail. Take your time to familiarize yourself with the terms, as it helps you make informed decisions regarding the use of the service and protects your rights as a user.
By accepting the terms of service, you acknowledge that you have read and understood the terms and are willing to comply with them. This step is essential to proceed with the finalization of your Gmail account creation process.
Ensure that you read the terms of service carefully and take note of any specific clauses or requirements that apply to your use of the Gmail service. If you have any questions or concerns, you can reach out to Google’s customer support for clarification before accepting the terms.
Once you have reviewed the terms of service and are ready to proceed, you can accept the terms by ticking the checkbox or clicking on the “I agree” or “Accept” button, depending on the interface presented by Gmail.
Reviewing and accepting the terms of service is an essential step in finalizing the setup of your Gmail account. It ensures that you are aware of your rights and responsibilities as a Gmail user, and it demonstrates your agreement to comply with Google’s policies.
With the terms of service accepted, we are approaching the final steps of setting up your Gmail account. In the next step, we will cover the optional but recommended step of setting up your profile picture.
Step 9: Set up your profile picture (optional)
As you near the completion of setting up your Gmail account, you have the option to personalize your account further by adding a profile picture. While this step is optional, it can enhance your email experience and make your emails more recognizable to recipients.
Adding a profile picture allows you to put a face or an image that represents you alongside your email address. It adds a personal touch and makes your emails more visually appealing and engaging. Additionally, it helps others easily identify your emails in their inbox and associate them with your name.
To set up your profile picture, click on the profile icon or your name, usually located at the top right corner of the Gmail interface. From the dropdown menu, select “Change profile picture” or a similar option.
You will then be prompted to choose an image for your profile picture. You have the option to select an image from your computer, upload a photo you’ve previously taken, or even take a new photo using your computer’s camera in real-time.
Consider choosing a profile picture that is clear, professional, and represents your personal or professional identity. Avoid using overly casual or inappropriate images, as your profile picture will be associated with your emails.
You can edit and adjust the chosen image to fit within the required dimensions or crop it to focus on the desired area. Remember, the profile picture will be displayed as a small thumbnail alongside your name in emails and various Gmail interfaces.
Once you have selected and edited your profile picture to your liking, click on the “Set as profile photo” or similar button to apply the changes. Allow Gmail a few moments to update your profile picture across all associated Google services and products.
Setting up a profile picture is an optional but recommended step to personalize your Gmail account. It adds a visual element to your emails and makes them more recognizable to recipients. Take a moment to choose a suitable profile picture that reflects your personal or professional identity.
With your profile picture set, we move closer to completing the setup of your Gmail account. In the final step, we will cover the importance of verifying your phone number or recovery email to ensure the security and accessibility of your account.
Step 10: Verify your phone number or recovery email
In the final step of setting up your Gmail account, it’s essential to verify the phone number or recovery email address you provided. Verifying this information adds an extra layer of security and ensures that you can regain access to your account in case of any password resets or account recovery.
To verify your phone number or recovery email, Gmail will send a verification code to the provided contact information. You will need to retrieve the verification code either from an SMS message or the designated email inbox and enter it into the verification prompt on the Gmail interface.
Retrieve the verification code from your phone’s messaging app if you provided a phone number, or check your recovery email inbox if you provided a recovery email address. Verify that the code matches the one shown on the Gmail interface before entering it.
Enter the verification code into the designated field and click on the “Verify” or “Submit” button to confirm the code. Gmail will validate the code and verify your phone number or recovery email, ensuring that the contact information you provided is active and accessible to you.
Verifying your phone number or recovery email is essential for account recovery and security purposes. It ensures that you have a reliable means of regaining access to your Gmail account in case you forget your password or encounter any login issues.
Take a moment to double-check the accuracy of the verification code you entered before submitting it. This step helps prevent any delays or errors in verifying your account, ensuring a seamless and secure setup process.
With your phone number or recovery email successfully verified, congratulations! You’ve completed the final step of setting up your Gmail account. You now have a fully functional Gmail email address that you can use for personal or professional communications.
Remember to keep your login credentials secure and regularly update your password to ensure the continued security of your Gmail account. Enjoy using your new Gmail email address and explore the wide range of features and functionalities that Gmail offers.
Conclusion
Congratulations on successfully setting up your new Gmail email address! Creating a Gmail account offers you a convenient and reliable platform for managing your emails, staying connected with others, and accessing a range of Google services.
In this article, we have guided you through the step-by-step process of creating a Gmail account. We started with going to the Gmail website, clicking on “Create account,” and filling in your personal information. We then discussed the importance of choosing a unique email address and creating a strong password for account security. The option of adding a phone number or recovery email for verification and account recovery purposes was also covered. We touched upon the significance of completing the security verification process and reviewing and accepting the terms of service. Lastly, we explored the optional step of setting up a profile picture and the final step of verifying your phone number or recovery email.
By following these steps, you have successfully created a Gmail account tailored to your needs. Remember to practice good email etiquette, keep your account secure, and regularly check your inbox for important messages. Gmail offers a user-friendly interface and a variety of features to help you organize and manage your emails efficiently.
Whether you’re using your Gmail account for personal or professional purposes, take advantage of the vast array of Google services that become accessible with your Gmail email address. From Google Drive for storing and sharing files to Google Calendar for managing your schedule, Gmail integrates seamlessly with other Google products to enhance your productivity and collaboration.
Thank you for choosing Gmail as your email service provider. Enjoy the benefits of having a new Gmail email address and make the most of the features and functionalities offered by this versatile platform. Stay connected, stay organized, and make the most of your online communications with your new Gmail account!