Introduction
Welcome to our guide on how to log into Google Authenticator on a new phone! If you’re here, chances are you’ve recently upgraded your mobile device or maybe you’ve lost your old phone and need to set up Google Authenticator on your new one. Rest assured, we’ve got you covered!
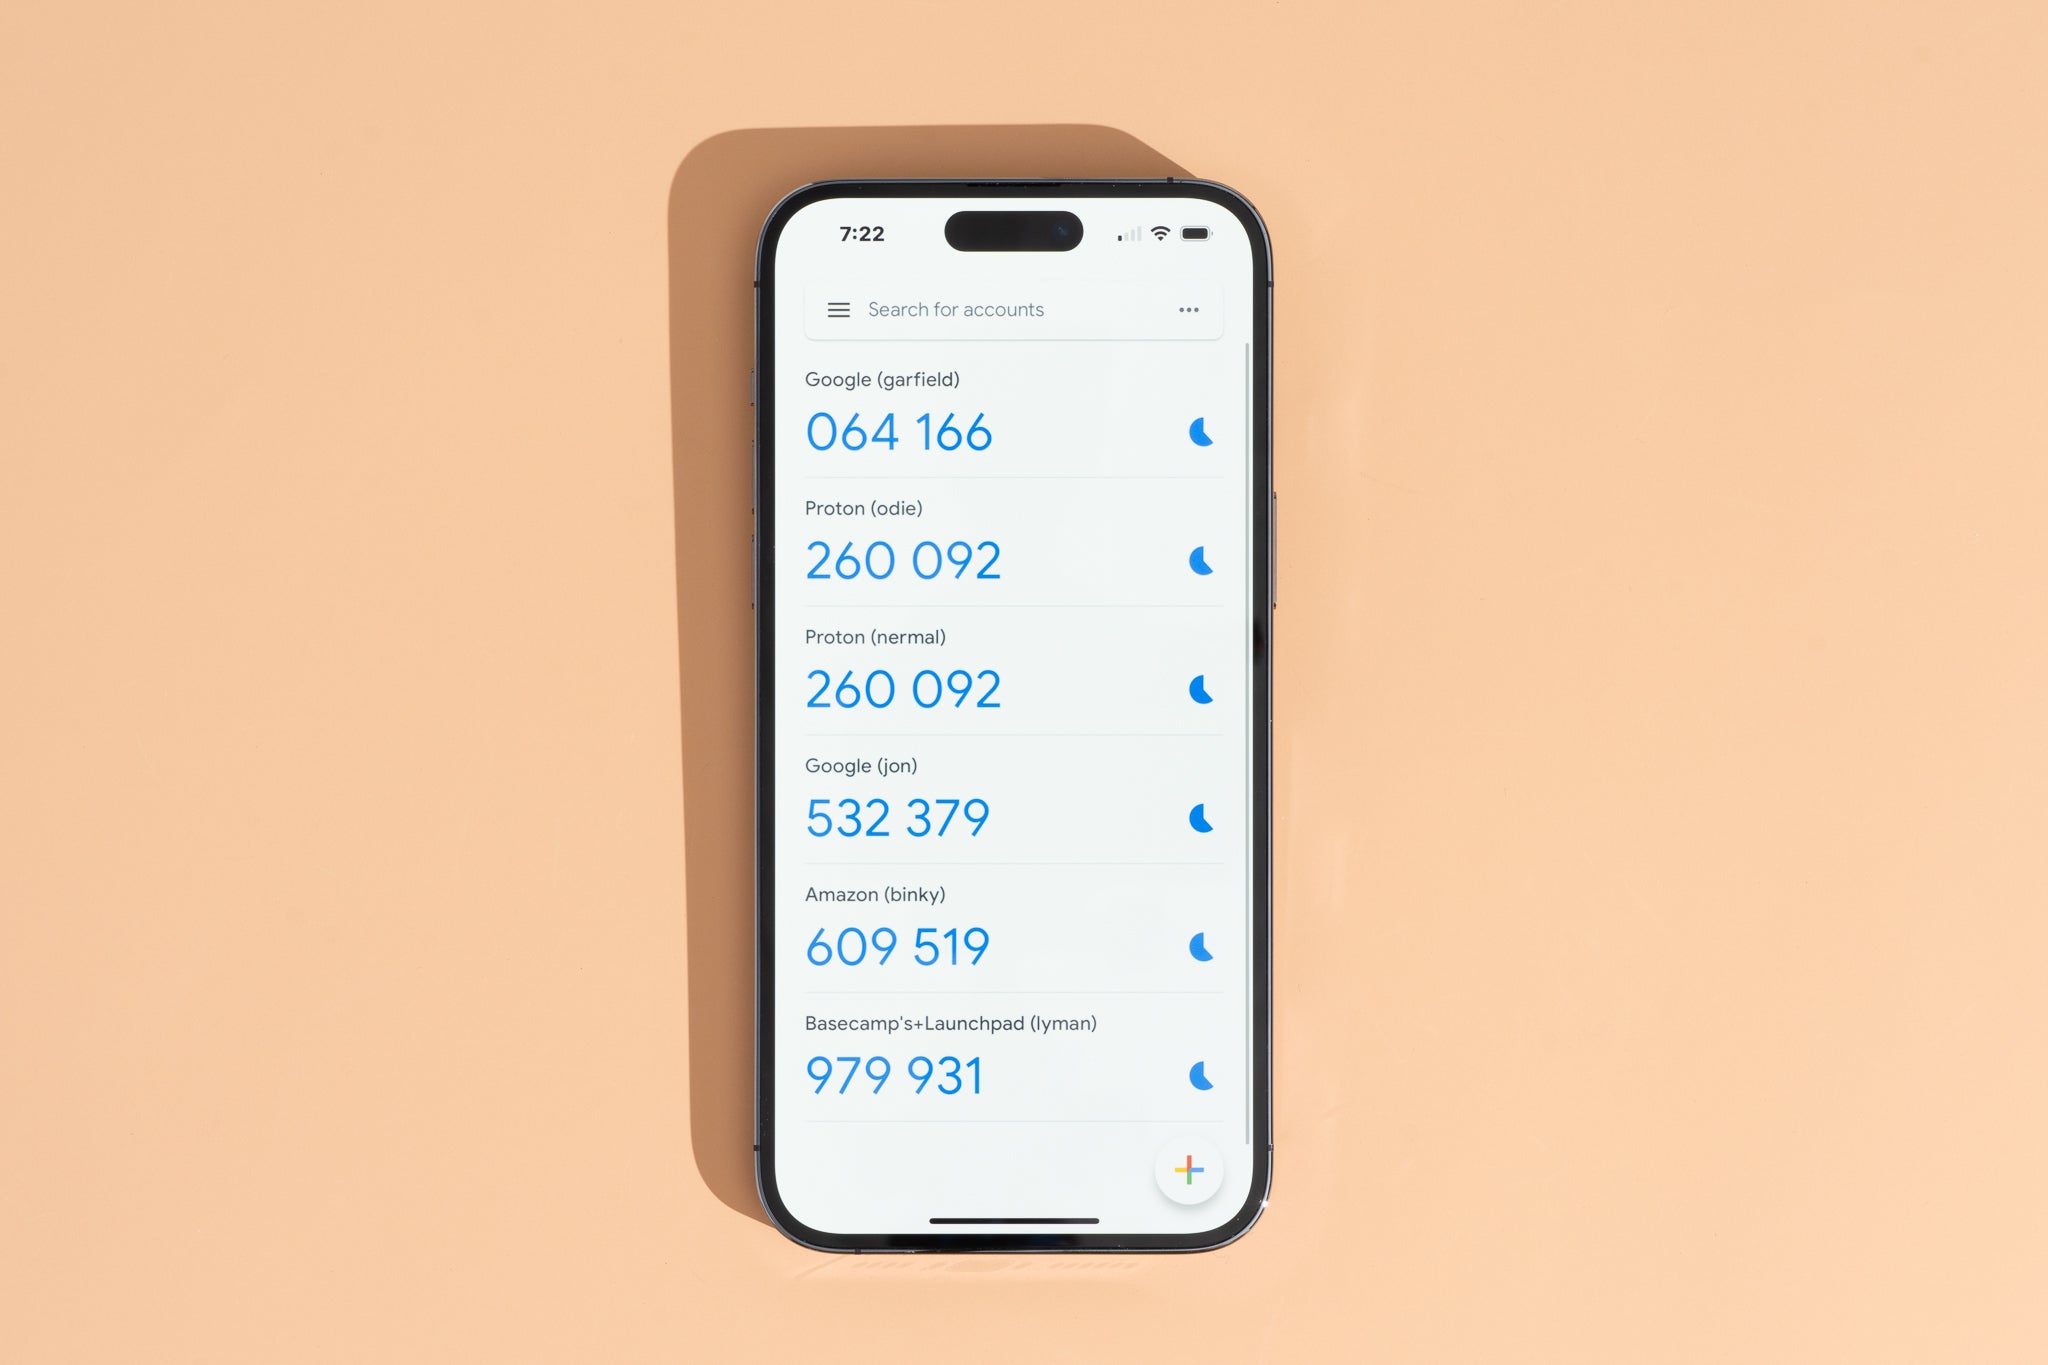
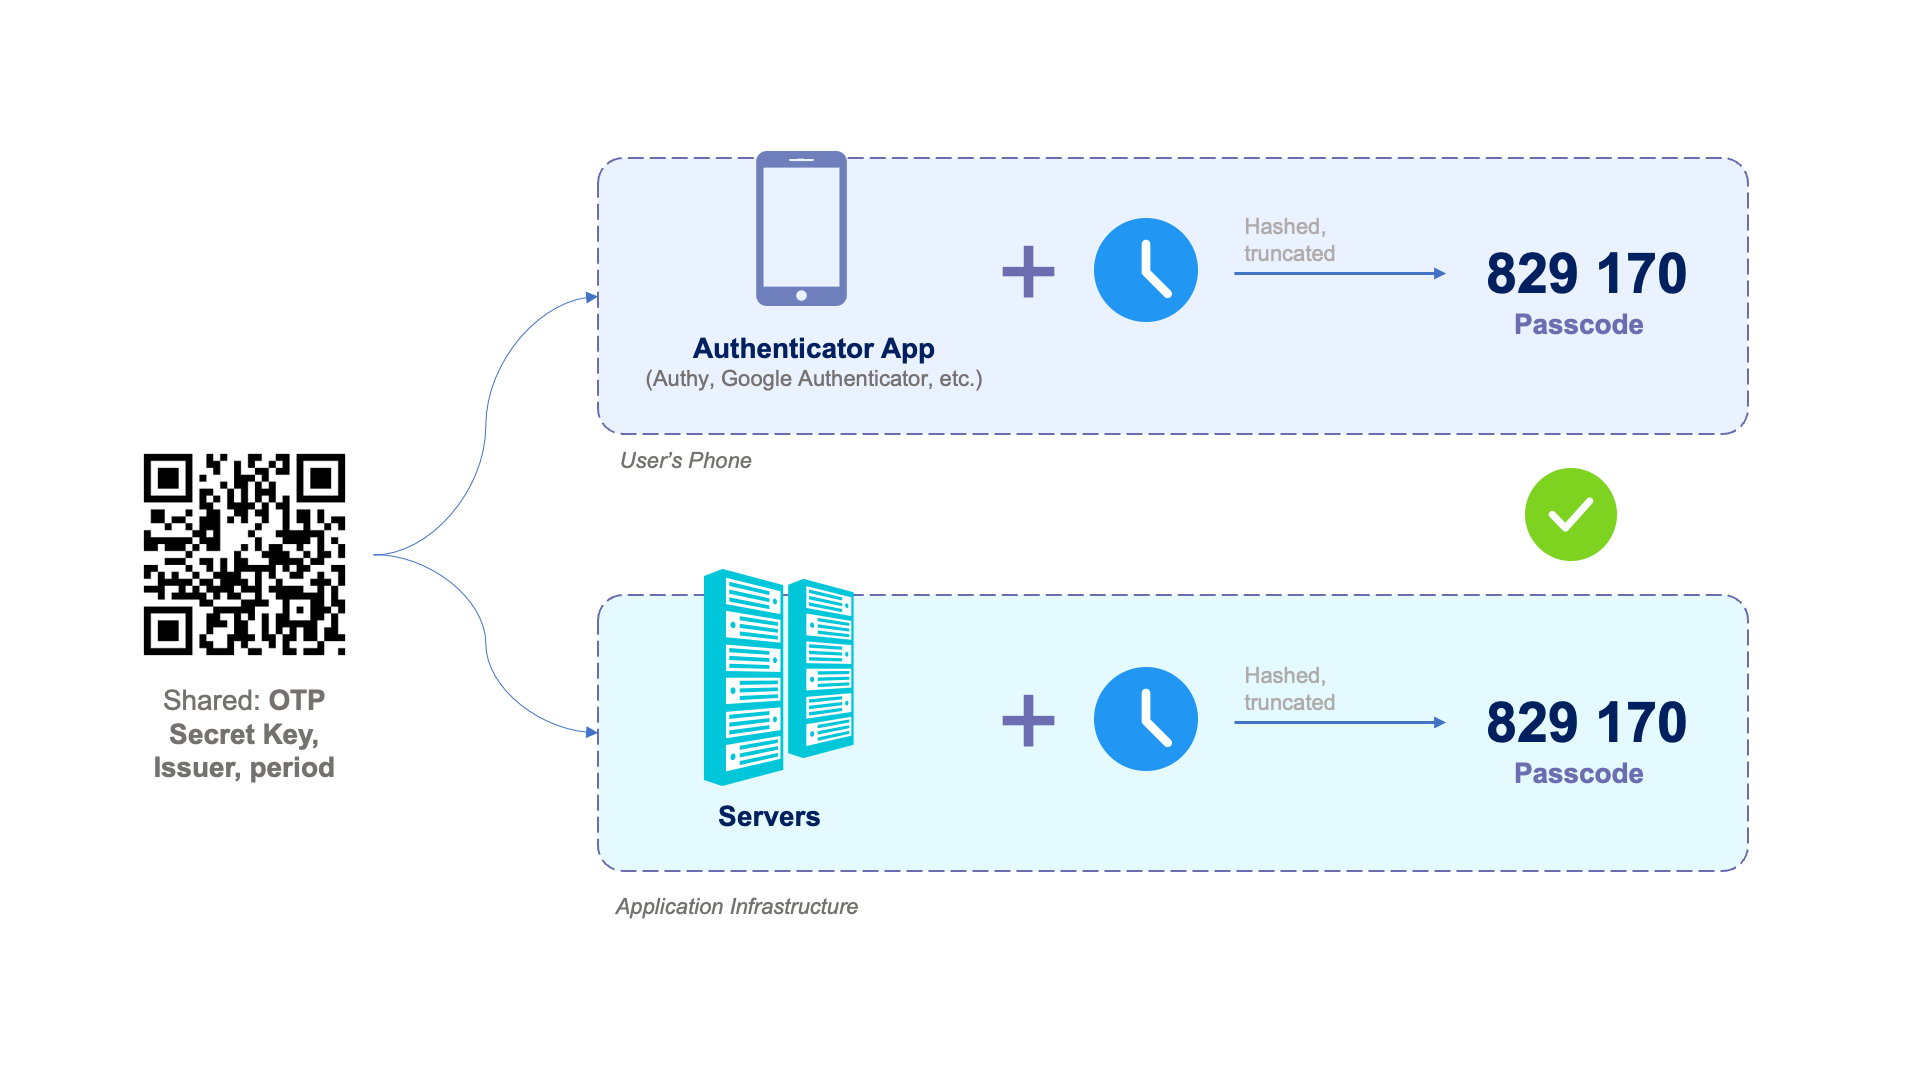
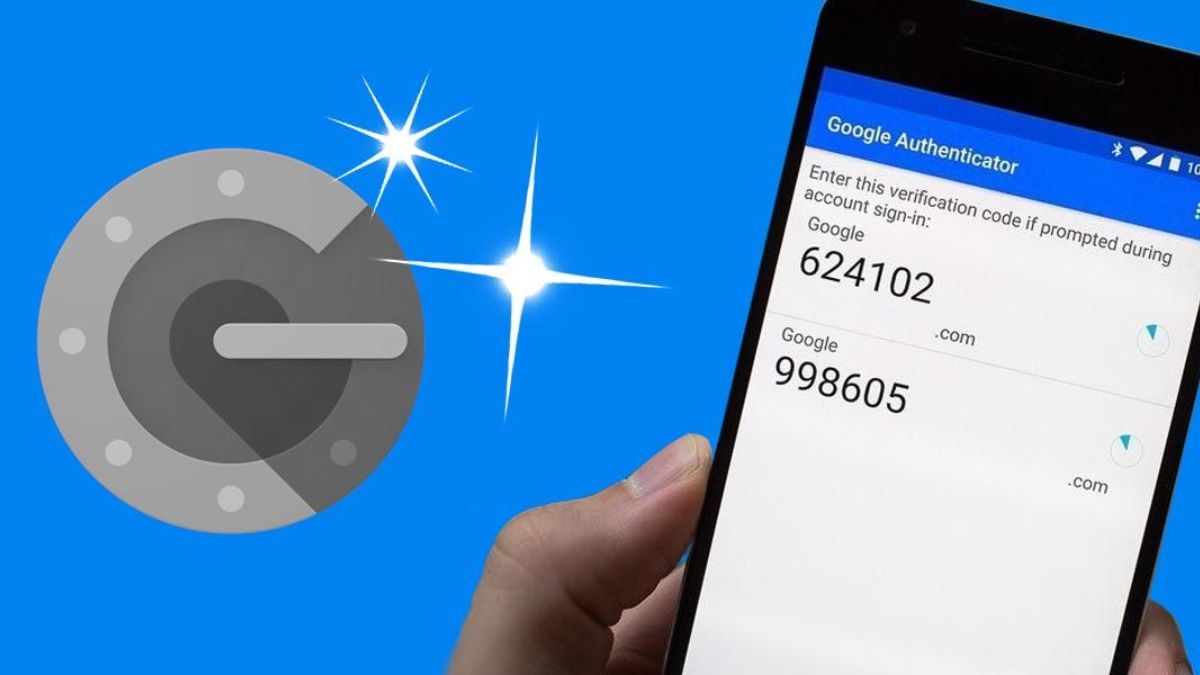
Google Authenticator is a widely used two-step verification app that adds an extra layer of security to your online accounts. It generates one-time verification codes that you can use to verify your identity when logging into various websites and online platforms.
When you get a new phone, it’s important to transfer your Google Authenticator accounts to ensure you still have access to those codes. Otherwise, you may find yourself locked out of your accounts if you don’t have an alternative method set up.
In this step-by-step guide, we’ll walk you through the process of logging into Google Authenticator on your new phone. Whether you’re using an Android or iOS device, our instructions will help you get back on track quickly and securely.
Before we dive into the steps, it’s essential to note that the process may vary slightly depending on your device and operating system version. However, the overall principles remain the same. So, let’s get started!
Why do you need to log into Google Authenticator on a new phone?
Logging into Google Authenticator on your new phone is crucial for several reasons. Firstly, it ensures that you retain access to your accounts that are protected by two-factor authentication. Without transferring your accounts to the new device, you won’t be able to generate the verification codes needed to log in.
Secondly, a new phone often means enhanced features, improved security measures, and updated software. By logging into Google Authenticator on your new phone, you can take advantage of these advancements and benefit from a more secure and efficient two-factor authentication experience.
Thirdly, if your old phone gets lost, stolen, or damaged, it’s essential to log into Google Authenticator on your new phone to regain access to your accounts. This prevents unauthorized individuals from gaining access to your sensitive information and protects your online identity.
Furthermore, logging into Google Authenticator on your new phone allows you to declutter and streamline your authentication process. If you were previously using a separate app or method for two-factor authentication, consolidating your accounts into Google Authenticator simplifies the process and reduces the need for multiple authentication apps.
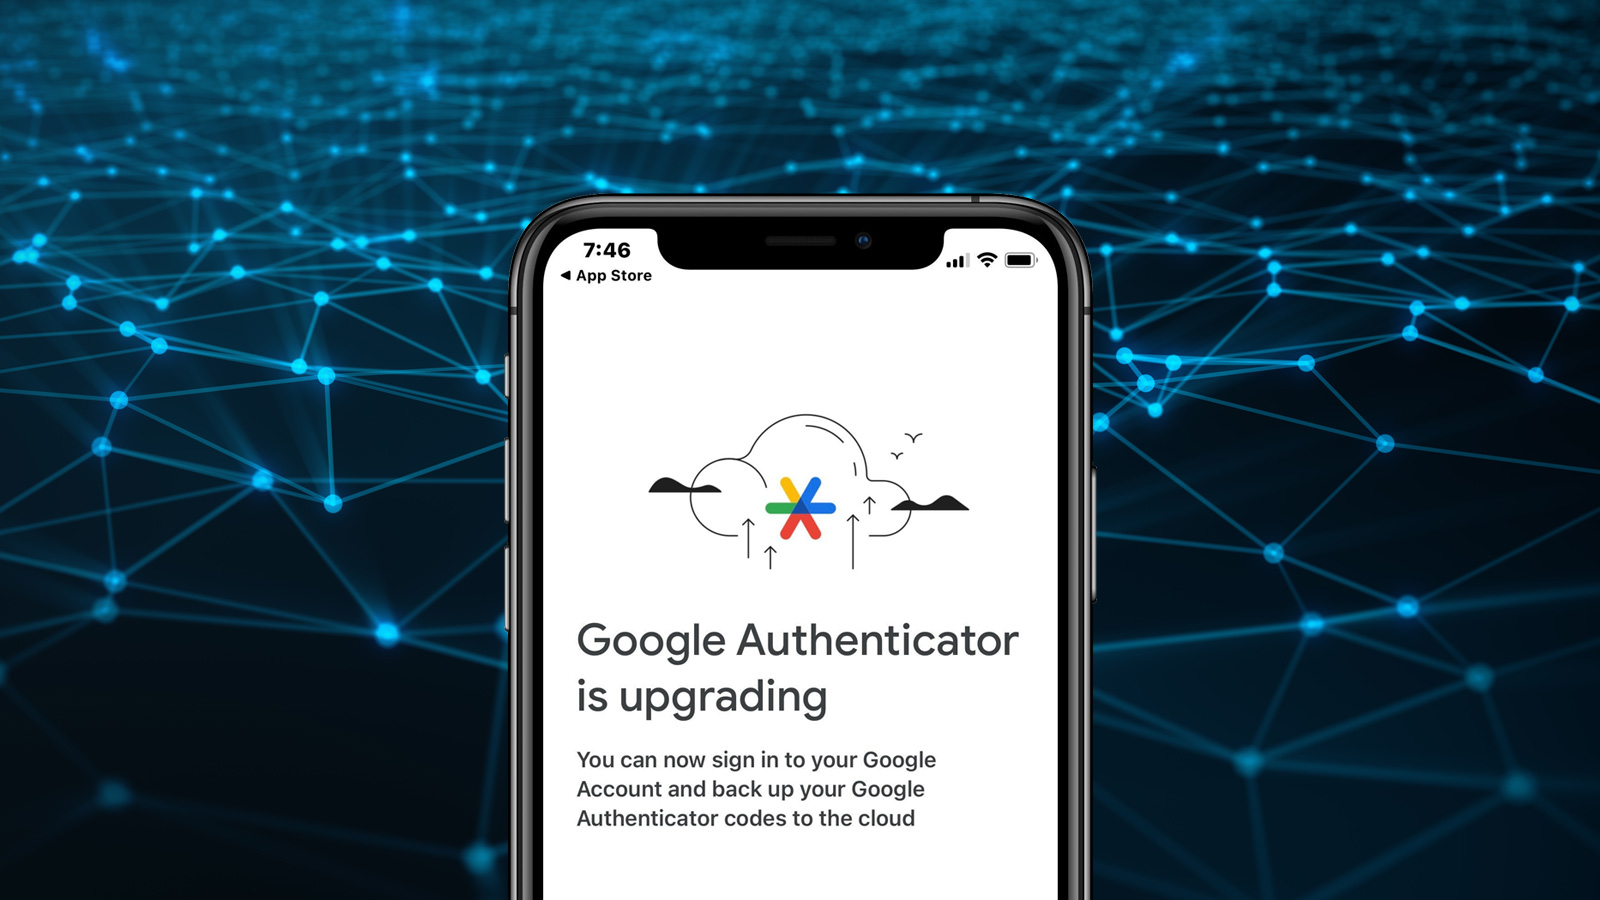
Moreover, periodically logging into Google Authenticator on a new phone ensures that you have a backup of your accounts in case of emergencies. If your old phone becomes inoperable or you need to reset it, having your accounts stored on the new device will save you from the hassle of reconfiguring each account individually.
Lastly, logging into Google Authenticator on your new phone gives you peace of mind. With the growing number of online security threats, having an extra layer of protection for your accounts is essential. By maintaining access to your two-factor authentication codes on a new phone, you can keep your online presence secure and significantly reduce the risk of unauthorized access.
In summary, logging into Google Authenticator on your new phone is crucial to retain access to your accounts, take advantage of improved features, enhance security, prevent unauthorized access, streamline the authentication process, create a backup, and ensure peace of mind in an increasingly digital world.
Step 1: Install Google Authenticator on your new phone
The first step in logging into Google Authenticator on your new phone is to install the app itself. Follow these instructions based on your device’s operating system:
-
For Android users:
- Open the Google Play Store on your new phone.
- Search for “Google Authenticator” using the search bar at the top.
- Tap on the app in the search results to open the Google Authenticator page.
- Tap the “Install” button to begin the installation process.
- Once the installation is complete, tap “Open” to launch the app.
-
For iOS (iPhone) users:
- Open the App Store on your new phone.
- Search for “Google Authenticator” using the search tab at the bottom.
- Tap on the app in the search results to access the Google Authenticator page.
- Tap the “Get” button next to the app’s name.
- Authenticate your Apple ID if prompted, using your passcode, Touch ID, or Face ID.
- The app will then be downloaded and installed on your phone.
Once Google Authenticator is installed on your new phone, you’re ready to proceed to the next step. Keep in mind that the app may require certain permissions to function correctly, such as access to your camera for scanning QR codes or notifications for displaying verification codes. Be sure to grant the necessary permissions when prompted to ensure smooth operation.
In the next step, we’ll guide you on how to open Google Authenticator on your new phone to start the setup process.
Step 2: Open Google Authenticator on your new phone
After successfully installing Google Authenticator on your new phone, it’s time to open the app and prepare for the setup process. Here’s what you need to do:
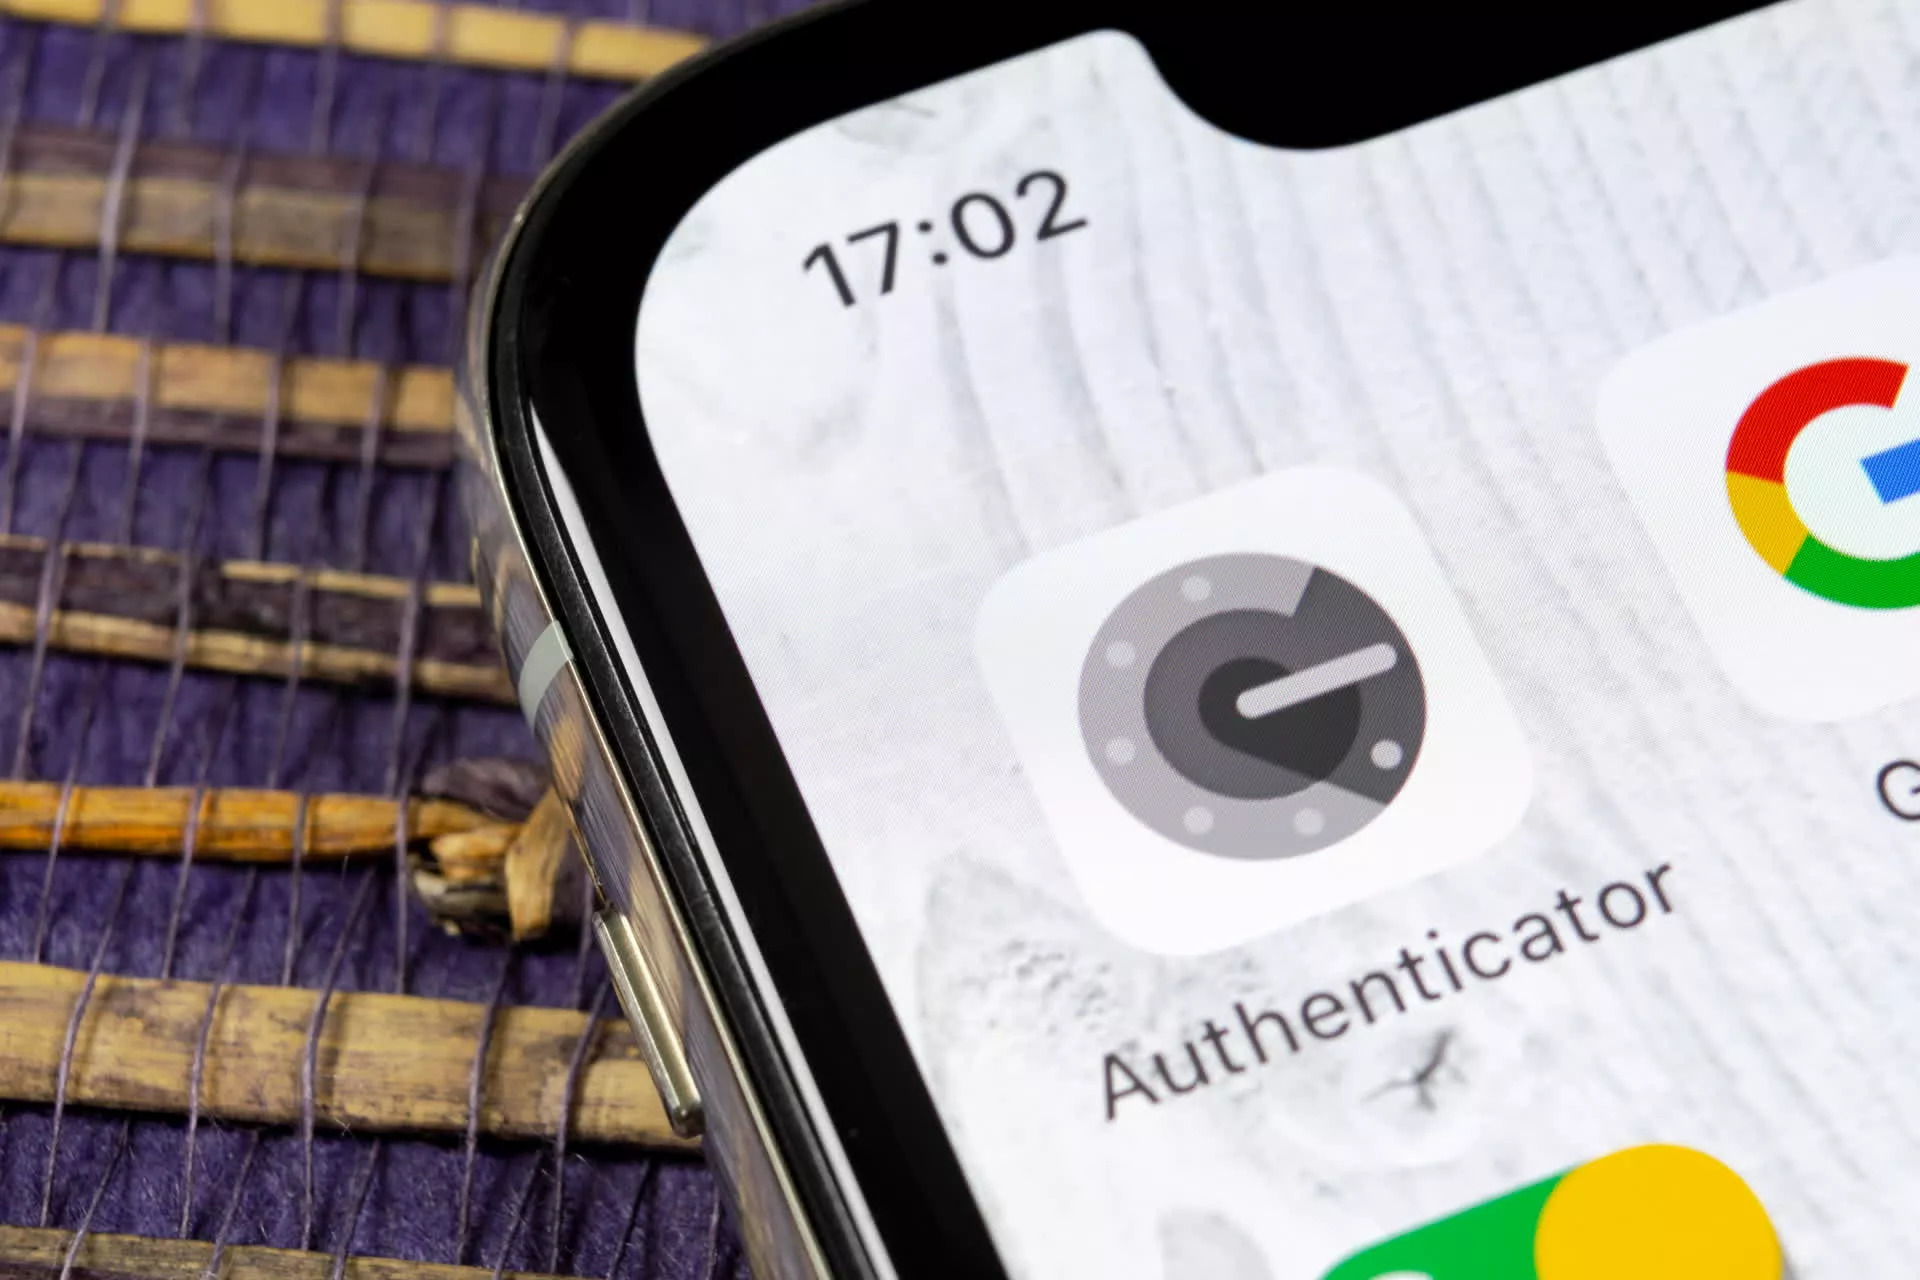
- Locate the Google Authenticator app icon on your home screen or in your app drawer. It’s usually represented by a white key icon on a black background.
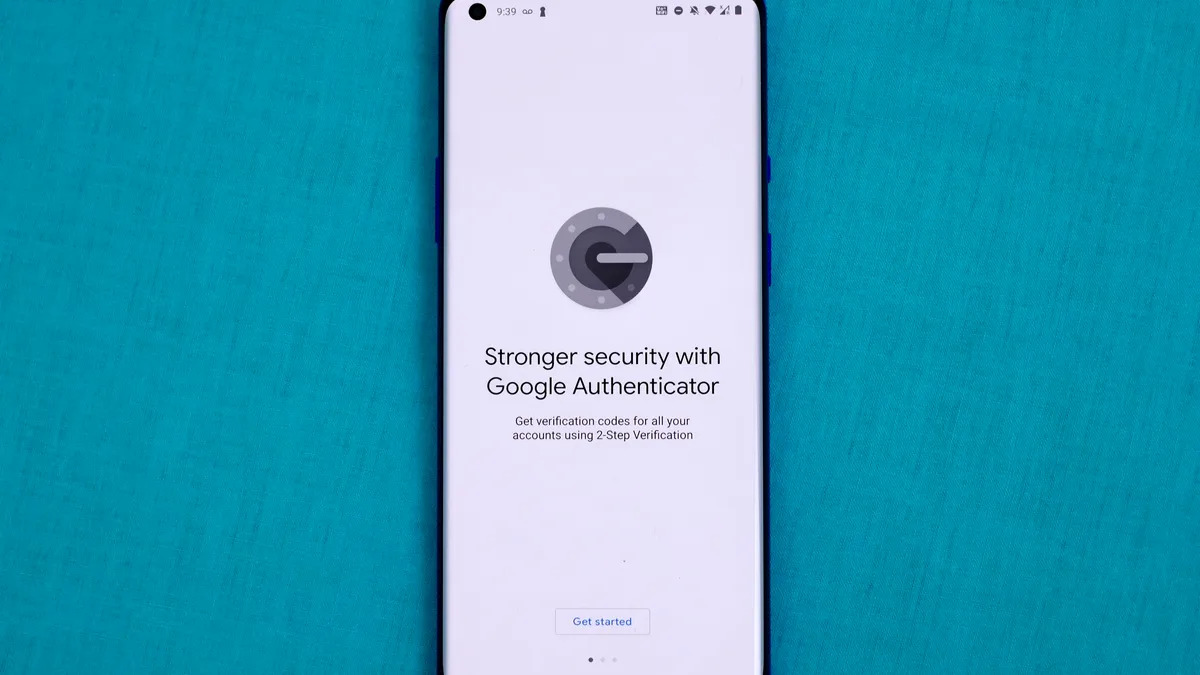
- Tap on the Google Authenticator icon to launch the app.
- Upon opening the app, you will be greeted by a welcome screen or a prompt to grant necessary permissions such as camera access or notifications. Follow the on-screen instructions to proceed.
- Depending on your device and app version, you might be prompted to sign in to your Google account linked to Google Authenticator. If so, enter your email address and password to sign in. Skip this step if you are not prompted for account sign-in.
Once you have successfully opened Google Authenticator on your new phone, you’re ready to move on to the next step. In the following section, we’ll guide you on how to add accounts to Google Authenticator on your new phone.
Step 3: Add accounts to Google Authenticator on your new phone
Now that you have opened Google Authenticator on your new phone, it’s time to add your accounts to the app. Follow these steps to add accounts to Google Authenticator on your new device:
- On the main screen of Google Authenticator, you will see a plus (+) symbol or an “Add” button. Tap on it to add a new account.
- There are two common methods to add accounts to Google Authenticator:
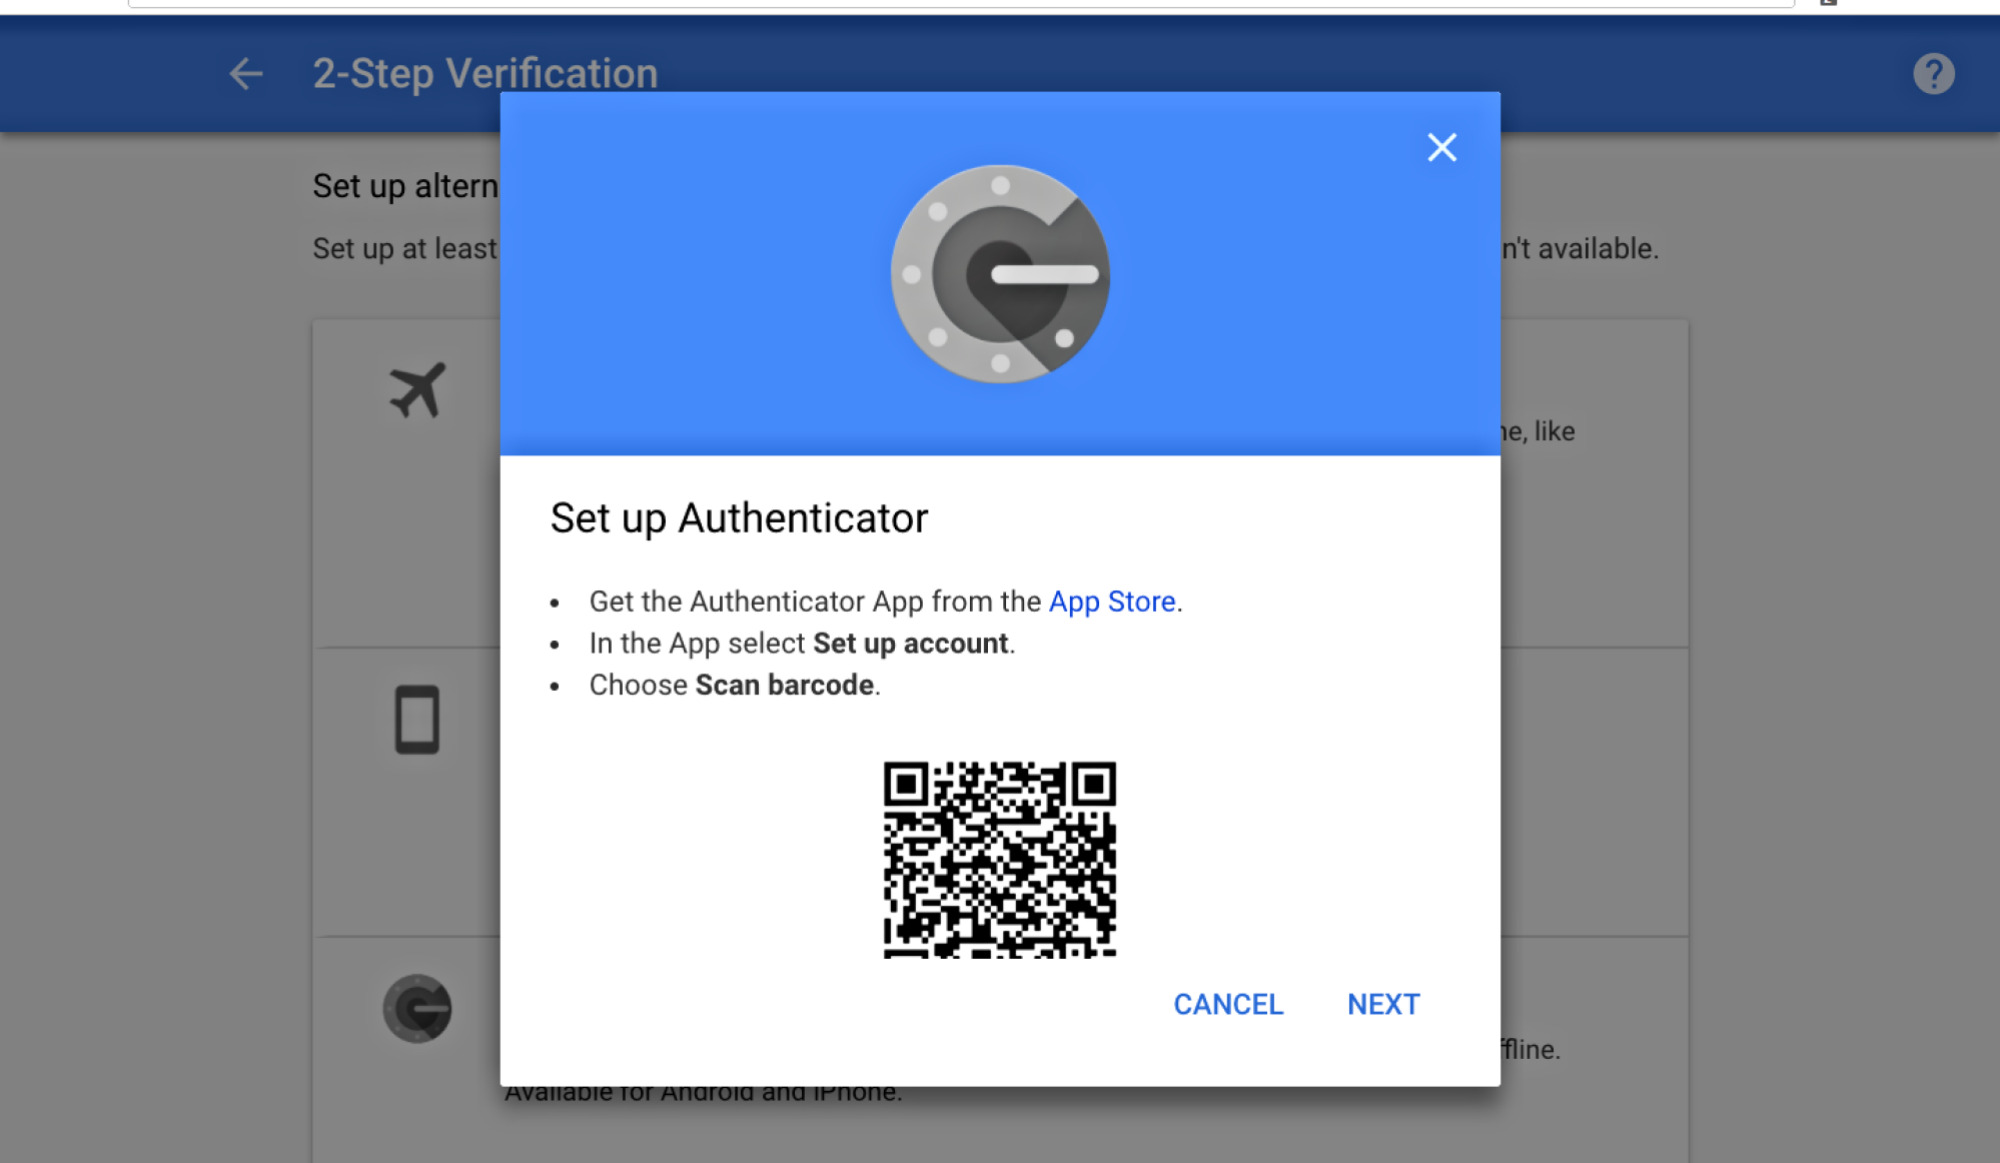
- Scan a QR code: This method is typically used by most websites and apps that support Google Authenticator. To add an account using this method, select “Scan a barcode” or “QR code” option from the app’s menu. Point your phone’s camera towards the QR code displayed on the website or app you wish to add and allow Google Authenticator to scan it. The account will be added automatically.
- Manual entry: Some websites and apps may provide a manual entry option if they don’t support QR codes. In such cases, select “Enter a provided key” or “Manual entry” option from the menu. Enter the account name and the secret key provided by the website or app, and tap “Add” or “Save”. The account will be added to Google Authenticator.
- Repeat these steps for each account you want to add to Google Authenticator on your new phone. You can add multiple accounts, including those from different websites or apps.
It’s important to note that when adding accounts to Google Authenticator on your new phone, ensure the accuracy of the information you enter or scan. Any errors in the account name or secret key can result in authentication failures and difficulty accessing your accounts. Double-check the details provided by the website or app to ensure accuracy.
With the accounts successfully added to Google Authenticator on your new phone, you’re now ready to proceed to the next step. In the following section, we’ll guide you on how to transfer accounts from your old phone to your new phone.
Step 4: Transfer accounts from your old phone to your new phone
To ensure a seamless transition, it’s essential to transfer the accounts from your old phone to your new phone in Google Authenticator. Follow these steps to transfer accounts from your old phone to your new phone:
- Open Google Authenticator on your old phone.
- Look for an option to access the settings or preferences within the app. This may be denoted by three dots or lines in the top corner, or it may be accessed through a menu button.
- Select the option to “Transfer accounts” or “Export accounts”.
- Choose the method to transfer accounts:
- QR code: If available, select the option to generate a QR code on your old phone. This will encode all your accounts’ information.
- Manual entry: If QR code transfer is not available, select the option to view the accounts’ details, including their names and secret keys. Note these details down or take a screenshot.
- On your new phone, open Google Authenticator and follow the previous steps to add a new account. Instead of scanning a QR code or manually entering the details, use the QR code or manually enter the details provided on your old phone.
- Repeat this process for each account you want to transfer from your old phone to your new phone.
It’s important to note that once you have successfully transferred an account to your new phone, ensure that it is functioning correctly by generating a verification code and using it to log in to the respective website or app. This will confirm that the account was transferred successfully and that Google Authenticator is working as intended on your new device.
If you encounter any difficulties or if the transfer process does not work for a specific account, refer to the support documentation of the respective website or app for additional guidance on transferring accounts to a new phone.
With the accounts successfully transferred from your old phone to your new phone in Google Authenticator, you’re now ready to proceed to the final step. In the next section, we’ll guide you on how to verify the transferred accounts on your new phone.
Step 5: Verify transferred accounts on your new phone
After transferring your accounts from your old phone to your new phone in Google Authenticator, it’s essential to verify that the accounts are working correctly. Follow these steps to verify the transferred accounts on your new phone:
- Open Google Authenticator on your new phone.
- Locate the account that you transferred from your old phone. It should appear in the list of accounts within the app.
- Tap on the account to generate a verification code.
- Quickly switch to the website or app associated with that account on your computer or another device.
- Enter your username/email and password as usual.
- When prompted for the verification code, enter the code generated by Google Authenticator on your new phone.
- If the code is accepted, you have successfully verified the transferred account.
- Repeat the process for each transferred account to ensure they are all working correctly on your new phone.
During the verification process, it’s important to ensure the accuracy of the verification codes and enter them correctly. The codes generated by Google Authenticator are time-based, typically lasting for a short duration, before a new code is generated.
If you encounter any issues with the verification process, such as the code not being accepted or the account not working, double-check that you transferred the correct account details from your old phone. If the problem persists, consult the support documentation or contact the website or app’s customer support for further assistance.
With the transferred accounts verified and working correctly on your new phone, you can now confidently use Google Authenticator for two-factor authentication and securely access your accounts.
Congratulations! You have successfully completed all the necessary steps to log into Google Authenticator on your new phone. Enjoy the added security and peace of mind that Google Authenticator provides for your online accounts.
Conclusion
Logging into Google Authenticator on your new phone is a crucial step to ensure the security and accessibility of your online accounts. With the step-by-step guide provided, you are equipped to easily navigate the process and transfer your accounts seamlessly.
By installing Google Authenticator on your new phone, you gain access to enhanced security features and improved two-factor authentication. This reinforces the protection of your sensitive information and reduces the risk of unauthorized access to your accounts.
Adding accounts to Google Authenticator on your new phone allows you to consolidate and streamline your authentication process, making it easier to manage and access multiple accounts from a single app. It simplifies the verification process and eliminates the need for separate authentication methods.
Transferring accounts from your old phone to your new phone is essential to maintain access to your accounts and prevent any potential disruptions in your online activities. By following the provided steps carefully, you can ensure a smooth transition of your accounts to the new device.
Verifying the transferred accounts on your new phone is the final step in the process. By generating verification codes and successfully applying them to log into your accounts, you can confirm that the transferred accounts are functioning correctly on your new phone.
With Google Authenticator set up on your new phone, you can enjoy increased security and peace of mind when accessing your online accounts. Remember to keep your new phone secure and regularly back up your accounts in case of unforeseen circumstances.
We hope this guide has been helpful in guiding you through the process of logging into Google Authenticator on your new phone. By following these steps, you can ensure a smooth and secure transition, allowing you to continue using two-factor authentication to protect your online presence.
If you encounter any issues or have further questions, consult the support documentation of the respective websites or apps, or contact their customer support for additional guidance. Stay proactive in safeguarding your accounts and enjoy the enhanced security that Google Authenticator provides!