Introduction
Welcome to the world of enhanced security with Google Authenticator. In this digital age, where our personal information and online accounts are constantly at risk of being compromised, it is crucial to implement strong security measures to protect our valuable data. One such measure is the use of two-factor authentication (2FA), and Google Authenticator is a popular and reliable app that can help ensure the security of your accounts.
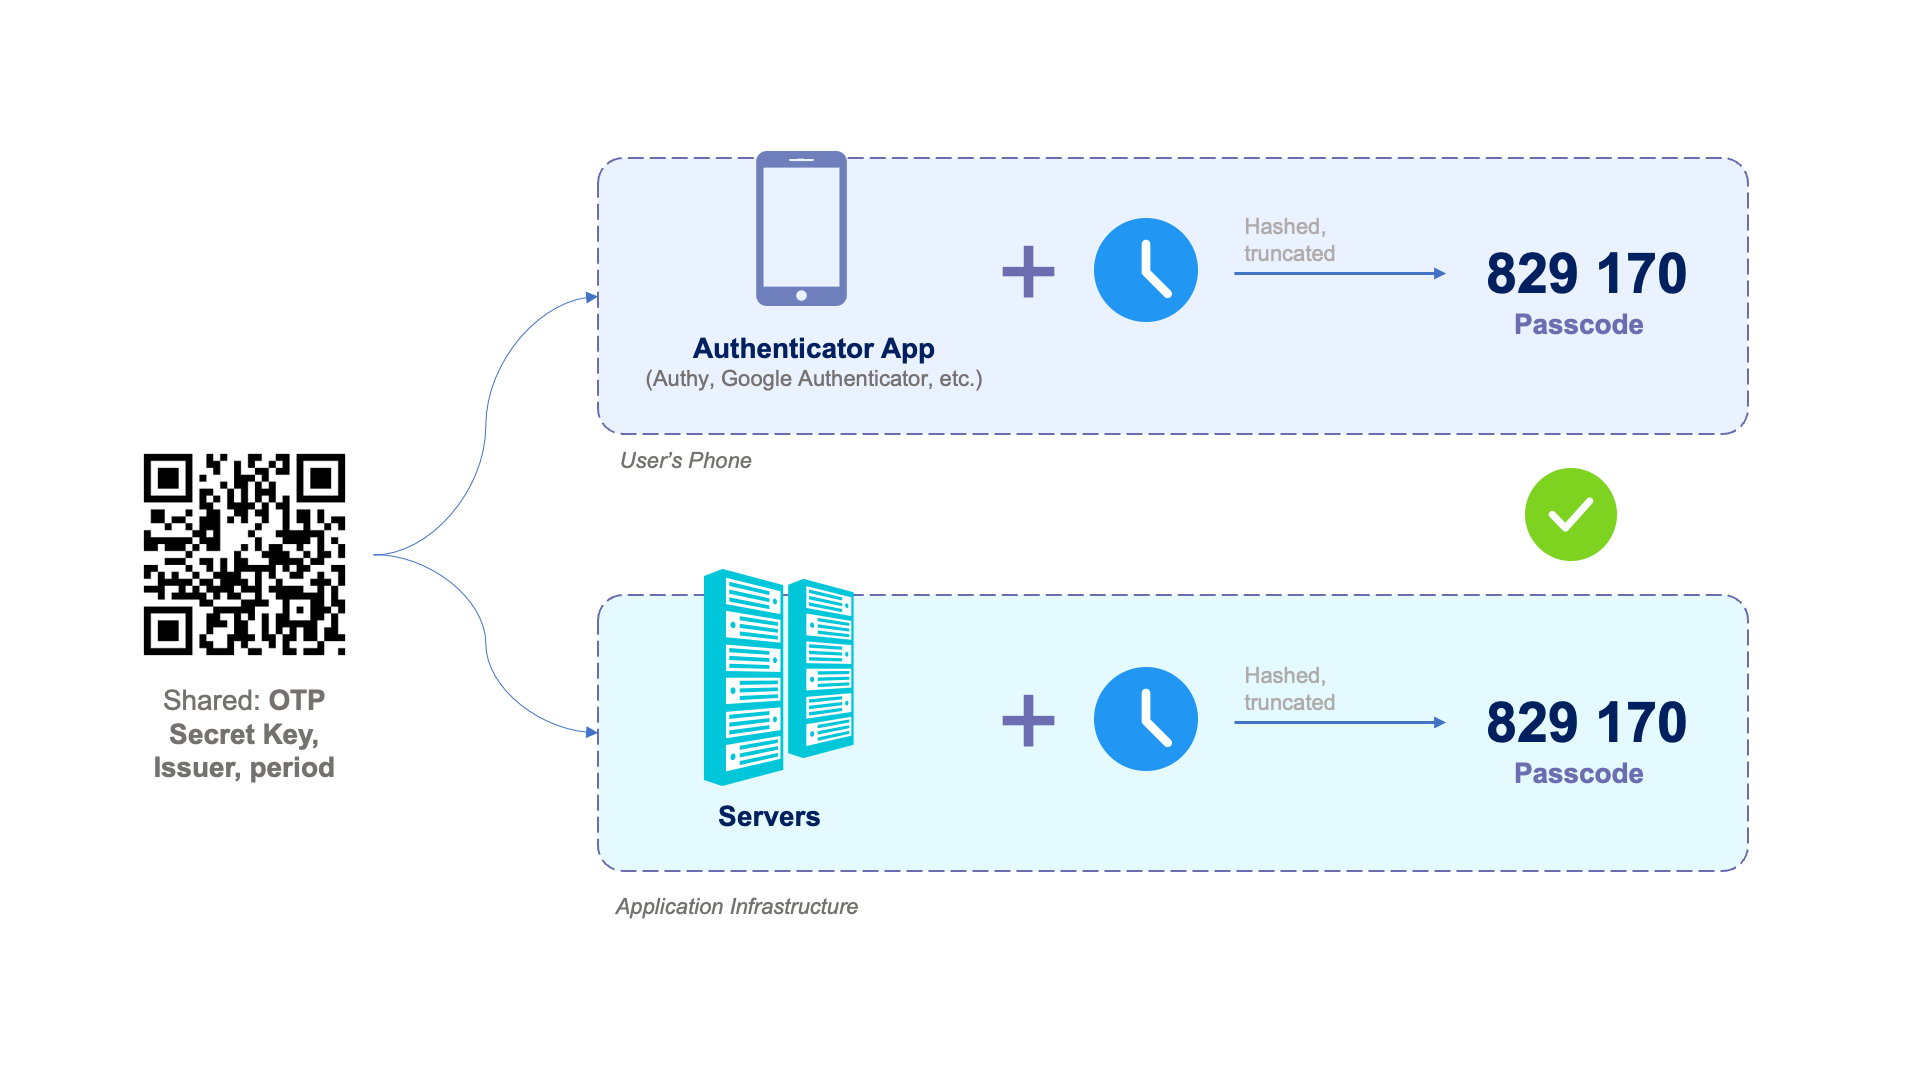
Google Authenticator provides an additional layer of protection by generating time-based one-time passwords (TOTPs) that are required along with your regular credentials when logging in to your accounts. This means that even if hackers obtain your password, they will still need the unique code generated by the app on your smartphone to gain access.
In this article, we will guide you through the process of setting up Google Authenticator on your new phone. Whether you have upgraded to a new device, lost your old phone, or simply want to add an extra layer of convenience and security, we’ve got you covered. Follow the steps below to ensure a seamless transition without compromising the security of your accounts.
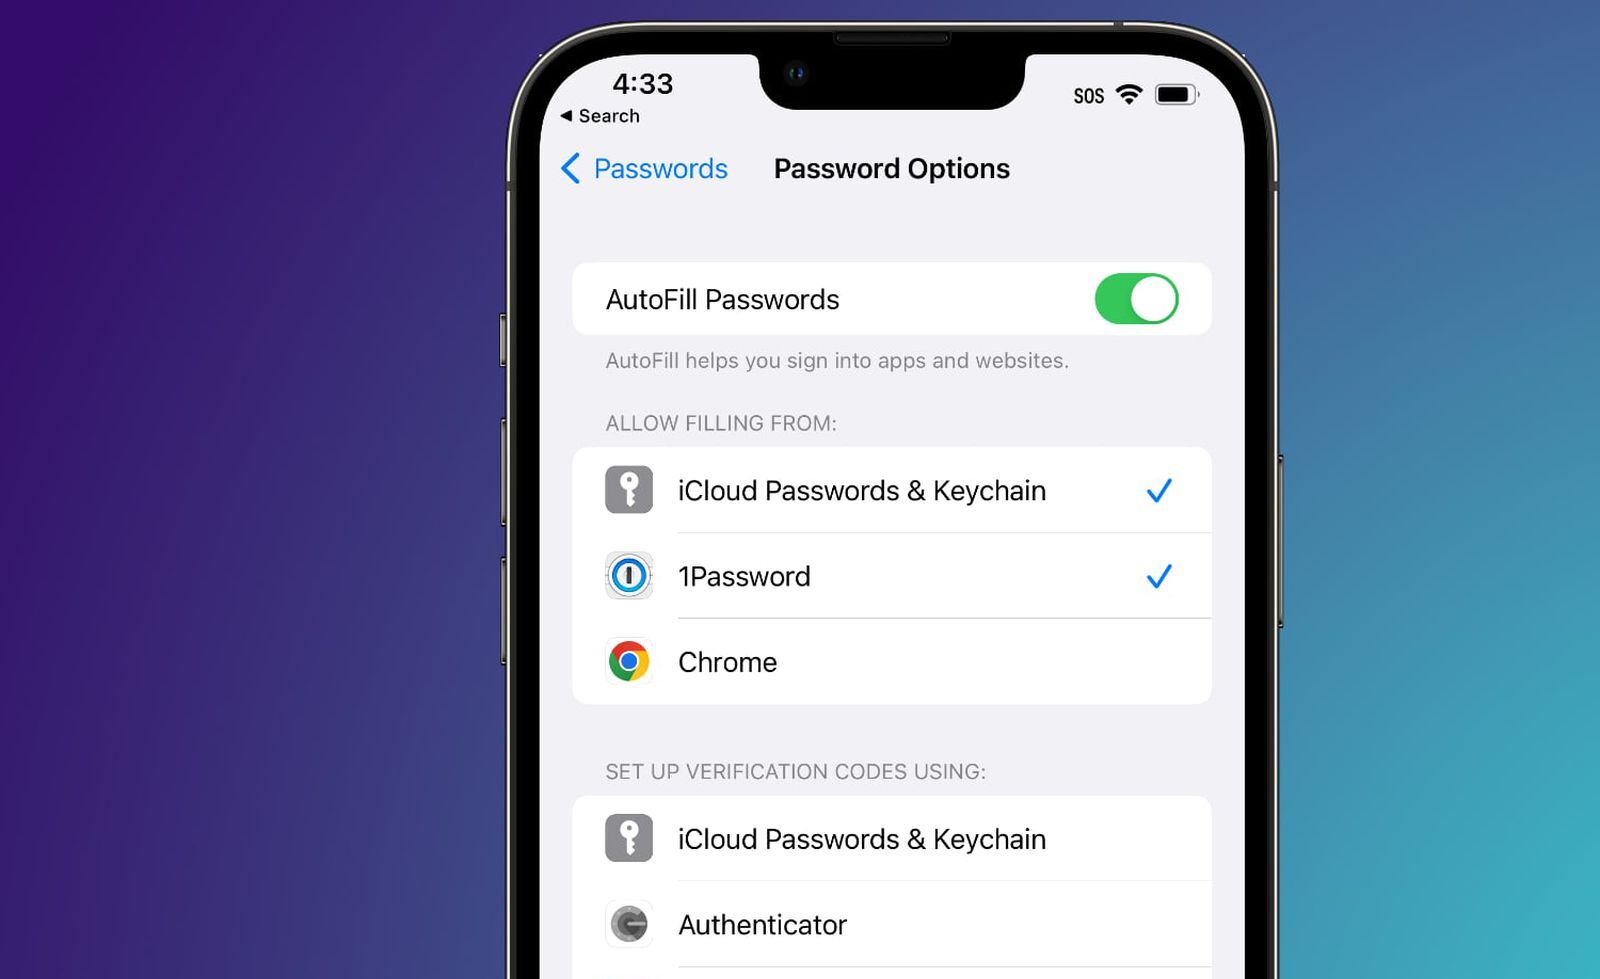
Before we dive into the step-by-step instructions, it’s important to note that Google Authenticator is available for both iOS and Android devices. Make sure your new phone is compatible with the app, and if not, there are alternative authentication apps you can consider.
Now, let’s get started with the first step of downloading and installing Google Authenticator on your new phone.
Step 1: Download and Install Google Authenticator on your new phone
The first step in setting up Google Authenticator on your new phone is to download and install the app from the official app store. Here’s how:
- Open the app store on your new phone. If you’re using an iPhone, open the App Store; if you have an Android phone, open the Google Play Store.
- Search for “Google Authenticator” using the search bar at the top of the app store.
- Look for the official Google Authenticator app developed by Google LLC and tap on it.
- Tap the “Install” or “Get” button to begin the download and installation process.
- Wait for the app to be downloaded and installed on your phone.
- Once the installation is complete, you will find the Google Authenticator app icon on your home screen or in the app drawer.
Now that you have successfully downloaded and installed Google Authenticator on your new phone, you are ready to transfer your accounts to the app. But before we do that, let’s move on to the next step – disabling Google Authenticator on your old phone.
Step 2: Disable Google Authenticator on your old phone
Before setting up Google Authenticator on your new phone, it’s important to disable it on your old phone to ensure a smooth transition. Follow these steps to disable Google Authenticator on your old phone:
- Open Google Authenticator on your old phone. If you can’t find the app icon, try searching for it in your app drawer or home screen.
- Once the app is opened, you will see a list of all the accounts that are currently linked to Google Authenticator.
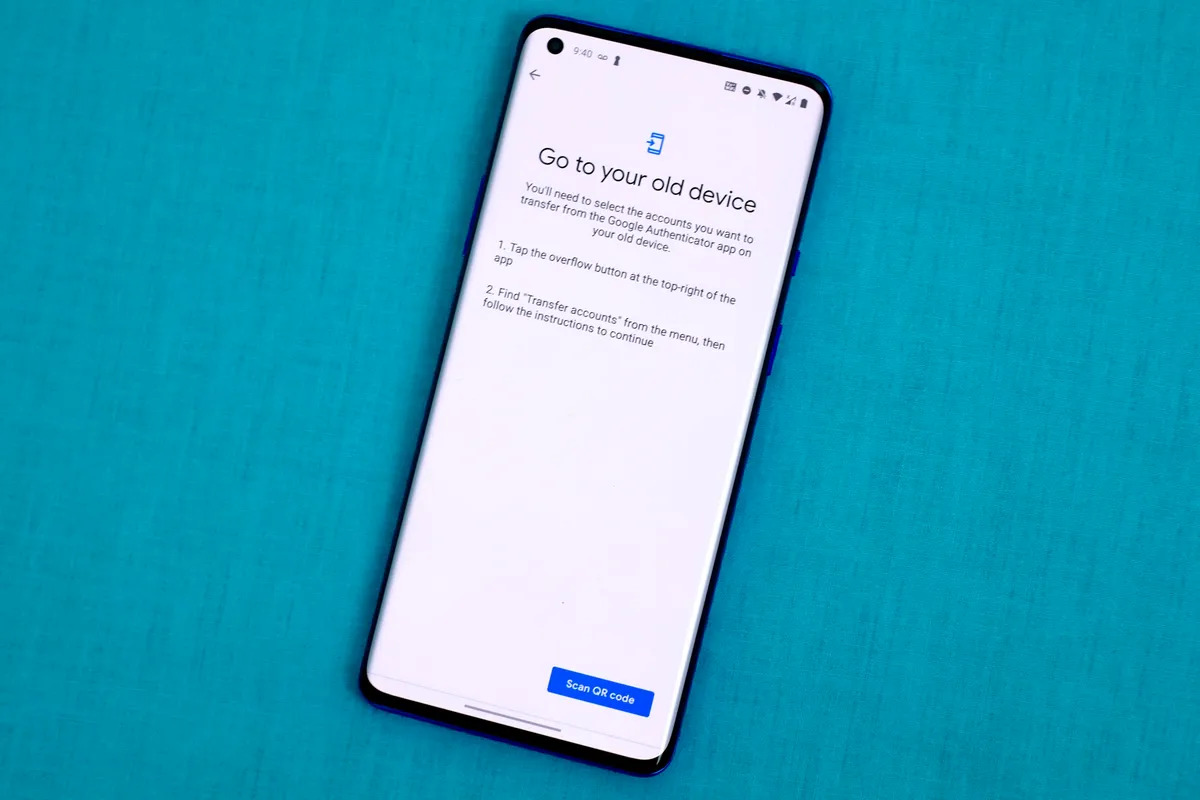
- Identify the accounts that you want to transfer to your new phone and make note of them.
- For each account, go to the corresponding website or app where you set up 2FA using Google Authenticator.
- Look for the 2FA settings or security settings on the website or app.
- Find the option to disable or remove 2FA for each account.
- Follow the on-screen instructions to disable 2FA for each account.
- Once you have disabled 2FA for all the accounts on your old phone, you can safely uninstall Google Authenticator from your old phone.
By disabling Google Authenticator on your old phone, you ensure that the accounts are no longer linked to the app on that device. This step is crucial to prevent any potential issues or conflicts when setting up Google Authenticator on your new phone.
Now that you have disabled Google Authenticator on your old phone, let’s move on to the next step – setting up Google Authenticator on your new phone.
Step 3: Set up Google Authenticator on your new phone
Now that you have downloaded and installed Google Authenticator on your new phone and disabled it on your old phone, it’s time to set up the app on your new device. Follow these steps to complete the setup process:
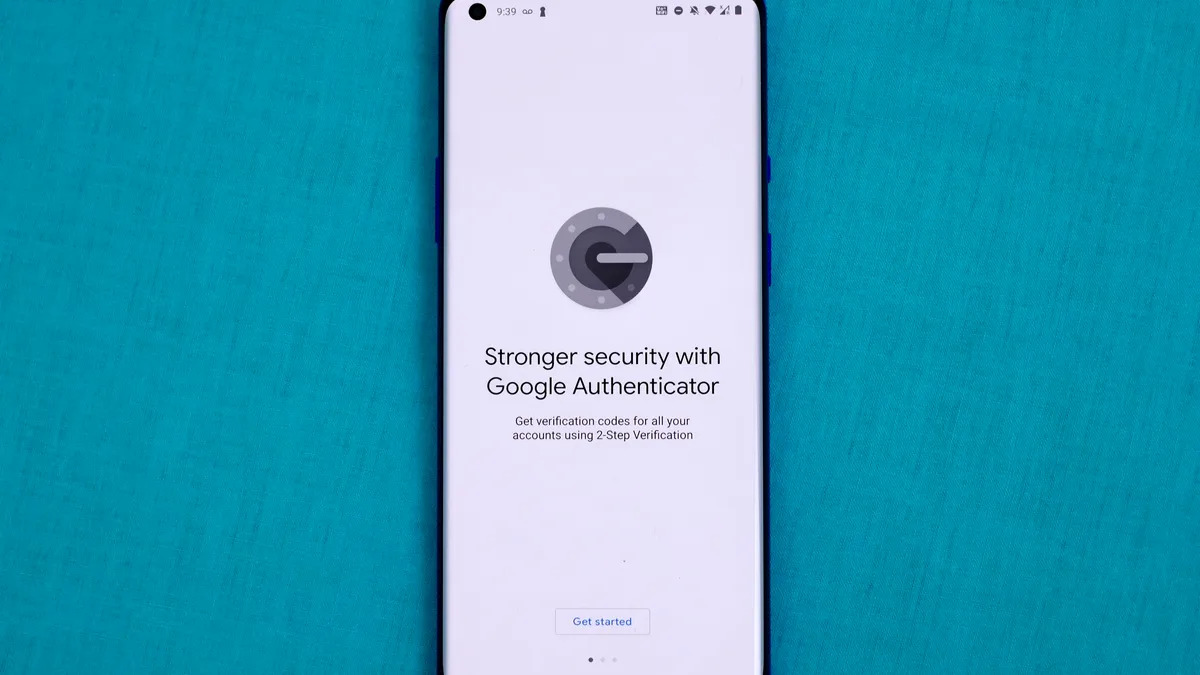
- Open the Google Authenticator app on your new phone. You should see a welcome screen with the option to “Begin setup” or “Scan a barcode”. Tap on the “Begin setup” button.
- Choose how you would like to add your accounts to Google Authenticator. You have two options: manual entry or scanning a QR code.
- If you choose to manually enter the details, select the “Enter a provided key” option. You will then need to enter the account name and the secret key provided by the website or app you are setting up 2FA for. Enter the details and tap “Add” or “Save”. Repeat this step for each account you want to link to Google Authenticator.
- If you choose to scan a QR code, select the “Scan a barcode” option. Grant the app permission to access your device’s camera. Position your phone’s camera in front of the QR code provided by the website or app, so that the QR code fits within the frame on your screen. The app will automatically scan the code and add the account to Google Authenticator.
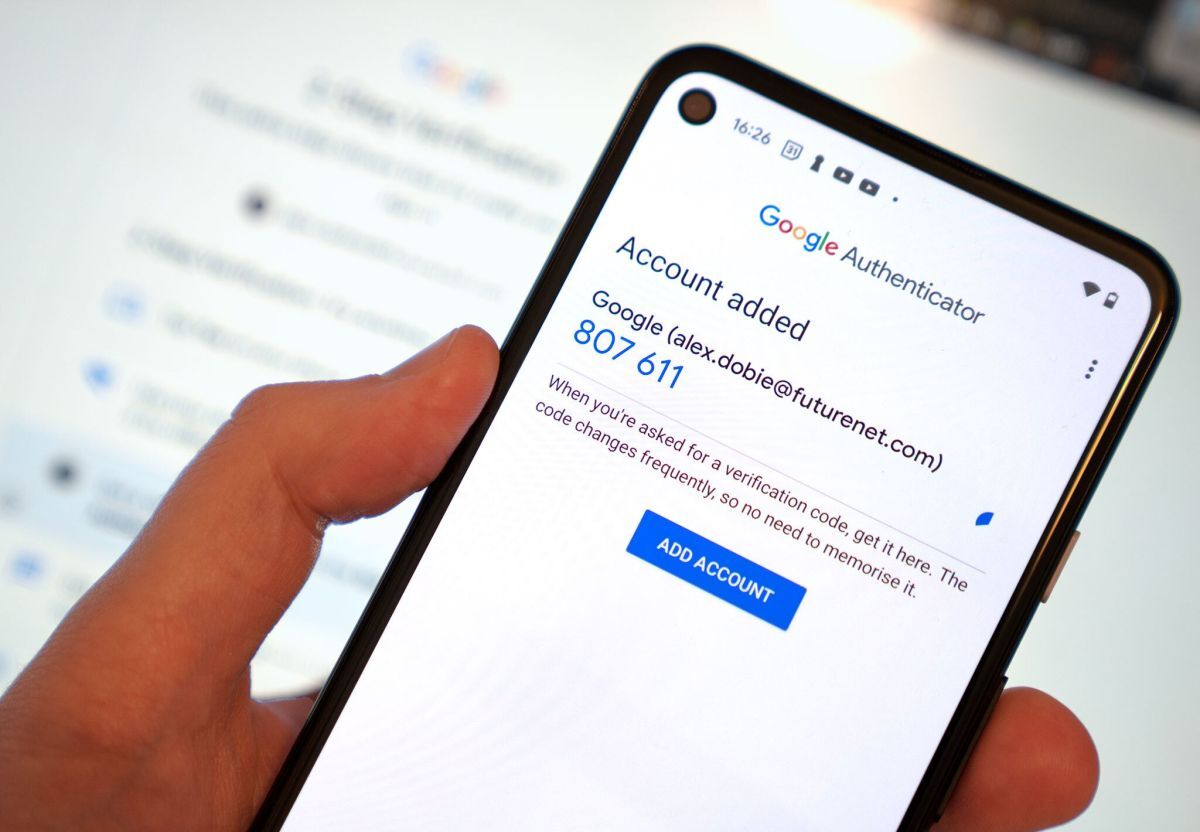
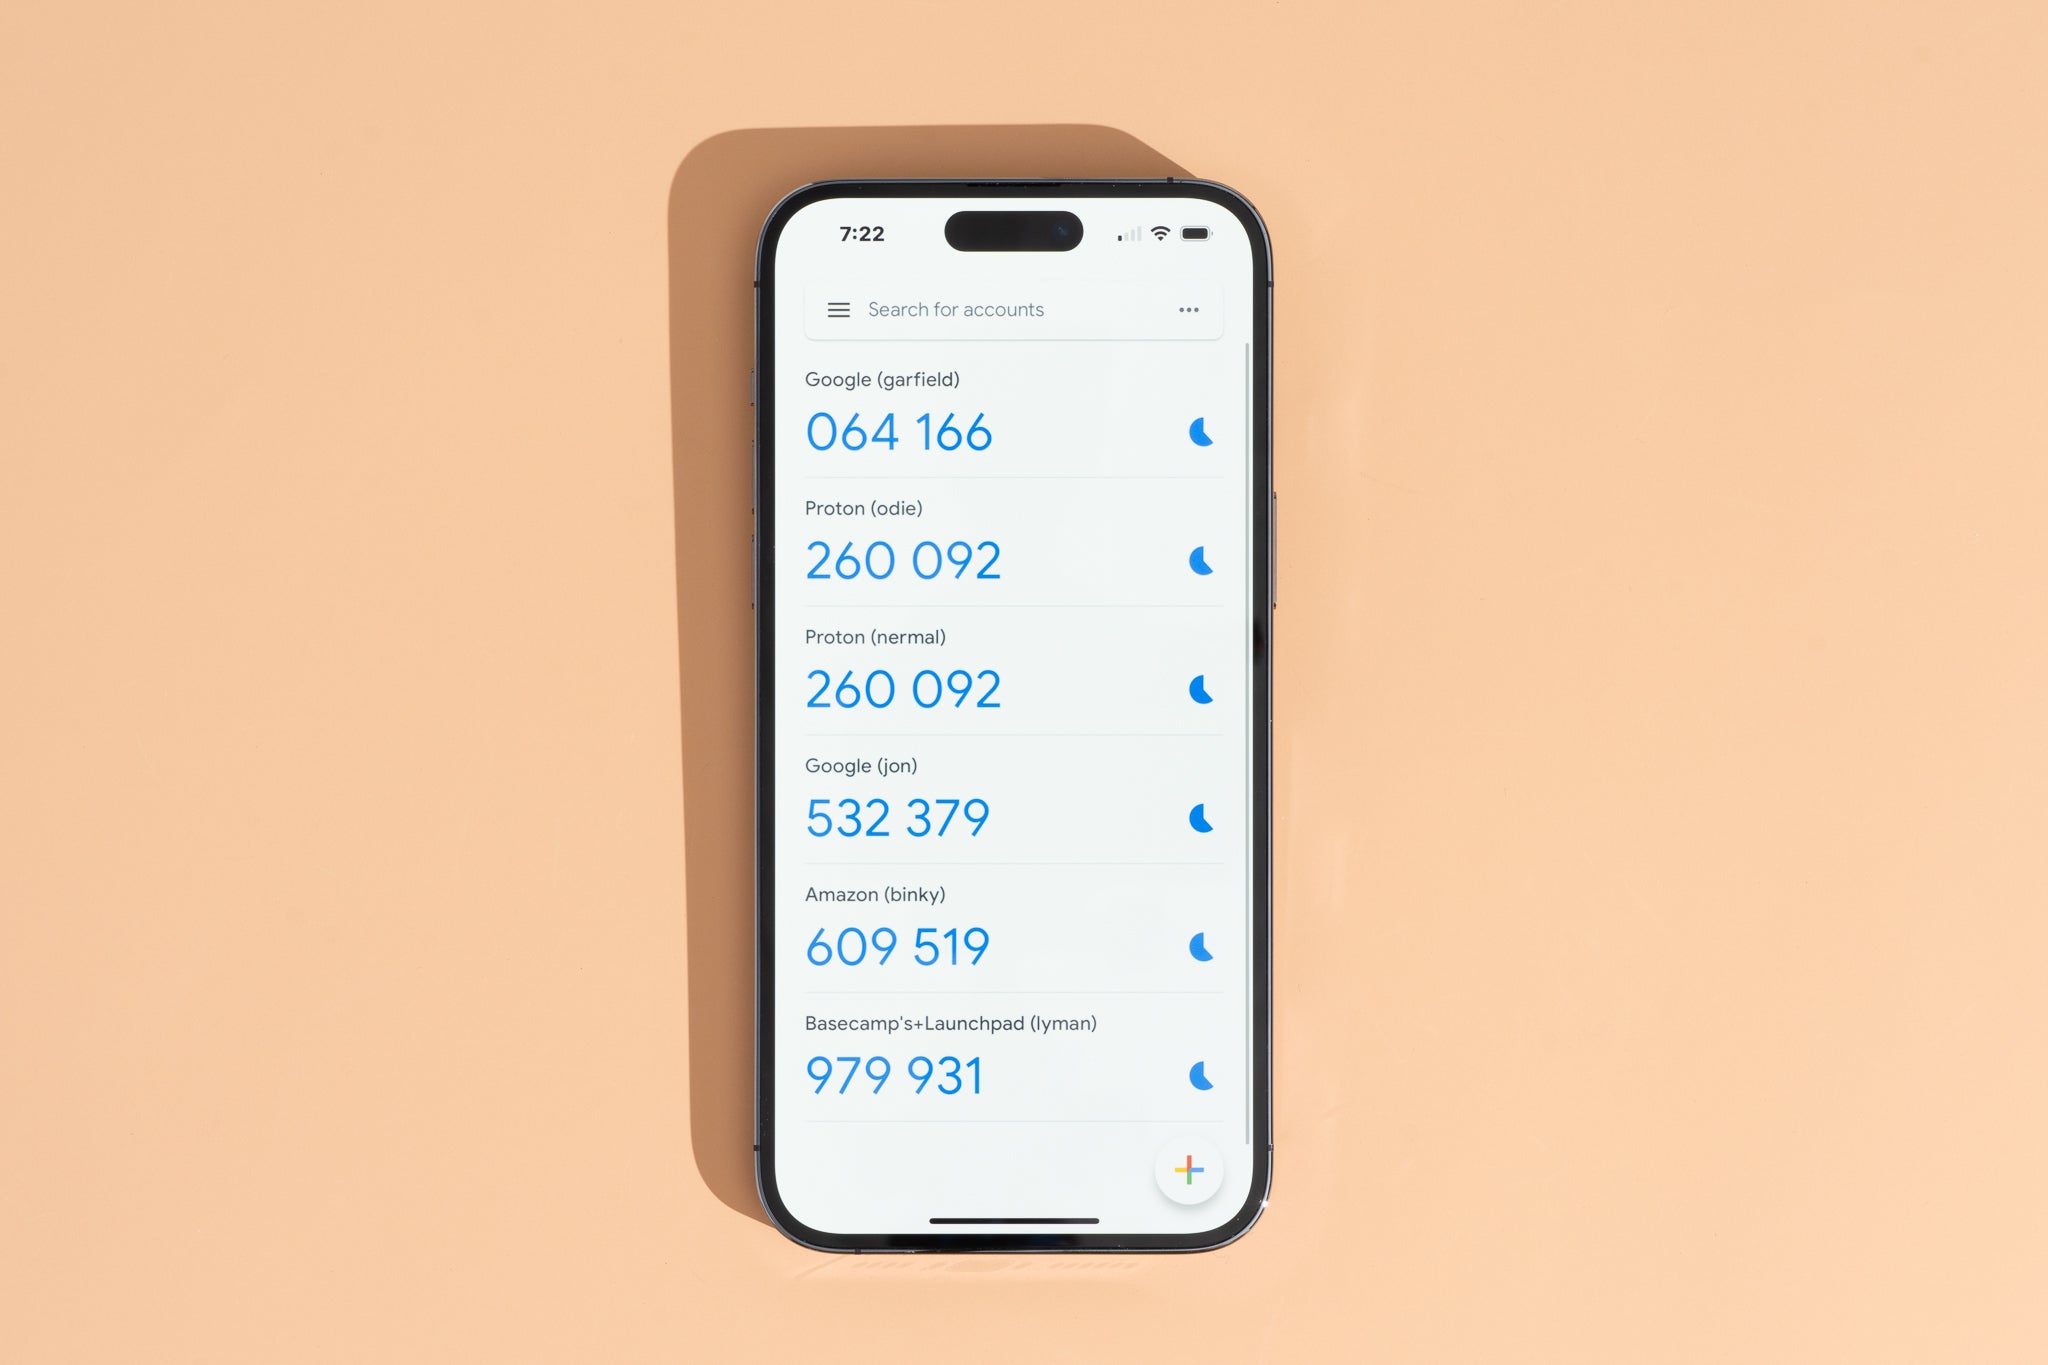
- Once you have added all your accounts to Google Authenticator on your new phone, you will see a list of the accounts along with their corresponding codes.
- You may have the option to customize the display name or order of the accounts within the app. This can help you easily identify and access the codes for different accounts.
Congratulations! You have successfully set up Google Authenticator on your new phone. In the next step, we will guide you on how to enable Google Authenticator for your accounts.
Step 4: Enable Google Authenticator for your accounts
Now that you have set up Google Authenticator on your new phone, it’s time to enable it for your accounts. Enabling Google Authenticator will allow you to generate the unique time-based one-time passwords (TOTPs) required for logging in to your accounts. Follow these steps to enable Google Authenticator for your accounts:
- Open each website or app where you have set up 2FA using Google Authenticator.
- Navigate to the security settings or 2FA settings of each website or app.
- Look for the option to enable or set up 2FA for each account.
- Select the option to use an authentication app or “Google Authenticator” as your preferred method of 2FA.
- Follow the on-screen instructions to link your account with Google Authenticator.
- Most websites and apps will ask you to verify the connection by entering a code generated by Google Authenticator. Open the app on your new phone, find the account in the list, and enter the code displayed for that account.
- Once you have successfully verified the connection, the website or app will confirm that 2FA has been enabled using Google Authenticator.
- Repeat this process for each account you want to enable 2FA with Google Authenticator.
Enabling Google Authenticator for your accounts adds an extra layer of security by requiring the generated codes in addition to your regular login credentials. This significantly reduces the risk of unauthorized access to your accounts, as even if someone obtains your password, they won’t be able to log in without the unique codes from Google Authenticator.
With all your accounts now linked to Google Authenticator on your new phone, you can rest assured that your digital presence is better protected from potential threats.
As a reminder, make sure to securely backup your account credentials and recovery codes in case you ever need to reset or restore your device in the future. It’s always a good practice to have a backup plan to avoid any inconvenience or loss of access to your accounts.
Congratulations! You have successfully enabled Google Authenticator for your accounts. Now, you can enjoy the enhanced security provided by two-factor authentication and the convenience of accessing your unique codes with just a few taps on your new phone.
Conclusion
In this article, we have walked you through the process of setting up Google Authenticator on your new phone. By following the steps outlined in this guide, you have successfully downloaded and installed Google Authenticator, disabled it on your old phone, set it up on your new phone, and enabled it for your accounts.
Implementing two-factor authentication with Google Authenticator provides an additional layer of security for your online accounts. With the app generating unique time-based one-time passwords (TOTPs), you can rest assured that your accounts are well-protected from unauthorized access.
Remember, it is essential to keep your new phone safe and secure. Set up a strong passcode or use biometric authentication to prevent unauthorized access to your device. Additionally, regularly update and backup your phone’s software to ensure you have the latest security patches.
If you ever face any issues during the setup process or need further assistance, consult the support documentation provided by the websites or apps you are linking to Google Authenticator. They will have specific instructions tailored to their services.
By taking the time to set up Google Authenticator on your new phone, you are investing in the security and privacy of your digital life. The peace of mind that comes with knowing your accounts are protected by an extra layer of authentication is invaluable.
Now that you have successfully completed the setup process, enjoy the enhanced security and convenience that Google Authenticator brings to your online interactions. Stay safe, stay secure, and embrace the power of two-factor authentication!