Introduction
Welcome to the world of enhanced security with Google Authenticator! In our digitally-driven age, protecting our online accounts from unauthorized access is becoming increasingly vital. With the rise of cyber threats, it is essential to have robust security measures in place.
In this article, we will delve into Google Authenticator, a popular authentication app that offers an extra layer of security for your online accounts. By providing a unique verification code, Google Authenticator adds an additional step to the login process, making it much more difficult for hackers to breach your accounts.
If you”ve ever wondered how to set up and use Google Authenticator, you”ve come to the right place. We will guide you through the entire process, including installing the app, setting it up on your device, and generating authentication codes. Additionally, we will address common issues you may encounter along the way.
So, whether you”re a tech-savvy individual looking to bolster your online security or a business owner seeking to fortify your company”s accounts, this article will provide you with step-by-step instructions on how to get started with Google Authenticator.
Before we dive into the setup process, let”s take a closer look at what exactly Google Authenticator is and how it works.
What is Google Authenticator?
Google Authenticator is a free mobile app that provides an additional layer of security to your online accounts. It utilizes two-factor authentication (2FA), also known as two-step verification, to add an extra step to the login process.
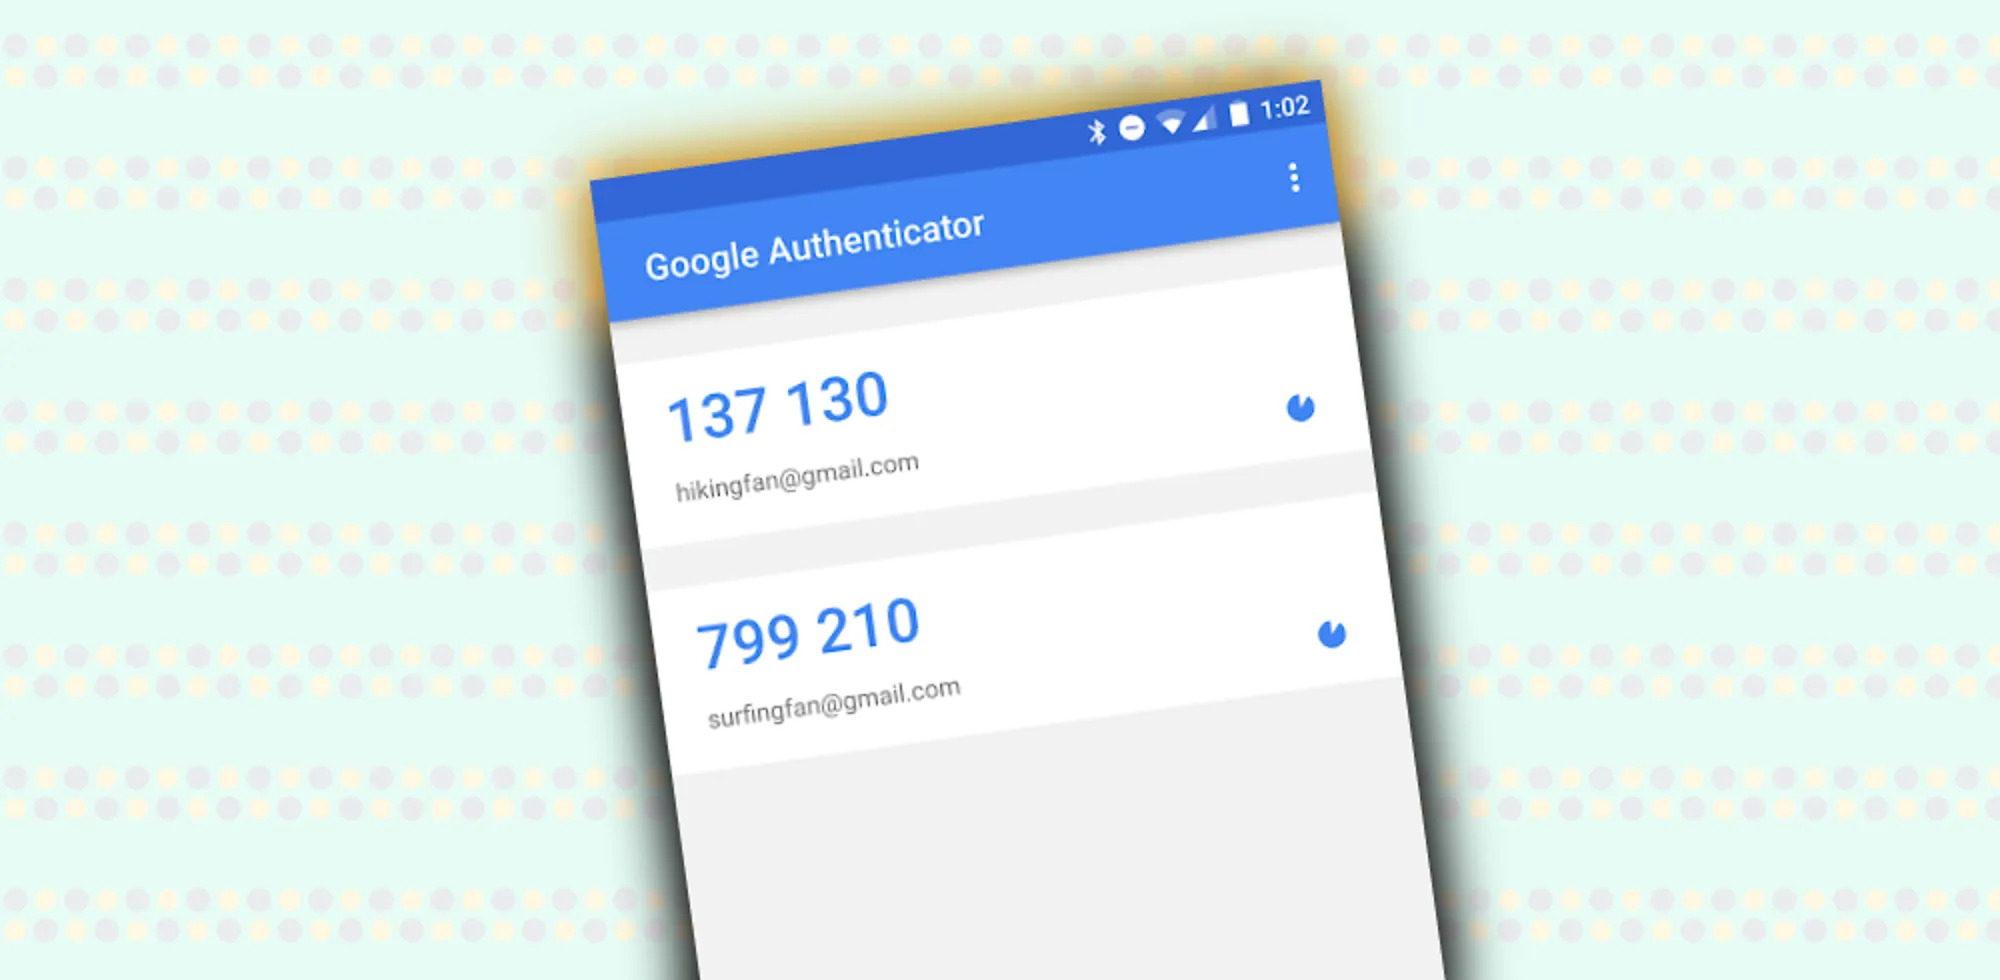
With Google Authenticator, you can generate unique verification codes that are required for accessing your accounts. These codes are time-based and change frequently, typically every 30 seconds. By utilizing this app, you can significantly enhance the security of your sensitive data and protect yourself against potential cyber attacks.
The way Google Authenticator works is relatively simple. Once you enable it for your account, whether it’s for your email, social media, or other online platforms, you will be prompted to enter a six-digit verification code in addition to your regular password. This one-time code is generated by the Google Authenticator app and is unique to your account and device.
Unlike traditional authentication methods that rely solely on passwords, Google Authenticator adds an extra layer of security by requiring a device-specific verification code. This means that even if someone gets hold of your password, they would still need physical access to your device to generate the correct code. This significantly reduces the chances of unauthorized access to your accounts.
Google Authenticator supports multiple accounts, allowing you to secure several online profiles within a single app. This means that you can protect your email, social media, online banking, and other accounts using a single authentication app, streamlining the security process.
Now that you have a better understanding of what Google Authenticator is and how it can enhance the security of your online accounts, let’s dive into the process of setting it up on your device.
Setting Up Google Authenticator
Setting up Google Authenticator is a straightforward process that involves installing the app on your device and then configuring it for your accounts. Follow the steps below to get started:
Step 1: Install Google Authenticator
The first step is to download and install the Google Authenticator app on your mobile device. It is compatible with both Android and iOS devices and can be found in the respective app stores. Simply search for “Google Authenticator” and select the official app developed by Google.
Step 2: Open Google Authenticator
Once the app is installed, locate the Google Authenticator icon on your device and open it. You will be greeted with an introductory screen providing an overview of the app’s features.
Step 3: Set Up Google Authenticator on Your Device
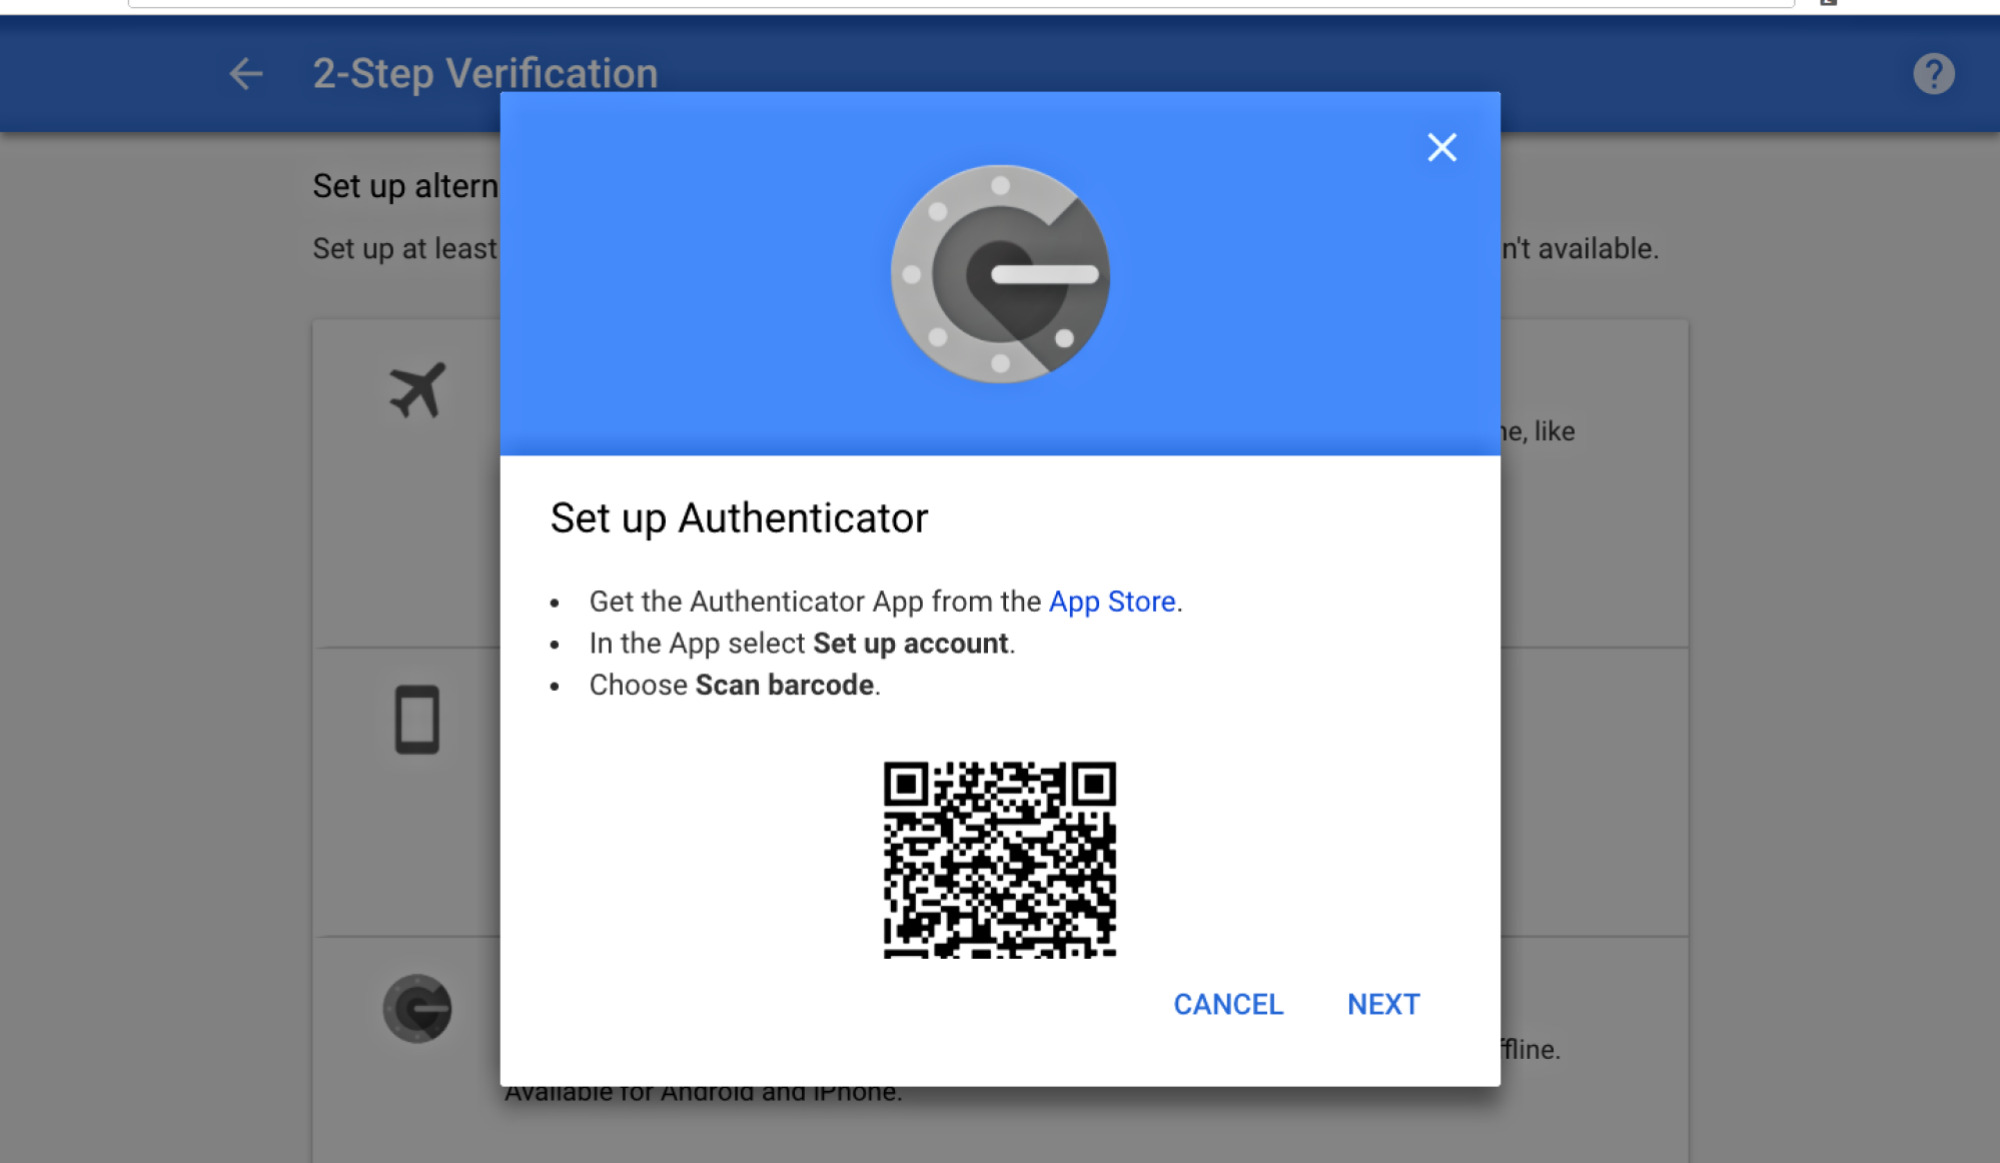
To begin setting up Google Authenticator for your accounts, you have two options: manually add accounts or scan QR codes. Most popular online platforms, such as Google, Facebook, and Instagram, offer QR code scanning for easier setup. If your preferred platform doesn’t support QR codes, you can manually add accounts by selecting the “Add Account” option in the app and entering the necessary details provided by the platform.
For QR code scanning, select the “Scan a QR Code” option in the app. This will activate your device’s camera, which you can use to scan the QR code displayed on the platform you wish to secure. Make sure to align the QR code within the frame and allow the app to capture it. The account will then be added to the app, and you will see a verification code for that account.
Step 4: Secure Your Google Authenticator
It is crucial to take steps to secure your Google Authenticator app to prevent unauthorized access to your accounts. Set a passcode, also known as a PIN, for the app to add an extra layer of protection. This PIN will be required every time you open the app or attempt to generate a verification code. Avoid using common or easily guessable PINs and opt for a unique code that you can easily remember.
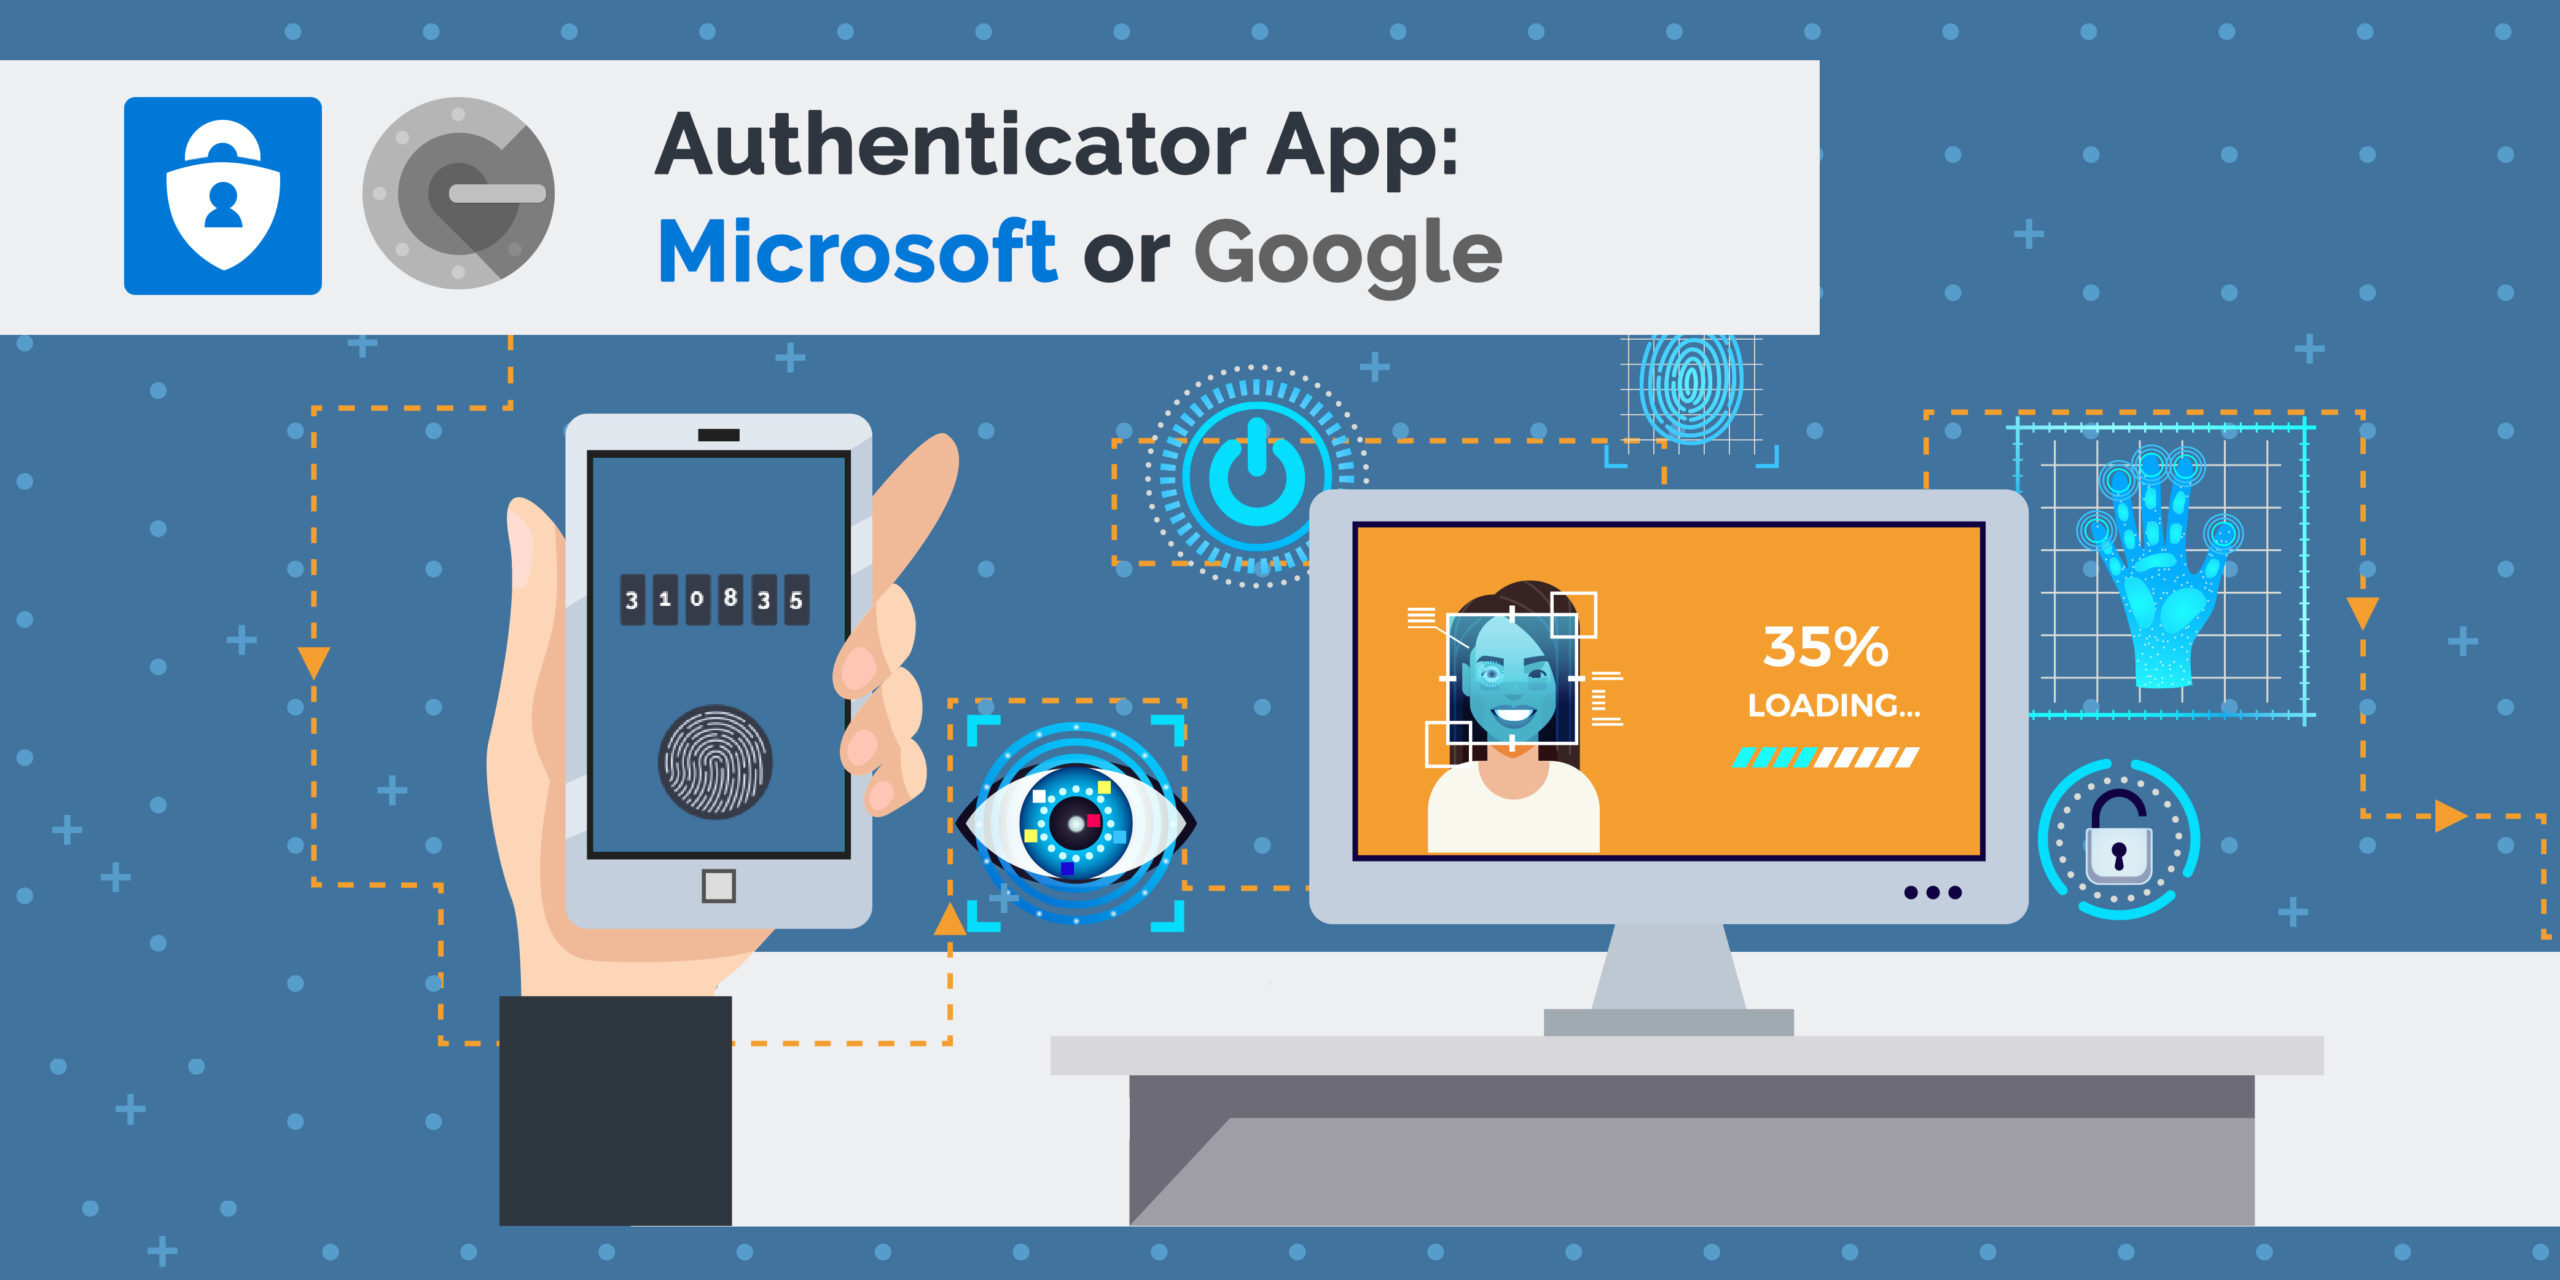
Additionally, consider enabling biometric authentication, such as fingerprint or facial recognition, if your device supports it. This provides an added level of security and prevents unauthorized access even if someone knows your PIN.
Now that you have successfully set up Google Authenticator on your device and secured it, you are ready to generate verification codes and start using this powerful authentication tool.
Step 1: Install Google Authenticator
The first step in setting up Google Authenticator is to download and install the app on your mobile device. Follow these instructions based on your device’s operating system:
For Android Users:
- Open the Google Play Store on your Android device.
- In the search bar, type “Google Authenticator” and tap on the official Google Authenticator app.
- Tap the “Install” button to download and install the app on your device.
For iOS Users:
- Open the App Store on your iOS device.
- In the search bar, type “Google Authenticator” and tap on the official Google Authenticator app.
- Tap the “Get” or “Download” button to download and install the app on your device.
After the installation is complete, you will find the Google Authenticator app icon on your device’s home screen or app drawer.
It is important to note that there are several third-party apps with similar names in the app stores. To ensure you download the official Google Authenticator app, check that it is developed by Google LLC and has the official Google logo.
Now that you have successfully installed Google Authenticator on your device, you are ready to move on to the next step of the setup process.
Step 2: Open Google Authenticator
Now that you have installed Google Authenticator on your device, it’s time to open the app and familiarize yourself with its features and interface. Follow these steps to open Google Authenticator:
- Locate the Google Authenticator app icon on your device’s home screen or app drawer. The app icon resembles a white keyhole on a black background.
- Tap on the Google Authenticator app icon to open it. The app will load and display its main screen.
Upon opening the Google Authenticator app, you will be greeted with an introductory screen that may provide a brief overview of the app’s features and the importance of two-factor authentication. Read through the information provided to familiarize yourself with the purpose and benefits of using Google Authenticator.
Once you have gone through the introductory screen, you will be ready to proceed to the next step of setting up Google Authenticator on your device. This will involve adding and configuring your accounts within the app, enabling two-factor authentication for enhanced security.
By opening Google Authenticator, you have taken the first step towards securing your online accounts with an additional layer of protection. This authentication app will help safeguard your sensitive information by generating time-based verification codes that are unique to your device.
Now that you have opened Google Authenticator and are acquainted with the app’s interface, you are ready to move on to the next steps of setting up your accounts and generating verification codes. These steps will ensure that your online profiles are well-protected against potential cyber threats.
Step 3: Set Up Google Authenticator on Your Device
With Google Authenticator open on your device, it’s time to set it up for your accounts by adding them to the app. The process differs slightly depending on whether you are manually adding accounts or using QR code scanning. Follow these instructions to set up Google Authenticator on your device:
Option 1: Manually Add Accounts
- Open the Google Authenticator app on your device.
- Tap on the “Add Account” button, usually located at the bottom-right corner of the screen.
- Enter the account name or a description to help identify it. This could be the name of the platform or website associated with the account.
- Enter the account’s secret key or authentication code. This is typically provided through your online account’s security settings or during the initial setup process.
- Tap the “Add” or “Save” button to add the account to Google Authenticator.
Option 2: Scan QR Codes
- Open the Google Authenticator app on your device.
- Tap on the “Scan a QR Code” button, usually located at the bottom-right corner of the screen.
- Align your device’s camera with the QR code displayed on the platform or website you wish to secure. Make sure the entire QR code fits within the frame.
- Allow the app to scan the QR code. Once scanned, the account will be added to Google Authenticator.
Repeat the above steps for each account you want to set up with Google Authenticator. The app supports multiple accounts, making it convenient to secure all your online profiles within a single application.
It is important to note that some online platforms may require you to verify the account setup by entering a verification code generated by Google Authenticator. If prompted, simply enter the code displayed for the corresponding account in the app.
By setting up Google Authenticator on your device and adding your accounts, you have taken an important step towards strengthening the security of your online profiles. With each account added, you will be able to generate unique verification codes that are required during the login process.
Now that you have set up your accounts within Google Authenticator, it’s time to move on to securing the app to ensure its effectiveness in protecting your online accounts.
Step 4: Secure Your Google Authenticator
After setting up Google Authenticator on your device and adding your accounts, it is crucial to take steps to secure the app itself. By implementing these measures, you can protect your accounts and prevent unauthorized access to your Google Authenticator app. Follow the steps below to secure your Google Authenticator:
- Set a Passcode: To add an extra layer of protection, set a passcode, also known as a PIN, for the Google Authenticator app. This passcode will be required whenever you open the app or attempt to generate a verification code. To set a passcode, navigate to the settings within the Google Authenticator app and look for the passcode or PIN options. Choose a unique passcode that is not easily guessable and ensure it is different from your device’s unlock code or password.
- Enable Biometric Authentication (if available): Many devices offer biometric authentication options such as fingerprint or facial recognition. If your device supports this feature and you feel comfortable using it, consider enabling biometric authentication for Google Authenticator. This adds an additional layer of security by requiring authentication via your fingerprint or face scan before accessing the app. To enable biometric authentication, go to the settings menu of your device, find the security or biometrics section, and set up the desired biometric authentication method.
- Regularly Update the App: Stay vigilant about keeping the Google Authenticator app updated with the latest version available. App updates often include security enhancements and bug fixes that help protect against potential vulnerabilities. Enable automatic app updates on your device to ensure you are always using the most up-to-date version of Google Authenticator.
- Backup Your Accounts: Consider setting up account backups for Google Authenticator. Some platforms and websites provide an option to generate backup codes or allow you to link your Google Authenticator account to your Google account. This way, if you lose your device or need to switch to a new one, you can easily restore your accounts and access the verification codes without going through the setup process again.
- Keep Your Device Secure: It’s important to maintain the overall security of your device as well. Keep your device’s operating system up to date, install reputable security software, and exercise caution when downloading apps or clicking on suspicious links. By taking these precautions, you can help protect your device from malware or unauthorized access.
By securing your Google Authenticator app, you add an extra layer of protection to the already robust security offered by two-factor authentication. These measures help ensure that your online accounts remain safe and that only you have access to the verification codes required for login.
Now that you have secured your Google Authenticator app and implemented additional security measures, you can use it confidently to generate verification codes for your accounts, knowing that your sensitive information is well-protected.
Generating a Google Authenticator Code
Now that you have set up and secured Google Authenticator, it’s time to generate verification codes that will be used to access your accounts. Follow these steps to generate a Google Authenticator code:
Step 1: Open Google Authenticator
Locate and open the Google Authenticator app on your device. You will be presented with a list of the accounts you have added to the app.
Step 2: Enter Your Account Details
Select the account for which you need a verification code. You will see the name or description you provided when setting up the account within the app.
Step 3: Retrieve the Google Authenticator Code
After selecting the desired account, Google Authenticator will generate a six-digit verification code specific to that account. The code will automatically refresh every 30 seconds for added security.
Note: It is important to keep in mind that these codes are time-based and will change every 30 seconds. Each code is unique and can only be used during the specific time frame it is valid.
When prompted for a verification code during the login process of the associated platform or website, enter the current six-digit code displayed in Google Authenticator. Remember to enter the code quickly, as it will change after the 30-second mark.
The verification code generated by Google Authenticator adds an extra layer of security to your accounts by ensuring that only authorized users who possess your device have access to the codes needed for login.
By generating and utilizing the Google Authenticator codes, you significantly reduce the risk of unauthorized access to your accounts, providing peace of mind when it comes to your online security.
Now that you know how to generate a verification code using Google Authenticator, you can confidently access your accounts, knowing that your sensitive information is well-protected.
Step 1: Open Google Authenticator
Generating a Google Authenticator code starts with opening the Google Authenticator app on your device. Follow these steps to open the app:
- Locate the Google Authenticator app icon on your device’s home screen or app drawer. The app icon typically resembles a white keyhole on a black background.
- Tap on the Google Authenticator app icon to open it. The app will load and display the main screen, which shows a list of the accounts you have added to the app.
Once the app is open, you will see a list of your accounts along with the corresponding verified codes. Each account will be displayed with the name or description you provided when setting it up.
It’s important to note that the Google Authenticator app allows you to add and manage multiple accounts, providing a convenient way to secure all your online profiles in one place.
By opening the Google Authenticator app, you are now ready to move on to the next step of generating a verification code for the desired account. This code will be used during the login process for the associated platform or website.
Now that you have opened the Google Authenticator app, you are one step closer to accessing the verification codes that add an extra layer of security to your online accounts.
Step 2: Enter Your Account Details
After opening the Google Authenticator app, the next step is to enter your account details to retrieve the verification code for the desired account. Follow these steps to enter your account details:
- From the Google Authenticator main screen, locate and select the account for which you need the verification code. This could be the name or description you provided when setting up the account within the app.
- Once you have selected the account, Google Authenticator will display the six-digit verification code specific to that account. The code is generated based on a time-based algorithm and refreshes every 30 seconds for added security.
It’s important to keep in mind that each account within Google Authenticator has its own unique verification code. This means that if you have multiple accounts added to the app, you will need to select the appropriate account to retrieve the associated code.
When prompted for a verification code during the login process of the platform or website associated with the account, enter the six-digit code displayed by Google Authenticator at that moment. Make sure to enter the code accurately and within the allotted time, as it will change once the 30-second window expires.
The verification code provided by Google Authenticator serves as an additional layer of security for your accounts. By entering the correct code during the login process, you confirm your authenticity as the account owner and gain access to your account.
By entering your account details into Google Authenticator, you are one step closer to utilizing the generated verification codes for enhanced security when accessing your online accounts.
Now that you have entered your account details into Google Authenticator, you can confidently proceed to retrieve the verification code needed for login.
Step 3: Retrieve the Google Authenticator Code
To access the verification code generated by Google Authenticator, follow these steps:
- After selecting the desired account within the Google Authenticator app, a six-digit verification code specific to that account will be displayed.
- The verification code is time-based, meaning it changes every 30 seconds. As a result, you need to quickly retrieve the code and enter it into the login prompt, ensuring you enter the current code before it expires.
- During the login process of the platform or website associated with the account, you will be prompted to enter a verification code. Retrieve the current six-digit code displayed in Google Authenticator for that account.
It is important to note that the verification code generated by Google Authenticator is unique to your device and the specific time frame. This adds an extra layer of security to your online accounts, ensuring that only users with physical access to your device can access the correct code at the right moment.
When prompted for the verification code during the login process, enter the current code displayed in Google Authenticator quickly and accurately. Take note of any time remaining for the code to expire and enter it before the next code is generated.
By retrieving and entering the correct verification code, you demonstrate your authentication as the owner of the account and gain access to your online profile. This provides an additional level of security beyond traditional passwords, making it more difficult for unauthorized individuals to gain access to your accounts.
Now that you know how to retrieve the Google Authenticator code, you can effectively utilize this time-based verification system to enhance the security of your online accounts.
Troubleshooting Common Issues
While Google Authenticator is a reliable authentication app, you may occasionally encounter some common issues. Here are some troubleshooting tips for resolving these issues:
- Incorrect Time Sync: Google Authenticator relies on accurate time synchronization to generate the correct verification codes. Ensure that the time on your device is accurate, and enable automatic time synchronization in your device’s settings.
- Lost or Reset Device: If you lose or reset your device without backing up your Google Authenticator accounts, you may face difficulty accessing your accounts. It is crucial to keep backup codes or securely store the QR codes provided during initial setup to restore your accounts on a new device.
- New Phone or Device: When switching to a new phone or device, you will need to transfer your Google Authenticator accounts. Use the backup codes or QR codes to add your accounts to the app on your new device. If you no longer have access to the backup codes or QR codes, reach out to the respective platforms’ support teams for assistance in recovering access to your accounts.
- Incorrect Account Setup: If you encounter issues setting up an account in Google Authenticator, double-check that you have correctly entered the account details or scanned the correct QR code. Ensure that the time-based settings for each account are accurate, especially if you are experiencing “Incorrect Code” errors.
- App or Device Updates: Occasionally, app or device updates may cause compatibility issues with Google Authenticator. If you experience any unexpected behavior or discrepancies, ensure that you have the latest version of the app installed. If the issue persists, reach out to the Google Authenticator support team or the platform’s support team for further assistance.
Remember, if you encounter any issues with Google Authenticator, it is essential to reach out to the platforms or websites associated with your accounts for further assistance. These platforms’ support teams can provide specific guidance and help resolve any account access issues.
By troubleshooting common issues, you can ensure a seamless and secure experience when using Google Authenticator to protect your online accounts.
Conclusion
Congratulations! You have successfully learned how to set up and use Google Authenticator to add an extra layer of security to your online accounts. By utilizing this authentication app, you can generate time-based verification codes that provide enhanced protection against unauthorized access.
Throughout this guide, we explored the process of setting up Google Authenticator, including installing the app, adding accounts manually or through QR code scanning, and securing the app with a passcode or biometric authentication.
We also covered how to retrieve the Google Authenticator code specific to each account and discussed common troubleshooting tips for resolving issues you may encounter.
By incorporating two-factor authentication with Google Authenticator, you significantly strengthen the security of your online profiles. This added measure helps protect your sensitive information from potential cyber threats and safeguards your accounts against unauthorized access.
Remember to keep your device’s time synchronized, backup your accounts, and update the app regularly to ensure optimal performance and security.
As technology continues to evolve, it is crucial to stay proactive in protecting our digital identities. By implementing Google Authenticator and other security measures, you can take control of your online security and enjoy a safer online experience.
Now that you are equipped with the knowledge and understanding of Google Authenticator, go ahead and start securing your accounts. Embrace the power of two-factor authentication, and enjoy the peace of mind that comes with knowing your online presence is well-protected.