Introduction
Welcome to our guide on how to set up an account on Google Authenticator. In today’s digital age, securing our online accounts has become more crucial than ever. With the rise in cybercrimes and hacking attempts, it is essential to have an extra layer of protection for our sensitive data. This is where Google Authenticator comes in.
Google Authenticator is a free app developed by Google that provides an added layer of security to your online accounts. It functions as a two-factor authentication (2FA) application, which means it adds an extra step in the login process, making it more difficult for unauthorized individuals to gain access to your accounts. By using Google Authenticator, you can protect your accounts from phishing attempts, password breaches, and other online security threats.
In this guide, we will walk you through the process of setting up an account on Google Authenticator, enabling two-factor authentication on your Google accounts, adding accounts to the app, and managing backups. By following these steps, you can enjoy an enhanced level of security for your online presence.
Before we dive into the setup process, it’s important to note that Google Authenticator is available for both Android and iOS devices. It can be downloaded for free from the respective app stores. Once installed, you can begin configuring the app and adding your accounts to start benefiting from the added layer of security.
Now, let’s get started on how to set up an account on Google Authenticator and protect your online accounts like never before!
What is Google Authenticator?
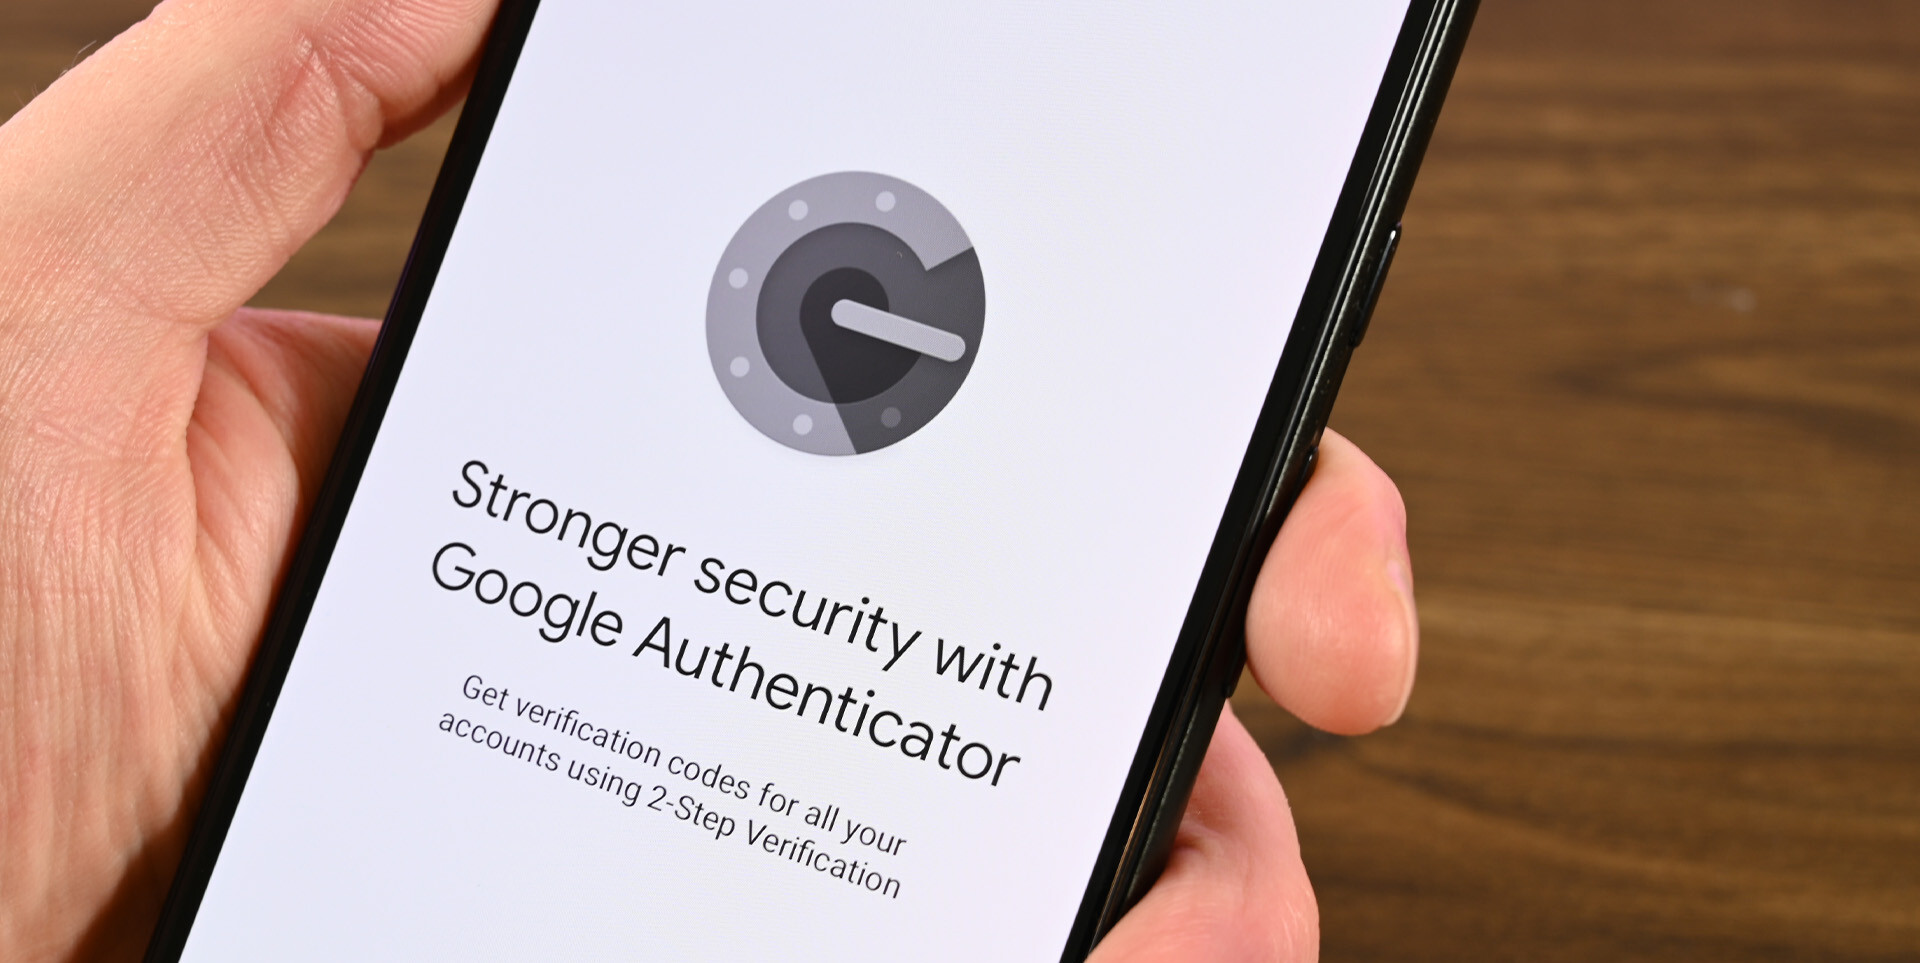
Google Authenticator is a mobile app developed by Google that adds an extra layer of security to your online accounts. It is a two-factor authentication (2FA) application that helps protect your accounts by requiring you to provide a verification code generated by the app in addition to your password during the login process.
By using Google Authenticator, you can significantly enhance the security of your online accounts. Two-factor authentication adds an extra step to the login process, making it more difficult for unauthorized individuals to access your accounts, even if they have obtained your password through phishing attempts or data breaches.
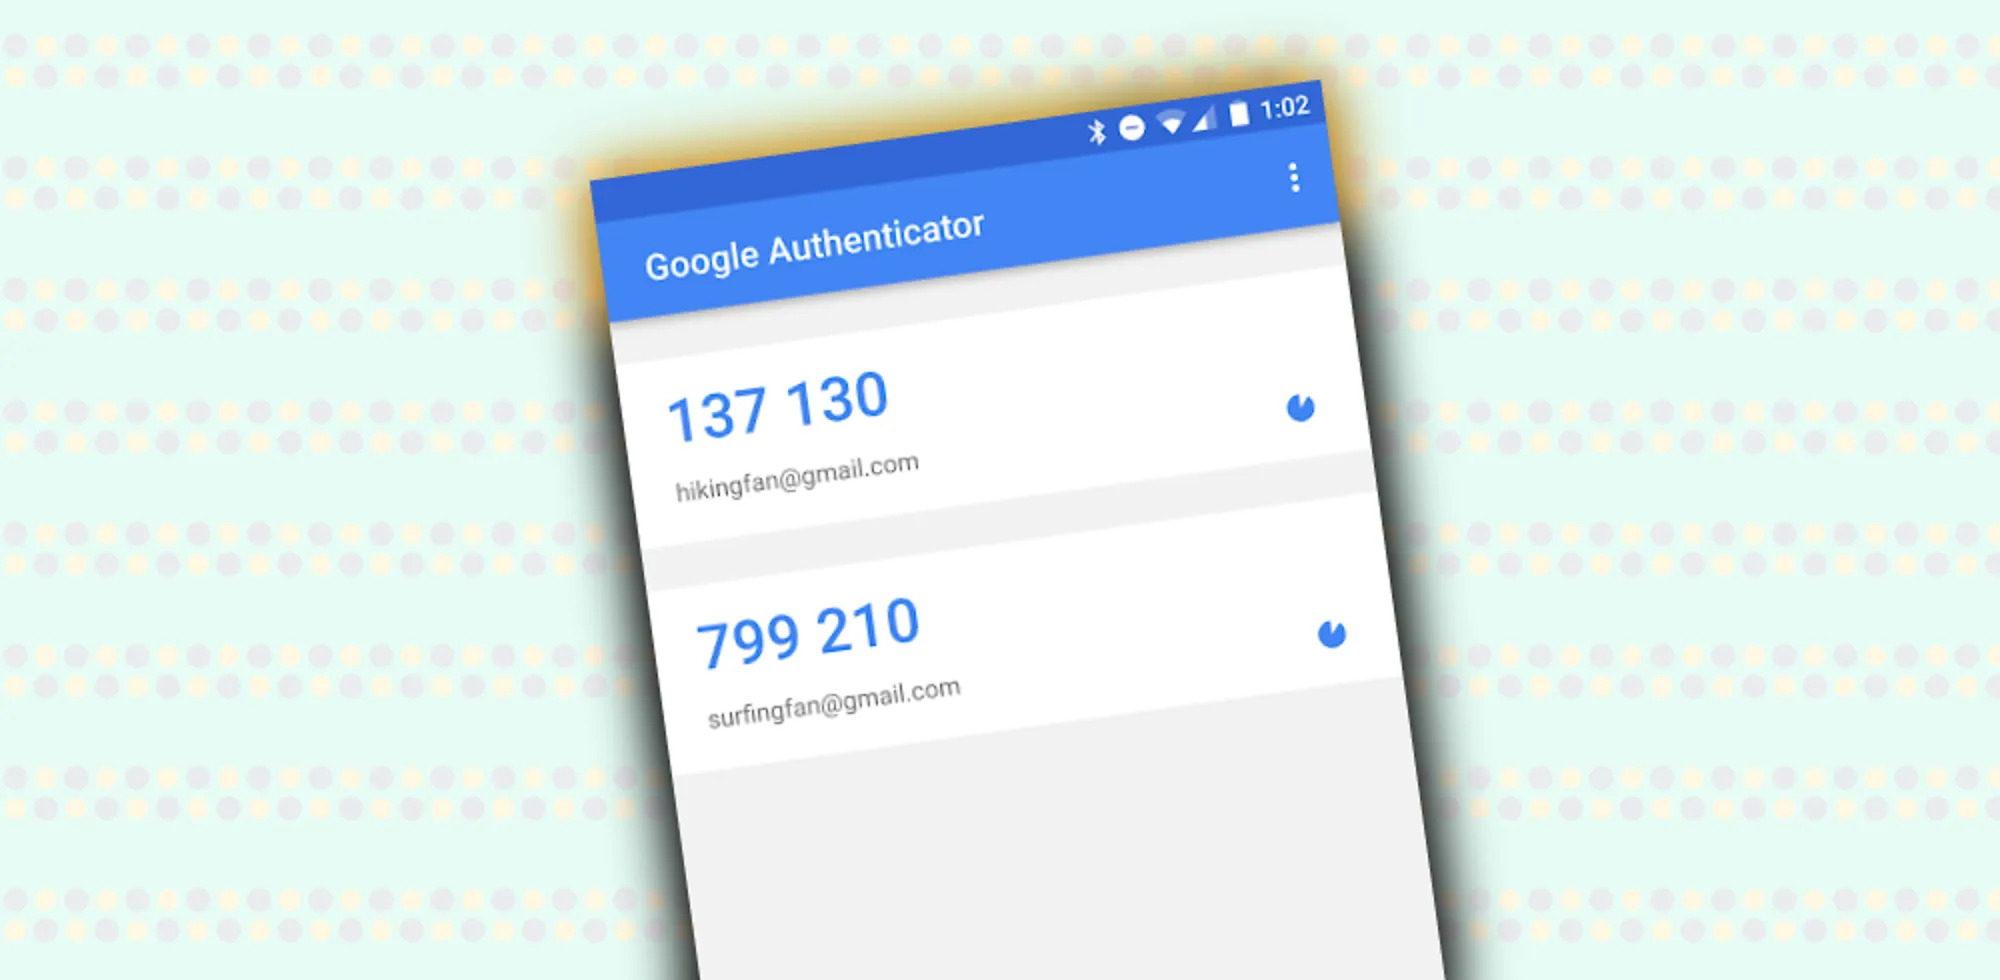
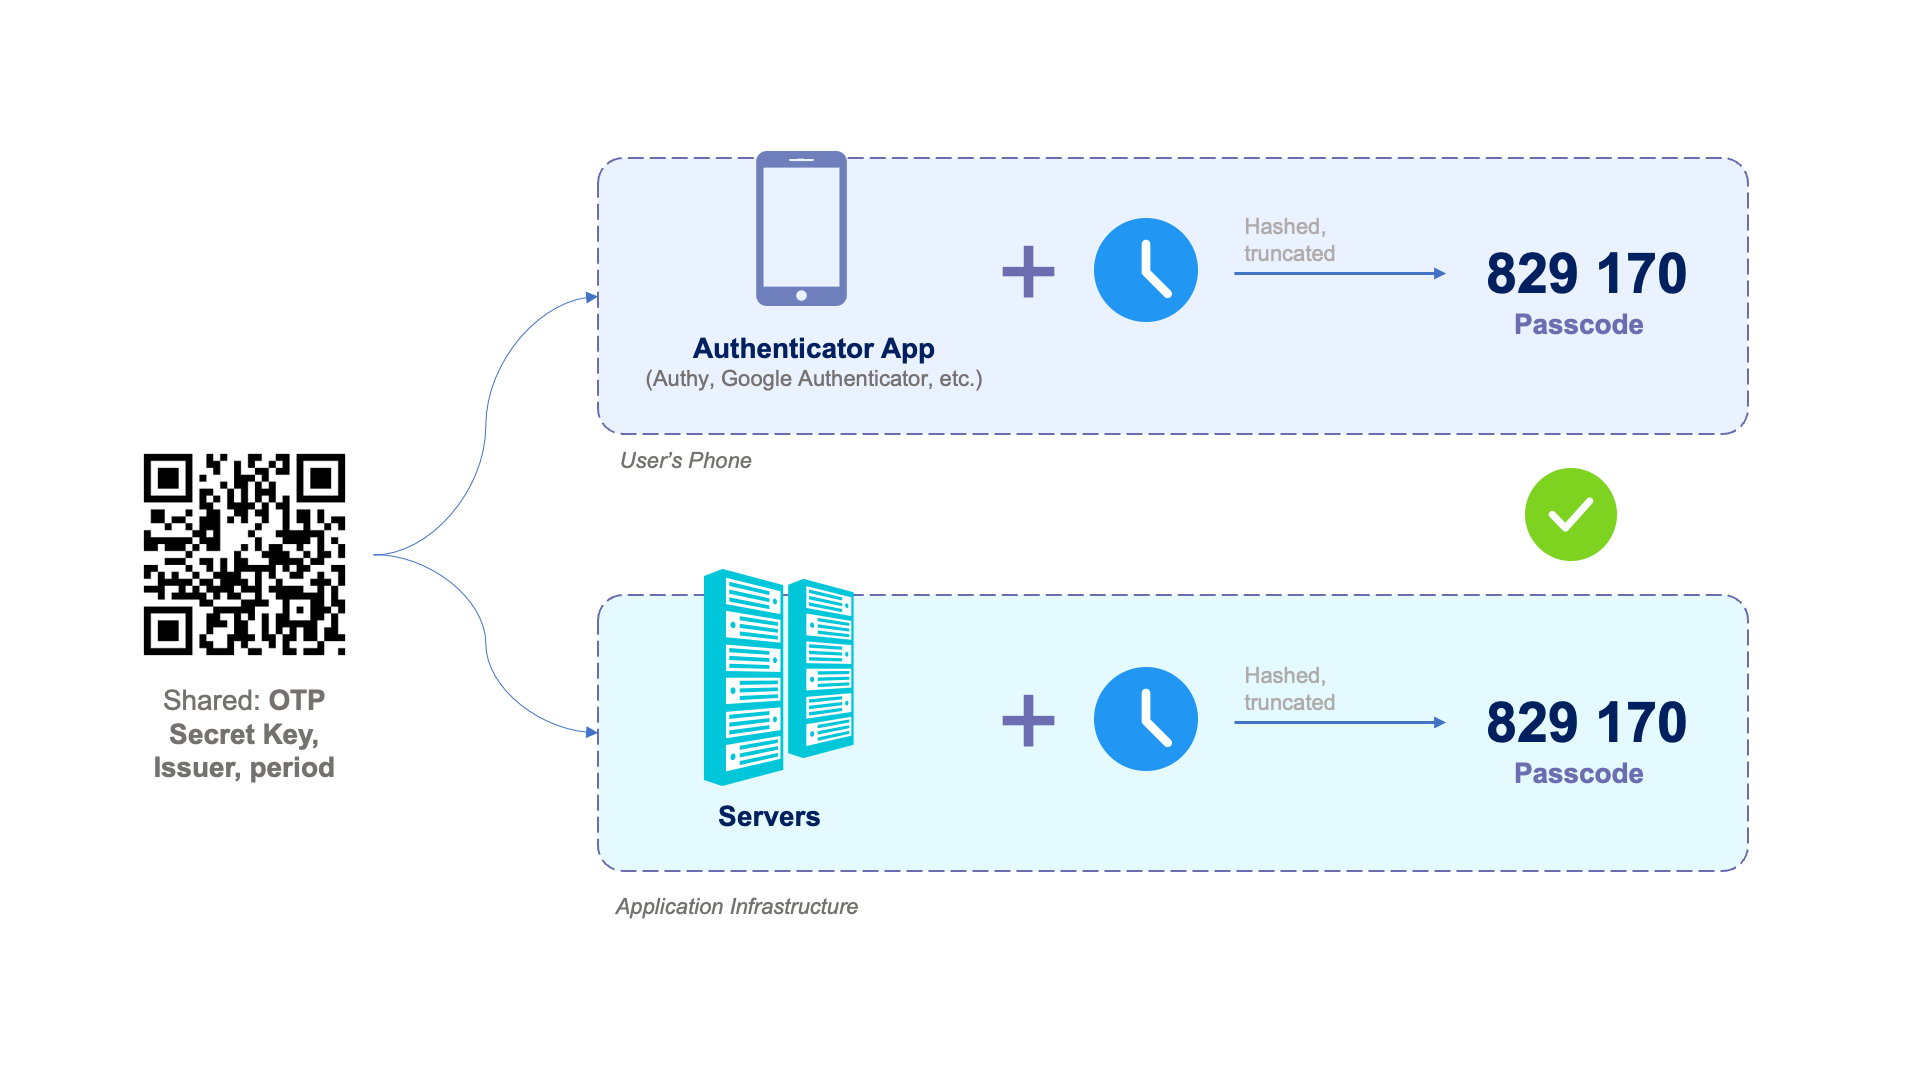
The app works by generating time-based one-time passwords (TOTP) for each of your accounts. These passwords are only valid for a short period of time, usually around 30 seconds, before they expire, adding an additional layer of security.
Google Authenticator is popular for its convenience and ease of use. Once you have set up the app and added your accounts, all you need to do is open the app and enter the verification code during the login process. There is no need to rely on text messages or emails for verification, making it a seamless and efficient process.
It’s important to note that Google Authenticator is not limited to Google accounts only. Many online services and platforms, including social media networks, banking institutions, and email providers, offer support for Google Authenticator as a means of enabling two-factor authentication for their users.
Overall, Google Authenticator provides an additional layer of security and peace of mind when it comes to protecting your online presence. With its simple setup process and wide compatibility, it is an excellent choice for anyone looking to bolster their account security.
In the following sections, we will guide you through the process of downloading and installing Google Authenticator, as well as setting up your accounts on the app. Let’s jump in!
Download and Install Google Authenticator
To begin using Google Authenticator, you first need to download and install the app on your mobile device. The app is available for both Android and iOS devices and can be found in the respective app stores. Follow the steps below to download and install Google Authenticator:
- Open the Google Play Store (Android) or the App Store (iOS) on your mobile device.
- In the search bar, type “Google Authenticator” and tap on the app when it appears in the search results.
- Tap on the “Install” button to begin the installation process. The app will be downloaded and installed on your device.
- Once the installation is complete, tap on the app icon to open Google Authenticator.
That’s it! You have successfully downloaded and installed Google Authenticator on your mobile device. Now, let’s move on to setting up your account on the app.
Note: If you have multiple devices, such as a smartphone and a tablet, you can install Google Authenticator on all of them. This can be helpful in case you misplace or lose one of your devices.
In the next section, we will guide you through the process of setting up an account on Google Authenticator. Stay tuned!
Set Up Account on Google Authenticator
Now that you have downloaded and installed Google Authenticator on your mobile device, it’s time to set up your account on the app. The process is straightforward and involves a few simple steps:
- Open the Google Authenticator app on your mobile device. You will be greeted with a welcome screen.
- Tap on the “Get started” button to begin the setup process.
- You will be presented with two options: “Scan a barcode” or “Enter a provided key”. Choose the option based on the setup method provided by the service or platform you wish to add to Google Authenticator.
- If the service or platform provides a QR code, select “Scan a barcode”. This will open your device’s camera, allowing you to scan the QR code provided.
- If the service or platform provides a key (usually in the form of a string), select “Enter a provided key”. This will allow you to manually enter the key provided by the service or platform.
- Follow the on-screen instructions to either scan the barcode or enter the key.
- Once the barcode is scanned or the key is entered, Google Authenticator will generate a unique verification code for the service or platform you added.
- Enter the verification code into the appropriate field on the service or platform’s login page. This will complete the setup process.
That’s it! You have successfully set up your account on Google Authenticator. The app will now generate a new verification code every 30 seconds. Whenever you log in to the service or platform you added, simply open Google Authenticator, retrieve the latest verification code, and enter it during the login process.
Keep in mind that you can add multiple accounts to Google Authenticator by repeating the above steps for each service or platform. This allows you to manage all your two-factor authentication codes in one convenient app.
In the next section, we will explore how to enable two-factor authentication on your Google accounts using Google Authenticator. Stay tuned!
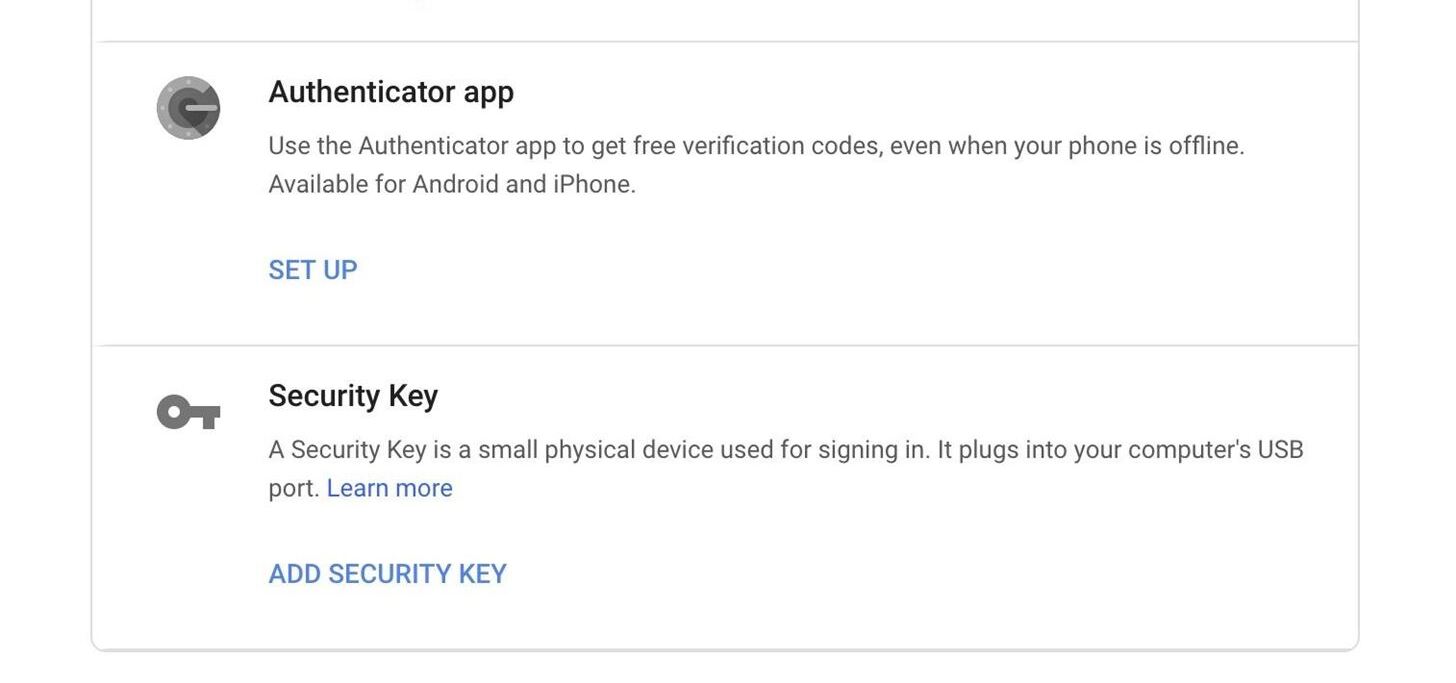
Enable Two-Factor Authentication on Google Accounts
Google offers a robust security feature called two-factor authentication (2FA) to protect your Google accounts, such as Gmail, Google Drive, and Google Calendar, from unauthorized access. By enabling 2FA, you add an extra layer of protection to your accounts, making them more secure. Google Authenticator can be used as a 2FA method for your Google accounts. Here’s how you can enable two-factor authentication using Google Authenticator:
- Go to the Google Account Security page by visiting https://myaccount.google.com/security.
- Sign in to your Google Account if you haven’t already.
- Scroll down to the “Signing in to Google” section and click on the “2-Step Verification” option.
- Click on the “Get Started” button to begin the setup process.
- Follow the on-screen instructions to verify your identity, such as entering your password and receiving a verification code via text message or phone call.
- Once you have successfully verified your identity, you will be prompted to select a 2FA method. Choose “Authenticator app” as your preferred method.
- Scan the QR code displayed on the screen using the Google Authenticator app on your mobile device. Alternatively, you can enter the provided key manually into the app.
- Google Authenticator will generate a verification code for your Google account. Enter this code on the verification page in your web browser to complete the setup.
- After enabling 2FA, you can choose to add a backup phone number or backup codes to ensure you can still access your account if you lose access to your Authenticator app or phone.
Once 2FA is enabled, whenever you sign in to your Google account, you will be prompted to enter a verification code generated by Google Authenticator. Open the app on your mobile device to retrieve the code and complete the login process.
Enabling two-factor authentication adds an extra layer of security to your Google accounts, protecting your data from unauthorized access. It is highly recommended to enable this feature to ensure the safety of your sensitive information.
In the next section, we will explore how to add an account to Google Authenticator using a QR code or a provided key manually. Stay tuned!
Add an Account on Google Authenticator
Once you have set up Google Authenticator and enabled two-factor authentication for your Google accounts, you can start adding additional accounts to the app. These can include accounts from various services and platforms that support Google Authenticator as a 2FA method. Here’s how you can add an account on Google Authenticator:
- Open the Google Authenticator app on your mobile device.
- If you haven’t added any accounts yet, you will see a “+” icon or an “Add Account” button on the app’s main screen. Tap on it to begin adding an account.
- You will be presented with two options: “Scan a barcode” or “Enter a provided key”. Choose the option based on the setup method provided by the service or platform.
- If the service or platform provides a QR code, select “Scan a barcode”. This will open your device’s camera, allowing you to scan the QR code provided.
- If the service or platform provides a key (usually in the form of a string), select “Enter a provided key”. This will allow you to manually enter the key provided by the service or platform.
- Follow the on-screen instructions to either scan the barcode or enter the key.
- Once you have scanned the barcode or entered the key, Google Authenticator will generate a unique verification code for the account you added.
- Give the account a recognizable name or label for easier identification. This is especially useful if you have multiple accounts added to Google Authenticator.
- Repeat the above steps for each service or platform you want to add to Google Authenticator.
That’s it! You have successfully added an account to Google Authenticator. The app will now generate time-based one-time passwords (TOTP) for each account, providing an extra layer of security during the login process.
Remember to open Google Authenticator whenever you want to log in to one of your added accounts. Retrieve the latest verification code for the specific account from the app and enter it during the login process to complete the authentication.
In the next section, we will explore how to scan a QR code or enter a key manually to add an account on Google Authenticator. Keep reading!
Scan a QR Code or Enter a Key Manually
Adding an account to Google Authenticator requires either scanning a QR code or entering a provided key. This process allows the app to generate time-based one-time passwords (TOTP) for the account, ensuring secure two-factor authentication. Here’s how you can scan a QR code or enter a key manually in Google Authenticator:
- Open the Google Authenticator app on your mobile device.
- If you haven’t added any accounts yet, you will see a “+” icon or an “Add Account” button on the app’s main screen. Tap on it to begin adding an account.
- You will be presented with two options: “Scan a barcode” or “Enter a provided key”. Choose the option based on the setup method provided by the service or platform.
- If the service or platform provides a QR code, select “Scan a barcode”. This will activate your device’s camera, allowing you to scan the QR code provided.
- If the service or platform provides a key (usually in the form of a string), select “Enter a provided key”. This will allow you to manually enter the key provided by the service or platform.
- If you chose to scan a barcode, align your device’s camera with the QR code displayed on the screen. Make sure the entire barcode is within the camera viewfinder.
- If you chose to enter a provided key, carefully type the key into the text field on the Google Authenticator app. Double-check for any typos or errors.
- Once you have scanned the barcode or entered the key, Google Authenticator will generate a unique verification code for the account.
- Assign a recognizable name or label to the account in the app. This will help you easily identify the account, especially if you have multiple accounts added.
- Repeat the above steps to scan more QR codes or enter keys for other accounts you wish to add to Google Authenticator.
By scanning a QR code or entering a key manually, you ensure that Google Authenticator generates the correct verification codes for each account. This adds an additional layer of security to your login process, making it more secure and protected from unauthorized access.
In the next section, we will cover the process of verifying and confirming the account on Google Authenticator. Stay tuned!
Verify and Confirm the Account
After adding an account to Google Authenticator by scanning a QR code or entering a key manually, it’s important to verify and confirm the account to ensure that the app generates the correct verification codes. Here’s how you can verify and confirm the account on Google Authenticator:
- Open the Google Authenticator app on your mobile device.
- Locate the account you added on the app’s main screen. You will see the account name or label you assigned during the setup process.
- The app will automatically generate a verification code for the account. This code is time-based and changes every 30 seconds.
- Go to the login page of the service or platform associated with the account you added.
- Enter your username and password as you normally would.
- When prompted for the verification code, open the Google Authenticator app and retrieve the latest code for the corresponding account.
- Enter the verification code in the appropriate field on the login page and proceed to log in.
- If the verification code is accepted and the login is successful, the account is verified and confirmed in Google Authenticator.
- Repeat the above process for each added account to ensure all accounts are verified and confirmed.
Verifying and confirming the account on Google Authenticator ensures that the app generates the correct and up-to-date verification codes for each of your accounts. This is essential for successfully completing the two-factor authentication process during login.
It’s crucial to note that the verification codes generated by Google Authenticator expire after a short period, typically 30 seconds. Therefore, it’s important to swiftly enter the code before it expires to avoid any login issues.
In the next section, we will explore how to backup and restore Google Authenticator to ensure continuity of your accounts. Keep reading!
Backup and Restore Google Authenticator
Backing up and restoring Google Authenticator is essential to ensure the continuity of your accounts in case of a lost or replaced device. By creating a backup, you can easily transfer your added accounts to a new device or restore them on your current device if needed. Here’s how you can backup and restore Google Authenticator:
Backup:
- On your current device, open the Google Authenticator app.
- Tap on the three-dot menu icon or the settings gear icon, typically located in the top-right corner of the app.
- Select the “Settings” option from the menu.
- Choose the “Transfer accounts” or “Export accounts” option.
- Follow the on-screen instructions to create a backup of your added accounts.
- The backup process will generate a QR code or a set of provided keys that you need to save or write down securely.
- Note: It’s crucial to store this backup information in a safe and accessible location.
Restore:
- On your new or replaced device, install Google Authenticator from the app store.
- Open the app and set it up following the initial setup process.
- When prompted to add an account, select the “Scan a barcode” or “Enter a provided key” option.
- Instead of scanning a new QR code or entering a key, choose the “Can’t scan it?” or “Continue with other options” link.
- Enter the backup information you saved or wrote down during the backup process.
- Follow the on-screen instructions to complete the restoration of your accounts.
- Once restored, Google Authenticator will generate the verification codes for your accounts as before.
By backing up and restoring Google Authenticator, you can easily transfer your accounts to a new device or recover them in case of device loss or replacement. This ensures that you regain access to your accounts without any disruptions in the two-factor authentication process.
In the next section, we will explore how to use Google Authenticator to secure your accounts effectively. Keep reading!
Use Google Authenticator to Secure Your Accounts
Google Authenticator serves as a powerful tool to enhance the security of your online accounts by enabling two-factor authentication (2FA). By utilizing the app, you can add an extra layer of protection to your accounts, making them more secure against unauthorized access and potential security breaches. Here are some tips on effectively using Google Authenticator to secure your accounts:
1. Enable Two-Factor Authentication:
Make sure to enable two-factor authentication for all your accounts that support this feature. By adding Google Authenticator as the 2FA method, you ensure that a verification code is required in addition to your password for successful login.
2. Regularly Update and Secure Your Devices:
Keep your devices, especially the one where you have installed Google Authenticator, up to date with the latest software updates and security patches. Set up secure locks, such as passcodes, fingerprint scans, or face recognition, to prevent unauthorized access to your device and the app.
3. Safeguard Your Backup Codes:
During the setup process of Google Authenticator, you are usually provided with backup codes. Make sure to save them in a secure location that is easily accessible if needed. These codes can be used as an alternative method to access your accounts if you lose your device or are unable to use Google Authenticator temporarily.
4. Be Cautious of Phishing Attempts:
Be vigilant to protect your accounts from phishing attempts. Always verify the authenticity of the websites or platforms you are logging into. Avoid clicking on suspicious links or providing sensitive information unless you are certain about the legitimacy of the source.
5. Regularly Review Your Authorized Apps and Services:
Regularly review the list of authorized apps and services linked to your accounts. Remove any unnecessary or unused items to minimize potential attack vectors and unauthorized access to your accounts.
6. Secure Your Google Account:
Since Google Authenticator is commonly used for Google accounts, ensure the overall security of your Google Account. Utilize strong, unique passwords, enable additional security features like two-step verification, and monitor any suspicious activity related to your account.
By following these best practices, you can effectively use Google Authenticator to secure your accounts and protect your sensitive information from potential security threats and unauthorized access.
In the next section, we will conclude our guide on setting up an account on Google Authenticator and securing your online presence. Stay tuned!
Conclusion
Google Authenticator is an invaluable tool for enhancing the security of your online accounts. By enabling two-factor authentication (2FA) and using the app to generate verification codes, you add an extra layer of protection to your accounts, making them more secure against unauthorized access and potential security breaches.
In this guide, we covered the essential steps to set up an account on Google Authenticator, including downloading and installing the app, enabling 2FA on your Google accounts, and adding accounts to the app by scanning QR codes or entering keys manually. We also discussed the importance of verifying and confirming accounts, backing up and restoring Google Authenticator, and using the app effectively to secure your accounts.
Remember to regularly update and secure your devices, be cautious of phishing attempts, safeguard your backup codes, and review the authorized apps and services linked to your accounts. These measures will further strengthen the security of your online presence.
By incorporating Google Authenticator into your digital security practices, you can significantly mitigate the risks associated with unauthorized access to your accounts. Implementing two-factor authentication through Google Authenticator adds another layer of security, safeguarding your sensitive information from potential threats.
We hope this guide has provided you with the knowledge and understanding needed to set up an account on Google Authenticator and leverage its powerful security features. Remember to remain diligent and proactive when it comes to securing your accounts, as cybersecurity is an ongoing effort.
Stay safe and enjoy the peace of mind that comes with knowing your online accounts are protected with Google Authenticator!