Introduction
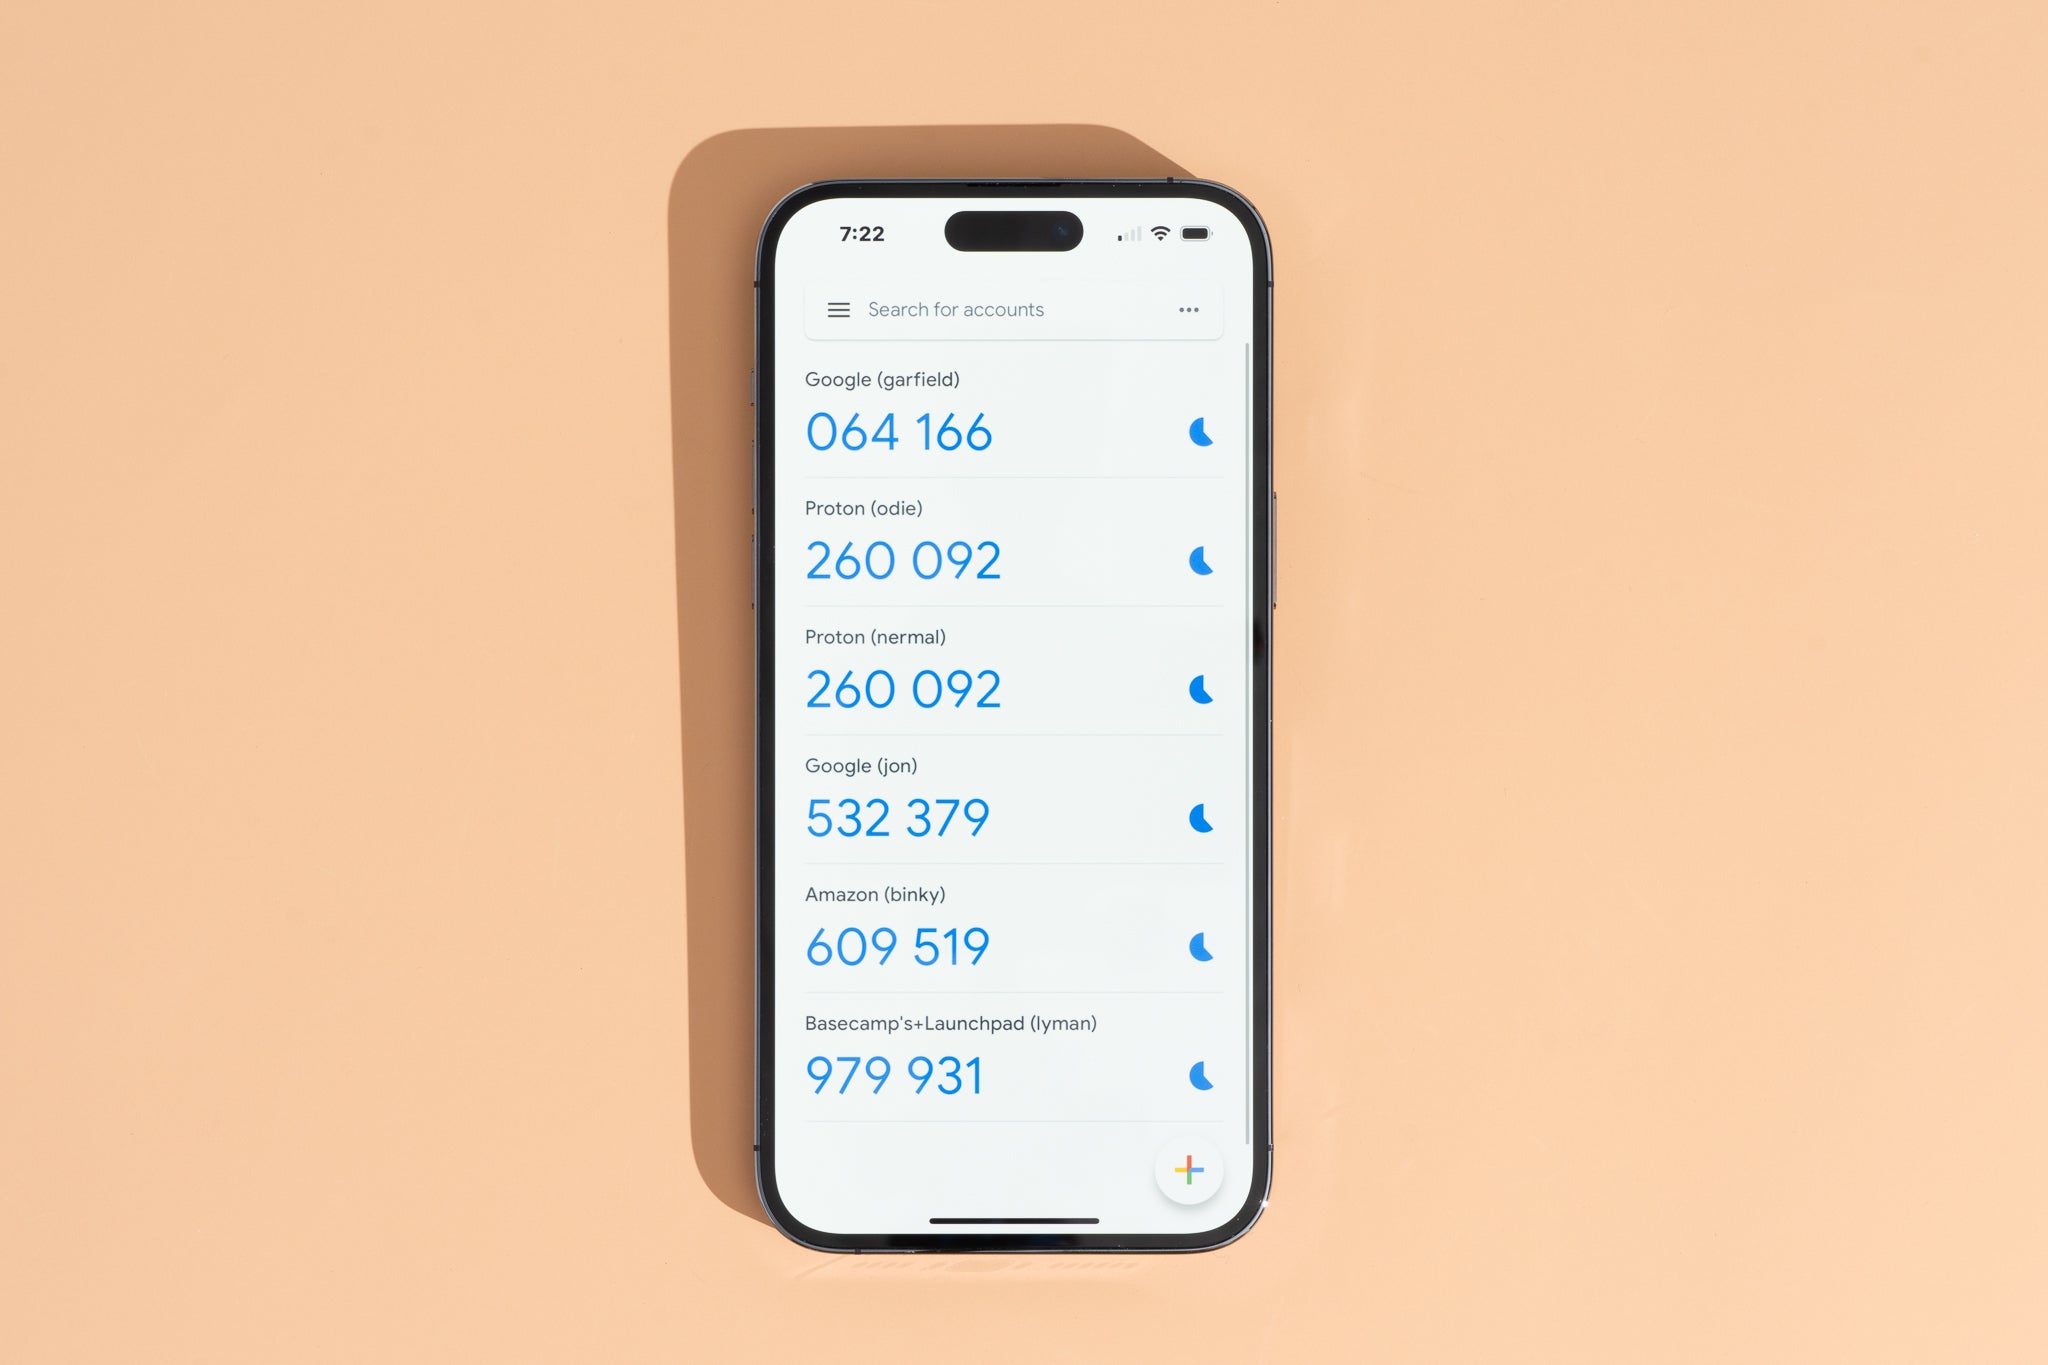
Welcome to the era of digital security, where protecting your online accounts is of utmost importance. Two-factor authentication has become an essential tool for ensuring the safety of our online identities. One of the most popular and widely used two-factor authentication apps is Google Authenticator. This application generates unique verification codes that add an extra layer of security to your accounts.
However, what happens when you switch to a new phone? Do you lose all your accounts and have to start from scratch? Fear not! In this guide, we will walk you through the process of transferring Google Authenticator to your new phone, ensuring a smooth transition without compromising the security of your accounts.
Transferring Google Authenticator involves a few simple steps, including downloading the app on your new phone, disabling two-factor authentication on your old phone, re-enabling it on your new phone, and transferring your accounts between devices. So, grab your new phone and let’s get started on this seamless journey of transferring Google Authenticator.
Step 1: Downloading Google Authenticator on your new phone
The first step in transferring Google Authenticator to your new phone is to download the app. Google Authenticator is available for both Android and iOS devices, so you can easily find it in the respective app stores.
Here are the detailed instructions for downloading Google Authenticator on your new phone:
- Open the App Store (for iOS) or the Play Store (for Android) on your new phone.
- Type “Google Authenticator” in the search bar at the top.
- Locate the Google Authenticator app from the search results and click on it.
- Tap the “Install” or “Get” button to start the download and installation process.
- Once the app is downloaded and installed, open it.
Congratulations! You have successfully downloaded Google Authenticator on your new phone. Now, it’s time to move on to the next step and disable two-factor authentication on your old phone.
Step 2: Disable two-factor authentication on your old phone
In order to transfer Google Authenticator to your new phone, you need to disable two-factor authentication on your old phone. Here’s how you can do it:
- Open the Google Authenticator app on your old phone.
- Tap on the three-dot menu icon located at the top-right corner of the screen.
- Select “Settings” from the dropdown menu.
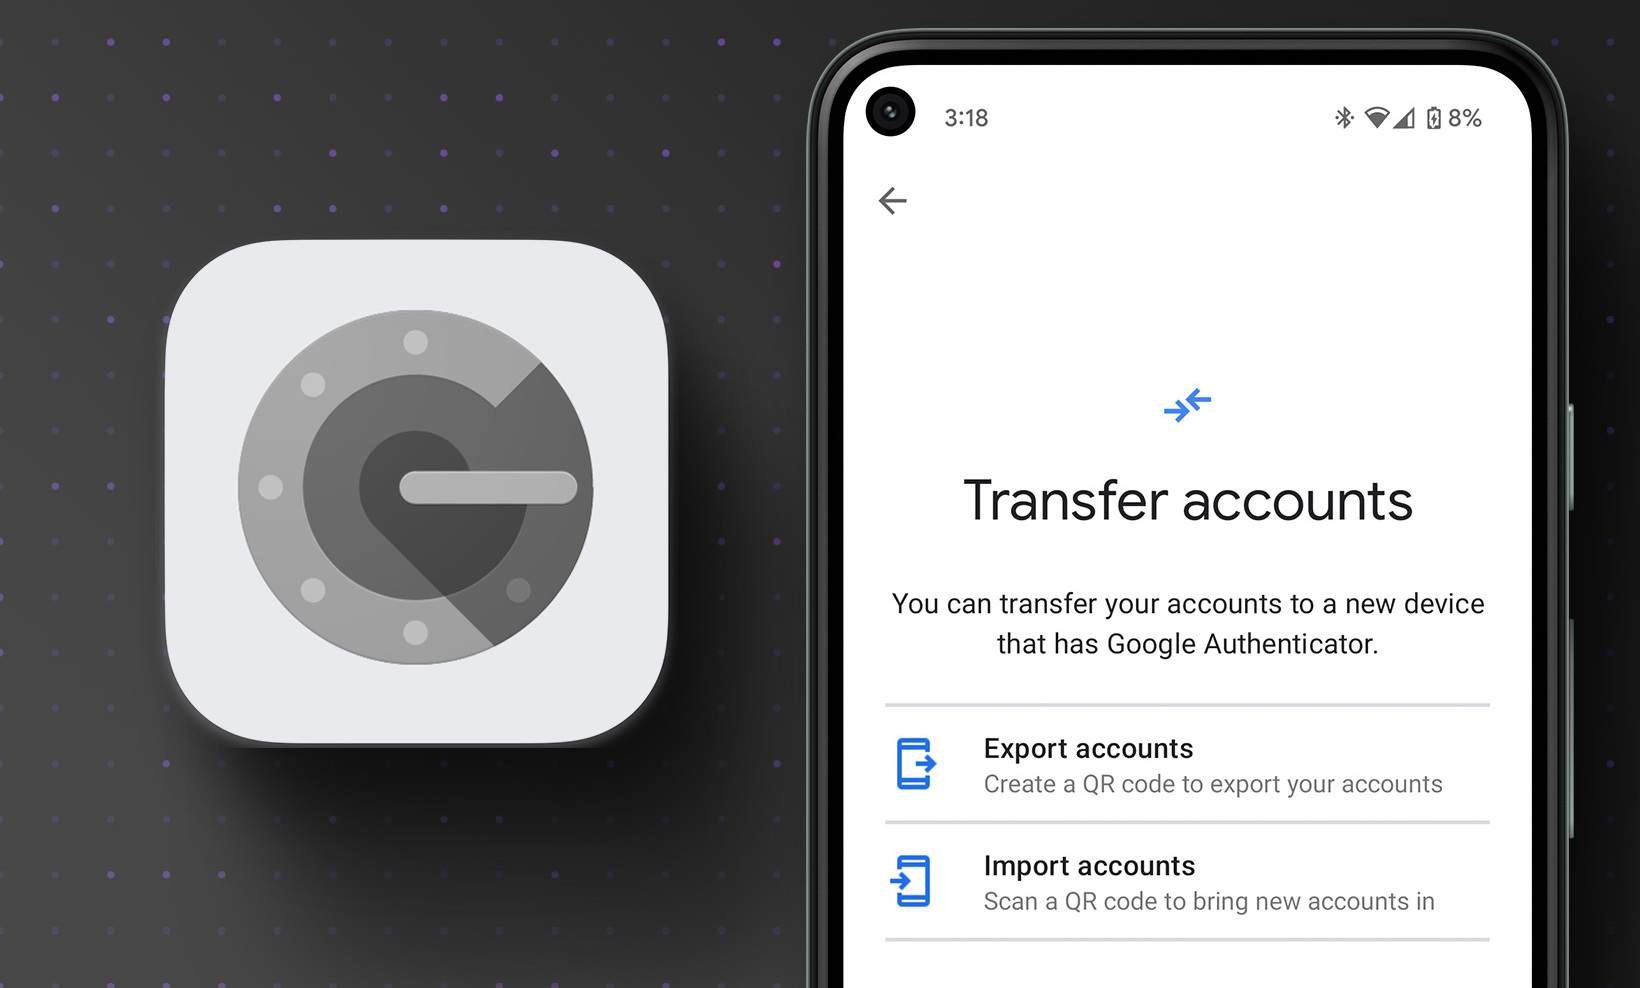
- Choose the option “Transfer accounts.”
- Confirm your selection by tapping “Continue.”
- On the next screen, you will be presented with a QR code.
- Now, it’s time to move on to your new phone and proceed to the next step.
By following these steps, you have successfully disabled two-factor authentication on your old phone. Now, let’s move on to the next step and re-enable two-factor authentication on your new phone.
Step 3: Re-enable two-factor authentication on your new phone
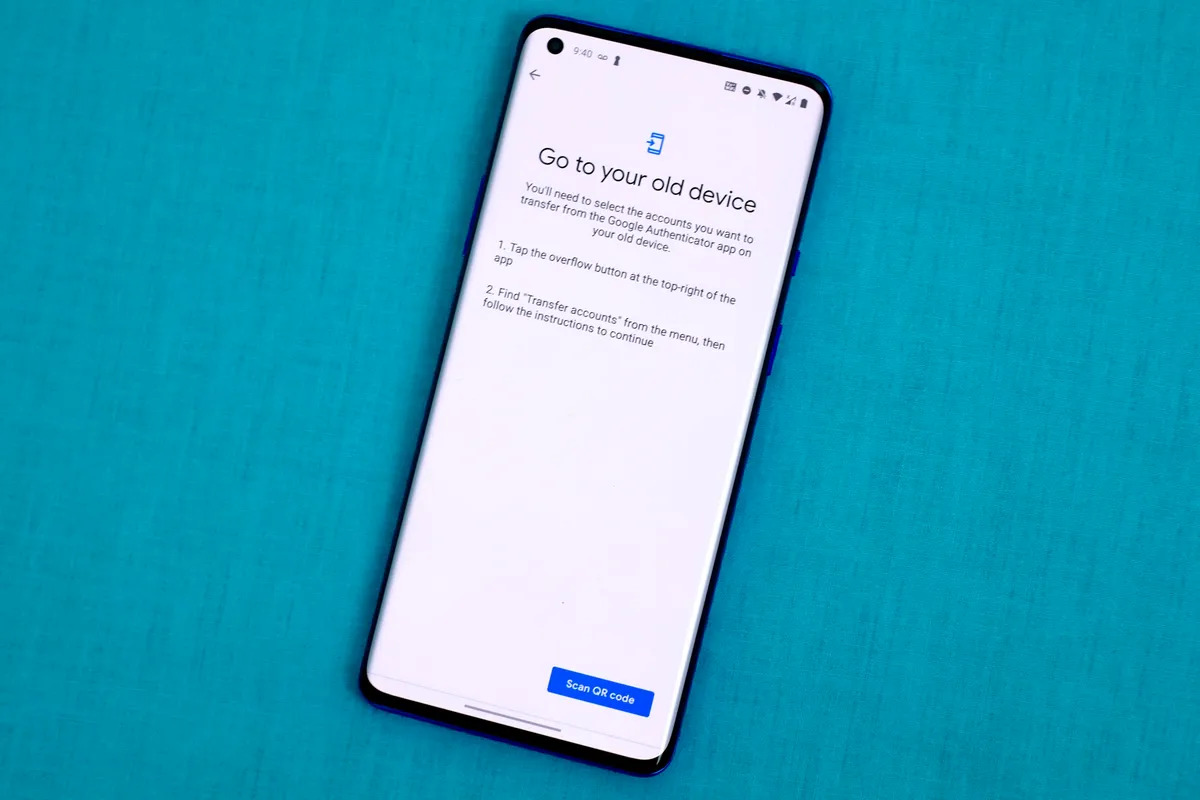
Now that you have disabled two-factor authentication on your old phone, it’s time to re-enable it on your new phone. Follow these steps to re-enable two-factor authentication on your new phone:
- Open the Google Authenticator app on your new phone.
- Tap on the plus (+) icon or the “Add account” button to add a new account.
- You will have two options to add an account:
- Scan a QR code: If the account you want to add provides a QR code, select this option and use your new phone’s camera to scan the QR code displayed on your old phone.
- Enter a provided key: If the account doesn’t offer a QR code, select this option and manually enter the provided key or account details.
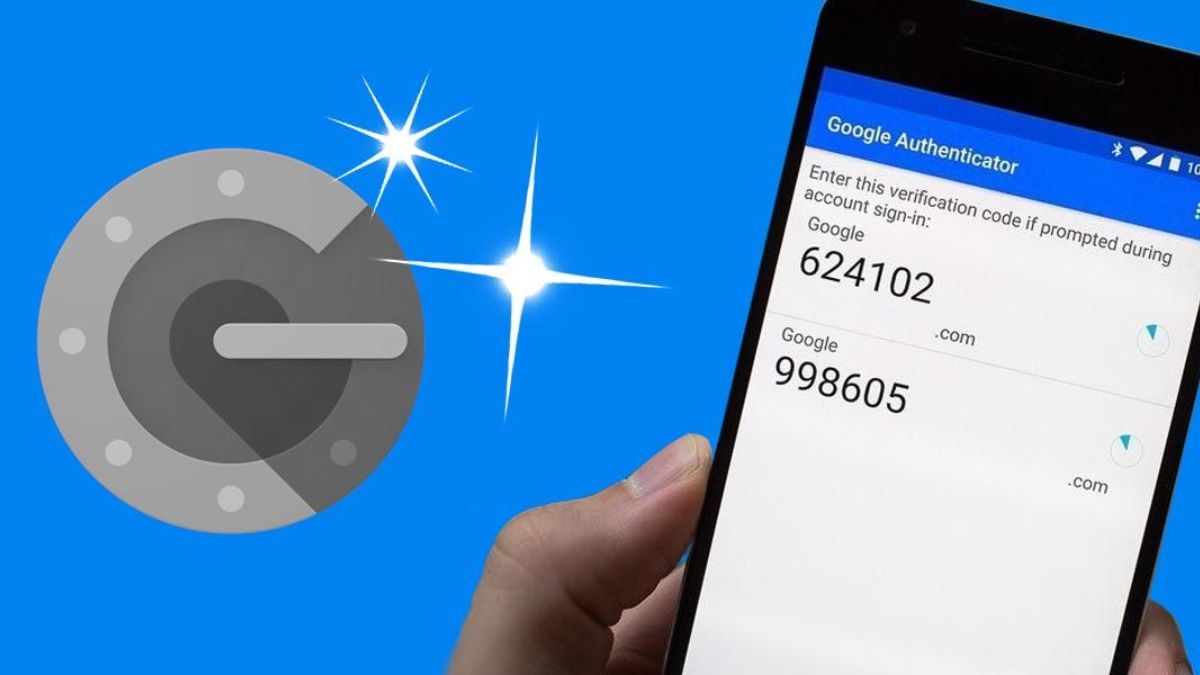
- Once you have added the account, a unique verification code will be generated on your new phone.
- Repeat this process for all your accounts that you wish to transfer from your old phone to your new phone.
- You have successfully re-enabled two-factor authentication on your new phone. Now, it’s time to transfer your accounts.
By following these steps, you have securely set up two-factor authentication on your new phone. Now, let’s move on to the next step and start transferring your accounts from your old phone to your new phone.
Step 4: Transferring accounts from your old phone to your new phone
Now that you have re-enabled two-factor authentication on your new phone, it’s time to transfer your accounts from your old phone to your new phone. Follow these steps to transfer accounts:
- Open the Google Authenticator app on your old phone.
- Locate the account you want to transfer and tap on it to reveal more options.
- Choose the “Export” or “Transfer” option.
- On the next screen, you will be presented with a QR code or a code in text format.
- Open the Google Authenticator app on your new phone.
- Tap on the plus (+) icon or the “Add account” button.
- Instead of scanning a new QR code or entering a provided key, select the option to “Import” or “Transfer” accounts.
- If you have a QR code, use your new phone’s camera to scan it. If you have a text code, manually enter it into the app.
- Repeat this process for all your accounts that you wish to transfer.
- Once you have transferred all your accounts, make sure to double-check that they are all working correctly on your new phone.
Congratulations! You have successfully transferred your accounts from your old phone to your new phone. Now, it’s time to remove Google Authenticator from your old phone to avoid any confusion or security risks.
Step 5: Removing Google Authenticator from your old phone
With the successful transfer of your accounts to your new phone, it’s time to remove Google Authenticator from your old phone. This step is crucial to ensure that all authentication requests are directed to your new device. Follow these steps to remove Google Authenticator from your old phone:
- Open the settings on your old phone.
- Scroll through the list of installed apps and locate Google Authenticator.
- Tap on Google Authenticator to open its app settings.
- Select the option to uninstall or remove the app from your device.
- Confirm the removal when prompted.
After removing Google Authenticator from your old phone, it is highly recommended to double-check that all your accounts are working properly on your new phone. Try logging in to each of your accounts and verify that the two-factor authentication codes generated by Google Authenticator on your new phone are working as expected.
It’s important to note that once you have removed Google Authenticator from your old phone, you won’t be able to generate any new verification codes for those accounts on the old device. They will be exclusively available on your new phone.
Congratulations! You have successfully transferred Google Authenticator to your new phone and removed it from your old phone. Your accounts are now securely protected with two-factor authentication on your new device.
Conclusion
Transferring Google Authenticator to a new phone may seem daunting, but it is a straightforward process that ensures the security of your online accounts. By following the steps outlined in this guide, you can easily transfer Google Authenticator to your new phone and continue enjoying the added layer of protection provided by two-factor authentication.
Remember, the key steps in transferring Google Authenticator include downloading the app on your new phone, disabling two-factor authentication on your old phone, re-enabling it on your new phone, transferring your accounts, and finally removing Google Authenticator from your old phone.
Throughout the process, it’s crucial to take necessary precautions and pay attention to detail. Double-check the accuracy of QR code scans or manually entered codes to ensure the proper transfer of accounts. Additionally, make sure to verify that all your accounts are functioning correctly on your new phone after the transfer is complete.
By taking these steps, you can seamlessly transfer Google Authenticator to your new phone without compromising the security of your accounts. Enjoy the peace of mind that comes with knowing your online identities are safeguarded by two-factor authentication on your new device.