Introduction
Google Authenticator is a popular two-factor authentication (2FA) app commonly used to add an extra layer of security to various online accounts. It generates time-based one-time passwords (TOTPs) that verify your identity when logging in to websites or services. However, if you’ve recently purchased a new iPhone or are planning to switch to a new one, you’ll need to transfer your Google Authenticator settings to your new device to ensure uninterrupted access to your accounts.
Transferring Google Authenticator to a new iPhone might seem like a daunting task, but there are multiple methods you can use to ensure a smooth transition. In this article, we’ll guide you through different transfer methods and provide step-by-step instructions, so you can transfer your Google Authenticator app to your new iPhone with ease.
Before opting for any transfer method, it’s important to understand the potential consequences of not transferring your Google Authenticator successfully. Without transferring your accounts, you may face difficulties logging in or lose access to websites and services until you regain authentication through alternate means, such as recovery codes or contacting support.
In the following sections, we’ll explore various methods to transfer Google Authenticator to your new iPhone. You can choose the method that suits your needs and follow the step-by-step instructions accordingly. Whether you prefer a hassle-free transfer using your Google account, have backup codes readily available, or want to manually transfer the codes, we’ve got you covered.
Why Transfer Google Authenticator?
Transferring your Google Authenticator app to your new iPhone is crucial for several reasons. Here are a few key reasons why you should consider transferring your Google Authenticator:
- Smooth Transition: When you switch to a new iPhone, it’s important to transfer your Google Authenticator app to ensure a smooth transition. By transferring your settings and accounts, you can seamlessly log in to your favorite websites and services without any interruptions or delays.
- Secure Access: Google Authenticator provides an additional layer of security by generating unique time-based one-time passwords (TOTPs). These passwords expire after a short time, making it extremely difficult for hackers to gain unauthorized access to your accounts. By transferring your Google Authenticator, you maintain a high level of security on your new device.
- Account Recovery: In case you lose or damage your old iPhone without transferring your Google Authenticator settings, you may face difficulties recovering your accounts. Many online services use two-factor authentication as a security measure, and if you cannot provide the correct TOTP, you may need to go through a lengthy account recovery process.
- Convenience: By transferring your Google Authenticator, you eliminate the need to reconfigure and re-authenticate each account individually on your new iPhone. This saves time and effort, allowing you to quickly regain access to your accounts and continue using them seamlessly.
With these benefits in mind, it’s clear that transferring your Google Authenticator app to your new iPhone is essential for a smooth transition, enhanced security, and convenient access to your online accounts. In the following sections, we’ll explore different methods you can use to transfer your Google Authenticator settings and accounts to your new device.
Preparing for the Transfer
Before you begin the process of transferring your Google Authenticator app to your new iPhone, it’s important to make sure you have the necessary information and backup codes available. Here are a few steps to prepare for a smooth transfer:
- Note Down Important Information: Make a note of all the websites and services for which you have enabled two-factor authentication using Google Authenticator. This will help you in the next steps when you need to reconfigure the app on your new iPhone.
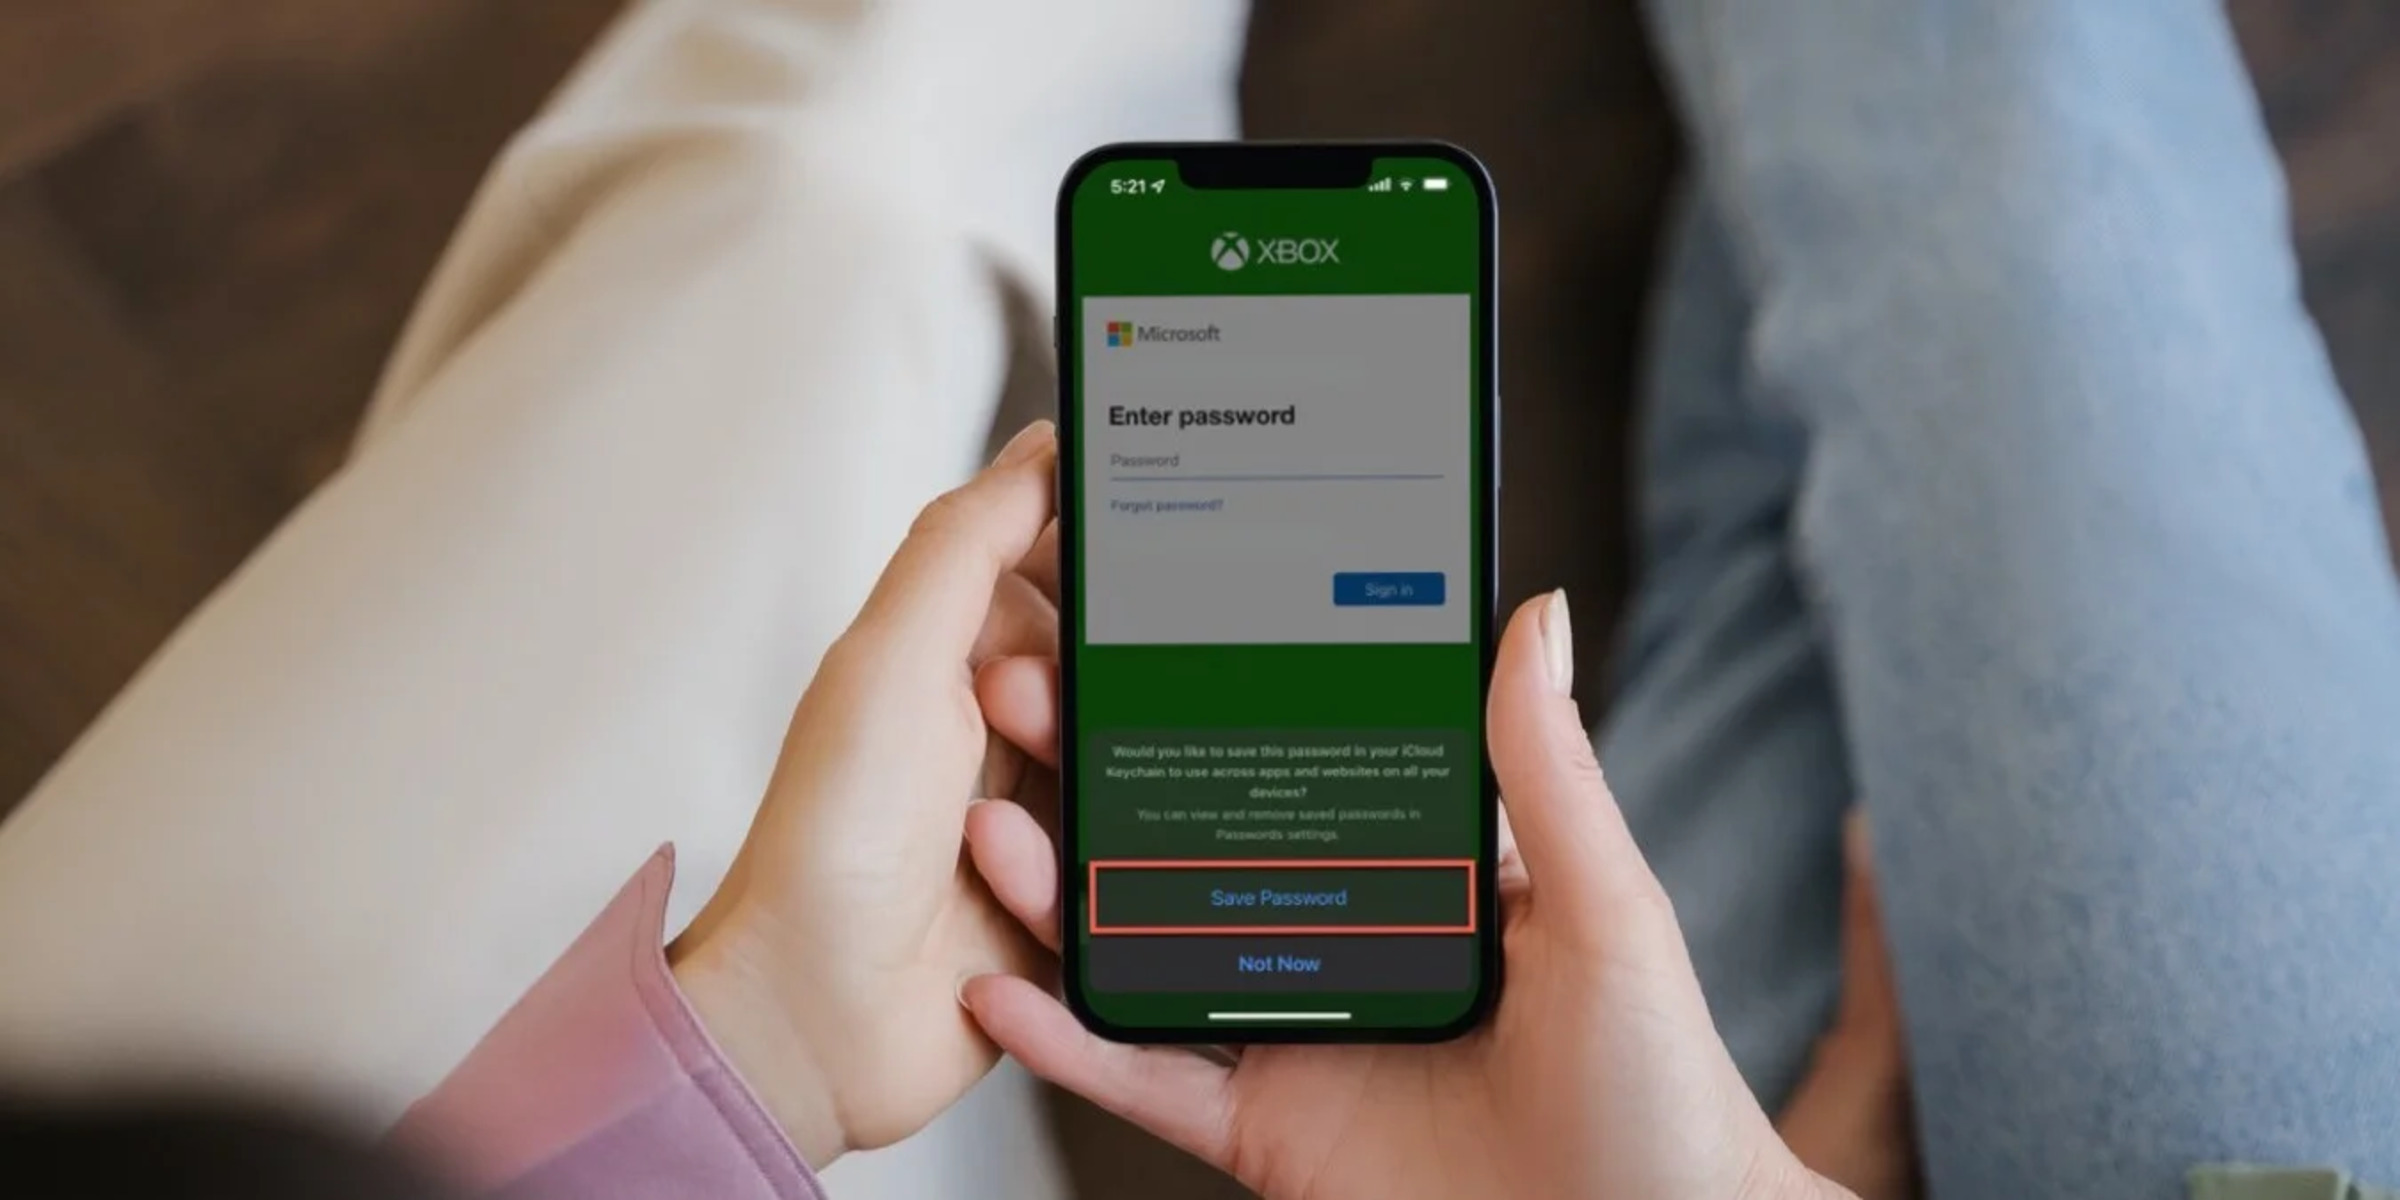
- Backup Codes: Some services provide backup codes that can be used to regain access if you lose your device or are unable to use Google Authenticator. Ensure that you have these backup codes handy. If you don’t, log in to the respective accounts and generate new backup codes.
- Recovery Options: Familiarize yourself with the recovery options provided by the websites and services you’ve enabled two-factor authentication for. This includes alternative authentication methods such as recovery email addresses or SMS verification codes. In case of any issues during the transfer process, you can use these recovery options to regain access to your accounts.
- Enable Cloud Backup: Check if your Google Authenticator app is set up to automatically back up your settings to the cloud. This will allow you to easily restore your settings on your new iPhone. If it’s not already enabled, follow the instructions in the app settings to enable cloud backup before proceeding with the transfer.
By taking these preparatory steps, you ensure that you have all the necessary information and backup options ready for the transfer process. This will make the process smoother and minimize the chances of any disruptions or loss of access to your accounts. Now that you are prepared, let’s move on to the different methods you can use to transfer your Google Authenticator app to your new iPhone.
Method 1: Using Google Account
Transferring your Google Authenticator app to your new iPhone using your Google account is one of the easiest and most convenient methods. If you’ve enabled cloud backup in your Google Authenticator settings, follow these steps to transfer your accounts:
- Set Up your New iPhone: Set up your new iPhone and ensure that you’re connected to a stable internet connection.
- Install Google Authenticator: Go to the App Store and download the Google Authenticator app on your new iPhone.
- Sign in to your Google Account: Open the Google Authenticator app and sign in to your Google account using your existing credentials.
- Restore from Cloud Backup: During the sign-in process, you’ll see an option to restore your accounts from a cloud backup. Choose this option and follow the on-screen instructions to restore your Google Authenticator settings.
- Verify and Reconfigure Accounts: Once the restore is complete, verify that all your accounts have been transferred successfully. You may need to reconfigure some accounts by scanning the QR codes or manually entering the authentication information.
Note that this method will only work if you had previously enabled cloud backup in your Google Authenticator app settings. If you hadn’t done so, or if you’re facing issues with the restore, you’ll need to explore other methods to transfer your Google Authenticator app to your new iPhone.
If you encounter any issues during the transfer process using your Google account, refer to the troubleshooting section for guidance on how to resolve common problems.
Now that you’ve learned how to transfer your Google Authenticator app using your Google account, let’s move on to the next method: using backup codes.
Method 2: Using Backup Codes
If you have backup codes available for your Google Authenticator app, you can use them to transfer your accounts to your new iPhone. Follow these steps:
- Set Up your New iPhone: Start by setting up your new iPhone and ensuring a stable internet connection.
- Install Google Authenticator: Download and install the Google Authenticator app from the App Store on your new iPhone.
- Access Account Settings: Go to the websites or services where you have enabled two-factor authentication using Google Authenticator. Log in to your accounts and find the account settings or security settings section.
- Disable Two-Factor Authentication: In the account settings, disable two-factor authentication temporarily. This will usually involve turning off or removing Google Authenticator as the authenticator option for your account.
- Enable Two-Factor Authentication: After disabling two-factor authentication, re-enable it and choose the option to use Google Authenticator or another authenticator app. This will generate a new QR code or provide a secret key for you to scan or enter into the Google Authenticator app.
- Use Backup Code: Instead of scanning the QR code or entering the secret key, select the option to use a backup code. Enter one of your backup codes in the provided field.
- Verify and Repeat: Repeat the above steps for each website or service that you have enabled with two-factor authentication using Google Authenticator.
By following these steps, you can effectively transfer your Google Authenticator accounts to your new iPhone using the backup codes. Make sure to store your backup codes in a secure location and mark them as used once they are utilized during the transfer process.
If you encounter any problems while using this method, refer to the troubleshooting section for assistance in resolving common issues.
Now that you’ve learned the steps for transferring your Google Authenticator app using backup codes, let’s explore the next method: manually transferring the codes.
Method 3: Manually Transferring Codes
If you don’t have access to cloud backup or backup codes, or if you prefer a more hands-on approach, you can manually transfer your Google Authenticator codes from your old iPhone to your new one. Follow these steps:
- Set Up your New iPhone: Begin by setting up your new iPhone and ensuring that you have a stable internet connection.
- Install Google Authenticator: Download and install the Google Authenticator app from the App Store on your new iPhone.
- Access Account Settings: On your old iPhone, go to the websites or services where you have enabled two-factor authentication using Google Authenticator. Log in to your accounts and access the account settings or security settings section.
- Disable Two-Factor Authentication: In the account settings, disable two-factor authentication temporarily. This will typically involve turning off or removing Google Authenticator as the authenticator option for your account.
- Enable Two-Factor Authentication on New iPhone: On your new iPhone, log in to the respective websites or services and enable two-factor authentication. Choose the option to use Google Authenticator or another authenticator app. This will generate a new QR code or provide a secret key for you to scan or manually enter into the Google Authenticator app.
- Transfer Codes Manually: On your old iPhone, open the Google Authenticator app and manually copy the codes displayed for each website or service.
- Enter Codes on New iPhone: On your new iPhone, open the Google Authenticator app and manually enter the codes you copied from your old iPhone for each website or service.
- Verify and Repeat: Repeat the above steps for each website or service that you have enabled with two-factor authentication using Google Authenticator.
By manually transferring the Google Authenticator codes, you ensure a seamless transfer of your accounts from your old iPhone to your new one. Remember to securely erase any traces of your codes from your old iPhone to maintain the confidentiality and security of your accounts.
If you encounter any difficulties during the process, refer to the troubleshooting section for assistance with common problems.
Now that you’ve learned how to manually transfer your Google Authenticator codes, let’s move on to the troubleshooting section to address any potential issues you may encounter during the transfer process.
Troubleshooting
While transferring your Google Authenticator app to your new iPhone, you may encounter a few issues or challenges. Here are some common troubleshooting steps to help you navigate through potential problems:
Issue: Unable to sign in to Google Authenticator on the new iPhone:
– Ensure that you have a stable internet connection on your new iPhone.
– Double-check that you are using the correct Google account credentials.
– If you have enabled two-step verification for your Google account, make sure to follow the additional steps to complete the sign-in process.
Issue: Cloud backup not working:
– Verify that you had enabled cloud backup in the settings of your Google Authenticator app on your old iPhone.
– Check if your new iPhone is logged in to the same Google account that was used for the cloud backup.
– If the issue persists, try reinstalling the Google Authenticator app and sign in again with your Google account.
Issue: Backup codes not available:
– Search for any previous emails or documentation from the websites or services that you have enabled two-factor authentication for. They may have provided backup codes at the time of setup.
– If you cannot locate backup codes, reach out to the respective websites or services’ support teams for help in recovering access to your accounts.
Issue: QR codes not scanning:
– Ensure that the QR code is well-lit and clear when scanning. Adjust the lighting conditions if needed.
– Make sure that you are holding your new iPhone steady and at an appropriate distance from the QR code.
– If the issue persists, try manually entering the provided secret key instead of scanning the QR code.
If you encounter any other issues or specific errors during the transfer process, consult the support documentation or contact the respective websites or services for further assistance. They will be able to provide guidance tailored to their specific authentication setup.
Now that you are aware of potential troubleshooting steps, you can confidently address any issues that may arise during the transfer of your Google Authenticator app to your new iPhone.
Conclusion
Transferring your Google Authenticator app to your new iPhone is a crucial step to ensure uninterrupted access to your accounts and maintain a high level of security. In this article, we explored three different methods to transfer your Google Authenticator settings and accounts.
We discussed the first method, using your Google account, which allows for a seamless transfer if you had enabled cloud backup in your Google Authenticator settings. We also covered the second method, using backup codes, which can be helpful if you have backup codes readily available. Lastly, we explored the third method, manually transferring the codes, for those who prefer a more hands-on approach.
Additionally, we provided troubleshooting steps to address common issues that may arise during the transfer process, such as sign-in problems, cloud backup issues, backup code availability, and scanning QR codes.
Remember to adequately prepare for the transfer by noting down important information, including websites and services with enabled two-factor authentication, and ensuring backup codes and recovery options are readily available. By taking these steps, you can make the transfer process smoother and minimize any potential disruptions.
Overall, transferring your Google Authenticator app to your new iPhone is essential for a secure and hassle-free transition. Choose the method that suits your preferences and follow the step-by-step instructions outlined in this article.
With the knowledge and understanding gained from this guide, you can confidently transfer your Google Authenticator app to your new iPhone, ensuring continued access to your accounts and maintaining a strong level of security.