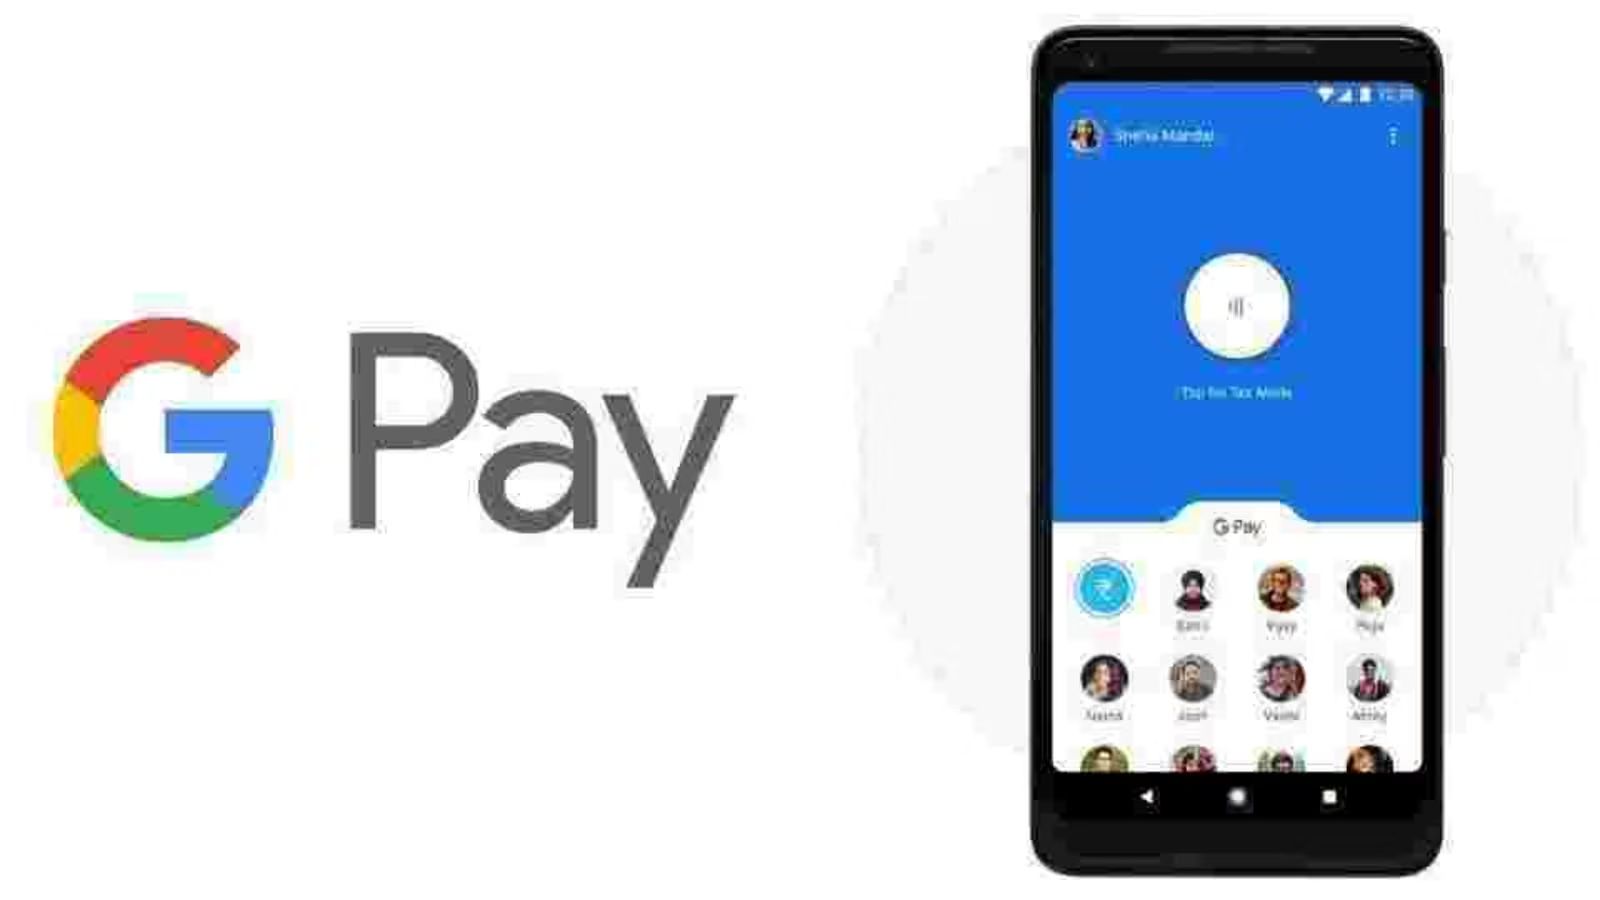
Introduction
Welcome to our guide on how to turn on NFC for Google Pay! In this digital age, mobile payment methods are becoming increasingly popular, offering convenience and ease of use. Near Field Communication (NFC) is a technology that plays a crucial role in enabling mobile payments, like Google Pay, to securely transfer information between devices.
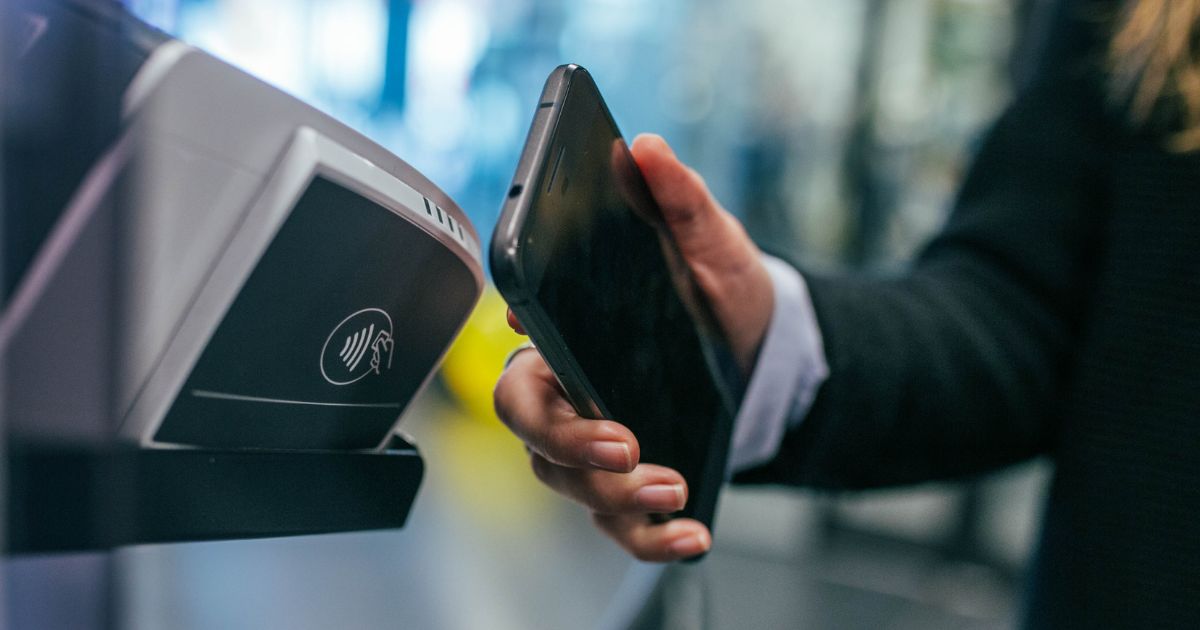
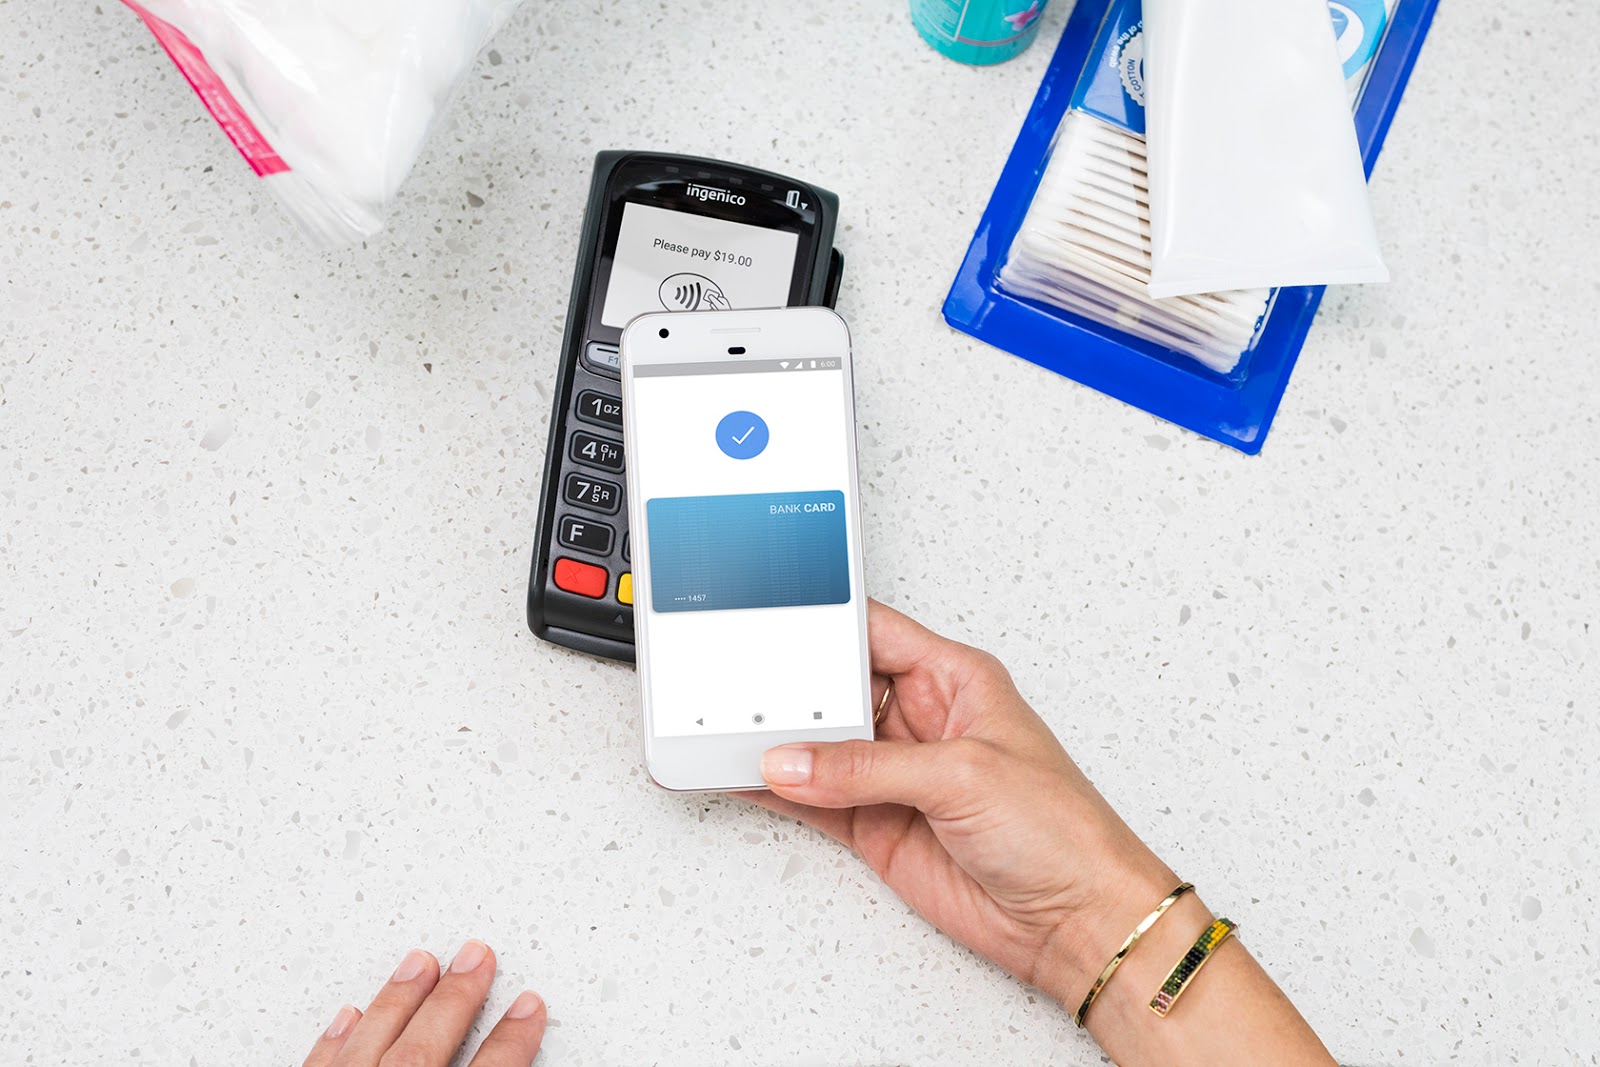
NFC technology allows for contactless communication between devices when they are within close proximity. It eliminates the need for physical cards or cash by allowing you to simply tap your smartphone or wearable device on a compatible payment terminal to complete a transaction. With Google Pay, you can make payments at retail stores, online shops, or even send money to friends and family, all with just a few taps on your device.
In this guide, we will walk you through the process of checking if your phone has NFC capability, turning on NFC for Android and iPhone devices, and troubleshooting any common issues that may arise while using NFC and Google Pay.
Whether you are new to NFC or simply need a refresher on how to enable it, this guide will provide you with all the information you need to get started with Google Pay and enjoy the convenience of contactless payments.
What is NFC?
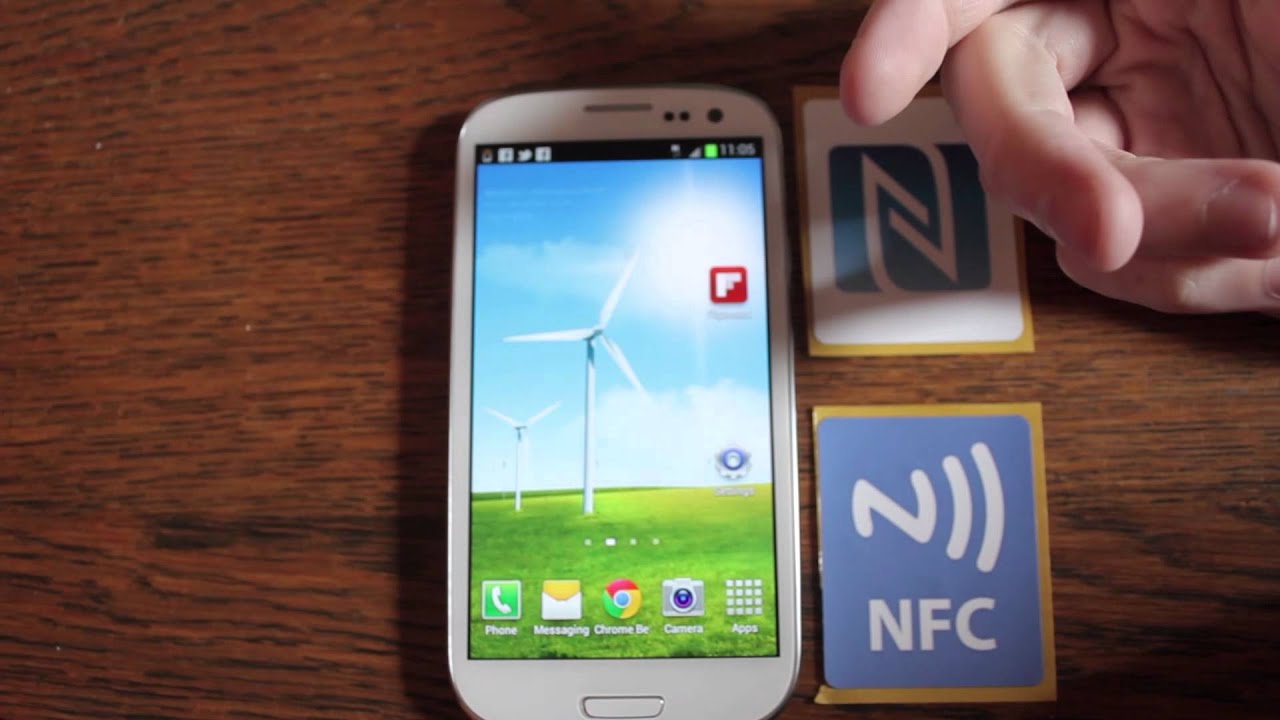
NFC stands for Near Field Communication, which is a short-range wireless communication technology that enables the transfer of data between devices that are in close proximity to each other. It operates on radio frequency identification (RFID) technology and has a range of about 4 centimeters or less. NFC is commonly used for contactless payments, allowing users to make transactions by simply tapping their devices on a compatible payment terminal.
NFC enables secure and convenient communication between devices through electromagnetic induction. It requires two NFC-enabled devices, typically a smartphone or a wearable device, to establish a connection by bringing them close together. Once connected, the devices can exchange data, such as payment information or other types of data, quickly and securely.
Apart from mobile payments, NFC has a range of other applications. For example, it is used for contactless ticketing systems for transportation, access control systems for buildings or events, and sharing information between devices by tapping them together. NFC has become increasingly popular due to its ease of use, versatility, and the growing number of devices and services that support it.
One of the key advantages of NFC is its ability to provide secure transactions. It uses encryption to protect the data being transferred, ensuring that sensitive information, such as credit card details, remains secure. Additionally, NFC requires close proximity for communication, which adds an extra layer of security as it reduces the chances of unauthorized access or interception.
Overall, NFC is a technology that enables seamless communication and data transfer between devices. With its widespread adoption and compatibility with various services like Google Pay, NFC has revolutionized the way we make payments and interact with our devices. Now that we have a basic understanding of NFC, let’s explore why NFC is crucial for Google Pay in the next section.
Why is NFC important for Google Pay?
NFC plays a vital role in enabling Google Pay’s contactless payment feature, making it a key component of the service. Here are a few reasons why NFC is important for Google Pay:
1. Contactless Payments: NFC allows Google Pay users to make contactless payments by simply tapping their NFC-enabled devices on compatible payment terminals. This eliminates the need to carry physical credit or debit cards and makes transactions faster and more convenient.
2. Secure Transactions: NFC provides a secure platform for Google Pay transactions. By using encryption and close-range communication, NFC ensures that transaction data, such as credit card information, is kept safe from unauthorized access or interception.
3. Widespread Compatibility: NFC has gained widespread adoption and is supported by a vast number of smartphones and payment terminals. This wide compatibility allows Google Pay users to make payments at various retail stores, restaurants, and online platforms that accept NFC payments.
4. Integration with Loyalty Cards and Offers: NFC technology enables Google Pay to integrate with loyalty programs and offer redemption. Users can easily store and use their loyalty cards within the Google Pay app, making it a convenient and consolidated platform for both payments and loyalty rewards.
5. Peer-to-Peer Payments: NFC also enables Google Pay users to make peer-to-peer payments by simply tapping their devices together. This feature allows for quick and hassle-free money transfers between friends and family members.
6. Future Potential: NFC technology continues to evolve, offering new possibilities for Google Pay and other contactless payment services. For example, NFC can be used for transit ticketing, unlocking smart locks, accessing event passes, and more, further enhancing the overall user experience.
In summary, NFC is a crucial component of Google Pay as it enables contactless payments, ensures secure transactions, provides widespread compatibility, integrates with loyalty programs, facilitates peer-to-peer payments, and holds potential for future advancements. Now that we understand the importance of NFC for Google Pay, let’s move on to the next section to determine if your device has NFC capability.
How to Check if Your Phone has NFC Capability
Before you can start using NFC for Google Pay, it is essential to determine whether your smartphone or wearable device has NFC capability. Here are a few methods to check if your device supports NFC:
1. Check the Device’s Settings: Most smartphones have a dedicated section in the settings menu where you can find information about NFC. Look for terms like “NFC” or “Connectivity” in the settings and toggle the NFC option on if available.
2. Consult the User Manual: If you still have the user manual that came with your device, it may provide information about the presence of NFC. Look for a section on connectivity or specifications to find details about NFC support.
3. Search Online: If you don’t have the user manual or are unable to find the NFC settings on your device, you can search for the device’s model number online. Manufacturers often provide detailed specifications for their devices on their official websites, including whether or not NFC is supported.
4. Use a Third-Party App: There are various apps available on app stores that can help you determine if your device has NFC capability. Install an app like “NFC Check” or “NFC Reader” and follow the instructions to check for NFC support on your device.
Once you have confirmed that your device has NFC capability, you can proceed to enable NFC and set up Google Pay for contactless payments. The following sections will guide you through the process of enabling NFC on both Android and iPhone devices and configuring Google Pay for seamless transactions.
Note that if your device does not have NFC capability, you may not be able to use Google Pay for contactless payments. However, you can still use Google Pay for online transactions or peer-to-peer payments, depending on the features supported by your device.
Turning on NFC on Android Devices
Enabling NFC on your Android device is a straightforward process. Follow the steps below to turn on NFC and get ready to use Google Pay for contactless payments:
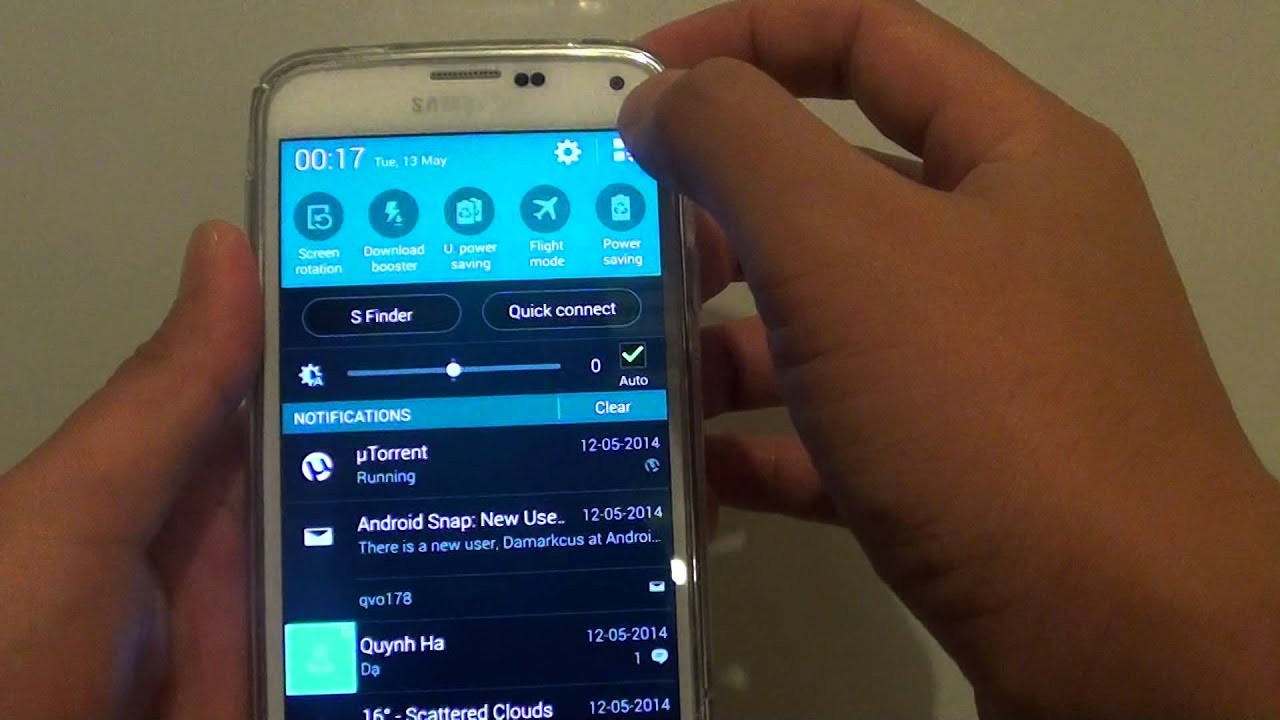
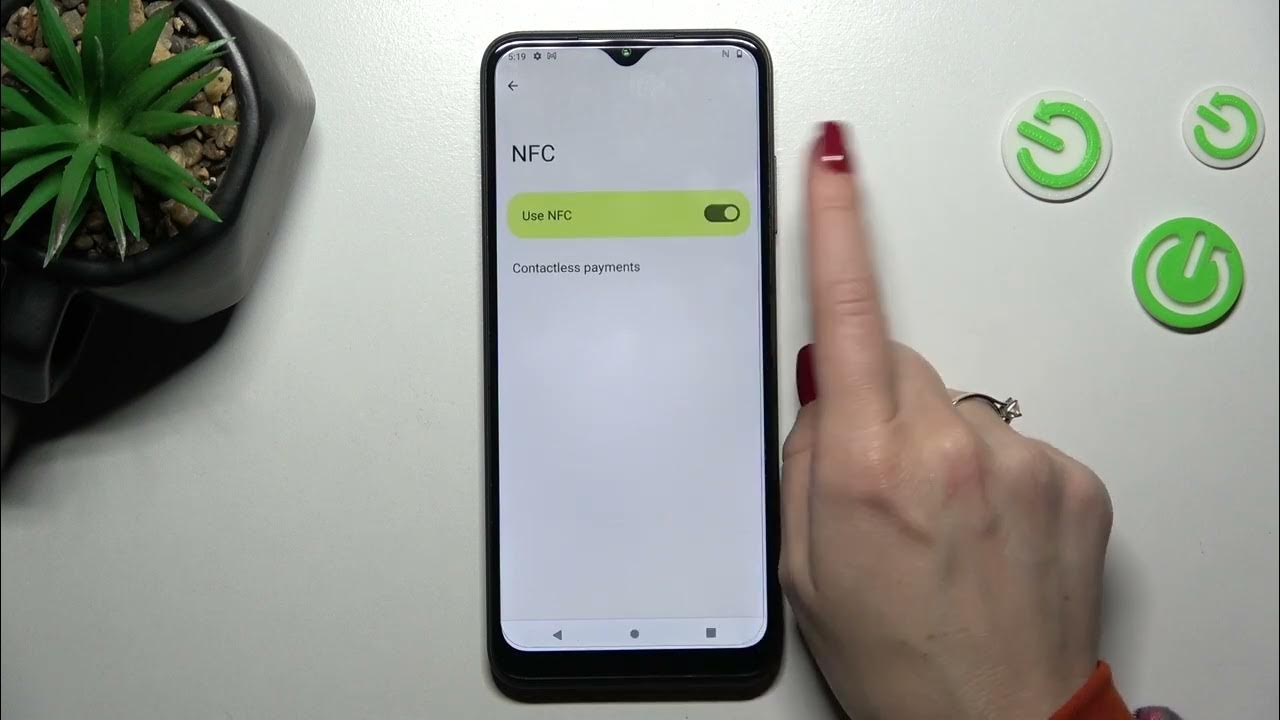
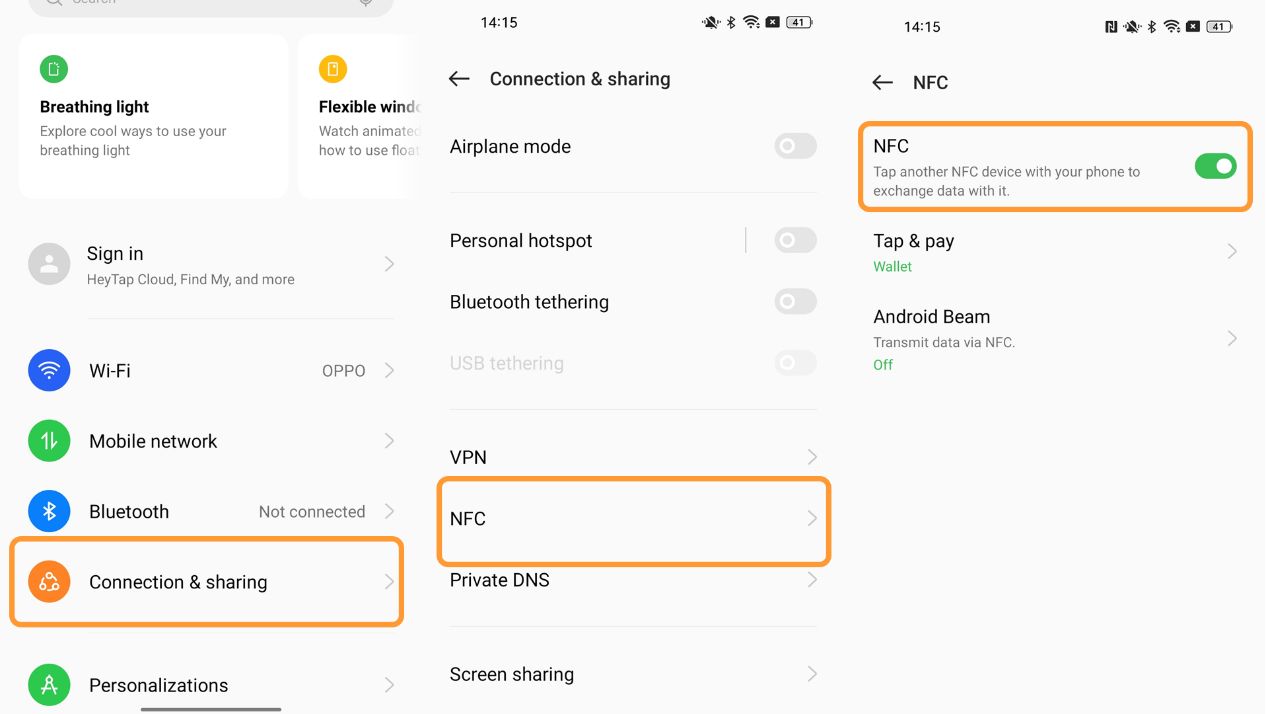
1. Open the Settings menu: Swipe down from the top of your screen to access the notification panel and tap the gear-shaped Settings icon, or you can find the Settings app in your app drawer.
2. Locate the NFC option: In the Settings menu, scroll down and look for a section related to “Wireless & Networks” or “Connections.” Tap on it to access more connectivity options.
3. Enable NFC: In the connectivity options, you should see an option for NFC. Toggle the switch to turn it on. You may be prompted to confirm your action.
4. Optional: Set your preferred payment app: If you have multiple payment apps installed, you may need to set your preferred app for NFC transactions. Go back to the main settings menu and search for “Tap & Pay” or “Payment & shipping.” Select your preferred payment app, such as Google Pay, as the default for NFC payments.
Once you have enabled NFC, your Android device is ready for contactless payments using Google Pay. Remember to keep your device near the payment terminal and follow the on-screen instructions to complete your transactions securely.
It’s worth noting that the exact steps to enable NFC on Android devices may vary slightly depending on the manufacturer’s user interface. However, the general concept remains the same. If you have trouble finding the NFC settings on your specific Android device, refer to the device’s user manual or search online for instructions tailored to your device.
Now that you know how to enable NFC on Android, let’s move on to the next section for instructions on enabling NFC for Google Pay on iPhone devices.
Enabling NFC for Google Pay on iPhone Devices
If you’re an iPhone user, enabling NFC for Google Pay requires a slightly different approach. Follow the steps below to enable NFC and start using Google Pay for contactless payments on your iPhone:
1. Open the Settings app: Tap on the “Settings” app icon on your iPhone’s home screen to access the device settings.
2. Scroll down and find “Wallet & Apple Pay”: In the Settings menu, scroll down and look for the “Wallet & Apple Pay” option and tap on it.
3. Toggle on “Allow Payments on iPhone”: In the “Wallet & Apple Pay” settings, scroll down to find the “Allow Payments on iPhone” option. Toggle the switch next to it to enable NFC for payments.
4. Set up Google Pay: Before you can use NFC for Google Pay, you need to set up the Google Pay app on your iPhone. If you don’t have it already, download the Google Pay app from the App Store and follow the on-screen instructions to set it up with your payment details.
5. Authorize Google Pay to access NFC: Once you have set up Google Pay, you may be prompted to authorize it to access the NFC capabilities of your iPhone. Follow the on-screen prompts and grant the necessary permissions for Google Pay to use NFC.
With NFC enabled and Google Pay set up on your iPhone, you’re now ready to make contactless payments using your device. Simply hold your iPhone near a compatible payment terminal and follow the prompts on the screen to complete your transaction securely.
Please note that not all iPhone models have NFC capabilities. As of now, NFC functionality is available on iPhone 7 and later models. If you have an older iPhone model, you may not be able to use NFC for Google Pay or contactless payments.
Now that you know how to enable NFC for Google Pay on iPhone devices, let’s move on to the next section to address any common issues that may arise when using NFC and Google Pay.
Troubleshooting Common Issues with NFC and Google Pay
While NFC and Google Pay generally provide a seamless payment experience, you might encounter some issues along the way. Here are some common problems and their potential solutions:
1. NFC Not Turning On: If you’re unable to enable NFC on your device, ensure that it has NFC capability. Refer to the device’s user manual or search online for NFC compatibility. If your device does support NFC but the toggle remains unresponsive, restart your device and try again. If the issue persists, contact your device manufacturer or service provider for further assistance.
2. Payment Terminal Compatibility: Not all payment terminals may be compatible with NFC. Ensure that the merchant’s payment terminal supports NFC payments before attempting to make a transaction. If you’re experiencing repeated issues at a specific location, inform the merchant or contact their customer support for guidance.
3. Connection Issues: Sometimes, a weak or inconsistent NFC connection can lead to payment failures. Ensure that your device’s NFC antenna is clean and unobstructed. Additionally, hold your device near the payment terminal until the transaction is completed. If the issue persists, try removing any protective cases or covers that may be interrupting the NFC connection.
4. Google Pay Authentication: If you encounter authentication issues with Google Pay, ensure that you have a stable internet connection. Verify that the payment app is up to date and that you’re using the correct login credentials. If the problem persists, try clearing the app cache or reinstalling the Google Pay app.
5. Insufficient Funds or Card Issues: If a transaction fails, double-check that you have sufficient funds in the linked payment method or credit card. Additionally, ensure that the card details stored in Google Pay are accurate and up to date. If necessary, contact your card issuer or bank for further assistance.
If you continue to experience issues with NFC and Google Pay, it’s advisable to consult the official support channels of your device’s manufacturer or contact Google Pay support for personalized assistance. They can provide specific troubleshooting steps tailored to your device and help resolve any persistent issues.
By addressing these common issues, you can overcome hurdles and enjoy the convenience of contactless payments using NFC and Google Pay.
Conclusion
In this guide, we have explored the world of NFC and how it is essential for using Google Pay for contactless payments. NFC technology enables secure and convenient communication between devices, allowing users to make transactions by simply tapping their devices on compatible payment terminals.
We learned how to check if your phone has NFC capability, and we discussed the steps to turn on NFC for both Android and iPhone devices. By enabling NFC and setting up Google Pay, you can enjoy the convenience of contactless payments and make transactions with just a few taps on your device.
Furthermore, we covered some common issues that may arise when using NFC and Google Pay, providing troubleshooting steps to help you overcome any obstacles you may encounter.
NFC has revolutionized the way we make payments and interact with our devices. It offers secure transactions, widespread compatibility, and integration with loyalty programs. By embracing NFC and using Google Pay, you can simplify your payment experience and enjoy the benefits of contactless technology.
Remember, always ensure that you have a compatible device, a secure internet connection, and sufficient funds in your payment method or card to facilitate smooth transactions. If you face any persistent issues, reach out to the support channels of your device manufacturer or contact Google Pay support for assistance tailored to your specific situation.
With NFC enabled and Google Pay set up, you can embrace the convenience and simplicity of contactless payments. Say goodbye to fumbling through your wallet for cards, and embrace the ease of tapping your way to seamless transactions.
Thank you for using this guide to learn about NFC and how to enable it for Google Pay. We hope this information has been helpful, and we wish you the best as you embark on your contactless payment journey.