Introduction
When you get a new iPhone, one of the most important steps is restoring all your apps and accounts, including Google Authenticator. Google Authenticator is a popular two-factor authentication app that adds an extra layer of security to your online accounts by generating time-based one-time passwords (TOTP).
If you rely on Google Authenticator to secure your online accounts and have recently switched to a new iPhone, you might be wondering how to restore Google Authenticator and transfer all your accounts to the new device. Fortunately, the process is relatively straightforward, and this guide will walk you through the steps to ensure a seamless transition.
It’s essential to keep in mind that the restoration process for Google Authenticator on a new iPhone may vary depending on whether you have a backup of your old iPhone or not. If you have a backup, the process becomes more streamlined, and all your account information will be easily transferred. However, if you don’t have a backup, don’t worry – there are still ways to transfer your accounts manually.
In this article, we will cover the step-by-step instructions on how to restore Google Authenticator on a new iPhone. We will explore methods for both scenarios – having a backup and not having a backup of your old iPhone. By following these steps, you can regain access to all your accounts and continue to use the added security provided by Google Authenticator.
Step 1: Backup your old iPhone
Before you transfer Google Authenticator to your new iPhone, it’s crucial to create a backup of your old iPhone. This backup will ensure that all your data, including Google Authenticator app data and settings, are retained during the transition process. Here’s how you can back up your old iPhone using iTunes or iCloud:
- iTunes Backup: Connect your old iPhone to your computer and open iTunes. Select your iPhone when it appears in iTunes and click on the “Back Up Now” button. Make sure to check the box that says “Encrypt iPhone backup” to include sensitive data like passwords and health information.
- iCloud Backup: On your old iPhone, go to Settings > [your name] > iCloud > iCloud Backup. Ensure that iCloud Backup is enabled, then click on “Back Up Now.” Keep your iPhone connected to a Wi-Fi network and connected to a power source until the backup is complete.
It’s crucial to note that if you choose to use an iTunes backup, you must remember the password you used to encrypt the backup as it will be required during the restoration process. On the other hand, an iCloud backup encrypts your data automatically, so no additional password is needed.
Once the backup is complete, you can proceed to the next step and transfer Google Authenticator to your new iPhone.
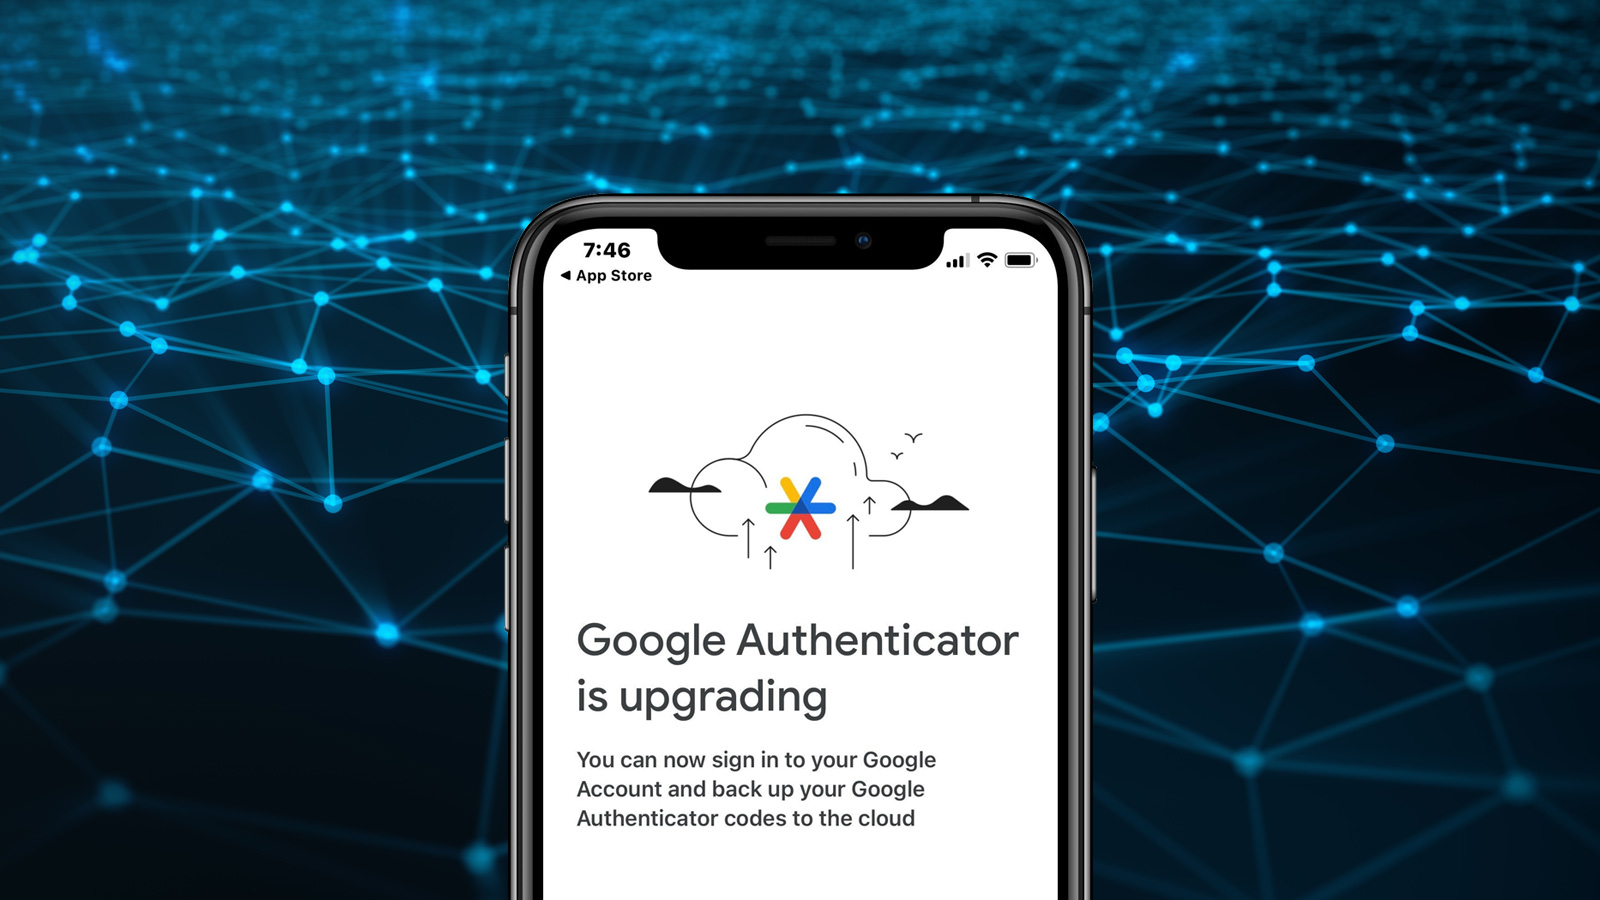
Step 2: Download and install Google Authenticator on your new iPhone
After creating a backup of your old iPhone, it’s time to download and install the Google Authenticator app on your new iPhone. Follow these simple steps to get started:
- Open the App Store on your new iPhone.
- Tap on the “Search” tab at the bottom of the screen.
- Type “Google Authenticator” in the search bar and tap the search button.
- Locate the official Google Authenticator app developed by Google LLC and tap on it.
- Tap the “Get” button next to the app’s name.
- Authenticate using Face ID, Touch ID, or your Apple ID password.
- Wait for the app to download and install on your device.
Once the installation is complete, you will find the Google Authenticator app on your iPhone’s home screen. Now, you’re ready to move on to the next step and sign in to your Google account to restore your accounts and their associated QR codes or manually transfer the app data.
Step 3: Sign in to your Google account
To restore your Google Authenticator accounts on your new iPhone, you’ll need to sign in to your Google account. Follow these steps to sign in:
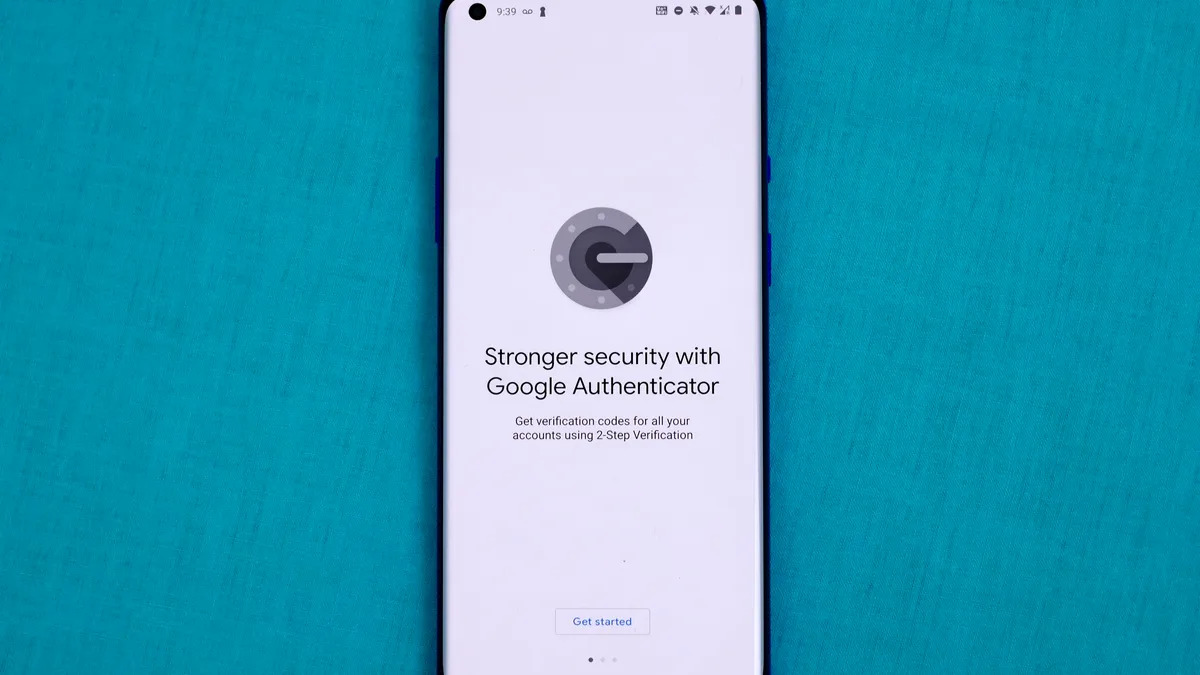
- Open the Google Authenticator app on your new iPhone.
- Tap on the “Get Started” button.
- Tap on the “Scan barcode” option.
- A new window will appear asking you to sign in to your Google account.
- Tap on the “Sign in with Google” button.
- Enter your Google account email address and tap “Next”.
- Enter your Google account password and tap “Next”.
- If prompted, complete any additional steps for verification such as entering a verification code sent to your registered phone number or email.
Once you have successfully signed in to your Google account, you will have access to your Google Authenticator app and can proceed to the next step of the restoration process, which involves transferring your Google Authenticator app data using a QR code or manually transferring the accounts.
Step 4: Transfer Google Authenticator app data using QR code
If you have a backup of your old iPhone, transferring your Google Authenticator app data to your new iPhone becomes a straightforward process using a QR code. Here’s how you can do it:
- On your new iPhone, open the Google Authenticator app and sign in to your Google account.
- Tap on the “Scan barcode” option to set up a new account manually.
- Instead of scanning a barcode, tap on the “Already have an account?” option.
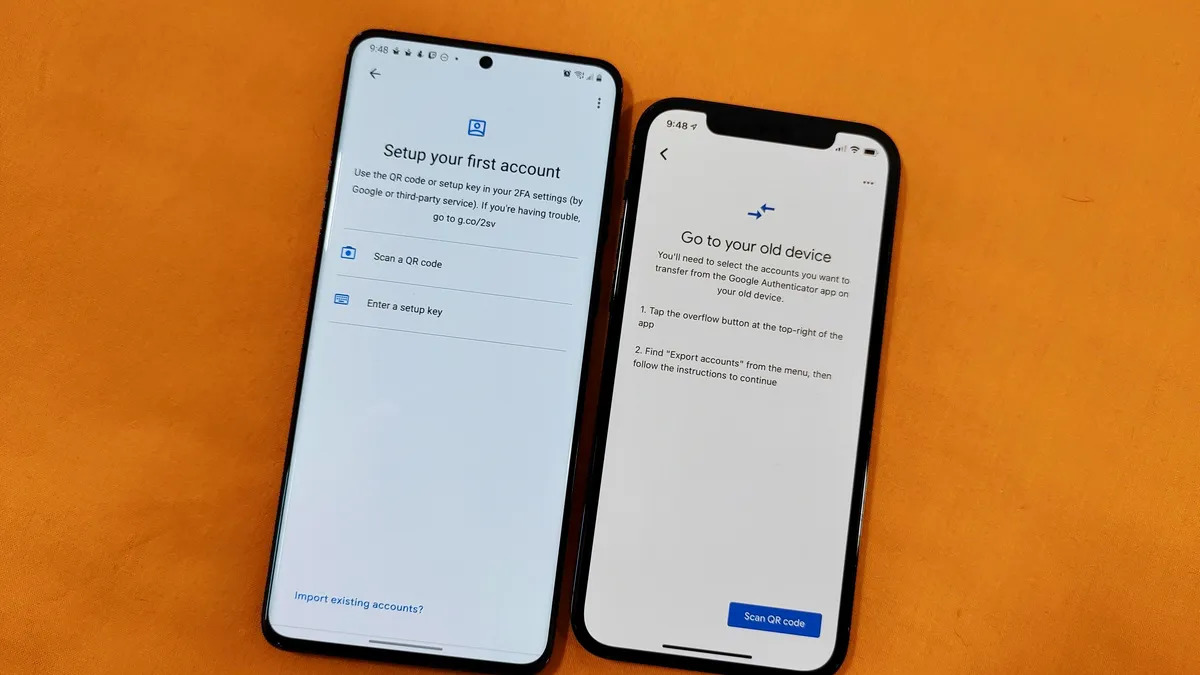
- Select the option to “Scan QR code from another device”.
- On your old iPhone, open the Google Authenticator app and select the account you want to transfer.
- Tap on the three-dot menu at the top-right corner and select the “Export” option.
- Enter your passcode or use Face ID/Touch ID to verify your identity.
- A QR code will be generated on your old iPhone.
- Scan the QR code using your new iPhone’s Google Authenticator app.
- Your account and its associated TOTP will be transferred to your new iPhone. Repeat this process for each account you want to transfer.
By using the QR code transfer method, you can quickly and easily transfer your Google Authenticator accounts from your old iPhone to your new iPhone without manually adding each account individually. This method saves time and ensures the accuracy of the information.
In the next step, we will explore the process of manually transferring Google Authenticator accounts in case you do not have a backup of your old iPhone.
Step 5: Manually transfer Google Authenticator accounts
If you don’t have a backup of your old iPhone or the QR code transfer method did not work for you, don’t worry. You can still manually transfer your Google Authenticator accounts to your new iPhone. Here’s how:
- On your new iPhone, open the Google Authenticator app and sign in to your Google account.
- Tap on the “Scan barcode” option to set up a new account manually.
- Select the option to “Enter a provided key manually”.
- On your old iPhone, open the Google Authenticator app and select the account you want to transfer.
- Tap on the three-dot menu at the top-right corner and select the “Export” option.
- Enter your passcode or use Face ID/Touch ID to verify your identity.
- Take note of the provided key or copy it to your clipboard.
- On your new iPhone, enter the account name and paste the provided key.
- Tap “Add” to manually add the account to your Google Authenticator app on the new iPhone.
- Repeat this process for each account you want to transfer.
By manually entering the account information and key, you can transfer your Google Authenticator accounts to your new iPhone without relying on a backup or QR code. This method may take a bit more time and effort, but it ensures that you can regain access to all your accounts and maintain the added security provided by Google Authenticator.
In the final step, we will cover how to verify and test Google Authenticator on your new iPhone to ensure that everything is working correctly.
Step 6: Verify and test Google Authenticator on your new iPhone
After transferring your Google Authenticator accounts to your new iPhone, it’s important to verify and test that the app is working correctly. Follow these steps to ensure that your accounts are set up and functioning properly:
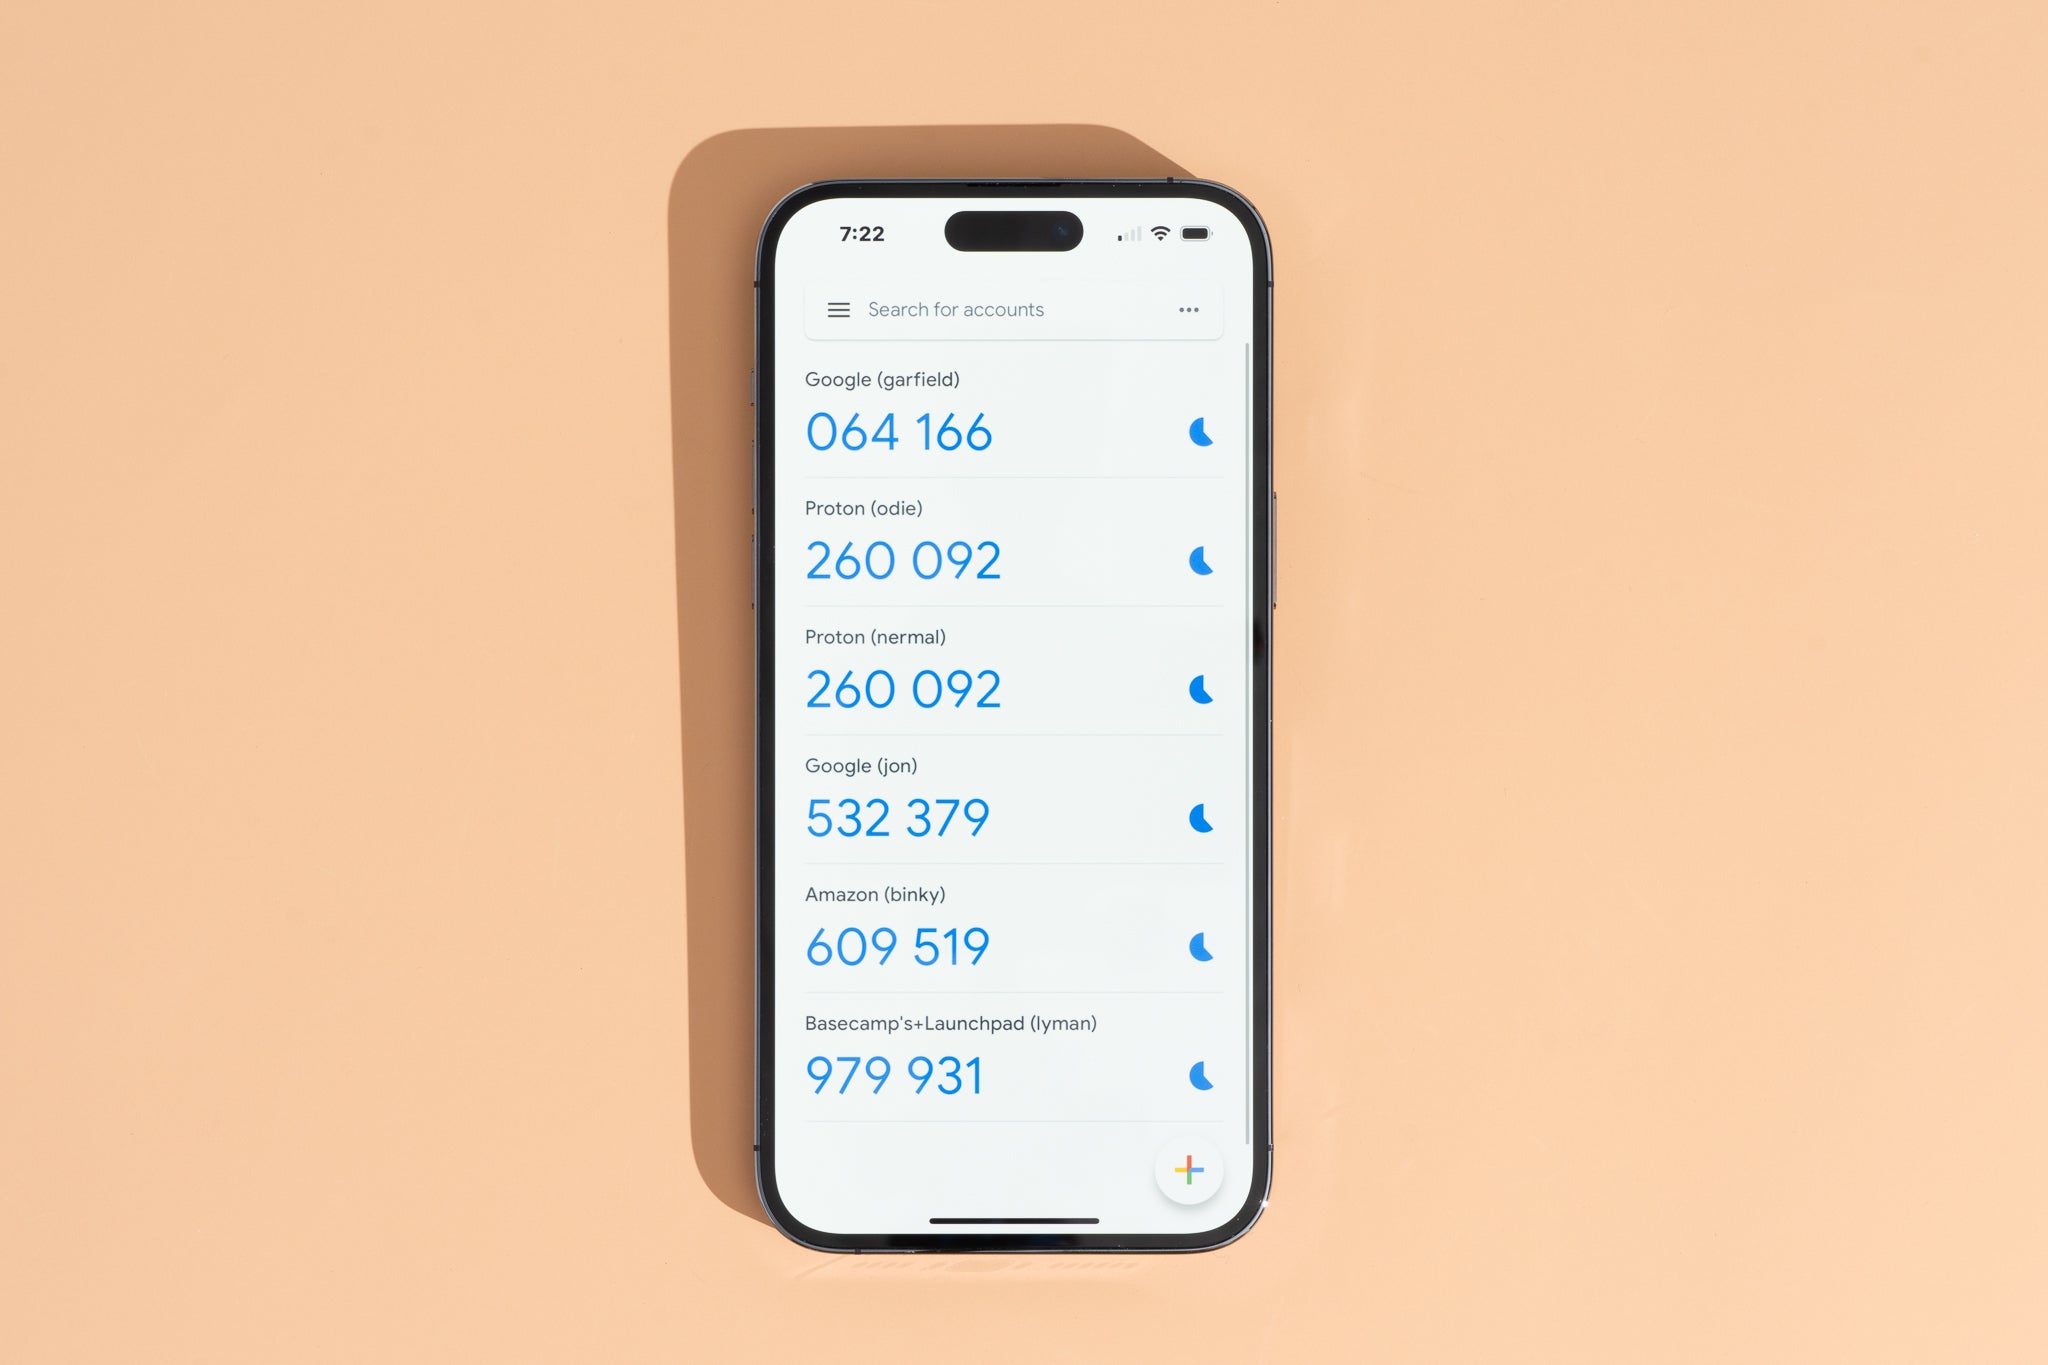
- Open the Google Authenticator app on your new iPhone.
- For each account you transferred, tap on the account name to display the time-based one-time password (TOTP).
- Verify that the TOTP displayed in the Google Authenticator app matches the code shown on the corresponding website or service.
- Repeat this process for each transferred account to ensure that the codes are consistent and accurate.
- Test the Google Authenticator app by signing in to your accounts using the TOTP generated by the app.
- If you encounter any issues or discrepancies, double-check the account settings and make sure that the time and time zone settings on your new iPhone are accurate.
By carefully verifying and testing each account in the Google Authenticator app, you can ensure that your two-factor authentication is working as expected. If you encounter any problems or inconsistent codes, consider removing and re-adding the affected accounts to the app.
Congratulations! You have successfully restored Google Authenticator on your new iPhone and transferred all your accounts to ensure the security of your online accounts. Enjoy the added protection and peace of mind that Google Authenticator offers as you continue to use your new iPhone.
Conclusion
Restoring Google Authenticator on a new iPhone is a crucial step to ensure the security of your online accounts. With the step-by-step instructions provided in this guide, you can easily transfer your Google Authenticator accounts to your new device.
By backing up your old iPhone, downloading and installing the Google Authenticator app, signing in to your Google account, and transferring your accounts either through a QR code or manually, you can seamlessly restore all your accounts and their associated two-factor authentication codes.
Remember to verify and test each account in the Google Authenticator app on your new iPhone to make sure the time-based one-time passwords are accurate and in sync with the corresponding websites or services. In case of any issues, double-check your account settings and ensure that the time and time zone settings on your new iPhone are correct.
With Google Authenticator up and running on your new iPhone, you can enjoy the added security and peace of mind that two-factor authentication brings. Keep your accounts protected and stay one step ahead of potential security threats by using Google Authenticator to safeguard your online presence.
We hope this guide has been helpful in guiding you through the process of restoring Google Authenticator on your new iPhone. Remember to always keep your iPhone and associated accounts secure to protect your sensitive information.