Introduction
Welcome to the world of enhanced security with Google Authenticator for iPhone! In this digital age, protecting our online accounts from hackers and unauthorized access is of utmost importance. With the increasing prevalence of cyber threats, a strong and reliable authentication method is essential to ensure the safety of our personal and sensitive information.
Google Authenticator is a free app available for iPhone that provides an additional layer of security to your online accounts through a process called two-factor authentication. This means that in addition to entering your username and password, you will also need to input a unique verification code generated by the Google Authenticator app, making it much harder for hackers to gain access to your accounts.
In this guide, we will walk you through the process of setting up Google Authenticator on your iPhone and configuring it for your various accounts. Whether you’re new to two-factor authentication or already familiar with the concept, this step-by-step tutorial will ensure you can strengthen the security of your accounts with ease.
So, if you’re ready to take control of your online security and add an extra layer of protection to your accounts, let’s dive into the world of Google Authenticator for iPhone!
What is Google Authenticator?
Google Authenticator is a mobile app developed by Google that provides an additional layer of security for your online accounts. It is designed to work alongside traditional username and password authentication by requiring a unique verification code in addition to your login credentials. This verification code is generated by the Google Authenticator app and can only be used once, making it virtually impossible for hackers to gain unauthorized access to your accounts.
While many online services offer two-factor authentication as an option, Google Authenticator is a popular choice due to its simplicity and reliability. It is available for both Android and iOS devices, including the iPhone, making it accessible to a wide range of users. One of the key advantages of Google Authenticator is that it works even when your iPhone is offline, ensuring that you can still access your accounts even in areas with limited internet connectivity.
Google Authenticator uses a time-based one-time password (TOTP) algorithm to generate unique codes that are valid for a short period of time. These codes refresh periodically, providing an additional layer of security. By enabling two-factor authentication with Google Authenticator, you significantly reduce the risk of unauthorized access to your online accounts, including email, social media, banking, and other services that support this authentication method.
It’s important to note that Google Authenticator is not limited to Google accounts alone. Many popular online services, such as Amazon, Dropbox, Facebook, and Microsoft, offer the option to enable two-factor authentication with Google Authenticator. This means that you can use the same app to secure multiple accounts, eliminating the need for separate authentication apps for each service.
In the next section, we will guide you through the process of downloading and setting up Google Authenticator on your iPhone, so you can start enjoying enhanced security for your online accounts.
Step 1: Downloading the App
The first step to setting up Google Authenticator on your iPhone is to download the app from the App Store. Here’s how you can do it:
- Open the App Store on your iPhone.
- Tap on the search icon at the bottom of the screen and type “Google Authenticator” in the search bar.
- From the search results, locate the official Google Authenticator app and tap on it.
- On the app page, tap the “Get” button to download and install the app on your iPhone.
- Wait for the app to download and install. Once it’s finished, you’ll see the Google Authenticator app icon on your home screen.
Alternatively, you can also use the following link to directly access the Google Authenticator app page on the App Store: [link to the app on the App Store]
After successfully downloading and installing the app, you’re ready to move on to the next step of setting up Google Authenticator on your iPhone. In the next section, we’ll guide you through the process of configuring the app to add an extra layer of security to your online accounts.
Step 2: Setting up Google Authenticator
Now that you have downloaded and installed the Google Authenticator app on your iPhone, it’s time to set it up. Follow these simple steps to get started:
- Open the Google Authenticator app by tapping on its icon on your iPhone’s home screen.
- Upon launching the app, you will be prompted to set up Google Authenticator with a welcome message. Tap on the “Begin Setup” button to proceed.
- Next, you will have two options to set up Google Authenticator: scanning a QR code or entering a setup key manually. The most common option is to scan a QR code provided by the service you want to enable two-factor authentication for. To do this, tap on the “Scan a barcode” button.
- Grant the app permission to access your iPhone’s camera when prompted. This is necessary for scanning the QR code.
- Position your iPhone’s camera in front of the QR code. The app will automatically scan the code and configure the account for two-factor authentication. Note that it may take a moment for the app to recognize the QR code, so hold your phone steady until the scan is complete.
- If scanning the QR code does not work or is not available, you can choose the “Enter a provided key” option instead. This requires manually entering the setup key provided by the service you are configuring. Simply tap on the option and follow the on-screen instructions to enter the key.
- Once the QR code is successfully scanned or the key is entered, the account will be added to your Google Authenticator app.
- Repeat the process for any other accounts you wish to set up with Google Authenticator.
- After setting up your accounts in Google Authenticator, you will see a list of them in the app. Each account will have a unique name and a corresponding verification code that refreshes periodically.
Congratulations! You have successfully set up Google Authenticator on your iPhone. In the next section, we will guide you through the process of configuring two-factor authentication for your accounts using Google Authenticator.
Step 3: Configuring Two-Factor Authentication for your accounts
Now that you have set up Google Authenticator on your iPhone, it’s time to configure two-factor authentication for your accounts. Follow these steps to enable this extra layer of security:
- Open the website or app of the service you want to enable two-factor authentication for.
- Navigate to the security or account settings of the service.
- Look for the option to enable two-factor authentication or verify your identity.
- Select Google Authenticator as the preferred method for two-factor authentication.
- You will be presented with a QR code or a setup key.
- If using a QR code, open the Google Authenticator app on your iPhone and tap on the “+” button to add a new account.
- Choose the option to scan a barcode and grant the app access to your iPhone’s camera if prompted. Hold your iPhone steady to scan the QR code displayed on the website or app.
- If using a setup key, open the Google Authenticator app and tap on the “+” button to add a new account. Select the option to enter a provided key and follow the on-screen instructions to enter the setup key manually.
- After successfully scanning the QR code or entering the key, the account will be added to your Google Authenticator app.
- Go back to the website or app and click on the “Verify” or “Continue” button to complete the process.
- From now on, whenever you log in to the service, you will be prompted to enter a verification code from the Google Authenticator app on your iPhone.
- Open the Google Authenticator app and locate the account for the service you are logging in to. Note the current verification code displayed in the app.
- Enter the current verification code into the login prompt on the website or app.
- Upon successful verification, you will gain access to your account.
Repeat these steps for each account you wish to enable two-factor authentication for using Google Authenticator. By doing so, you will enhance the security of your accounts and protect them from unauthorized access.
In the next section, we will learn how to add accounts to Google Authenticator and generate verification codes.
Step 4: Adding accounts to Google Authenticator
Now that you have set up Google Authenticator and configured two-factor authentication for your accounts, it’s time to learn how to add accounts to the app and generate verification codes. Follow these steps to add new accounts:
- Open the Google Authenticator app on your iPhone.
- Tap on the “+” button located at the top right corner of the app’s home screen.
- Choose the option to add an account manually.
- Provide the necessary details, such as the account name and the secret key provided by the service.
- Tap on the “Add” or “Save” button to add the account to Google Authenticator.
- The account will now appear in the list of accounts within the app.
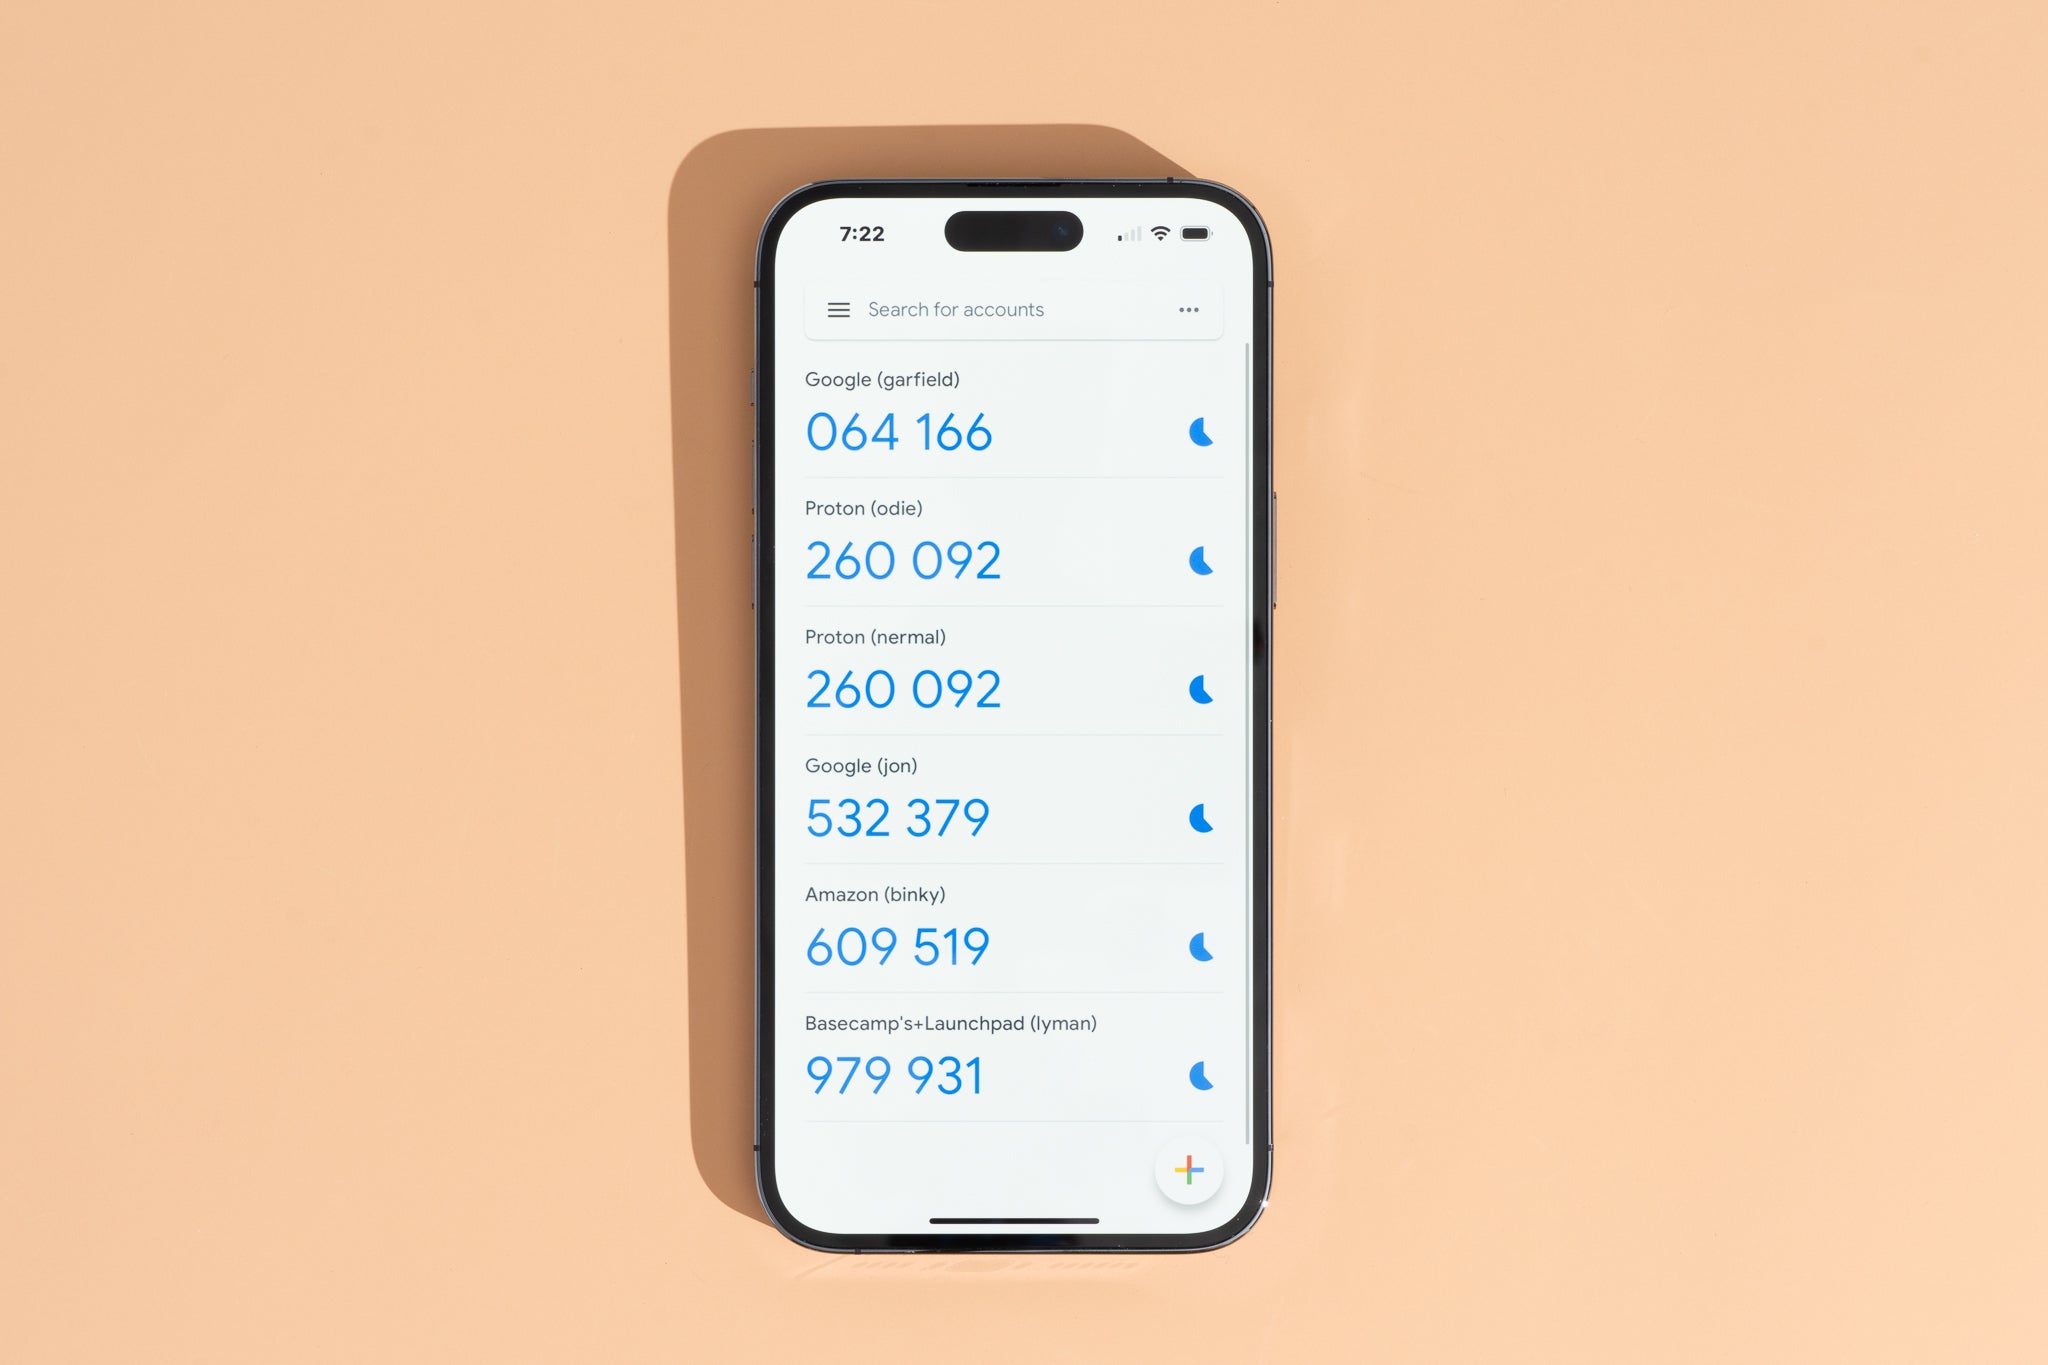
- To generate a verification code for a specific account, simply tap on the account name in the app.
- The verification code will be displayed and will refresh periodically.
- Use the verification code when prompted during the login process for the respective account.
- If you have multiple accounts in Google Authenticator, you can easily switch between them by selecting the desired account from the list within the app.
Remember to keep your Google Authenticator app secure and backed up. Losing your phone or uninstalling the app without backing it up can result in losing access to your accounts. In the next step, we will discuss how to back up your Google Authenticator app to avoid such potential issues.
Step 5: Generating Verification Codes
With Google Authenticator set up and accounts added to the app, you can now generate verification codes to enhance the security of your online accounts. Follow these steps to generate verification codes:
- Open the Google Authenticator app on your iPhone.
- From the home screen of the app, you will see a list of your added accounts.
- Tap on the account for which you want to generate a verification code.
- The app will display a six-digit verification code for the selected account.
- Note that the verification code will refresh every 10-30 seconds, providing an added layer of security.
- When prompted to enter the verification code during the login process for the respective account, type in the current code displayed in the Google Authenticator app.
- Ensure that you enter the code before it expires and a new code is generated.
- If you have multiple accounts in Google Authenticator, you can switch between them by selecting the desired account from the list within the app.
- Continue to generate and enter the verification codes as required whenever you log in to your accounts.
By utilizing the constantly refreshing verification codes from Google Authenticator, you significantly increase the security of your accounts as it makes it extremely difficult for unauthorized individuals to gain access. Remember to keep your iPhone secure to prevent any potential breaches.
In the next and final step, we will discuss the importance of backing up Google Authenticator to ensure seamless account access.
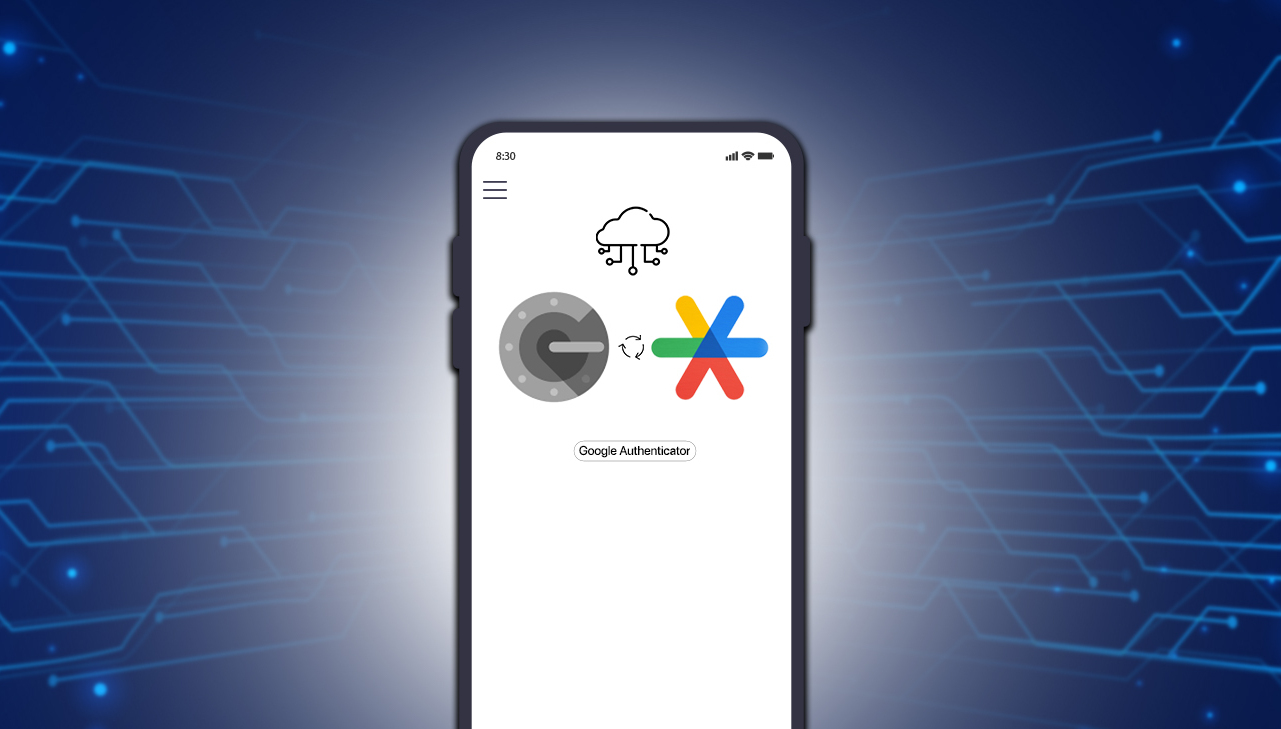
Step 6: Backing up Google Authenticator
Backing up your Google Authenticator app is essential to ensure seamless access to your accounts and prevent any potential issues in case of a lost or damaged iPhone. Follow these steps to back up your Google Authenticator app:
- Ensure that you have enabled backup and sync for your iPhone through iCloud or any other backup service you prefer.
- Go to your iPhone’s settings and tap on your Apple ID at the top of the screen.
- Tap on “iCloud” and make sure that the “Google Authenticator” app is enabled for backup. If it’s not, toggle the switch to enable it.
- Alternatively, you can use third-party backup apps that allow you to back up specific data on your iPhone, including the Google Authenticator app.
- Back up your iPhone regularly to ensure that the Google Authenticator app and its data are included in the backup.
- In case you need to restore your iPhone or set up a new iPhone, make sure to restore from the backup that includes Google Authenticator.
- After restoring or setting up your new iPhone, download the Google Authenticator app from the App Store.
- Restore your iPhone from the backup that includes the Google Authenticator app.
- Launch the Google Authenticator app, and you should find all your previously added accounts in the app.
- You may need to re-scan QR codes or enter setup keys for any accounts that were not backed up and restored properly.
By backing up your Google Authenticator app, you ensure that you can easily restore all your accounts and access their verification codes without any hassle. This provides peace of mind and prevents the risk of losing access to your accounts due to device issues.
With this final step completed, you have successfully set up, configured, and backed up Google Authenticator on your iPhone. Your online accounts are now fortified with an extra layer of security, protecting your sensitive information from unauthorized access.
Conclusion
Congratulations! You have now successfully set up Google Authenticator on your iPhone and configured it for your various accounts. By following the steps outlined in this guide, you have taken a proactive approach to enhancing the security of your online accounts and protecting your personal information.
Google Authenticator provides an additional layer of security through two-factor authentication, making it significantly harder for hackers to gain unauthorized access to your accounts. By generating unique verification codes that refresh periodically, Google Authenticator ensures that only you, with your iPhone, can access your accounts and their sensitive data.
Remember to regularly generate verification codes from the Google Authenticator app and enter them when prompted during the login process for your accounts. This extra step may take a few seconds, but it significantly enhances the security of your online presence.
Furthermore, it is crucial to back up your Google Authenticator app regularly. By ensuring that your iPhone is backed up, you can easily restore all your accounts in the app, preventing the risk of losing access to your accounts due to device issues or loss.
With Google Authenticator and its robust security measures in place, you can enjoy peace of mind knowing that your online accounts are fortified against unauthorized access and that your personal information remains secure. Take advantage of this powerful authentication tool and extend its protection to as many accounts as possible.
Thank you for following this guide on setting up Google Authenticator for your iPhone. Stay vigilant, stay secure, and enjoy the added layer of protection that Google Authenticator provides!