Introduction
Welcome to this guide on how to get your Google Authenticator on a new phone. Google Authenticator is a popular app used for two-factor authentication (2FA) and helps keep your online accounts secure. Whether you have upgraded to a new phone or simply want to transfer your accounts to a different device, this article will walk you through the process step by step.
Having 2FA enabled is an essential security measure in today’s digital world. It adds an extra layer of protection by requiring you to provide a verification code in addition to your password when logging into your accounts. Google Authenticator generates these codes, and it’s crucial to have it set up correctly on your new phone to ensure continued account security.
Transferring Google Authenticator to a new phone may seem like a daunting task, but with the right guidance, it can be a relatively straightforward process. In this guide, we will cover how to backup your current Google Authenticator, install it on your new phone, transfer your accounts, and remove it from your old device. We will also address any potential issues you may encounter along the way.
Before we dive into the steps, it’s essential to note that the process may slightly vary depending on the operating system of your devices. However, the core principles remain the same, and this guide will provide general instructions that can be adapted to suit your specific situation.
Now that we have set the stage, let’s proceed to the first step – backing up your current Google Authenticator.
Backing up your current Google Authenticator
Before you switch to a new phone, it is important to back up your current Google Authenticator data. This will ensure that you don’t lose access to your accounts during the transition.
Follow these steps to back up your Google Authenticator:
- Open the Google Authenticator app on your current phone.
- Tap on the three dots or the hamburger menu icon at the top-right corner of the screen.
- Select the “Settings” option from the menu.
- Tap on the “Transfer accounts” or “Export accounts” option.
- You will be prompted to enter your phone’s security passcode or use biometric authentication (e.g., fingerprint or face recognition) to verify your identity.
- Once verified, you will have the option to choose how you want to back up your accounts. You can either save the accounts to your Google account or export them as a QR code or a file.
- If you choose to save the accounts to your Google account, make sure you are signed in with the same Google account on your new phone.
- If you prefer to export the accounts as a QR code or a file, make sure to save it securely in a location that you can access later.
- Once you have successfully backed up your accounts, it’s time to move on to the next step – installing Google Authenticator on your new phone.
Backing up your Google Authenticator data is crucial as it will allow you to restore your accounts on your new device without any hassle. By following these steps, you can ensure a smooth transition to your new phone without losing access to your important online accounts.
Installing Google Authenticator on your new phone
Once you have backed up your Google Authenticator data from your old phone, the next step is to install the app on your new device. Follow these instructions to get Google Authenticator up and running:
- Open the app store on your new phone (Google Play Store for Android or App Store for iOS).
- Search for “Google Authenticator” in the search bar.
- Locate the official Google Authenticator app developed by Google LLC.
- Tap on the “Install” or “Get” button to download and install the app.
- Once the installation is complete, open the Google Authenticator app.
- If prompted, grant the necessary permissions for the app to function correctly.
- You will now need to set up Google Authenticator on your new phone. Choose your preferred method to add accounts:
- Scan a QR code: This method is recommended if you saved your accounts as QR codes during the backup process. Tap on the “+” symbol in the app and select the “Scan a barcode” option. Use your new phone’s camera to scan the QR code you exported or saved during the backup process.
- Manual entry: If you saved your accounts as a file or didn’t export them, you can add them manually. Tap on the “+” symbol in the app and select the “Enter provided key” or “Manual entry” option. Follow the on-screen instructions to input the necessary details for each account.
- Repeat the process for each account you want to transfer to your new phone.
- Once you have added all your accounts, you can proceed to the next step – transferring your accounts to the new Google Authenticator app.
Installing Google Authenticator on your new phone is a vital step in the process of transitioning your accounts. By following these instructions, you will have the app set up and ready to receive your transferred accounts. Let’s move on to the next step – transferring your accounts to the new Google Authenticator app.
Transferring accounts to the new Google Authenticator
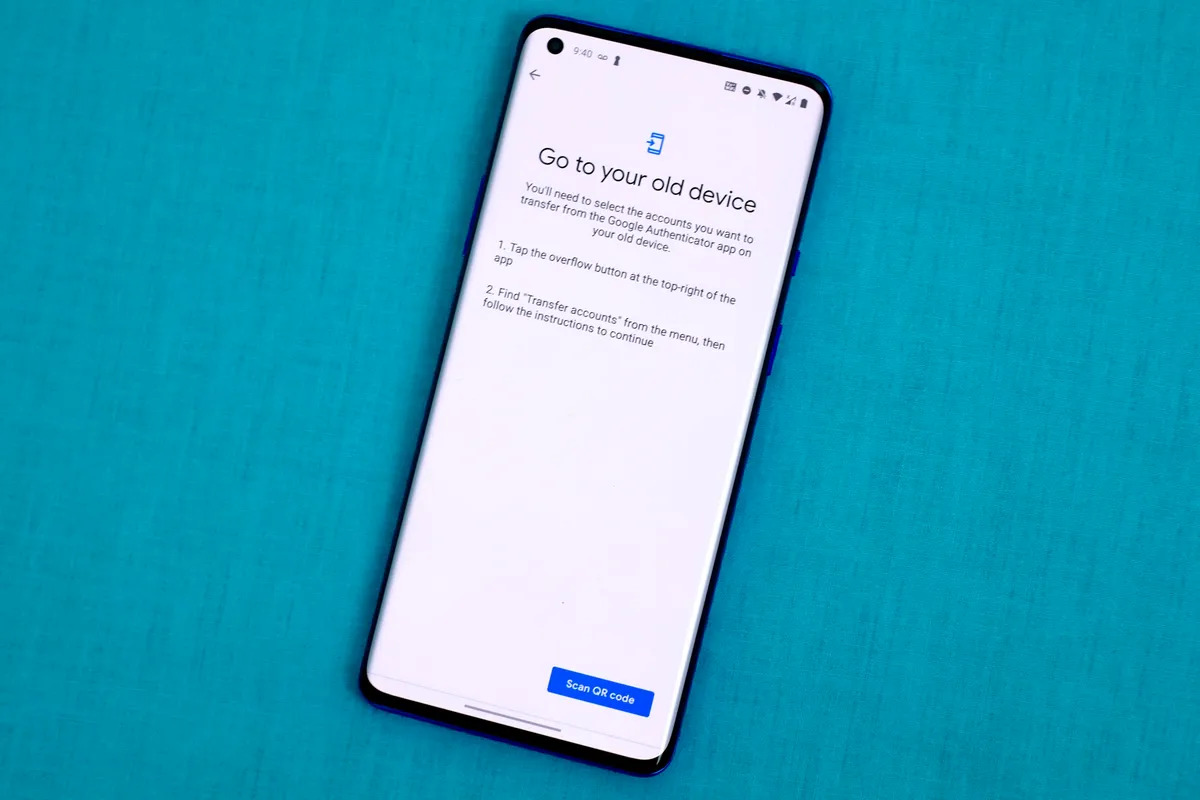
Now that you have Google Authenticator installed on your new phone, it’s time to transfer your accounts from the old device. To do this, follow the steps outlined below:
- Open the Google Authenticator app on your old phone.
- Locate the accounts that you want to transfer to your new phone.
- For each account, tap on the three dots or the settings icon associated with it.
- Select the “Transfer to another device” or similar option. This may vary slightly depending on the version of the app.
- Choose the method of transfer:
- QR code: If you are transferring to an Android device, select the “Export” option, and a QR code will be generated. Proceed to the next step to scan the QR code with your new phone’s Google Authenticator app. If you are transferring to an iOS device, follow the steps below.
- Manual entry: If you are transferring to an iOS device, select the “Export” option, and a migration code will be displayed. Proceed to the next step to manually enter this code into the Google Authenticator app on your new phone.
- Open the Google Authenticator app on your new phone.
- If you are scanning a QR code (Android), tap on the “+” symbol and select the “Scan a barcode” option. Use your new phone’s camera to scan the QR code generated on your old phone. If you are manually entering the migration code (iOS), tap on the “+” symbol and select the “Enter provided key” or “Manual entry” option. Input the migration code from your old phone.
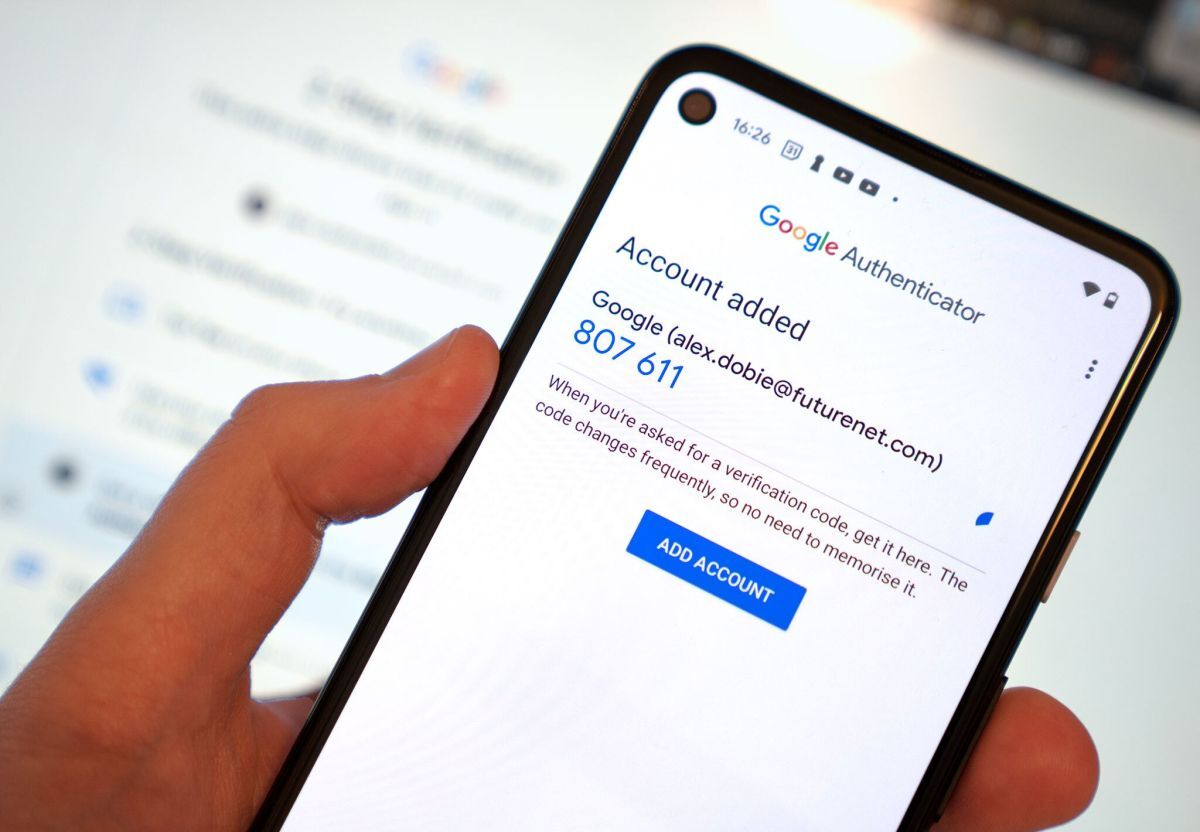
- Once the transfer is complete, the accounts will appear in the Google Authenticator app on your new phone.
- Verify that the codes are generating correctly by logging into each account and using the new Google Authenticator app for authentication.
Transferring your accounts to the new Google Authenticator app ensures that you can continue to protect your accounts with 2FA on your new device. By following these steps, you can seamlessly move your accounts from the old phone to the new one. Next, we will learn how to remove Google Authenticator from your old phone to prevent any potential security risks.
Removing Google Authenticator from your old phone
After successfully transferring your accounts to the new Google Authenticator app on your new phone, it’s important to remove Google Authenticator from your old device to ensure the security of your accounts. Follow these steps to remove Google Authenticator from your old phone:
- Open the Settings app on your old phone.
- Scroll down and locate the “Apps” or “Applications” option and tap on it.
- Look for Google Authenticator in the list of installed apps and tap on it.
- Tap on the “Uninstall” or “Remove” button.
- Confirm the uninstallation when prompted.
- If your old phone prompts you to deactivate Google Authenticator as a device administrator, follow the prompts to do so.
- Once the uninstallation is complete, Google Authenticator will be removed from your old phone.
- It’s a good practice to restart your old phone after removing Google Authenticator to ensure that all data associated with the app is cleared.
By removing Google Authenticator from your old phone, you can prevent any potential security breaches or unauthorized access to your accounts. Keeping your old device free from any sensitive information is essential to maintain the integrity of your online accounts. Now that you have successfully removed Google Authenticator from your old phone, let’s move on to the final section for troubleshooting and additional tips.
Troubleshooting and additional tips
While the process of transferring Google Authenticator to a new phone is relatively straightforward, you may encounter some challenges along the way. Here are some common troubleshooting tips to help you overcome any potential issues:
- Unable to scan QR codes: If you are having trouble scanning QR codes with the new Google Authenticator app, ensure that you have granted camera permissions to the app.
- Incorrect time settings: If you are experiencing issues with codes not working or syncing properly, make sure that the date and time settings on both your old and new phones are accurate. A significant time discrepancy can cause authentication failures.
- Migrating to a different operating system: If you are switching from Android to iOS or vice versa, the process may be slightly different. In such cases, it’s recommended to consult the official documentation or support resources provided by Google or your device manufacturer for specific instructions.
- Lost backup codes or QR codes: If you no longer have access to the backup codes or QR codes you generated during the backup process, reach out to the specific service or website associated with the account for assistance. Most platforms have alternative methods for account recovery.
- Using other authentication methods: Consider setting up alternative authentication methods, such as backup codes or security keys, in addition to Google Authenticator. This provides an additional layer of security and ensures you have fallback options if you run into any issues with the app.
Remember, it’s crucial to take the necessary precautions to protect your Google Authenticator data and ensure a smooth transfer to your new phone. By following the steps in this guide and keeping these additional tips in mind, you can successfully migrate your accounts and enjoy the enhanced security provided by Google Authenticator.
Now that you have learned how to transfer Google Authenticator to a new phone, you are well-equipped to safeguard your accounts and protect your online presence. Keep in mind that security measures and app interfaces may change over time, so it’s always a good idea to consult official documentation or seek updated instructions if needed. Safe browsing!
Conclusion
Transitioning your Google Authenticator to a new phone is essential for maintaining the security of your online accounts. By following the steps outlined in this guide, you can seamlessly transfer your accounts and ensure a smooth authentication process on your new device.
First, you learned the importance of backing up your current Google Authenticator data to prevent any account access issues during the transition. Then, you discovered how to install the Google Authenticator app on your new phone, either by scanning QR codes or manually entering account details.
Next, you successfully transferred your accounts from the old Google Authenticator app to the new one, ensuring continued 2FA protection for your online accounts. Additionally, you now know how to remove Google Authenticator from your old phone, eliminating any security risks associated with keeping the app on an unused device.
Throughout the process, troubleshooting tips were provided to address common challenges, such as QR code scanning issues and incorrect time settings. These tips will help you overcome obstacles and ensure a seamless transfer to your new phone.
Remember to take necessary precautions and set up alternative authentication methods, such as backup codes or security keys, to further enhance the security of your accounts.
With this guide, you have gained the knowledge and tools to confidently transfer your Google Authenticator to a new phone and protect your online presence. Stay vigilant, keep your accounts secure, and enjoy the peace of mind that comes with advanced 2FA protection.
Safe browsing!