Introduction
Google Authenticator is a popular two-factor authentication app that adds an extra layer of security to your online accounts. It generates time-based one-time passwords (TOTPs) to verify your identity when logging in. However, when you switch to a new phone, you need to restore Google Authenticator to ensure uninterrupted access to your accounts.
Restoring Google Authenticator on a new phone may seem daunting, but fortunately, the process is straightforward. In this article, we will guide you through the steps to restore Google Authenticator on your new phone, ensuring a smooth transition without compromising the security of your accounts.
Before we begin, it’s important to note that the process may vary slightly depending on the type of device you’re using. However, the general steps outlined in this guide should apply to most devices and operating systems.
Now, let’s dive into the step-by-step process of restoring Google Authenticator on your new phone, ensuring the security of your online accounts.
Step 1: Install Google Authenticator on your new phone
The first step in restoring Google Authenticator on your new phone is to install the app itself. Follow these instructions to get started:
- Open the app store on your new phone. If you’re using an Android device, open the Google Play Store, and if you’re using an iPhone, open the App Store.
- Search for “Google Authenticator” in the app store search bar.
- Select the official Google Authenticator app from the search results.
- Tap the “Install” or “Get” button to begin the installation process.
- Once the installation is complete, tap the “Open” button to launch Google Authenticator.
Great! You now have Google Authenticator installed on your new phone. The next step is to disable Google Authenticator on your old phone to avoid any conflicts.
Step 2: Disable Google Authenticator on your old phone
Now that you have Google Authenticator installed on your new phone, it’s important to disable it on your old phone. This step ensures that your accounts are not left vulnerable and are securely transferred to your new device. Here’s how you can disable Google Authenticator on your old phone:
- Open Google Authenticator on your old phone.
- If prompted, enter your passcode or fingerprint to access the app.
- Once inside the app, navigate to the settings or options menu. This can usually be done by tapping on the three dots or lines in the top-right corner of the app.
- Look for an option to “Disable” or “Unlink” accounts. The wording may vary depending on your device.
- Select the option to disable or unlink accounts. You may be prompted to confirm your action.
- After disabling Google Authenticator on your old phone, you can safely close the app.
By successfully disabling Google Authenticator on your old phone, you have taken an important step in securing your accounts on your new device. Now, it’s time to move on to the next step: recovering your accounts on the new phone.
Step 3: Recover your accounts on the new phone
With Google Authenticator installed on your new phone and the app disabled on your old phone, you’re now ready to recover your accounts on the new device. Follow these steps to retrieve your accounts:
- Launch Google Authenticator on your new phone.
- If prompted, grant the necessary permissions for the app to function.
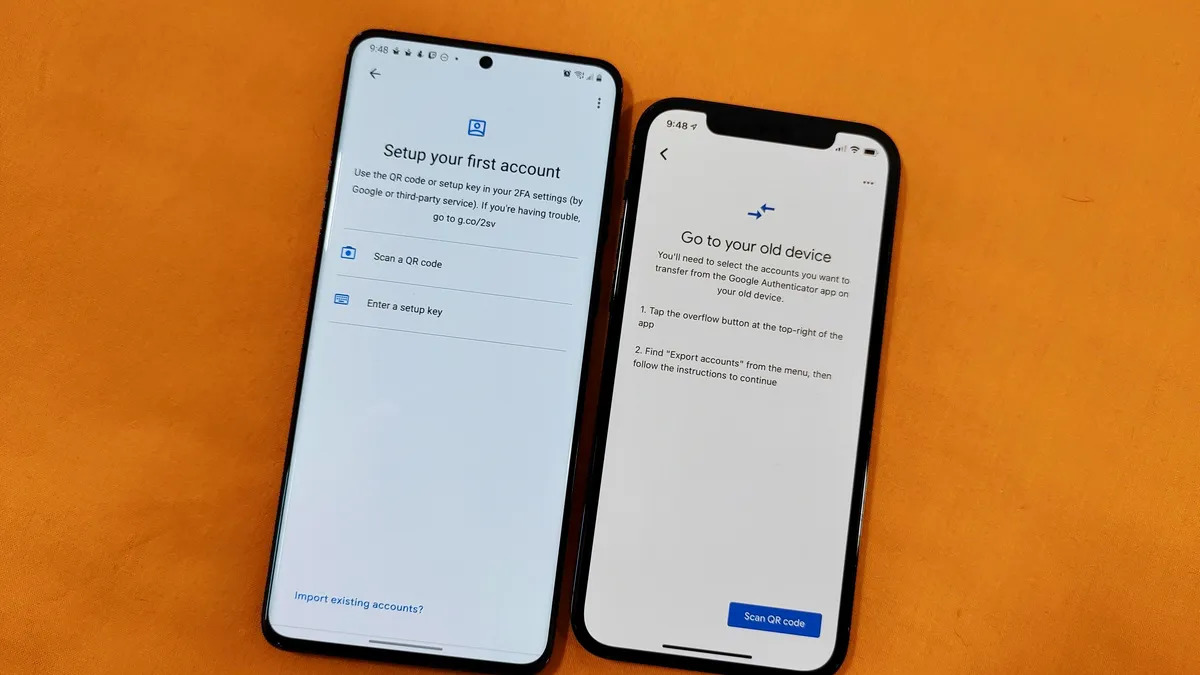
- In the app, select the option to add a new account. This can usually be done by tapping on the “+” or “Add” button.
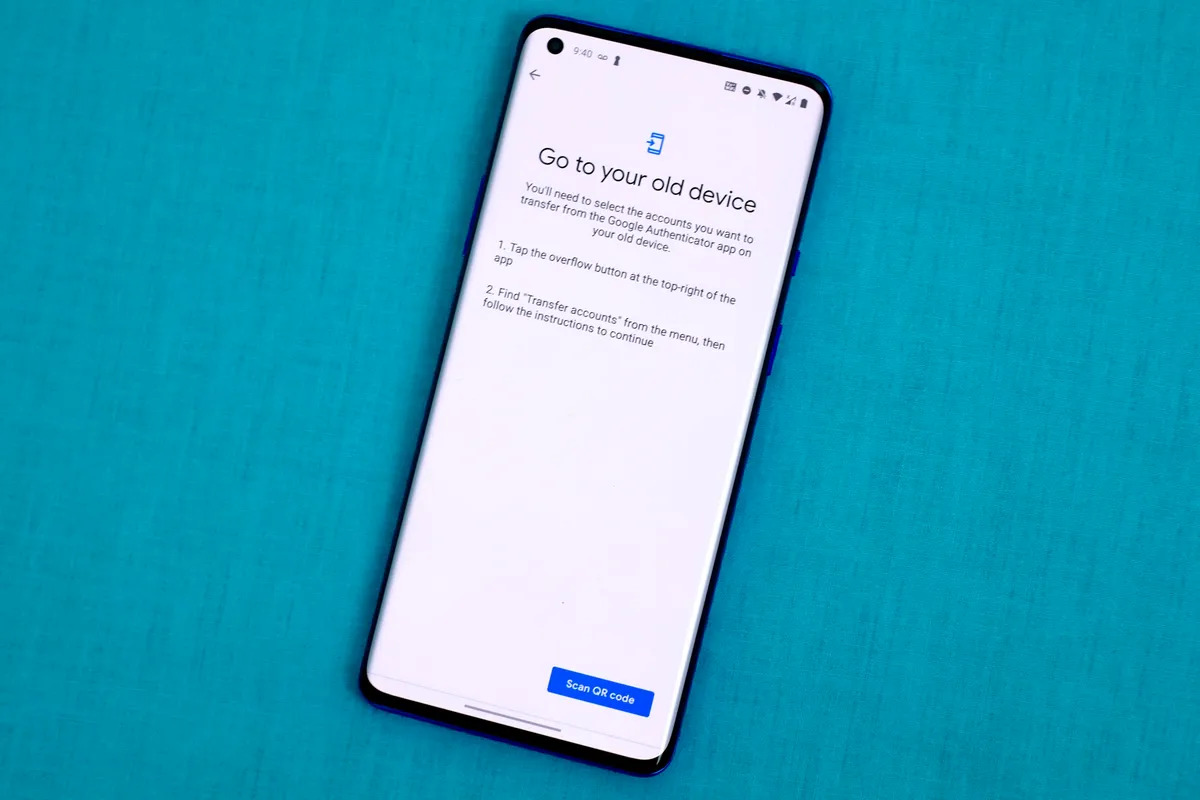
- You will typically have two options for adding your accounts. The first option is to scan a QR code provided by the website or service you’re trying to secure. To do this, point the phone’s camera at the QR code until it’s successfully scanned. Alternatively, you can choose to manually enter the account details, including the account name and the secret key or verification code.
- Repeat the process for each account you want to recover on your new phone.
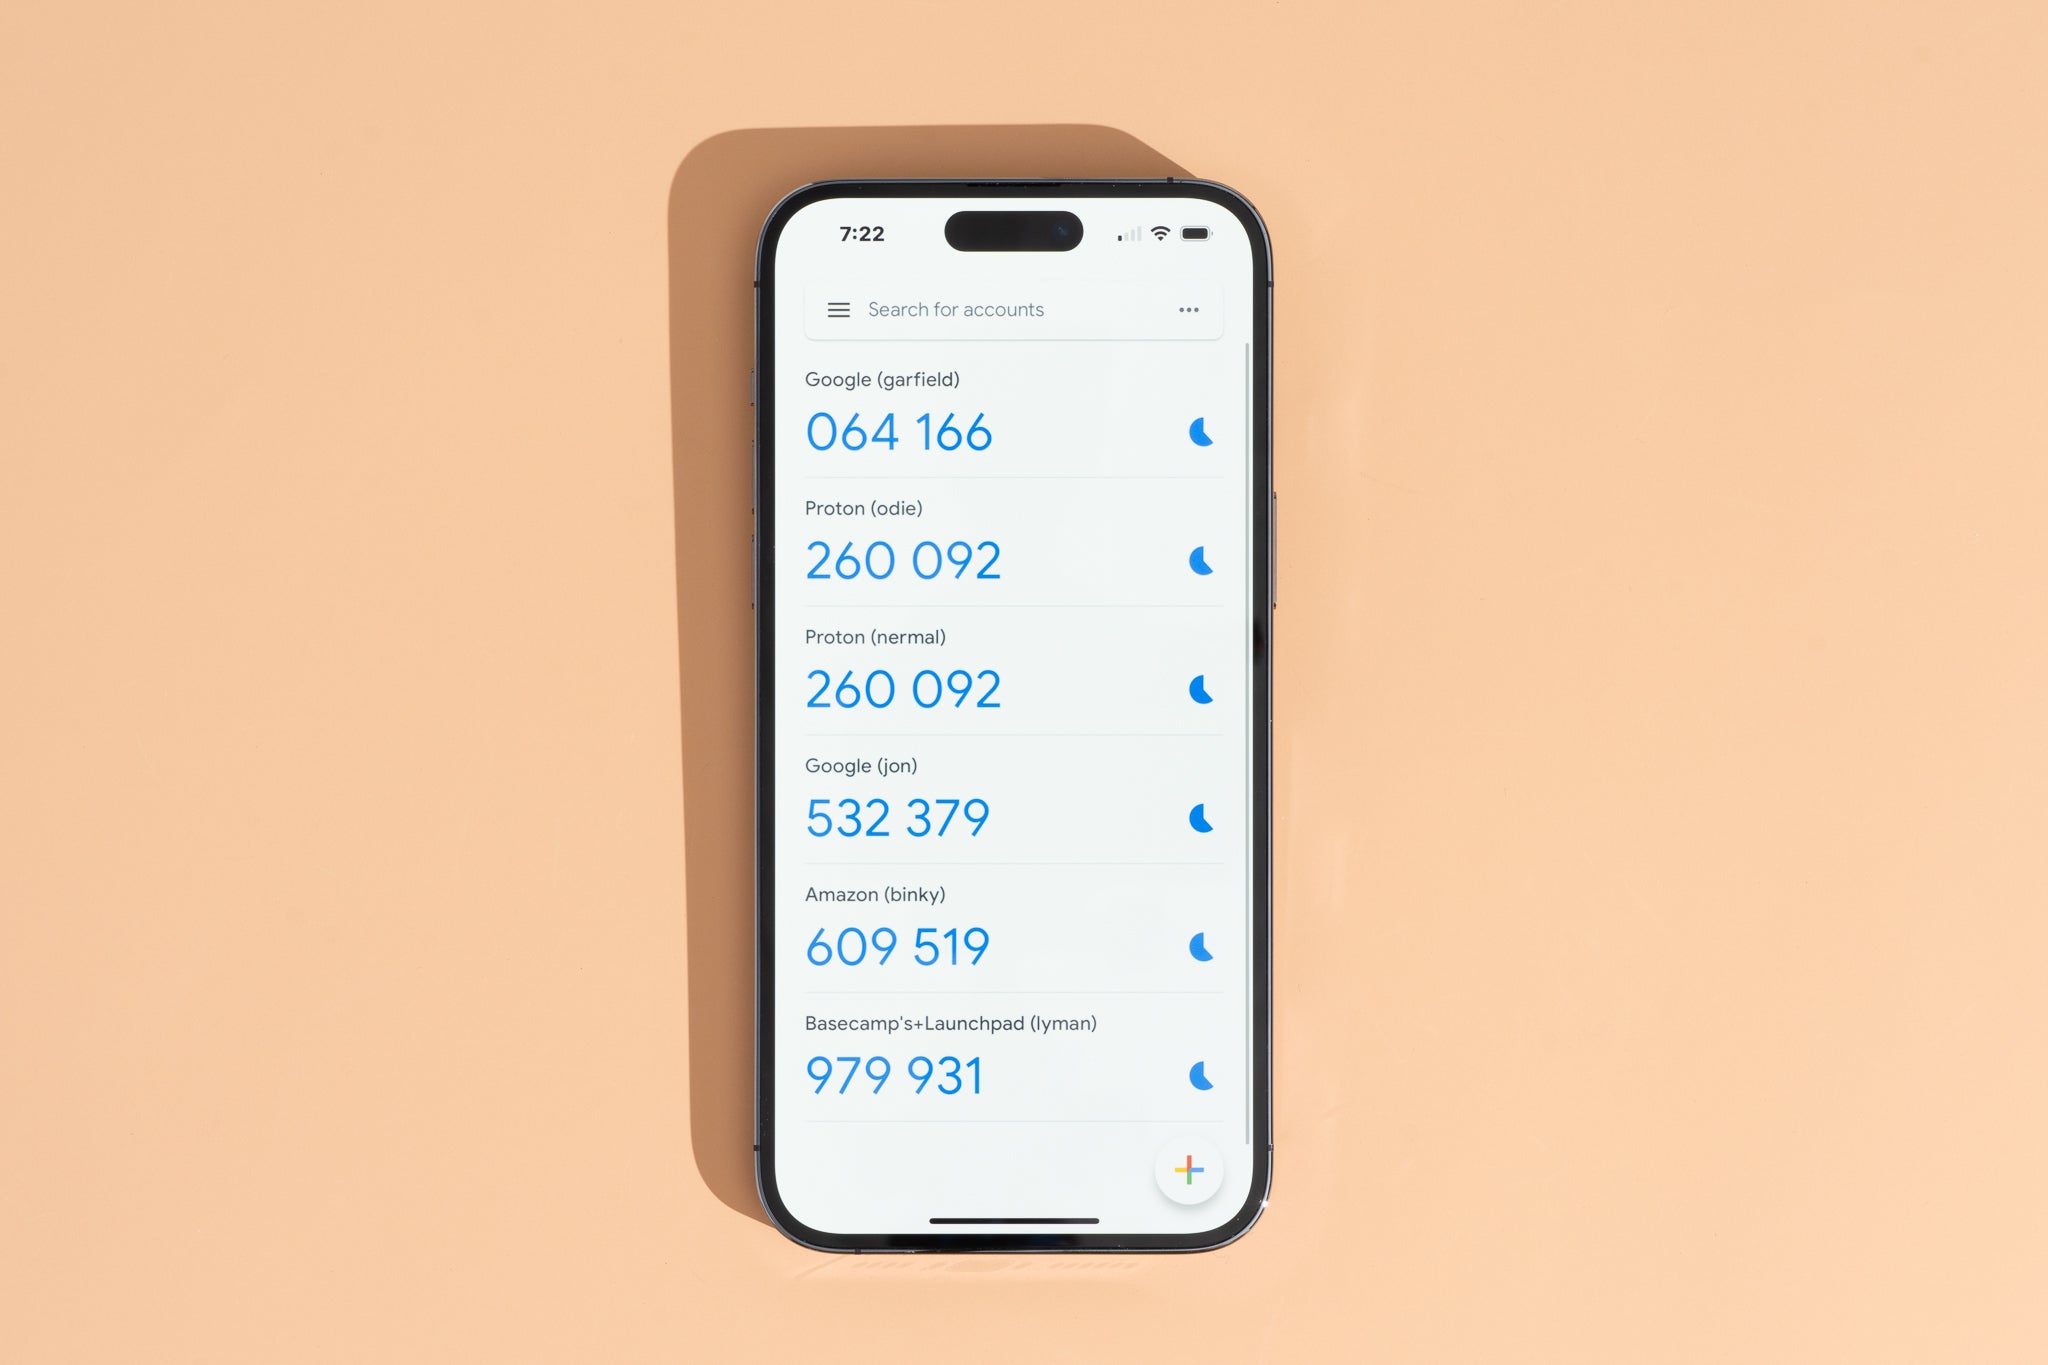
- Once you have added all your accounts to Google Authenticator on your new phone, you will see a list of your accounts with their corresponding codes.
By following these steps, you have successfully recovered your accounts on your new phone using Google Authenticator. Now, it’s time to enable two-factor authentication on your new device for enhanced security.
Step 4: Enable two-factor authentication on your new phone
After recovering your accounts on your new phone, the next crucial step is to enable two-factor authentication (2FA) for enhanced security. Enabling 2FA ensures that even if your password is compromised, an additional layer of verification will be required to access your accounts. Follow these steps to enable two-factor authentication using Google Authenticator on your new phone:
- Go to the website or service where you want to enable two-factor authentication.
- Login to your account using your username and password.
- Look for the account settings or security options. The location may vary depending on the website or service.
- Select the option to enable two-factor authentication or set up 2FA.
- Choose the option to use an authenticator app.
- A QR code or a secret key will be presented. Open Google Authenticator on your new phone and select the option to add a new account.
- Scan the QR code or manually enter the secret key provided by the website or service.
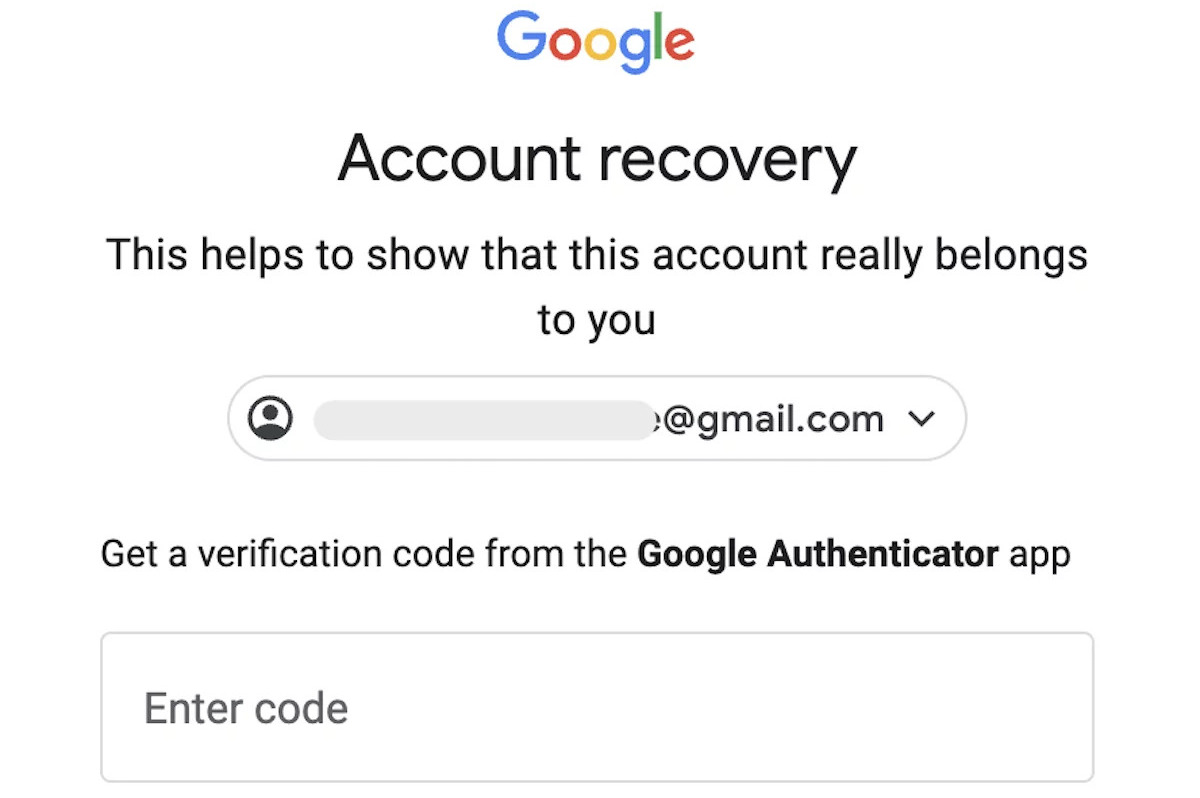
- Once the account is added to Google Authenticator, a one-time verification code will appear in the app.
- Enter the verification code into the website or service to complete the setup process.
Repeat these steps for each website or service where you want to enable two-factor authentication using Google Authenticator. By doing so, you significantly enhance the security of your accounts on your new phone.
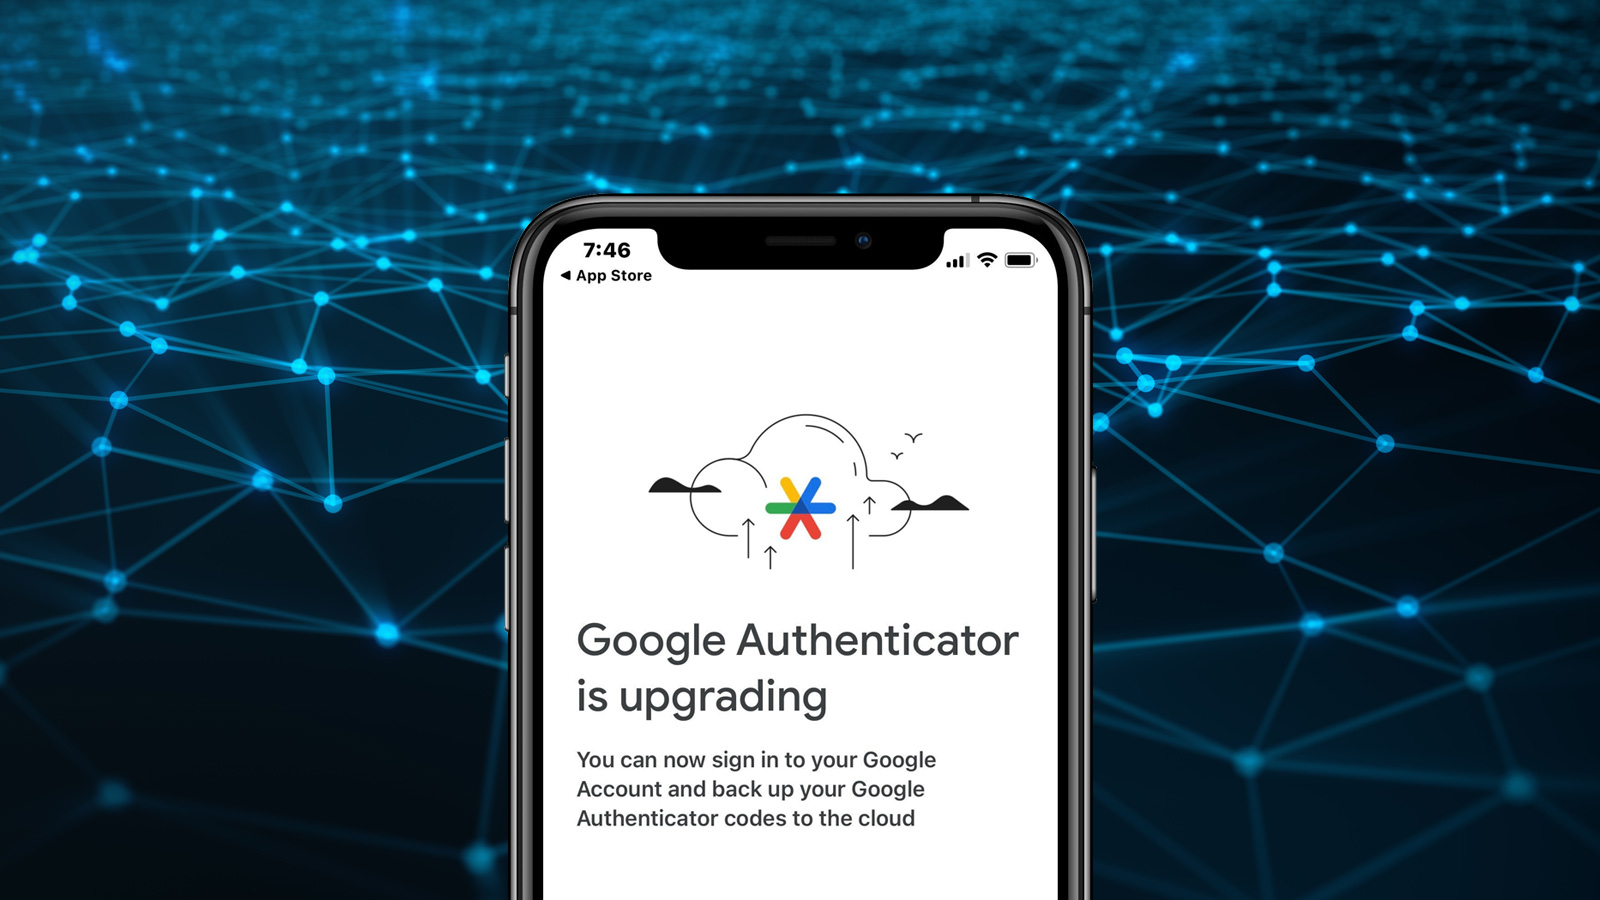
Step 5: Backup your Google Authenticator accounts for future use
As a proactive measure, it’s important to backup your Google Authenticator accounts to ensure you can easily restore them in case your phone gets lost or damaged. By creating a backup of your accounts, you can save yourself the hassle of going through the recovery process again. Here’s how you can backup your Google Authenticator accounts:
- Open Google Authenticator on your new phone.
- Access the app’s settings or options menu.
- Select the option to export or backup accounts. The wording may vary depending on your device.
- Choose your desired method to backup the accounts. You may have options such as saving a file locally, sending it to cloud storage, or writing down the account details.
- Follow the prompts to complete the backup process. If necessary, set and confirm a password to protect the backup file.
Keep your backup file in a safe and secure location where you can easily access it when needed. It’s recommended to store a copy both digitally and physically to ensure redundancy.
Remember, having a backup of your Google Authenticator accounts is a precautionary measure to safeguard your access to important online services. In case you need to restore the accounts at a later time, you can simply import the backup file and regain access to your accounts.
Conclusion
Restoring Google Authenticator on a new phone is a crucial step in ensuring the security of your online accounts. By following the steps outlined in this guide, you can seamlessly transfer your accounts to your new device without compromising their protection. Here’s a quick recap of the steps:
- Install Google Authenticator on your new phone.
- Disable Google Authenticator on your old phone.
- Recover your accounts on the new phone.
- Enable two-factor authentication on your new phone.
- Backup your Google Authenticator accounts for future use.
Remember, it’s important to securely store your backup file and make multiple copies for redundancy. This way, you can easily restore your accounts in case of any unfortunate events.
By following these steps, you can maintain the security of your online accounts and protect your sensitive information. Google Authenticator is a powerful tool that adds an extra layer of security, and with these instructions, you can ensure its seamless transition to your new phone.
Now that you’re equipped with the knowledge and steps to restore Google Authenticator on a new phone, go ahead and secure your accounts with confidence. Stay vigilant, and enjoy the peace of mind that comes with enhanced security.