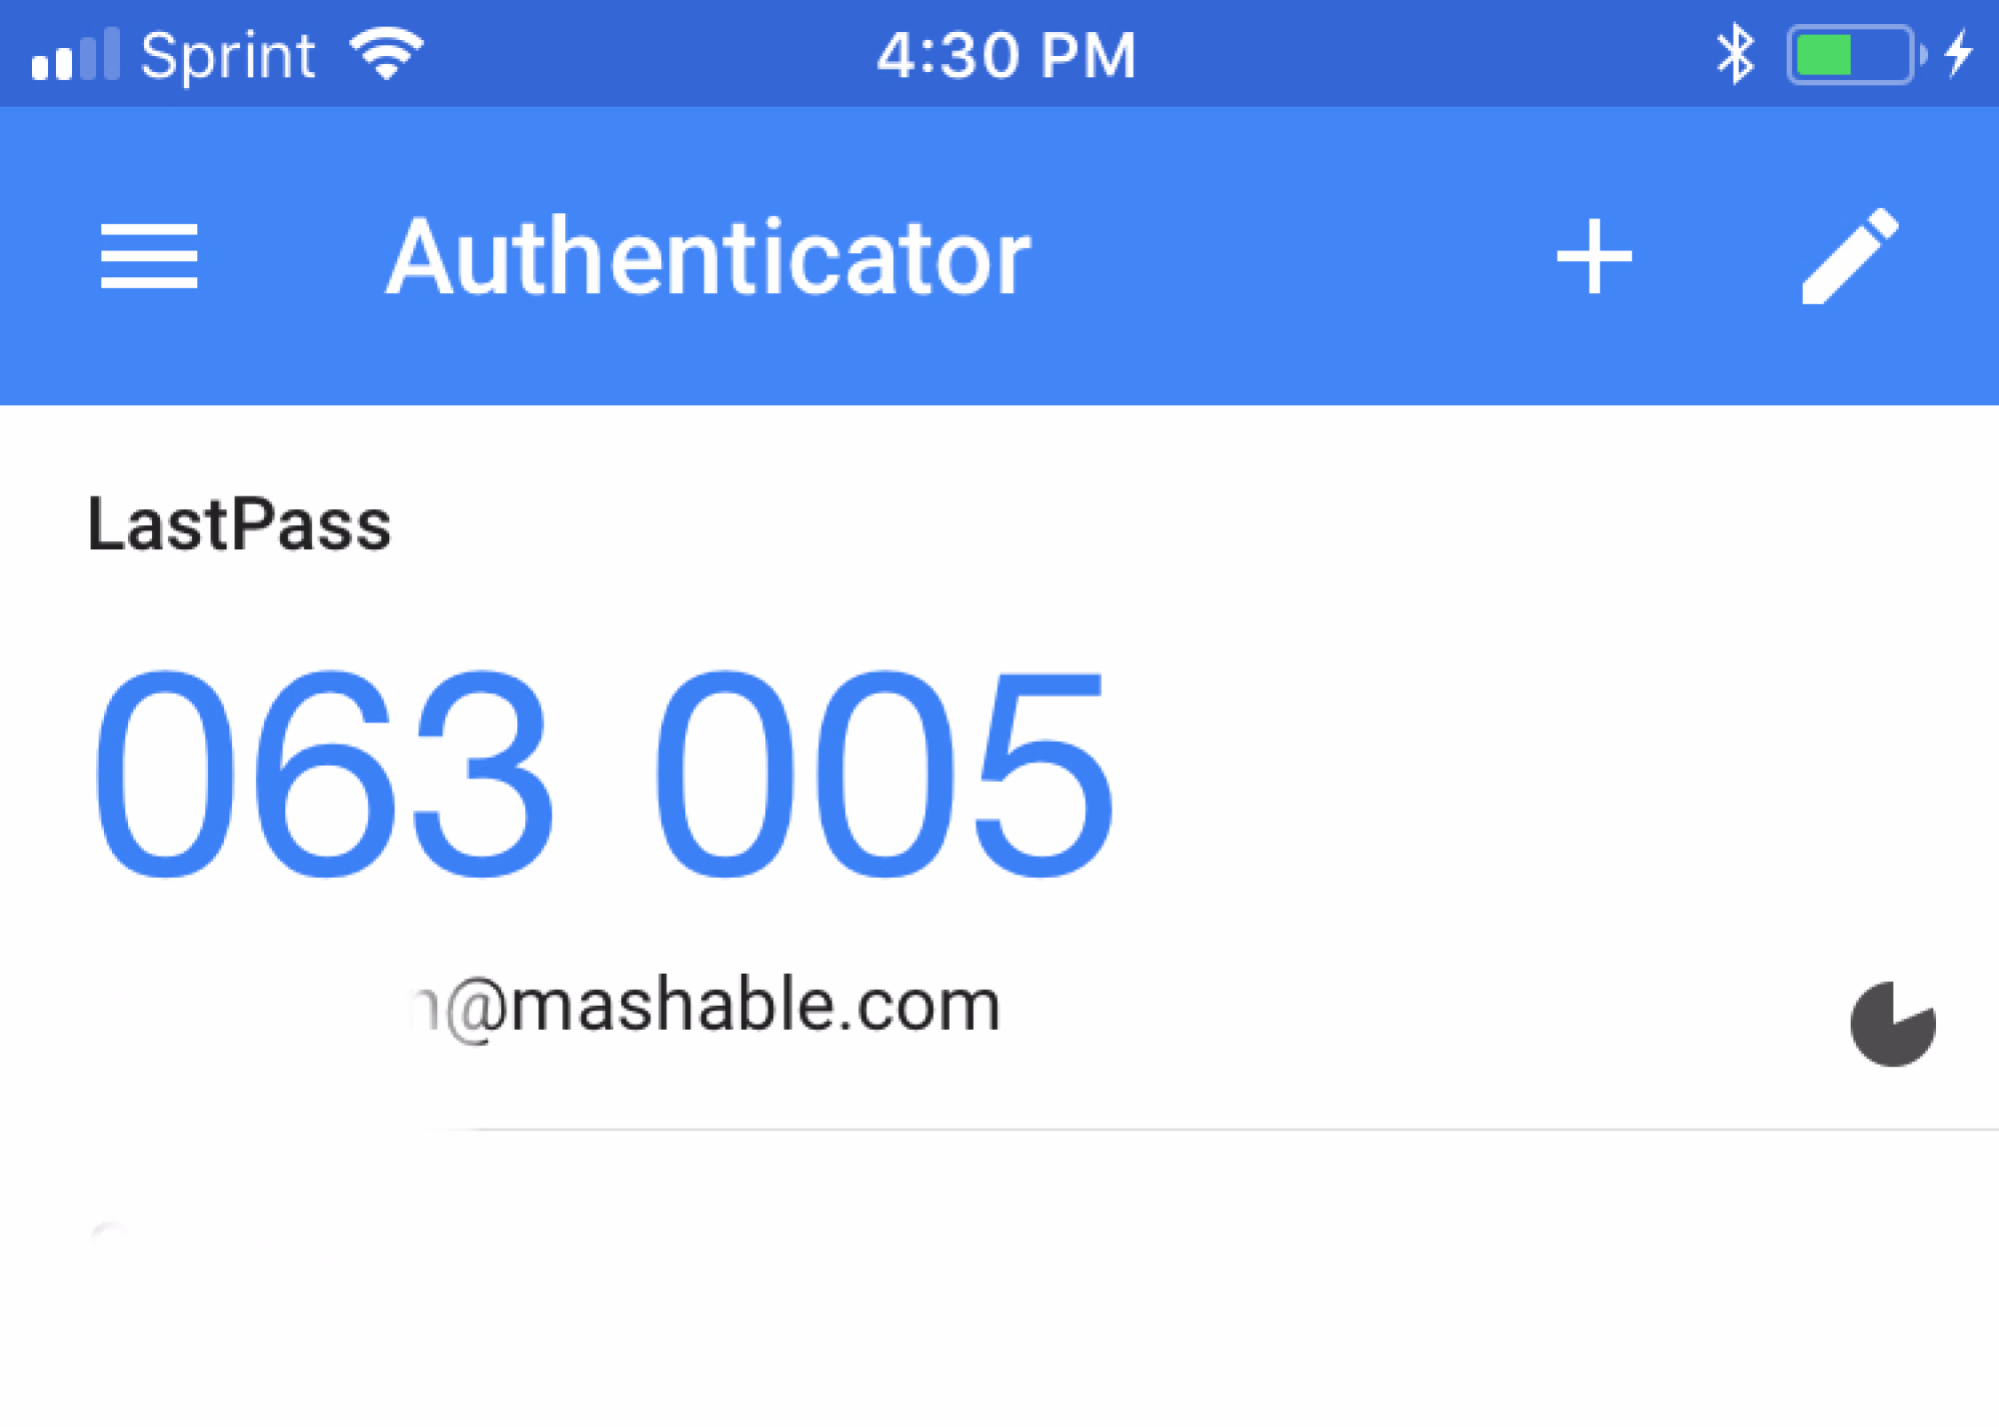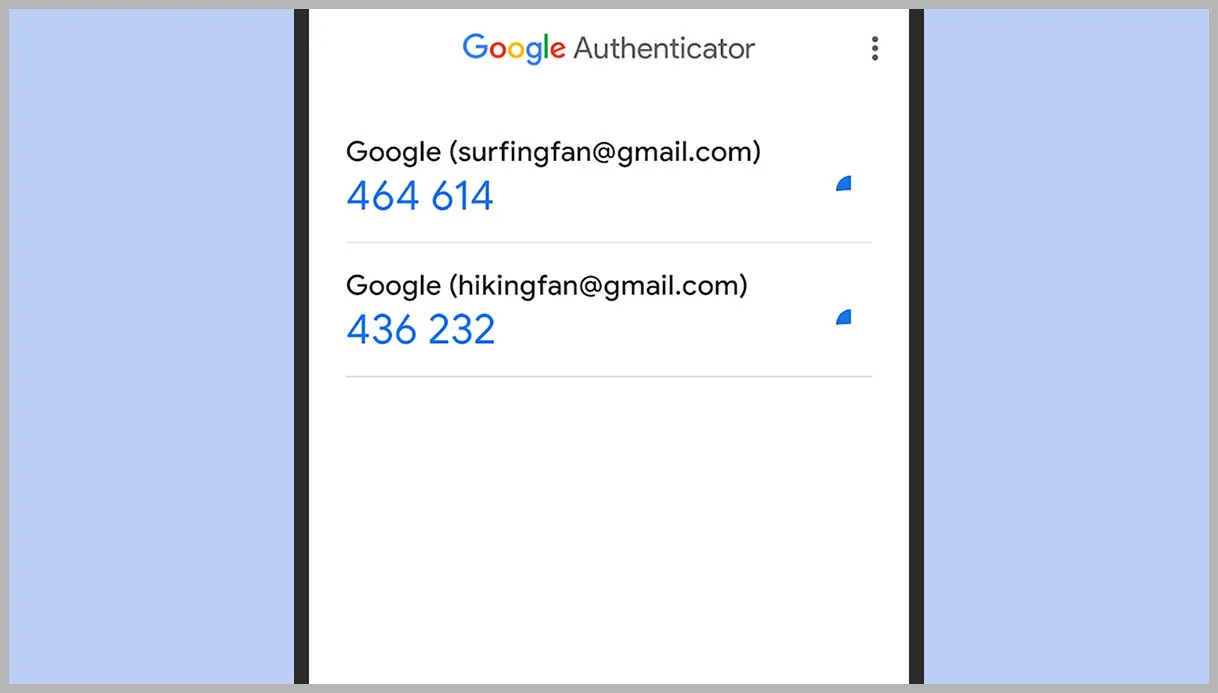
To delete an account from Google Authenticator, swipe left on the account entry in the app and tap the delete button. Before you do this, you must first disable two-factor authentication (2FA) for that specific account on the original website or service, or you risk being locked out.
Before you delete an account from Google Authenticator
This is a critical, mandatory warning. Deleting an account from the Google Authenticator app alone does not disable two-factor authentication on the associated website or service. If you remove an account from the app without disabling 2FA on the service first, you may lose access to that account. Always log into the website or app where you enabled 2FA, find the security settings, and turn off two-factor authentication for that account before making any changes in Google Authenticator. If you want to keep using 2FA but just move to a new device, look for an option to “transfer” or “reset” the authenticator setup on the service instead of deleting it outright.
How to remove an account by swiping left
- Open the Google Authenticator app on your mobile device.
- Locate the account entry you want to remove from the list.
- Swipe left on that account entry.
- Tap the delete button that appears.
That is the verified, simple step-by-step method. No need to navigate into settings or tap ellipsis icons. Swiping left is the direct way to remove a single account.
What happens after you delete the account
After you delete the account from the app, that specific entry and its time-based codes will disappear from your Google Authenticator list. However, the two-factor authentication on the associated service is still active. If you did not disable 2FA beforehand, you will be prompted for a code you can no longer generate, locking you out. If you did disable 2FA first, you can now log into that service using only your password. The remaining accounts in your app will continue to work as normal.
Alternative method: reset the entire app
If you want to remove all accounts at once, you can reset the Google Authenticator app. This is a fallback option, but it comes with a strong caveat: resetting removes every account from the app, and you will need to set them all up again from scratch. To reset, go into the app’s settings and look for an option to clear data or reset the app. Before doing this, ensure you have disabled 2FA on every service or have your backup codes ready, otherwise you will lose access to those accounts. This method is useful if you are troubleshooting persistent issues or starting fresh, but for removing a single account, the swipe-left method is far simpler and safer.
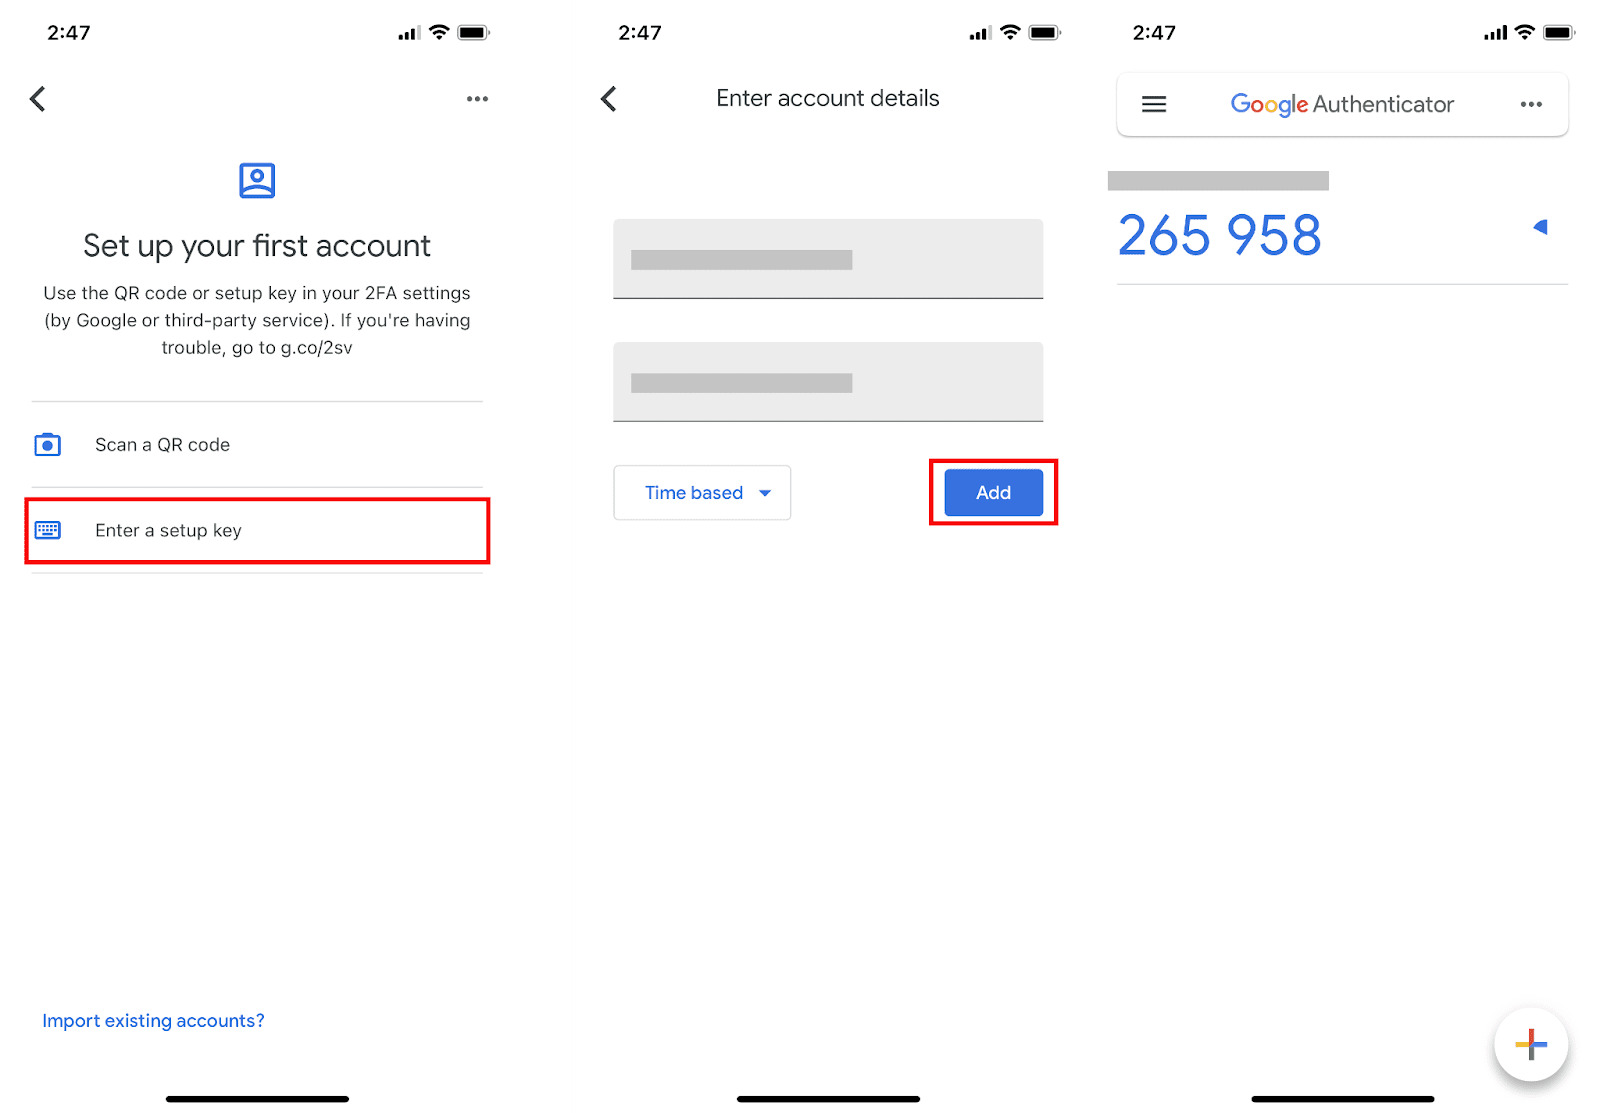
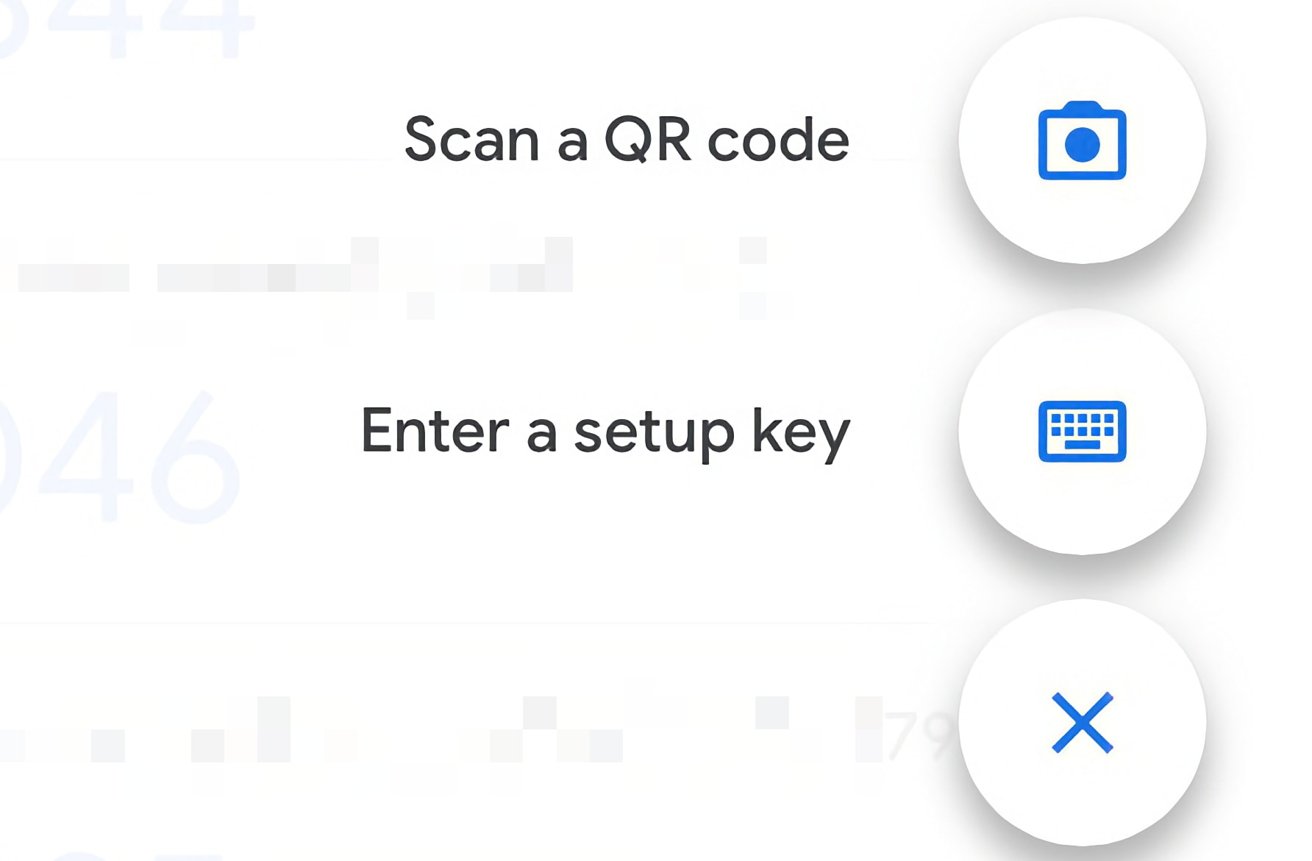
If you want to add a new service later, you will need to know how to integrate Google Authenticator by scanning a QR code or entering a setup key. Understanding what a setup key in Google Authenticator is helps you manually add accounts when a QR code is unavailable. Finally, knowing the difference between Google Authenticator backup codes and the secret key ensures you never lose access: backup codes are one-time use fallbacks provided by the service, while the secret key is the permanent seed used to generate your time-based codes. Neither should be stored in the app itself, but saved securely elsewhere.