Introduction
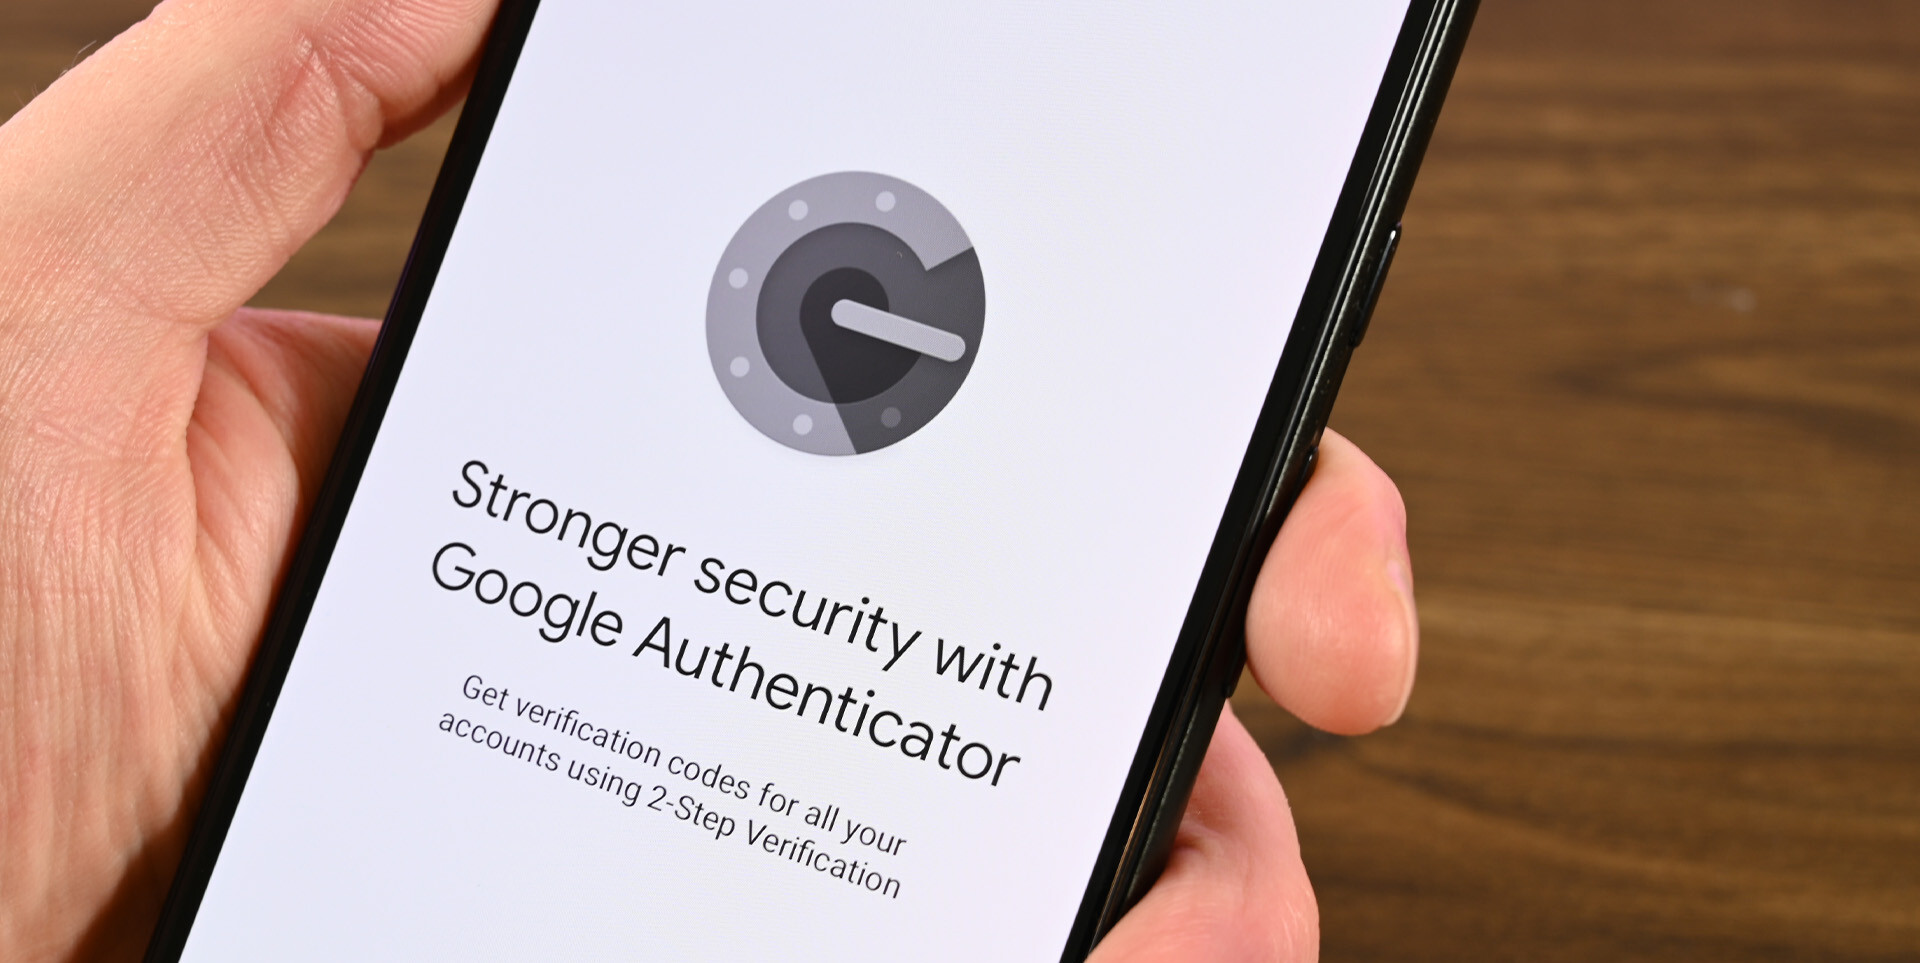
Welcome to the world of enhanced security and protection for your online accounts with Google Authenticator. In today’s digital age, where online threats and cyber attacks are on the rise, it has become crucial to implement robust security measures to safeguard our personal information.
Google Authenticator is a free app developed by Google that provides an additional layer of security known as two-factor authentication (2FA). By enabling this feature, you add an extra step to the login process, making it more challenging for hackers to gain unauthorized access to your accounts.
With Google Authenticator, you can add an extra level of protection to various websites and applications, including email services, social media platforms, banking websites, and more. This app generates time-based one-time passwords (TOTP) or use HMAC-based one-time passwords (HOTP), which are unique and valid only for a short period of time.
In this article, we will guide you through the process of setting up Google Authenticator on your mobile device, along with some troubleshooting tips to ensure a smooth experience. By the end, you’ll have a comprehensive understanding of how to integrate Google Authenticator into your online accounts, bolstering their security and giving you the peace of mind you deserve.
What is Google Authenticator?
Google Authenticator is a mobile application developed by Google that provides an additional layer of security known as two-factor authentication (2FA) for your online accounts. It is available for both Android and iOS devices, making it accessible to a wide range of users.
With two-factor authentication, you add an extra step to the login process, ensuring that only authorized individuals can access your accounts. In addition to the traditional password, Google Authenticator generates unique, time-sensitive codes that you enter alongside your password when logging in.
The app uses two primary methods to generate these codes: time-based one-time passwords (TOTP) and HMAC-based one-time passwords (HOTP). TOTP-based codes change every few seconds, while HOTP-based codes increment with each use, adding an extra layer of security.
One of the key benefits of Google Authenticator is that it does not require an internet connection to generate codes, ensuring you can access your accounts even in areas with limited or no connectivity. This feature makes it an excellent choice for travelers or individuals in remote locations.
Google Authenticator is widely used by many popular online services, including websites, email providers, and financial institutions. By enabling this app on your accounts, you drastically reduce the risk of unauthorized access, even if your password is compromised.
To set up Google Authenticator, you simply need to download the app, add your accounts, and follow the setup instructions provided by each individual service. Once configured, you will receive unique codes each time you log in, which typically expire after a short period.
Overall, Google Authenticator provides a reliable and convenient way to enhance your online account security. By adding an extra layer of protection, you reduce the risk of falling victim to phishing attacks, password breaches, and other forms of cyber threats. It’s a simple step that goes a long way in safeguarding your personal information and ensuring your digital accounts remain secure.
Why use Google Authenticator?
In today’s digital landscape, where online threats are prevalent, it is essential to prioritize the security of your online accounts. Passwords alone are no longer sufficient to protect sensitive information, as they can be easily compromised through phishing attacks, data breaches, and other malicious tactics. This is where Google Authenticator comes in, offering several compelling reasons to use it for securing your accounts.
Stronger Account Security: Google Authenticator adds an additional layer of security to your accounts, making it significantly more difficult for unauthorized individuals to gain access. Even if someone manages to steal or guess your password, they would still need the unique and time-limited codes generated by the app to proceed.
Protection Against Phishing: Phishing attacks attempt to deceive you into entering your login credentials on fraudulent websites. However, since the codes generated by Google Authenticator are time-sensitive and unique for each login, they cannot be reused or intercepted by phishing attempts. This significantly reduces the risk of falling victim to such attacks.
Offline Code Generation: One of the key advantages of Google Authenticator is that it can generate codes even without an internet connection. This feature ensures that you can access your accounts and log in securely, regardless of your location or network availability. Whether you’re traveling, in an area with poor connectivity, or simply prefer offline access, Google Authenticator has you covered.
Multi-Account Convenience: Google Authenticator allows you to add multiple accounts to the app, consolidating all your two-factor authentication needs in one place. This saves you the hassle of managing separate authentication methods for each service you use. Whether it’s email, social media, or banking apps, you can conveniently generate codes from a single trusted source.
Widespread Adoption: Google Authenticator is widely supported by a myriad of popular websites and online services. This means that you can use the app to secure accounts across various platforms, including Google, Facebook, Instagram, Twitter, Dropbox, and more. By leveraging this widespread adoption, you can maintain a consistent security approach across all your accounts.
Simple and Convenient: Setting up Google Authenticator is relatively straightforward and user-friendly. The app itself has an intuitive interface, guiding you through the process of adding and managing accounts. Once configured, generating codes is as simple as opening the app and scanning a QR code or entering a secret key.
By utilizing Google Authenticator, you are taking proactive steps towards enhancing the security of your online accounts. Its robust security features, protection against phishing attacks, offline code generation, multi-account convenience, widespread adoption, and user-friendly experience make it an invaluable tool for safeguarding your sensitive data and ensuring your digital presence remains secure.
Setting up Google Authenticator
Setting up Google Authenticator is a straightforward process that involves a few simple steps. By following these instructions, you can quickly integrate the app into your online accounts and enable two-factor authentication to enhance your security.
Step 1: Download the Google Authenticator App
Start by downloading the Google Authenticator app from the Google Play Store (for Android users) or the App Store (for iOS users). Once installed, open the app to begin the setup process.
Step 2: Add an account to Google Authenticator
To add an account to Google Authenticator, you have two options. The first option is to manually enter a provided key or secret code. The second, and more common, option is to scan a QR code provided by the website or app you wish to secure. Simply open the app and tap on the “+” symbol to access these options.
Step 3: Enable Two-Factor Authentication on the desired website or app
In order to use Google Authenticator, you must enable two-factor authentication (2FA) on the website or app you want to secure. This process varies depending on the service, but generally, it involves navigating to the account settings, security, or privacy section. Look for an option to enable 2FA and follow any prompts provided.
Step 4: Scan the QR code or enter the provided key
If you chose to scan a QR code in Step 2, position your phone’s camera so that it can capture the QR code displayed on the website or app. Alternatively, if you received a key or secret code, enter it manually into the Google Authenticator app.
Step 5: Test the setup
Once you have added the account to Google Authenticator, the app will begin generating time-limited codes for that account. To test the setup, try logging out of the account and logging back in. You will be prompted to enter the verification code generated by the Google Authenticator app alongside your username and password.
It’s important to note that some services may provide backup codes or alternative methods of verification, such as text messages or email. Ensure that you have a backup plan in case you lose access to your Google Authenticator app or your mobile device.
By completing these steps for each account you want to secure, you can leverage the power of Google Authenticator to enhance the security of your online presence. It’s a simple, yet effective, way to protect your accounts from unauthorized access and reduce the risk of falling victim to cyber attacks.
Step 1: Download the Google Authenticator App
The first step in setting up Google Authenticator is to download the app from the designated app store for your mobile device. Google Authenticator is available for both Android and iOS, making it accessible to a wide range of users.
To download the app, follow these simple instructions:
For Android users:
- Open the Google Play Store on your Android device.
- Search for “Google Authenticator” in the search bar.
- Tap on the correct search result, which should be the official app published by Google.
- Tap the “Install” button to download and install the app on your device.
- Wait for the installation process to complete.
For iOS users:
- Open the App Store on your iOS device.
- Search for “Google Authenticator” in the search bar.
- Tap on the correct search result, which should be the official app published by Google.
- Tap the “Get” or “Download” button to start the download process.
- Verify your Apple ID or use Touch ID/Face ID if prompted.
- Wait for the installation process to complete.
Once you have successfully downloaded and installed the Google Authenticator app, you will find its icon on your home screen or app drawer. Tap on the icon to open the app and proceed with the setup process.
It’s important to note that when downloading the app, it’s recommended to verify the publisher/authenticity of the app to ensure you are installing the official Google Authenticator app. This can help prevent any potential security risks associated with downloading and using unauthorized or counterfeit versions of the app.
By completing this first step, you have successfully acquired the Google Authenticator app on your mobile device. Now, you can move on to the next step of adding an account to the app and further securing your online presence.
Step 2: Add an account to Google Authenticator
After successfully downloading and opening the Google Authenticator app on your mobile device, the next step is to add an account to the app. This allows Google Authenticator to generate unique codes for that specific account, adding an extra layer of protection to your login process.
To add an account to Google Authenticator, follow these simple instructions:
- Option 1: Scan a QR code
- Open the Google Authenticator app on your device.
- Tap on the “+” symbol located in the upper-right corner.
- Select the “Scan a barcode” or “Scan a QR code” option.
- Align your device’s camera with the QR code provided by the website or app you want to secure.
- The app will automatically scan the QR code and retrieve the necessary information.
- Option 2: Enter a provided key or secret code
- Open the Google Authenticator app on your device.
- Tap on the “+” symbol located in the upper-right corner.
- Select the “Enter a provided key” or “Manual Entry” option.
- Enter the key or secret code provided by the website or app you want to secure.
Once you have successfully scanned the QR code or entered the provided key, Google Authenticator will validate the information and add the account to the app. You will then see the account name or website associated with the added account listed in the Google Authenticator app.
It’s important to note that some websites or apps may provide backup codes during this step. Backup codes serve as an alternative method of authentication in case you lose access to your Google Authenticator app or mobile device. Make sure to store these backup codes in a safe place.
You can repeat this process for each website or app that supports two-factor authentication with Google Authenticator. Adding multiple accounts to Google Authenticator allows you to manage all your authentication codes in one centralized app, making the login process more convenient and secure.
By completing this step, you have successfully added an account to Google Authenticator, bringing you one step closer to reinforcing the security of your online accounts.
Step 3: Enable Two-Factor Authentication on the desired website or app
Now that you have added the Google Authenticator app to your mobile device and are ready to secure your accounts, the next step is to enable two-factor authentication (2FA) on the website or app you wish to secure. Enabling 2FA ensures that you will need both your password and the unique codes generated by Google Authenticator to log in.
To enable two-factor authentication, follow these general steps:
- Open the website or app where you want to enable 2FA and navigate to the account settings or security section.
- Look for an option related to two-factor authentication, often labeled as “2FA,” “Two-Step Verification,” or “Security Verification.”
- Select the option to enable and set up two-factor authentication.
- Depending on the website or app, you may be asked to choose the method of authentication. Select the “Authenticator App” or “Google Authenticator” option.
- A QR code or a secret key/code will be presented on the screen.
It’s important to note that the specific steps and terminology may vary depending on the website or app you are using. Some websites or apps may have different options or names for their security settings, but the underlying concept remains the same – enabling two-factor authentication.
Once you have located the option to enable two-factor authentication and have selected the “Authenticator App” or “Google Authenticator” option, proceed with the following steps:
- For QR code:
- Open the Google Authenticator app on your mobile device.
- Tap the “+” symbol to add a new account.
- Select the “Scan a barcode” or “Scan a QR code” option.
- Point your device’s camera towards the QR code displayed on the website or app.
- The app will scan the QR code and automatically add the account to the Google Authenticator app.
- Verify that the account name or website displayed on the app matches the one you added on the website or app.
- For secret key/code:
- Open the Google Authenticator app on your mobile device.
- Tap the “+” symbol to add a new account.
- Select the “Enter a provided key” or “Manual Entry” option.
- Enter the secret key or code provided by the website or app.
- Verify that the account name or website displayed on the app matches the one you added on the website or app.
Once you have successfully scanned the QR code or entered the secret key/code, you have completed the setup process for two-factor authentication on the desired website or app.
Repeat these steps for each website or app where you want to enable two-factor authentication, ensuring that you secure all your important accounts. By doing so, you significantly increase the protection and security of your online presence.
Step 4: Scan the QR code or enter the provided key
After enabling two-factor authentication (2FA) on the desired website or app, the next step is to add the account to your Google Authenticator app. This can be done by scanning a QR code or entering the provided key or secret code from the website or app.
To scan the QR code or enter the provided key, follow these steps:
- Open the Google Authenticator app on your mobile device.
- Tap the “+” symbol located at the top right corner of the app.
- Depending on the app version, select either “Scan a barcode” or “Scan a QR code” option.
- Position your device’s camera so that it can capture the QR code displayed on the website or app.
- If the QR code is successfully recognized, the app will automatically add the account to the Google Authenticator app.
- Alternatively, if you were provided with a key or secret code, select the “Enter a provided key” or “Manual Entry” option instead.
- Enter the key or secret code provided by the website or app into the appropriate field within the Google Authenticator app.
- Verify that the account name or website displayed on the app matches the one you added on the website or app.
By scanning the QR code or entering the provided key, you essentially link your account to the Google Authenticator app. This allows the app to generate time-limited codes specific to that account, ensuring a secure login process.
It’s important to note that once you have added the account to Google Authenticator, the app will begin generating unique codes that change periodically. These codes are used in combination with your password during the login process, providing an extra layer of security.
Repeat this step for each account you enabled two-factor authentication on, ensuring that all accounts are securely linked to your Google Authenticator app. By doing so, you are strengthening the security of your online accounts and protecting your sensitive information from unauthorized access.
Step 5: Test the setup
After adding your account to the Google Authenticator app and generating the unique codes, it’s important to test the setup to ensure that everything is working correctly. Testing the setup allows you to verify that the two-factor authentication (2FA) process is functioning as intended, providing an added layer of security to your account login.
To test the setup of your Google Authenticator app, follow these steps:
- Open the website or app where you enabled two-factor authentication.
- Initiate the login process by entering your username and password.
- When prompted, enter the verification code generated by the Google Authenticator app.
- The verification code is a time-limited code displayed in the app for the specific account.
- Once you have entered the verification code, continue with the login process.
- If you successfully log in, it indicates that the setup is working correctly.
Testing the setup ensures that you can generate the correct verification code from the Google Authenticator app and successfully use it during the login process. It’s essential to test the setup to avoid any inconveniences when accessing your accounts later on.
If the verification code is not accepted during the testing process, double-check the following:
- Ensure that you entered the correct verification code generated by the app.
- Check that the time and date on your device are accurate, as the codes generated by Google Authenticator are time-based.
- Confirm that you added the correct account to your Google Authenticator app.
If you encounter any issues during the testing process, consult the support documentation provided by the website or app you are using. Alternatively, you can reach out to their customer support for assistance.
Regularly testing the setup of your Google Authenticator app ensures that you can rely on it for secure and seamless authentication. It offers peace of mind, knowing that your accounts are protected from unauthorized access and that you have taken the necessary steps to strengthen your online security.
Troubleshooting and Tips
While setting up and using Google Authenticator can greatly enhance the security of your online accounts, occasionally, you might encounter some common issues or have questions about the app’s functionality. Here are some troubleshooting tips and helpful guidance to ensure a smooth experience:
1. Time synchronization: Verify that the time and date on your device are accurate. The codes generated by Google Authenticator rely on time-based calculations, so any discrepancy may result in codes being invalid. Enable automatic time synchronization on your device to ensure accuracy.
2. Backup codes: Some websites or apps provide backup codes during the enrollment process. Safely store these codes in a secure location in case you lose access to your Google Authenticator app or device. They can serve as an alternate method to authenticate your account.
3. Multiple device setup: You can set up Google Authenticator on multiple devices to have backup access. When adding an account on a new device, select the option to scan a barcode or enter a provided key, similar to the initial setup process.
4. Account recovery options: Familiarize yourself with the account recovery options provided by the websites or apps you are securing with Google Authenticator. In the event that you lose access to your Google Authenticator app and your backup codes, these account recovery methods can help you regain access to your accounts.
5. App updates: Keep your Google Authenticator app updated to access the latest features, bug fixes, and security enhancements.
6. App migration: If you switch to a new device or need to transfer your Google Authenticator app to a different device, consult the support documentation for instructions on how to migrate the app and accounts to ensure continued access.
7. Account removal: If you no longer wish to use two-factor authentication for a specific account, you can remove it from the Google Authenticator app. Go to the app settings, select the account you want to remove, and choose the option to delete or remove the account.
8. Secure your device: Protect your mobile device with a strong password, PIN, or biometric authentication method. In the event that your device is lost or stolen, this adds an extra layer of security to prevent unauthorized access to your Google Authenticator app and accounts.
By following these troubleshooting tips and implementing the suggested practices, you can ensure a seamless experience with Google Authenticator and mitigate any potential issues that may arise. Remember that the goal is to enhance the security of your online accounts and protect your sensitive information.
Conclusion
Congratulations! You have successfully learned how to integrate Google Authenticator into your online accounts. By following the steps outlined in this guide, you have taken a crucial step towards enhancing the security of your digital presence.
Google Authenticator provides an additional layer of protection through two-factor authentication (2FA), ensuring that only authorized individuals can access your accounts. With the ability to generate unique, time-sensitive codes, Google Authenticator adds an extra level of security that goes beyond traditional passwords.
By downloading the Google Authenticator app, adding accounts, and enabling 2FA, you have fortified your online security. The app’s ability to generate offline codes, its multi-account convenience, and widespread compatibility with popular websites and applications make it a valuable tool for safeguarding your sensitive information.
Remember to periodically test the setup of your Google Authenticator app to ensure that the process is functioning correctly. This will give you confidence in the added security measures and allow you to address any issues that may arise along the way.
It’s important to note that while Google Authenticator significantly enhances the security of your accounts, it is not foolproof. It is essential to follow good security practices such as keeping your device protected, regularly backing up important account-related information, and familiarizing yourself with each website or app’s account recovery options.
Now that you have integrated Google Authenticator into your online accounts, enjoy the peace of mind that comes with knowing your valuable information is better protected from unauthorized access. Stay proactive, stay vigilant, and continue to prioritize the security of your online presence.