Introduction
Welcome to the world of enhanced security with Google Authenticator for Twitter! In today’s digital landscape, it’s crucial to ensure the safety of our online accounts, especially those tied to social media platforms. Twitter, being one of the most widely used social networking sites, provides an option for users to enable two-factor authentication using the Google Authenticator app.
Two-factor authentication adds an extra layer of security to your Twitter account by requiring a verification code in addition to your username and password. This code is generated by the Google Authenticator app, which is available for download on both iOS and Android devices. By having this additional authentication step, you can have peace of mind knowing that your Twitter account is better protected against unauthorized access.
In this guide, we will take you through the step-by-step process of setting up Google Authenticator for Twitter. You will learn how to download and install the Google Authenticator app, enable two-factor authentication on your Twitter account, and generate and enter the verification code. By the end of this tutorial, you will not only enhance the security of your Twitter account but also gain a deeper understanding of how two-factor authentication works.
So, without further ado, let’s dive into the steps required to set up Google Authenticator for Twitter and safeguard your online presence in a fast and simple manner.
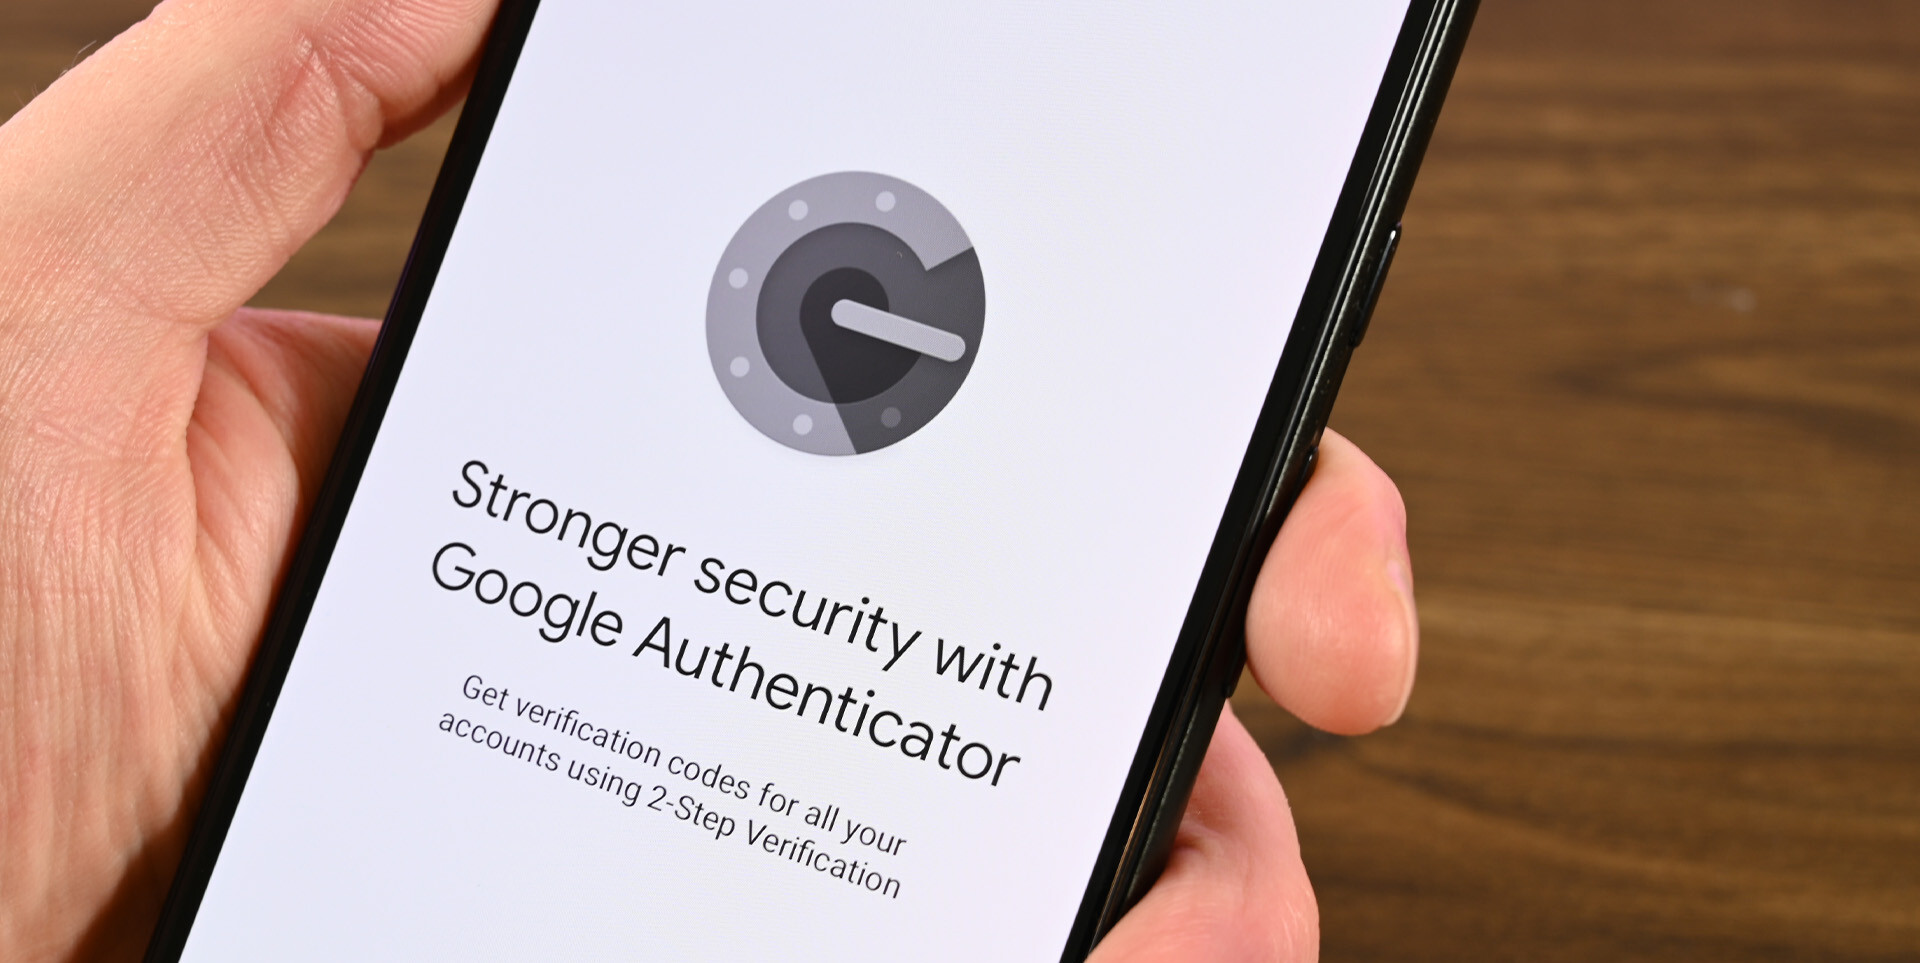
Step 1: Downloading and installing the Google Authenticator app
The first step to setting up Google Authenticator for Twitter is to download and install the Google Authenticator app on your mobile device. The app is available for both iOS and Android devices, making it accessible to a wide range of users.
To get started, follow these simple instructions:
- Open the app store on your mobile device (App Store for iOS or Google Play Store for Android).
- Search for “Google Authenticator” in the search bar.
- Locate the official Google Authenticator app, developed by Google LLC.
- Tap on the “Install” or “Get” button to initiate the download and installation process.
- Once the app is installed, tap on the icon to open it.
That’s it! You have successfully downloaded and installed the Google Authenticator app on your device.
Note: It is important to download the official Google Authenticator app from a trusted source to ensure the security of your device and personal information.
The next step in the process is to enable two-factor authentication on your Twitter account, which we will cover in the following section.
Step 2: Enabling two-factor authentication on Twitter
Now that you have the Google Authenticator app installed on your device, it’s time to enable two-factor authentication on your Twitter account. This extra layer of security will help protect your account from unauthorized access.
Follow these steps to enable two-factor authentication on Twitter:
- Log in to your Twitter account using your preferred web browser.
- Click on your profile picture located at the top right corner of the screen.
- From the drop-down menu, select “Settings and privacy” to access your account settings.
- In the left sidebar, click on “Account” to view your account settings.
- Scroll down until you find the “Security” section.
- Under the “Security” section, locate “Two-factor authentication” and click on the “Set up” button.
- Twitter will guide you through the setup process. Select “Authentication app” as your preferred method.
- A QR code will be displayed on the screen. Open the Google Authenticator app on your device and tap on the “+” button to add a new account.
- Scan the QR code using your device’s camera. The Google Authenticator app will automatically add your Twitter account.
- Once the QR code is successfully scanned, a six-digit verification code will be generated in the Google Authenticator app. Take note of this code.
- Enter this verification code in the designated field on the Twitter website, and click on “Verify” to complete the setup process.
Congratulations! You have successfully enabled two-factor authentication on your Twitter account using the Google Authenticator app.
Now, let’s move on to the next step where we’ll learn how to set up the Google Authenticator app specifically for Twitter.
Step 3: Setting up Google Authenticator for Twitter
With two-factor authentication enabled on your Twitter account, it’s time to set up the Google Authenticator app specifically for Twitter. This will ensure that you receive the correct verification codes for logging into your account.
Here’s how you can set up the Google Authenticator app for Twitter:
- Open the Google Authenticator app on your mobile device.
- You will see a list of accounts that you have already added to the app.
- Locate and select your Twitter account from the list.
- A six-digit verification code will be generated within the app for your Twitter account.
- Make a note of this verification code or keep the app open on your device for easy access during the login process.
By setting up Google Authenticator for Twitter, the app will generate a unique verification code for your account every 30 seconds. This ensures that only you have access to the code needed to log in, adding an extra layer of security to your Twitter account.
Once you’ve completed the setup process, you’re ready to use the Google Authenticator app to log in to your Twitter account securely. In the next step, we’ll cover how to generate and enter the verification code.
Step 4: Generating and entering the verification code
Now that you have set up the Google Authenticator app for Twitter, it’s time to generate and enter the verification code when logging in to your account. This code will be required in addition to your username and password.
Here’s how you can generate and enter the verification code:
- Visit the Twitter login page on your web browser.
- Enter your username or email address and password as usual.
- Once you click on the “Log in” button, you will be prompted to enter the verification code.
- Open the Google Authenticator app on your mobile device.
- Locate and select your Twitter account from the list.
- A six-digit verification code will be generated within the app.
- Enter this verification code into the designated field on the Twitter login page.
- Click on the “Verify” button to proceed.
It’s important to note that the verification code generated by the Google Authenticator app is only valid for a short period of time, usually around 30 seconds. Therefore, it’s essential to enter the code promptly to ensure a successful login.
By entering the correct verification code, you will gain access to your Twitter account securely. This added layer of security provided by the Google Authenticator app helps protect your account from unauthorized access, ensuring the safety of your personal information and online presence.
In the next step, we’ll cover an additional security measure you can take by adding a backup phone number to your Twitter account.
Step 5: Adding a backup phone number
In addition to enabling two-factor authentication and using the Google Authenticator app, it is highly recommended to add a backup phone number to your Twitter account. This provides an extra layer of security and ensures that you can regain access to your account in case of any issues with the Google Authenticator app or if you lose access to your device.
Here’s how you can add a backup phone number to your Twitter account:
- Log in to your Twitter account using your preferred web browser.
- Click on your profile picture located at the top right corner of the screen.
- From the drop-down menu, select “Settings and privacy” to access your account settings.
- In the left sidebar, click on “Account” to view your account settings.
- Scroll down until you find the “Security” section.
- Under the “Security” section, locate “Phone” and click on the “Add” button.
- Enter your phone number in the designated field and click on the “Next” button.
- You will receive a verification code via SMS on the provided phone number.
- Enter the verification code in the designated field on the Twitter website and click on the “Submit” button.
- Congratulations! You have successfully added a backup phone number to your Twitter account.
By adding a backup phone number, Twitter can send you a verification code via SMS if you ever have trouble accessing the Google Authenticator app. This ensures that you always have a way to regain access to your account, even if you encounter issues with the app or lose your device.
By following these steps and enabling two-factor authentication, setting up Google Authenticator for Twitter, and adding a backup phone number, you have significantly enhanced the security of your Twitter account. You can now enjoy the peace of mind that comes with knowing your account is well-protected against unauthorized access.
Conclusion
Congratulations! You have successfully set up Google Authenticator for your Twitter account, adding an extra layer of security to protect your online presence. By following the steps outlined in this guide, you have enabled two-factor authentication on Twitter, downloaded and installed the Google Authenticator app, and learned how to generate and enter the verification code.
With two-factor authentication and the Google Authenticator app, you can rest assured that your Twitter account is better protected against unauthorized access. The app generates a unique verification code that is required in addition to your username and password when logging in, adding an additional layer of security to your account.
Remember to keep your Google Authenticator app up to date and to securely store your backup codes in case you ever need them. Adding a backup phone number to your Twitter account is also highly recommended, as it provides an alternative method to regain access to your account if you encounter any issues with the Google Authenticator app.
By taking these steps, you are taking a proactive approach to safeguarding your online presence and personal information. It’s important to prioritize the security of your social media accounts, and using Google Authenticator for Twitter is an effective way to do so.
Thank you for following this guide! With the enhanced security provided by Google Authenticator, you can now enjoy a more secure Twitter experience and have peace of mind knowing that your account is well-protected.