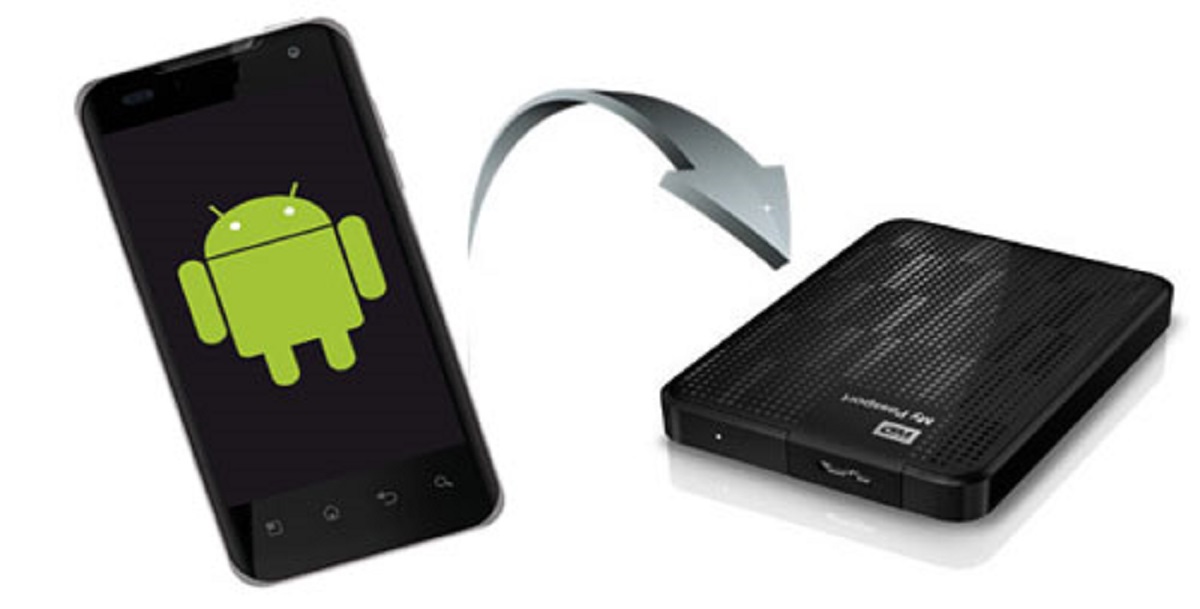
To transfer files from Android to external hard drive, you connect the drive to your phone with a USB On-The-Go (OTG) adapter, then use a file manager app to copy your photos, videos, and documents directly to the drive, no computer needed. For a complete safety net, you can also back up Android phone to external hard drive with apps, contacts, and settings included. This method works on most modern Android devices and gives you a fast, portable way to back up your data or free up internal storage.
What you need to transfer files from Android to an external hard drive
Before you start, gather three things: a USB OTG adapter, a compatible external hard drive, and a file manager app. The OTG adapter is the key piece, it lets your phone act as a USB host, so it can read and write to the drive just like a computer would. For newer phones with a USB-C port, get a USB-C to USB-A female adapter. For older phones with Micro-USB, get a Micro-USB to USB-A female version. Some drives with detachable cables may work with a direct OTG cable, but the adapter approach is the most universal.
Not every Android phone supports OTG, so check your device’s specs first. Most phones and tablets made from 2014-2015 onward with USB-C or Micro-USB support it. You can look up your model online, check the manufacturer’s spec sheet, or install a free “USB OTG Checker” app from the Play Store to verify compatibility in seconds.
Your external hard drive should be formatted as FAT32 or exFAT for the widest Android compatibility. NTFS drives may not be recognized without extra software, so if your drive is NTFS, back up its contents and reformat it to exFAT using a computer before connecting it to your phone. Finally, install a reliable file manager app, options like Solid Explorer, FX File Explorer, or the built-in Files by Google all work well for this task.
How to enable OTG storage on your Android phone
On most modern phones, OTG support turns on automatically the moment you plug in the adapter. You don’t need to change any settings, just connect the drive and your phone will recognize it. However, some devices from OnePlus, Oppo, and Vivo require a manual step. If your phone is from one of these brands, open Settings, then look for “OTG Storage” or “USB OTG” under System, Additional Settings, or Connected Devices. Toggle it on, and your phone will now detect the external drive.
Be aware that for security and battery saving, many Android devices automatically disable the OTG setting if no device is connected for about 10 minutes. If you unplug the drive and try to reconnect later, you may need to re-enable the toggle. This is normal behavior, not a malfunction, just flip the switch back on and continue.
Connect the external hard drive and open your file manager
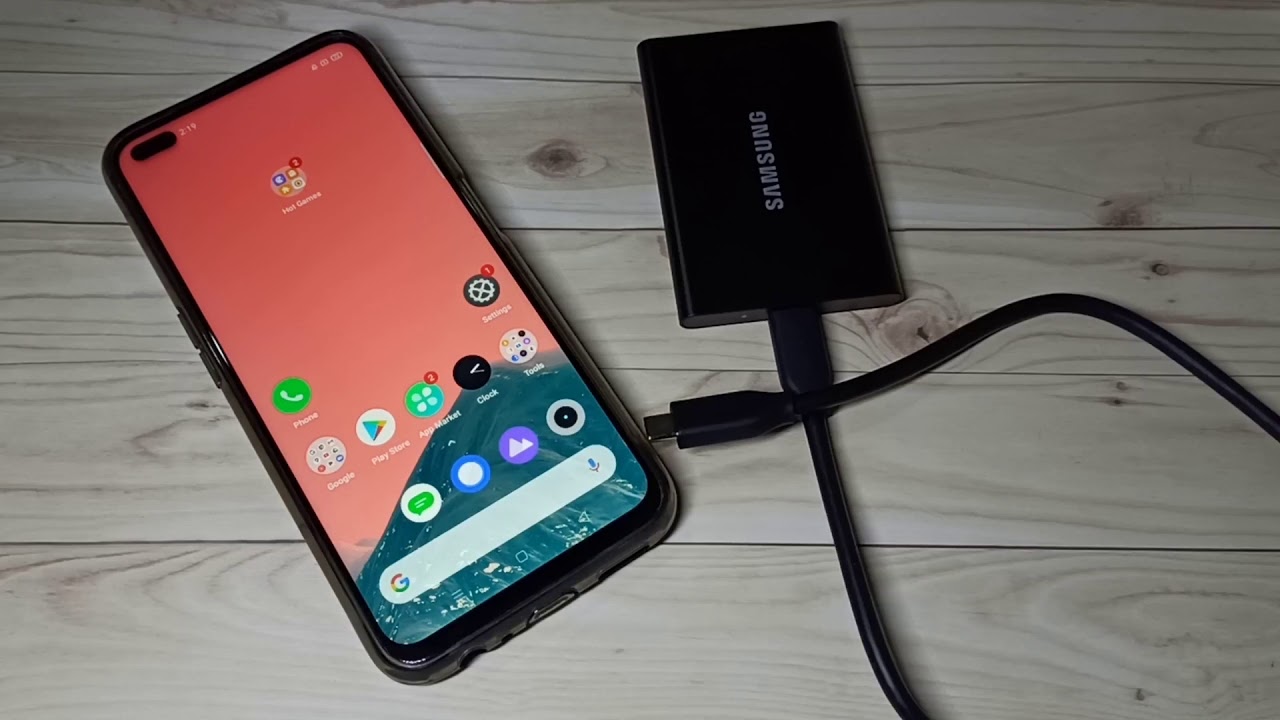
Plug the OTG adapter into your phone’s charging port, then connect the external hard drive’s USB cable to the adapter’s female port. Make sure both connections are snug. Your phone will show a notification like “USB device detected” or “Preparing USB storage.” If the drive has its own power supply, keep it plugged in; bus-powered portable drives usually draw enough power from the phone, but if the drive doesn’t spin up, try a powered USB hub.
Once connected, launch your file manager app. The app will show two storage locations: your phone’s internal storage and the external drive (often labeled as “USB drive,” “OTG,” or the drive’s brand name). Tap the internal storage option first, then browse through folders like DCIM for photos, Download for files, or Movies for videos. The file manager gives you a full folder tree, so you can navigate exactly like you would on a computer.
Copy files to the external hard drive
In your file manager, locate the files you want to transfer. Tap and hold on a file to select it, then tap additional files to add them to the selection. You can also use the app’s “Select all” option for a whole folder. Once your files are highlighted, look for the “Copy” or “Move” option in the app’s toolbar or overflow menu. Copy keeps the original on your phone; Move removes it after the transfer, freeing up space immediately.
After tapping Copy or Move, navigate to the external drive’s folder. You can paste directly into the root directory or create a new folder by tapping the “New Folder” button and naming it (e.g., “Backup_2025”). Tap “Paste” or “Copy Here” to start the transfer. The file manager will show a progress bar. Large video files or many photos can take a few minutes, so keep your phone plugged into power if the battery is low. When the progress bar finishes, open the destination folder on the drive to confirm your files are there.
Safely eject the drive before disconnecting
Never yank the drive out while files are still being written, this can corrupt your data. Instead, go to your phone’s Settings, tap “Storage” or “Device,” and find the external drive listed there. Tap it, then choose “Eject” or “Disconnect.” Your phone will flush any pending writes and show a notification saying it’s safe to remove the drive. Only then should you unplug the OTG adapter from your phone and disconnect the drive’s cable.
This ejection step is essential even if the transfer appears complete. It prevents data loss and keeps the drive’s file system healthy. After ejecting, you can plug the drive into a computer, another phone, or store it as a backup. For extra safety, keep the drive in a dry, padded case when not in use.
How to Connect a Phone to a Tablet and Move Files
If you ever need to share data between two mobile devices without a hard drive, the same OTG adapter lets you connect a phone to a tablet directly, and the file manager’s copy-paste interface handles moving files between phone and tablet just as easily as it does with an external drive.
Transferring files from Android to an external hard drive is a practical skill that saves your phone’s storage, protects your photos and documents, and gives you a portable backup you control. With the right OTG adapter, a compatible drive, and a solid file manager, you can complete the whole process in under five minutes. Make it a habit to back up regularly, your future self will thank you when you need that one important file and it’s safely stored on your drive.