Introduction
Welcome to this guide on how to download FL Studio, the popular digital audio workstation (DAW) software used by musicians, producers, and artists across the globe. Whether you’re a professional music producer or an aspiring musician looking to explore your creativity, FL Studio offers a wide range of features and tools to help you bring your musical ideas to life.
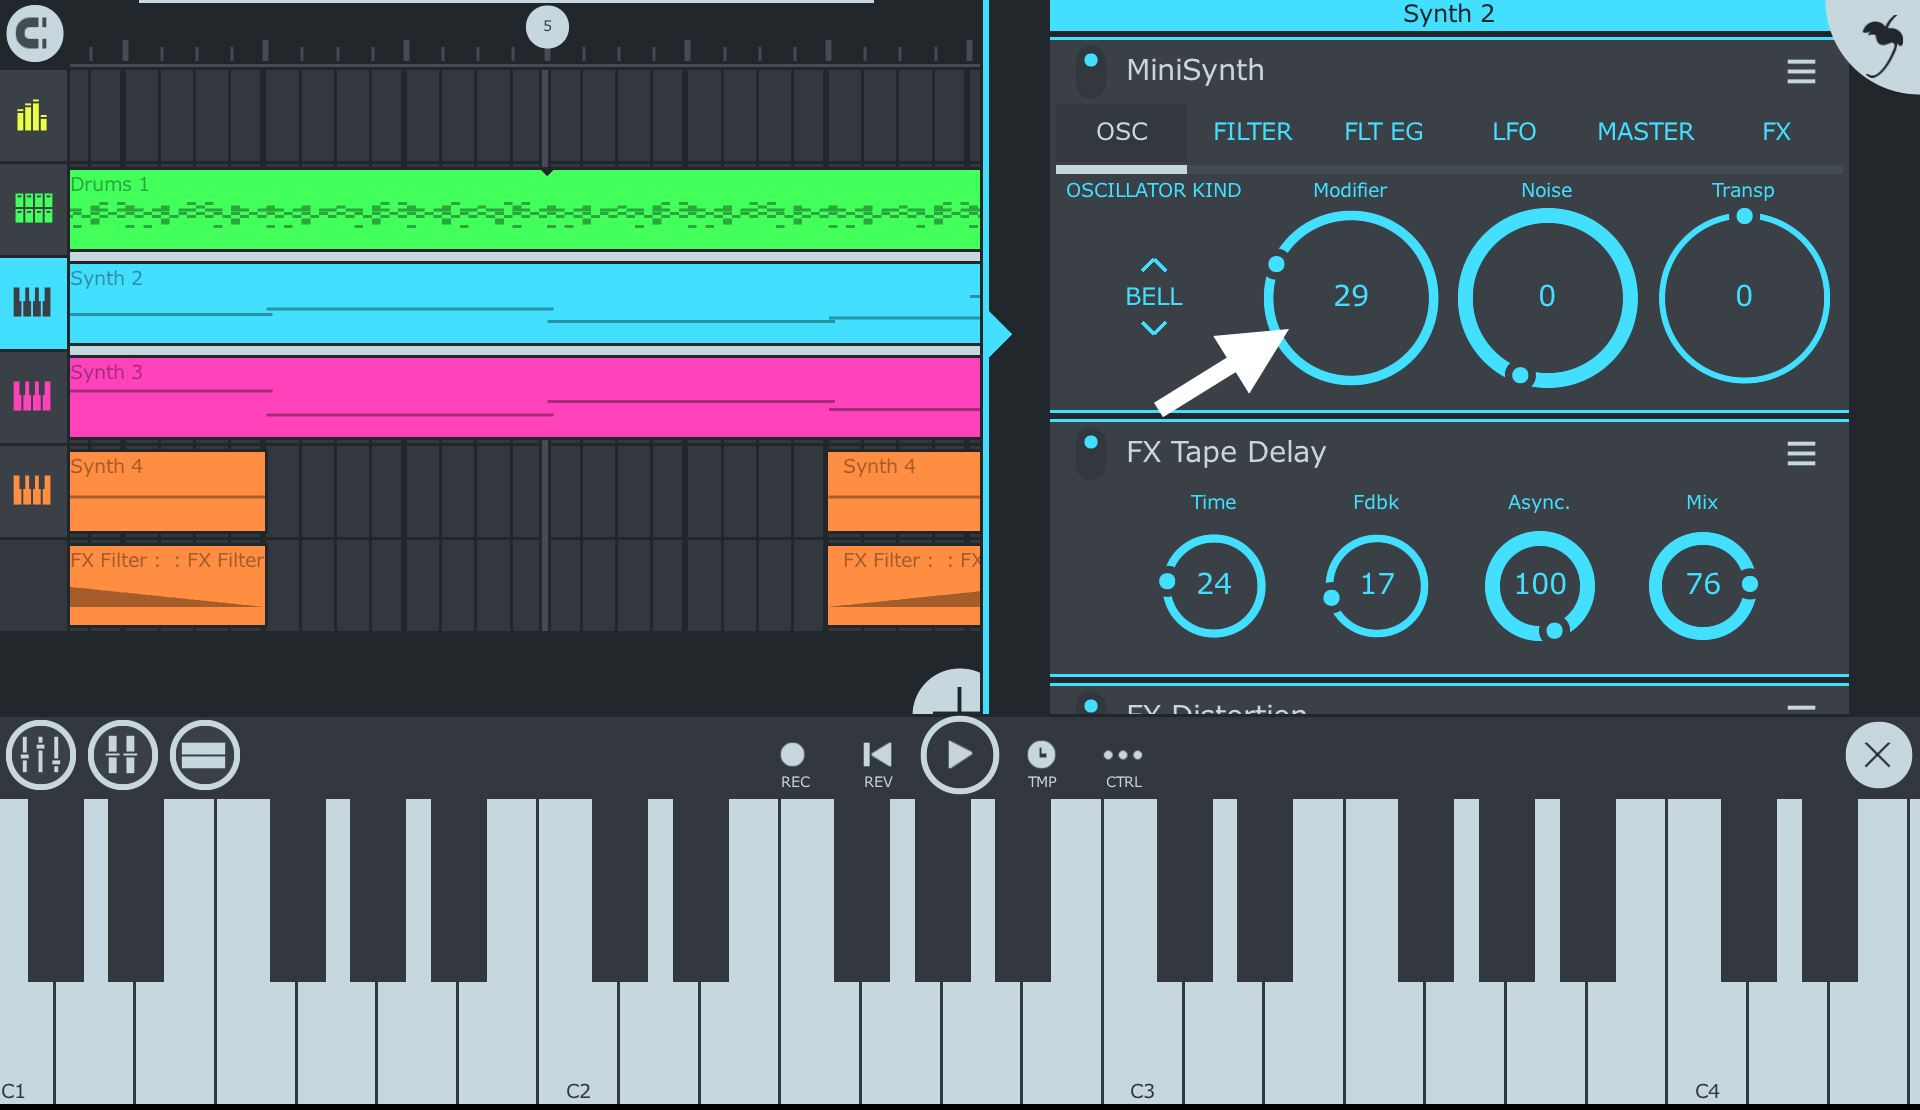
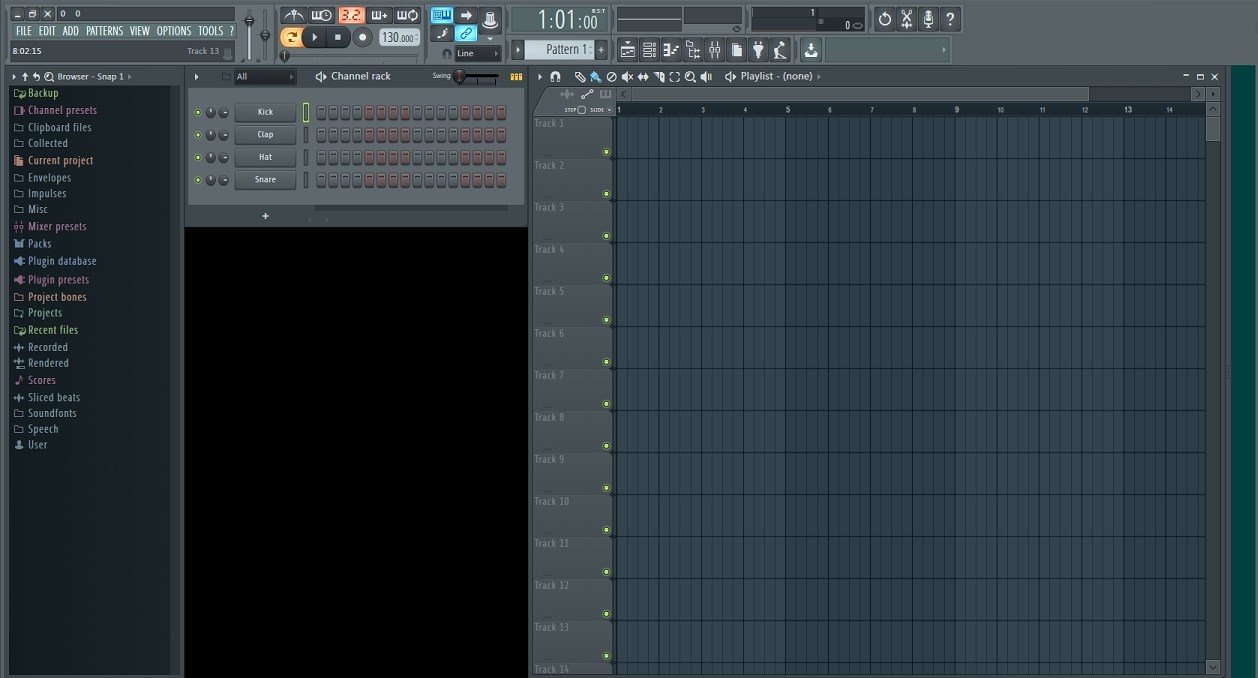
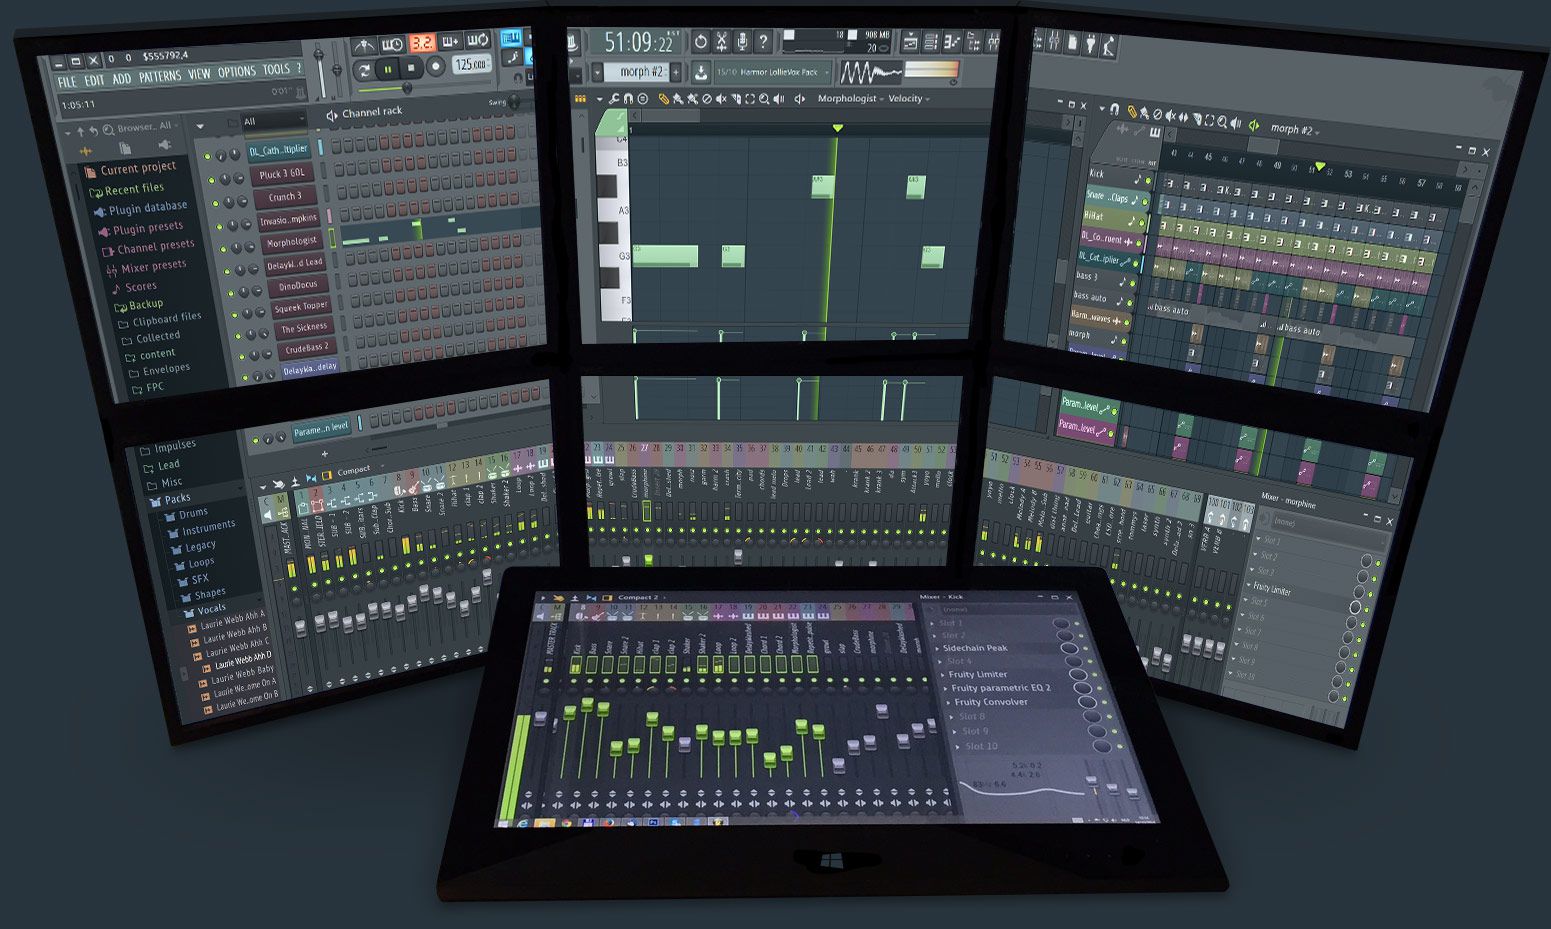
FL Studio, also known as FruityLoops, provides users with a comprehensive platform for music production, recording, mixing, and mastering. With its intuitive interface and powerful functionality, FL Studio has become a staple in the music industry, enabling users to create a wide variety of musical genres, from EDM and hip-hop to rock and classical.
In this guide, we’ll walk you through the step-by-step process of downloading FL Studio so that you can start creating your own music right away. Whether you’re using a Windows PC or a Mac, the process is straightforward and easy to follow. So, let’s dive in and get started with downloading FL Studio!
Step 1: Go to the Official FL Studio Website
The first step in downloading FL Studio is to visit the official FL Studio website. Open your preferred web browser and enter the URL www.image-line.com/flstudio in the address bar. Press Enter or click on the Go button to navigate to the website.
Once you’re on the FL Studio website, you’ll find a wealth of information and resources related to FL Studio. Take some time to explore the different sections of the website, such as the Features, Editions, and Plugins pages, to get a better understanding of what FL Studio has to offer.
The FL Studio website is designed to provide users with all the necessary information they need to make an informed decision about downloading and using FL Studio. It offers comprehensive documentation, tutorials, and user forums where you can connect with other FL Studio users and get answers to your questions.
To begin the download process, locate the Download button on the website. The placement of the button may vary depending on the version and edition of FL Studio you want to download. Look for prominent buttons or links that say “Download FL Studio” or something similar.
Before you click on the download button, it’s important to ensure that your computer meets the system requirements for running FL Studio. Check the system requirements listed on the website to make sure your operating system and hardware are compatible. This will ensure a smooth installation and optimal performance of FL Studio on your computer.
Once you have confirmed that your computer meets the system requirements, go ahead and click on the Download button. This will initiate the download process and prompt your browser to save the installation file to your computer. The file size may vary depending on the edition and additional content you choose to download.
In the next step, we’ll discuss how to choose the edition of FL Studio that suits your needs and preferences. So, let’s move on to Step 2: Choose the Edition that suits your needs.
Step 2: Choose the Edition that suits your needs
Choosing the right edition of FL Studio is an important step to ensure that you have all the features and tools necessary for your music production needs. FL Studio offers different editions, each with its own set of features and price points. Let’s explore the different editions and help you choose the one that suits you best.
On the FL Studio website, you’ll find various editions available for download, including the Fruity Edition, Producer Edition, and Signature Bundle. Each edition offers different levels of functionality, allowing you to choose the one that aligns with your skill level and music production goals.
The Fruity Edition is the most basic edition of FL Studio and is suitable for beginners or those who primarily use MIDI controllers and virtual instruments. It provides a solid foundation for music creation with features such as step sequencer, piano roll, and playlist, allowing you to compose, arrange, and mix your tracks.
The Producer Edition is a step-up from the Fruity Edition and is designed for intermediate to advanced users. It includes all the features of the Fruity Edition, along with additional plugins and tools like audio recording, audio clips, and automation. The Producer Edition offers more flexibility and options for music production and is ideal for those looking to create professional-quality tracks.
If you’re looking for the ultimate FL Studio experience, the Signature Bundle is the way to go. This edition includes all the features of the Producer Edition, as well as a collection of additional plugins and effects. The Signature Bundle provides advanced tools for mixing and mastering, giving you complete control over the sound and quality of your music.
Take your time to compare the features and capabilities of each edition and consider your specific needs and budget. It’s also worth noting that you can start with a lower edition and upgrade to a higher edition at any time by simply paying the difference in price. This allows you to expand your music production capabilities as you progress and gain more experience.
Once you have decided on the edition that suits your needs, it’s time to proceed to the next step and download FL Studio. In Step 3, we’ll guide you through the process of downloading the software onto your computer. So, let’s move on to Step 3: Click on the “Download” button.
Step 3: Click on the “Download” button
Now that you have chosen the edition of FL Studio that best fits your needs, it’s time to initiate the download process. Follow the instructions below to click on the “Download” button and start downloading FL Studio onto your computer.
On the FL Studio website, locate the “Download” button. It is usually prominently displayed on the homepage or the specific edition page you are currently viewing. The button might say “Download FL Studio” or something similar.
Clicking on the “Download” button will start the download process and prompt your browser to save the FL Studio installation file to your computer. The file format will be .exe for Windows or .dmg for Mac.
Before you click on the “Download” button, make sure to choose the appropriate version for your operating system. FL Studio offers separate downloads for Windows and Mac users, so double-check that you are downloading the correct version for your computer.
Once you click on the “Download” button, your browser will begin downloading the FL Studio installation file. The download time will depend on the speed of your internet connection and the size of the file. While the download is in progress, avoid interrupting or closing the browser window to ensure a successful download.
After the download is complete, locate the FL Studio installation file on your computer. By default, it should be in your Downloads folder unless you specified a different location during the download process. Double-click on the file to initiate the installation of FL Studio.
In the next step, we will guide you through the process of installing FL Studio on your computer. Ready to take the next step? Let’s move on to Step 4: Install FL Studio.
Step 4: Install FL Studio
Now that you have successfully downloaded the FL Studio installation file, it’s time to install the software on your computer. Follow the steps below to get FL Studio up and running.
Locate the FL Studio installation file on your computer. It should be in your Downloads folder unless you specified a different location during the download process. Double-click on the file to begin the installation process.
The installation wizard will guide you through the installation process. Follow the on-screen instructions to proceed. You may be asked to choose the installation location and agree to the terms and conditions before continuing.
Once you have agreed to the terms, click on the “Install” button to begin the installation. The installation process may take a few minutes, depending on your computer’s speed and performance.
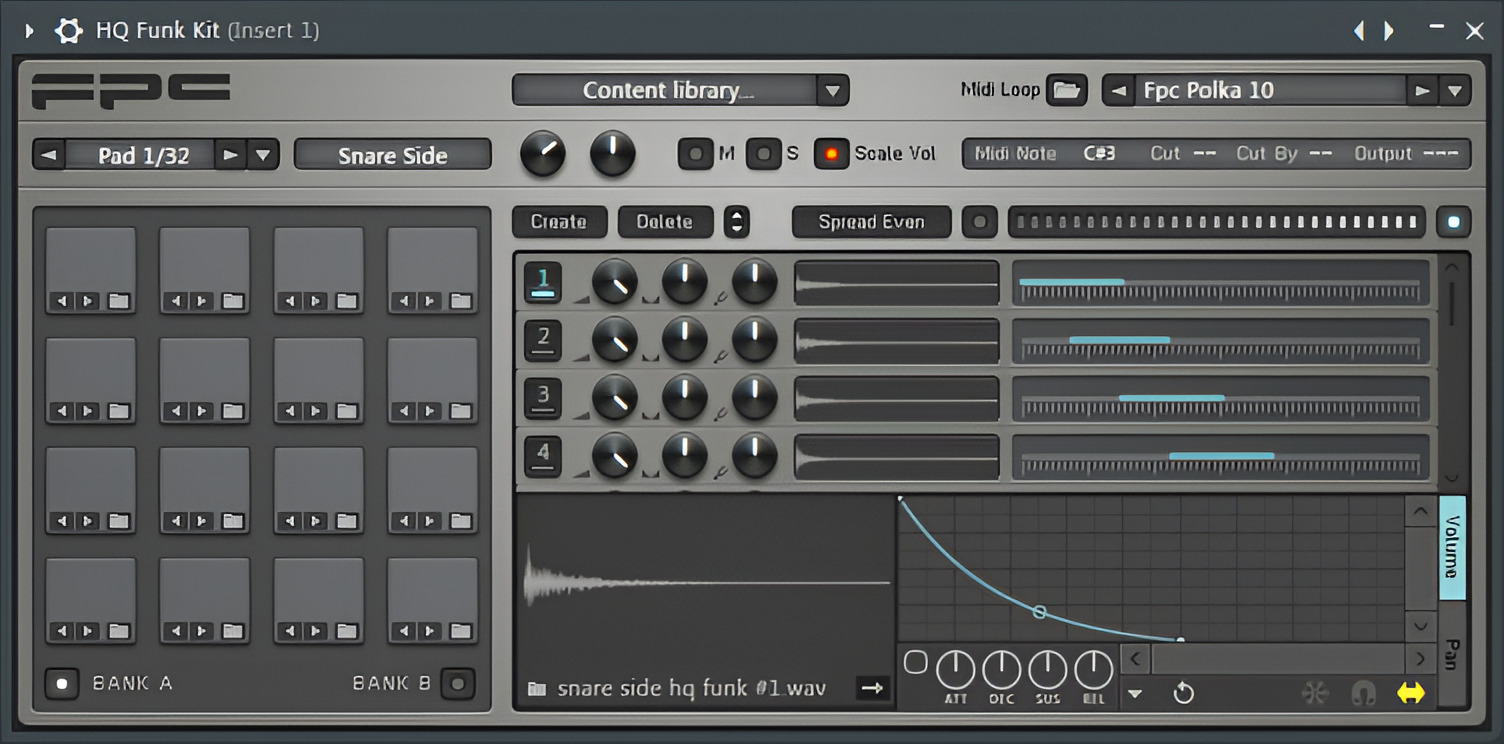
During the installation, you may be prompted to select additional components or plugins that you want to install. You can choose to install these additional components or skip them for now. Don’t worry, you can always install or remove them later.
After the installation is complete, you will see a confirmation message indicating that FL Studio has been successfully installed on your computer.
Before launching FL Studio, it is recommended to restart your computer. This will ensure that any necessary system configurations are properly applied, allowing FL Studio to run smoothly.
Once your computer has restarted, you can launch FL Studio by double-clicking on the desktop shortcut or by searching for FL Studio in your Start menu (Windows) or Applications folder (Mac). The first time you launch FL Studio, you may be prompted to enter your license information or activate your license if you have not done so already.
In the next step, we will guide you through the process of activating your FL Studio license. So, let’s move on to Step 5: Activate your FL Studio License.
Step 5: Activate your FL Studio License
After successfully installing FL Studio on your computer, it’s time to activate your license to gain access to all the features and functionalities of the software. Follow the steps below to activate your FL Studio license.
Launch FL Studio on your computer by double-clicking on the desktop shortcut or searching for FL Studio in your Start menu (Windows) or Applications folder (Mac).
Upon launching FL Studio, you may be prompted to enter your license information. If you have already purchased a license, enter your registration details including your email address and registration code in the provided fields. Make sure to enter the information correctly to avoid any issues with the activation process.
If you haven’t purchased a license yet, you can choose to activate FL Studio as a demo version. This will allow you to explore the software and its features for a limited time period. However, keep in mind that certain features may be restricted in the demo version.
Once you have entered your license information or selected the demo version, click on the “Activate” or “Continue” button to proceed with the activation process. FL Studio will attempt to connect to the internet and validate your license.
If your computer is connected to the internet, FL Studio will automatically verify your license and activate it. If successful, you will receive a confirmation message stating that your license has been activated.
In case you experience any issues with the activation process, refer to the FL Studio documentation or contact the FL Studio customer support for assistance. They will be able to guide you through any troubleshooting steps or provide further instructions to help you activate your license successfully.
Congratulations! You have now activated your FL Studio license, and you are ready to unleash your creativity and start producing your own music. Explore the vast range of features and tools that FL Studio offers, experiment with different sounds and effects, and let your musical ideas flourish.
Conclusion
Congratulations on following this guide on how to download and install FL Studio! By now, you should have successfully downloaded, installed, and activated FL Studio on your computer. It’s time to embark on your music production journey and unleash your creative potential.
FL Studio provides a powerful platform for music production, recording, and mixing, with a wide range of features and tools to help you bring your musical ideas to life. Whether you’re a novice or an experienced producer, FL Studio offers a user-friendly interface and a robust set of capabilities to cater to your needs.
Remember to explore the different editions of FL Studio and choose the one that aligns with your skill level and musical goals. The Fruity Edition is a great starting point for beginners, while the Producer Edition and Signature Bundle provide advanced features for more experienced users.
As you dive into FL Studio, take advantage of the vast array of resources available, such as tutorials, documentation, and user forums. These resources can help you learn and master new techniques, troubleshoot issues, and connect with a community of fellow music producers.
Throughout your musical journey with FL Studio, don’t forget to continuously experiment, innovate, and refine your skills. Embrace the creative process, try out different sounds and effects, and let your imagination soar. With dedication, practice, and perseverance, you can create music that resonates with others and showcases your unique artistic voice.
So, go ahead, start exploring FL Studio, and let your musical creativity thrive. Write your own melodies, craft intricate beats, and shape your sonic creations to perfection. With FL Studio at your fingertips, the possibilities are endless. Best of luck on your musical endeavors!