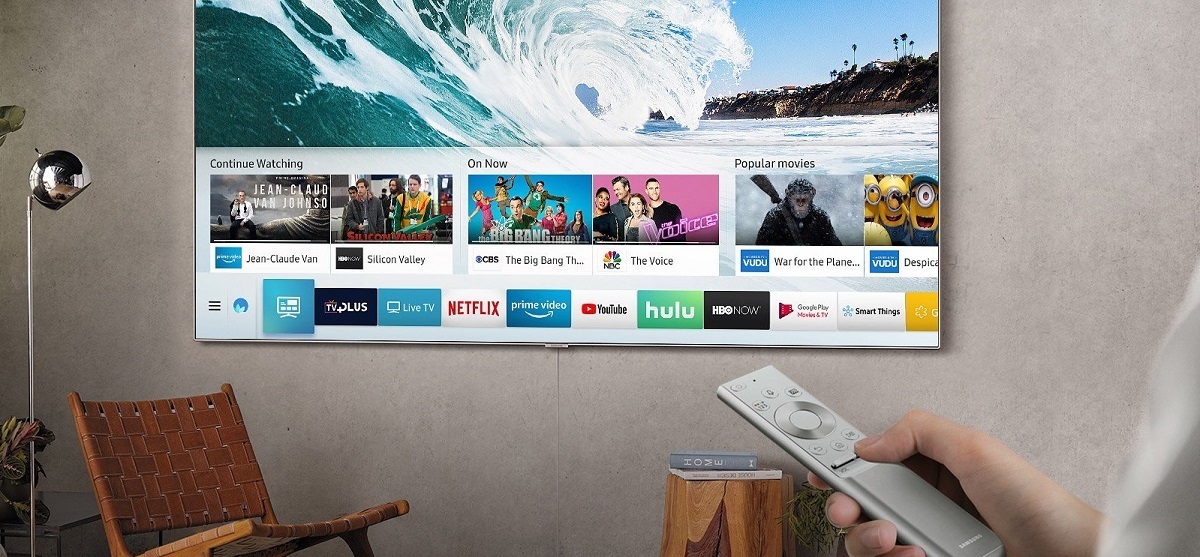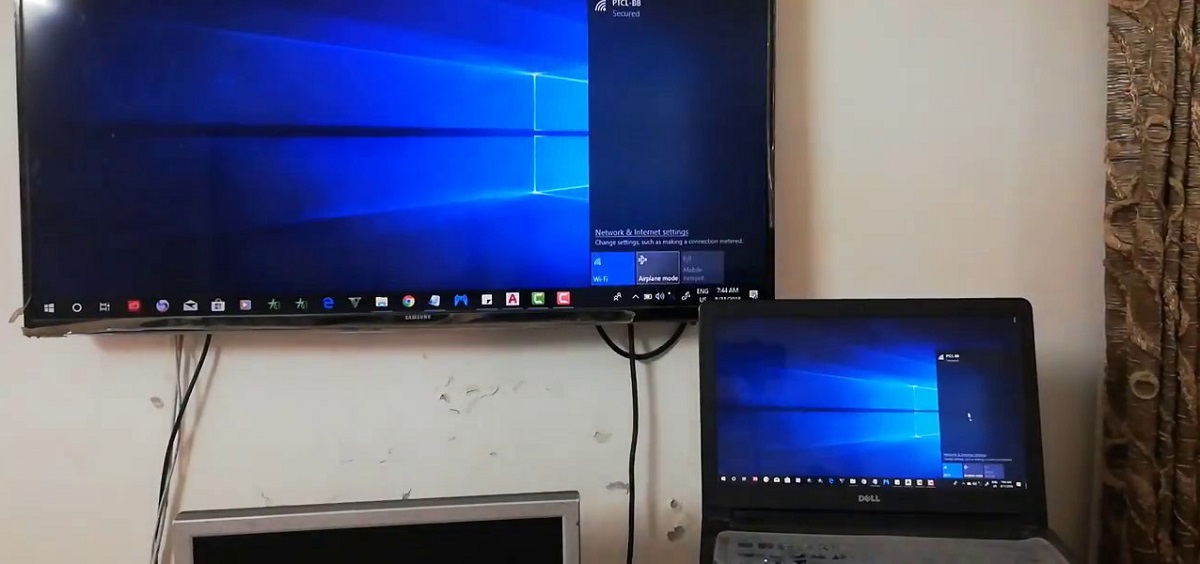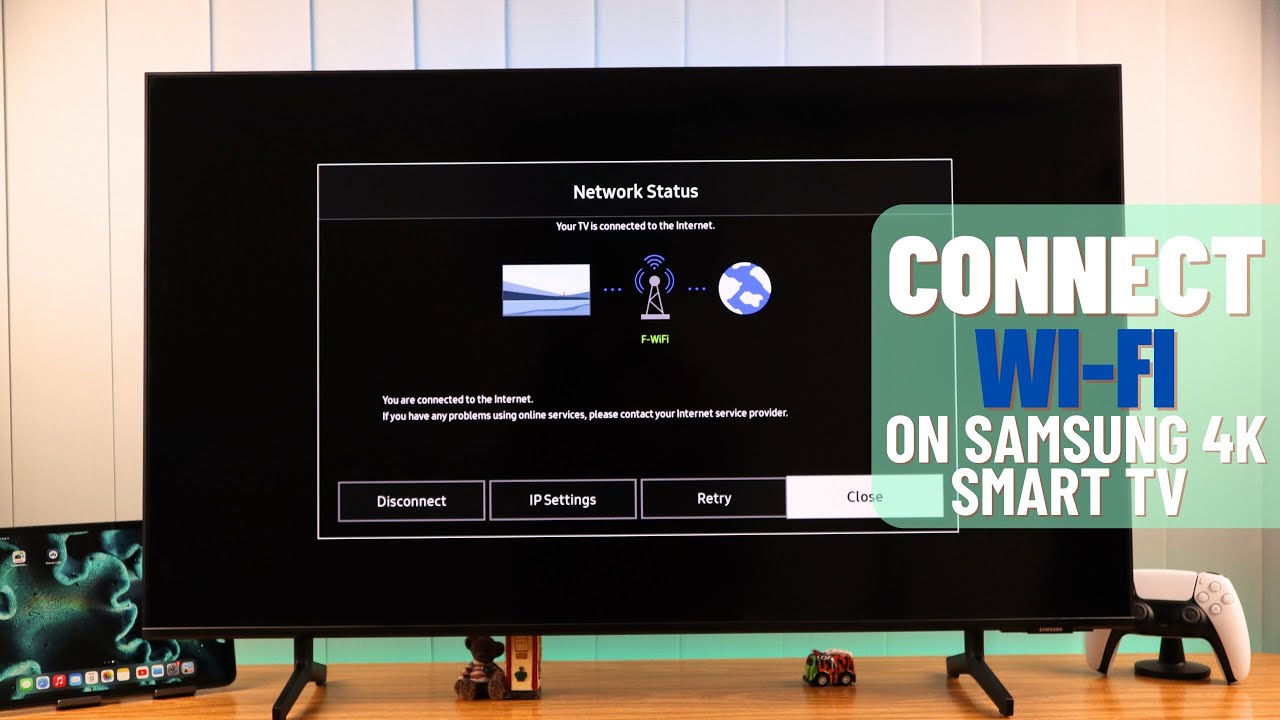
To connect Samsung Smart TV to internet, use either a wireless Wi-Fi connection or a wired Ethernet cable. This guide walks you through both methods, from prerequisites to troubleshooting, so you can start streaming right away.
Before you connect your Samsung Smart TV to the internet
Ensure your home internet is stable and that you have your Wi-Fi network name (SSID) and password ready. You will also need a Samsung Account to use smart features like streaming apps. For a smooth experience, your network speed should be at least 10 Mbps; the TV will not connect if speeds fall below this threshold.
Connect your Samsung Smart TV to Wi-Fi
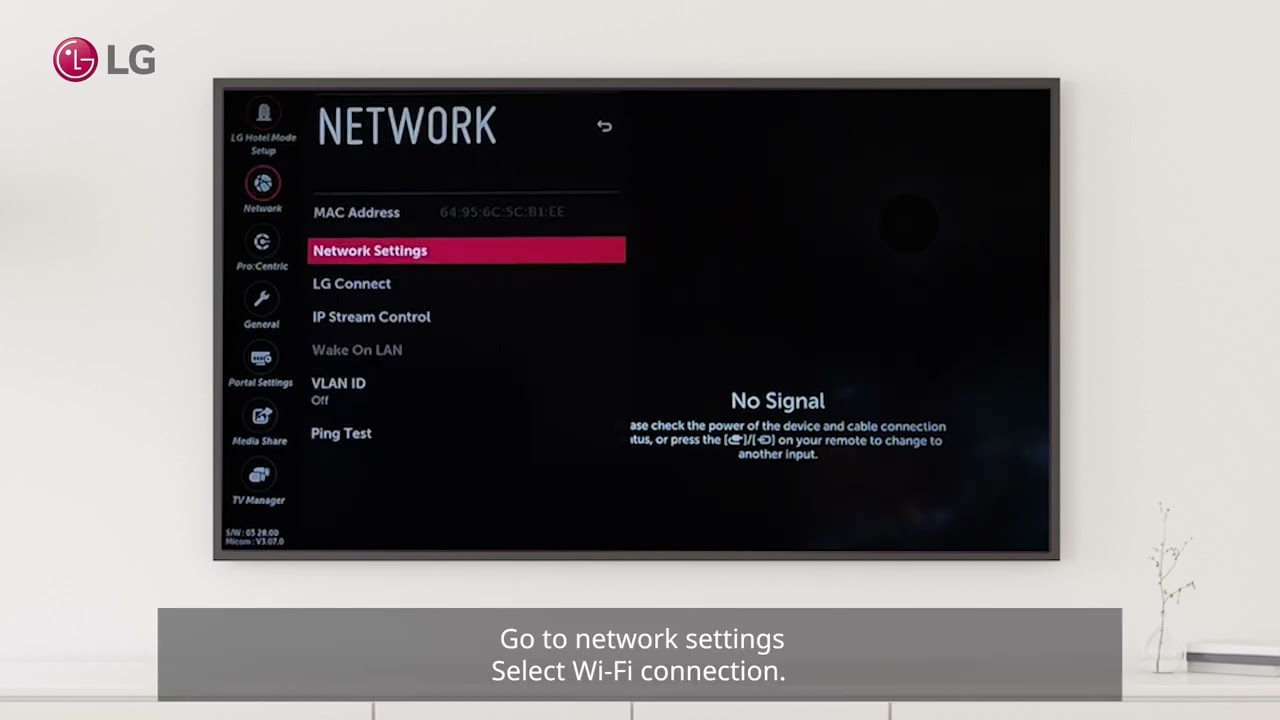
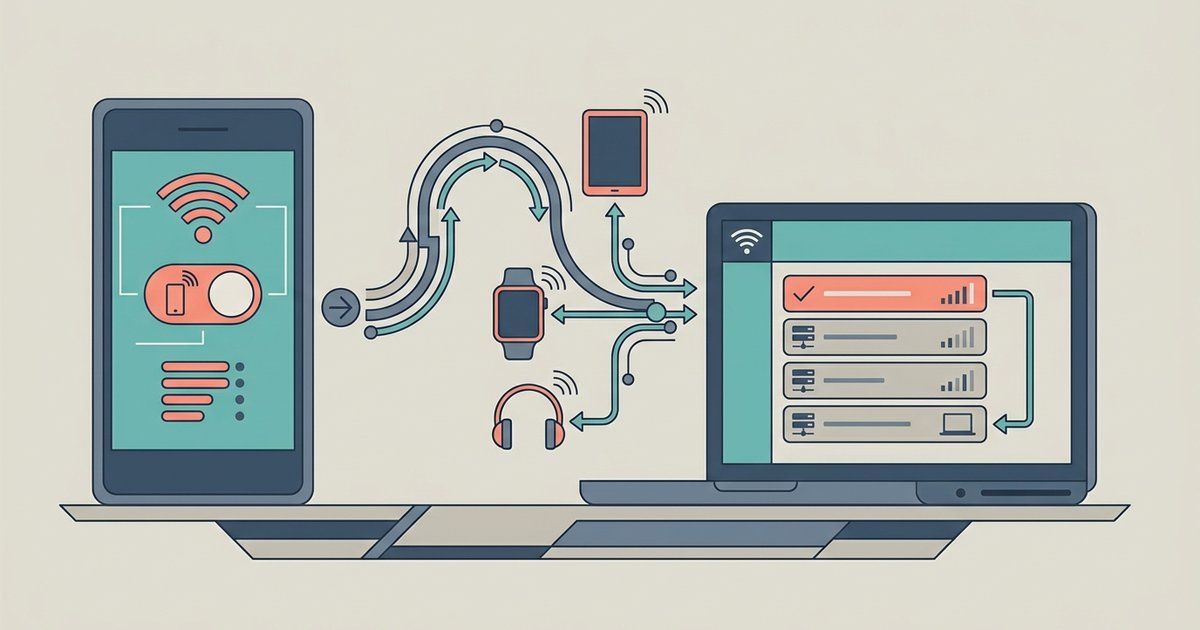
The process for connecting a smart TV to Wi-Fi starts with your remote. Press the home button on Samsung smart TV remote, then navigate to Settings, followed by General, and select Network. From there, choose Open Network Settings, then select Wireless. Your TV will scan for available networks. Select your Wi-Fi network name from the list. If prompted, use the on-screen keyboard to enter your password, then select Done to complete the connection.
On newer Samsung Smart TV models, the path may be: Settings, then All Settings, then Connection, then Network. If your router supports WPS, you can select Use WPS in the TV’s network settings and press the WPS button on your router within two minutes for an automatic connection. For a hidden network, select Add Network at the bottom of the list and manually enter the network name (SSID).
If your Wi-Fi network does not appear in the list, ensure your router is broadcasting the 2.4 GHz band. Older models, such as 2018 TVs like the NU7100/NU710D, NU7200, and NU7300/NU730D, may only support 2.4 GHz networks and will not detect 5 GHz networks.
Connect your Samsung Smart TV with an Ethernet cable
For a wired connection, use a Cat5e or higher Ethernet cable. Plug one end into the LAN port on your TV (or One Connect Box) and the other end into your router or modem. Then, press the home button on Samsung smart TV remote, go to Settings, General, and Network. Select Open Network Settings, then choose Wired. The TV will automatically detect the connection; select OK to confirm. A wired connection provides faster and more reliable internet than Wi-Fi, making it ideal for streaming without interruptions.
Test your Samsung Smart TV internet connection
After connecting, it is important to confirm the connection works. Return to the Network Settings menu and select the option to test the connection. The TV will run a diagnostic and display whether the connection is successful. Once confirmed, you can launch apps and start streaming.
Troubleshooting Samsung Smart TV connection problems
If you encounter issues, start by restarting your TV, router, and modem. Unplug each device from power for at least a minute, then plug them back in. This often resolves temporary glitches. If you are trying to use Wi-Fi on Samsung smart TV and the network does not appear, check that your router is broadcasting the 2.4 GHz band (see the Wi-Fi section above for model-specific notes). Verify that your Wi-Fi password is entered correctly, passwords are case-sensitive. If problems persist, reset the network settings by navigating to Settings, General, Network, then select Reset Network and confirm Reset. If your internet speed is below 10 Mbps, contact your internet service provider (ISP) for assistance.
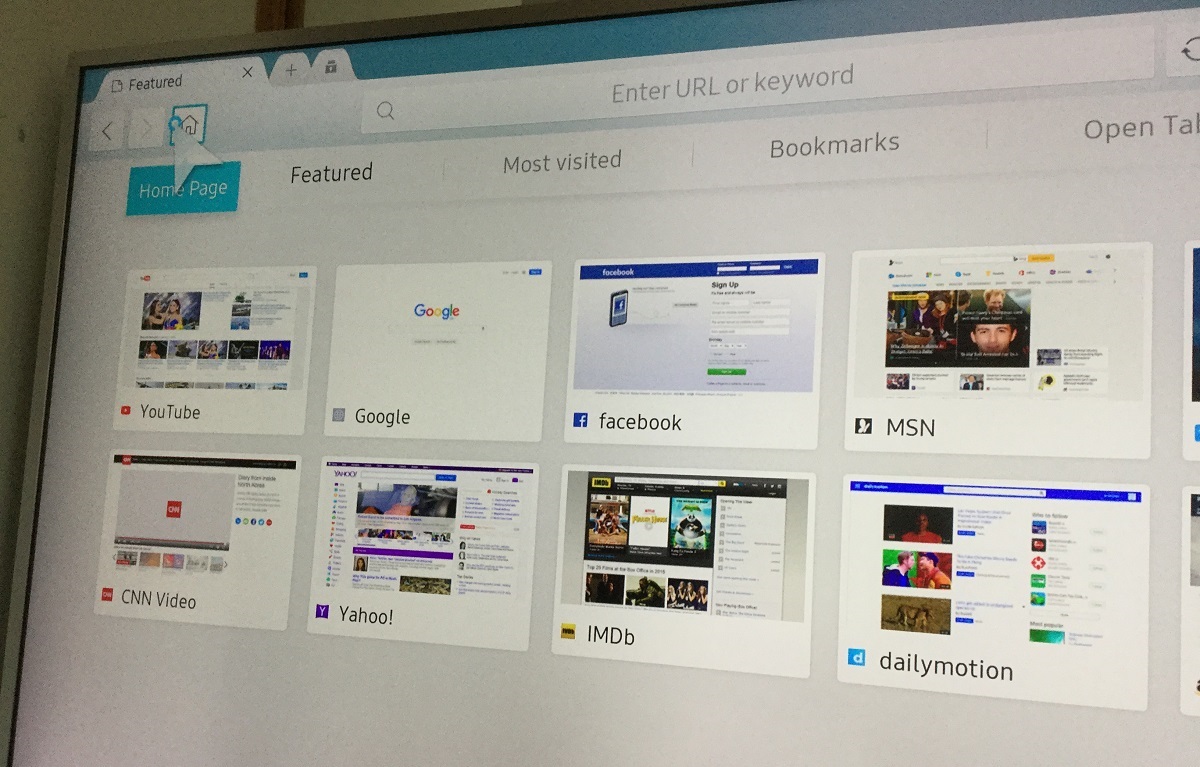
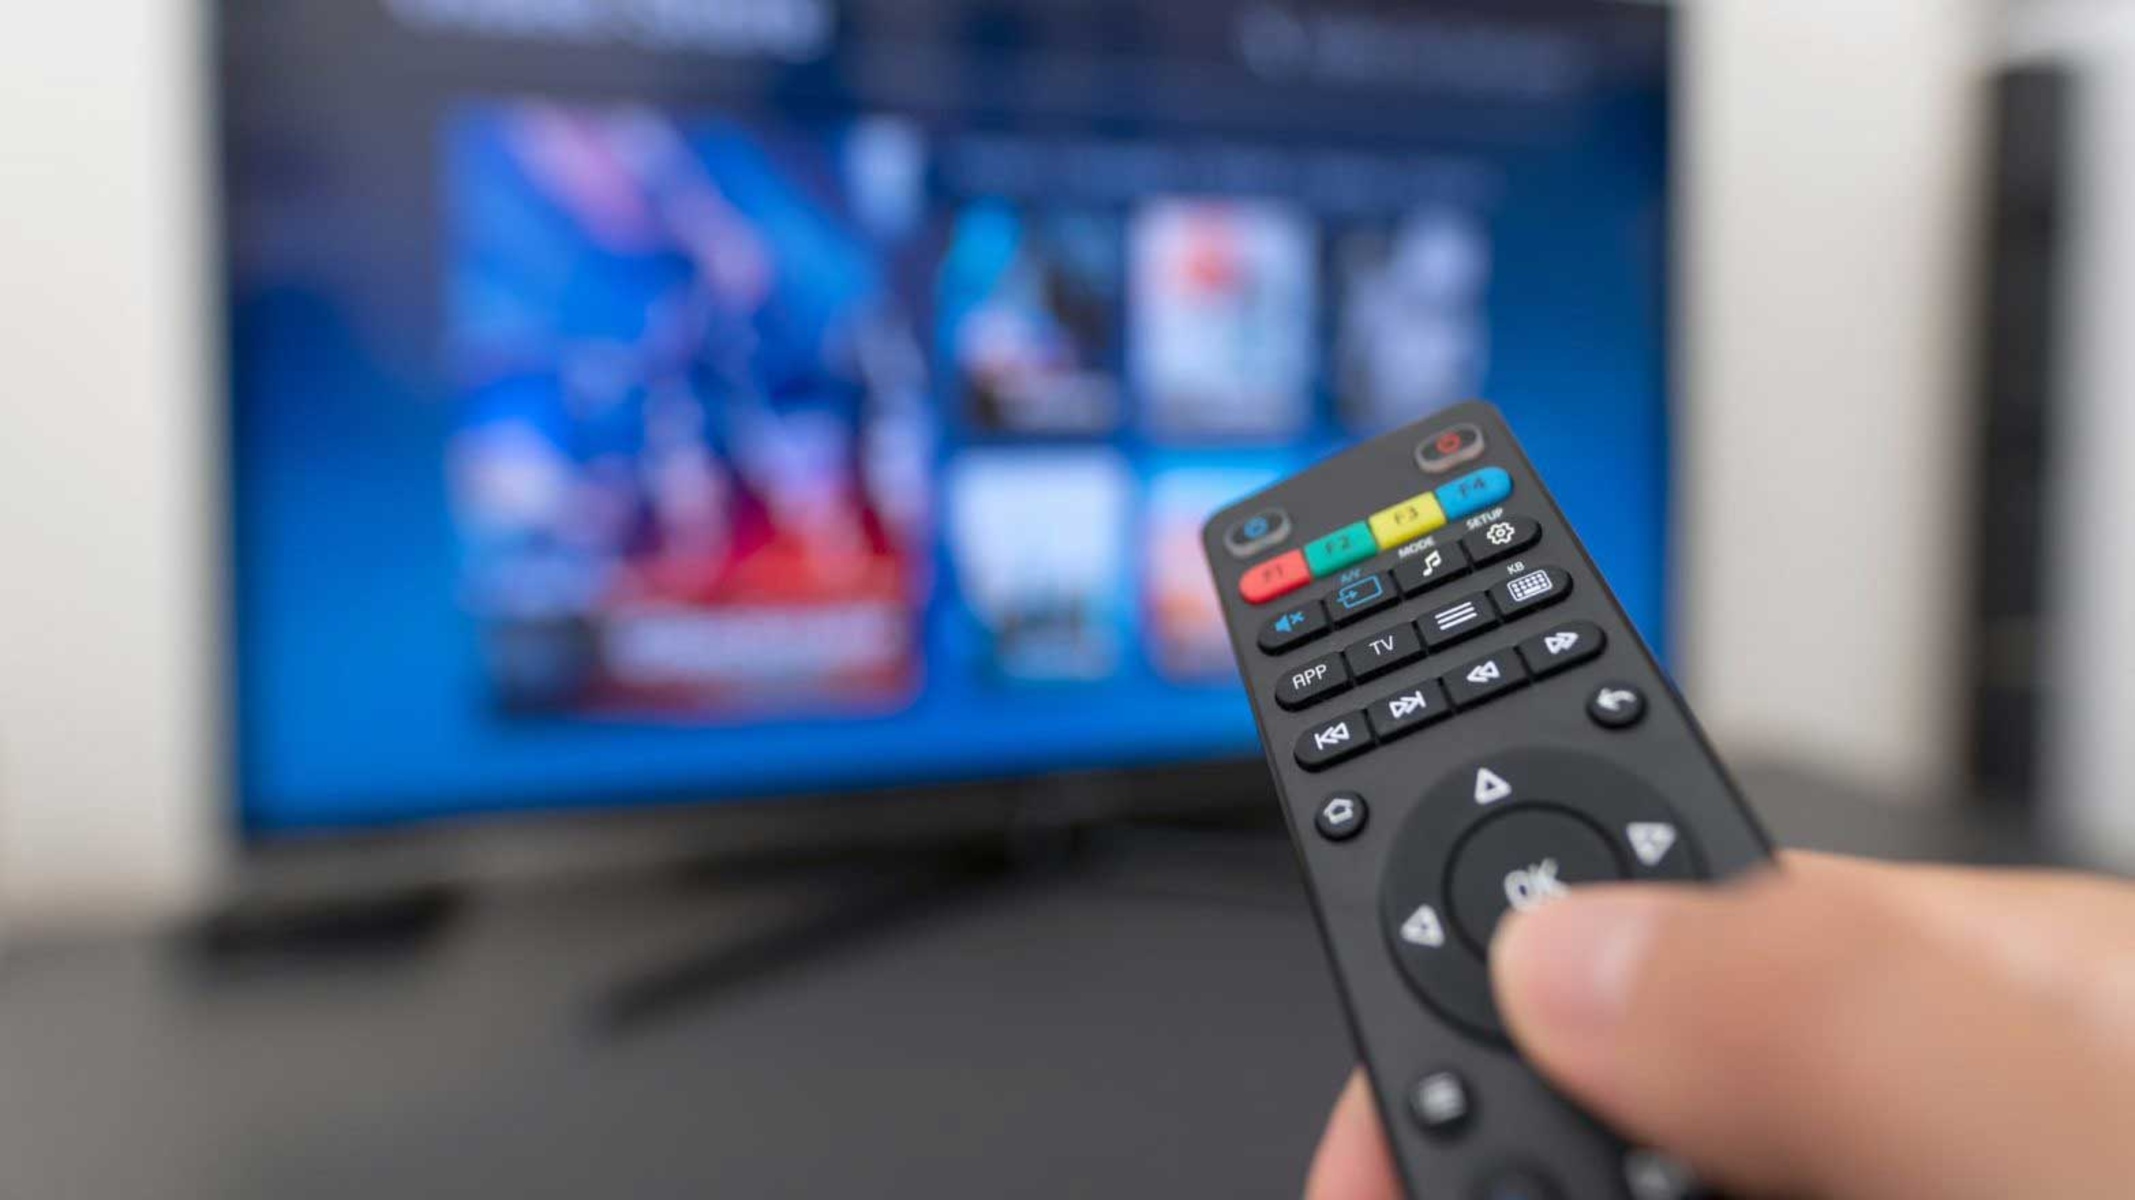
For further control, you can also browse the internet on your Samsung smart TV using the built-in web browser once connected. If you need to pair a remote, you can connect a remote to your Samsung smart TV through the TV’s Bluetooth settings. Knowing where the home button on Samsung smart TV remote is located, typically the center button with a house icon, is essential for navigating all settings.