Introduction
Welcome to our guide on how to connect your computer to a Samsung Smart TV wirelessly. With the rapid advancements in technology, our entertainment experiences have become more versatile and interconnected. One such convenience is the ability to connect your computer to your Smart TV, allowing you to enjoy your favorite shows, movies, and videos on a larger screen.
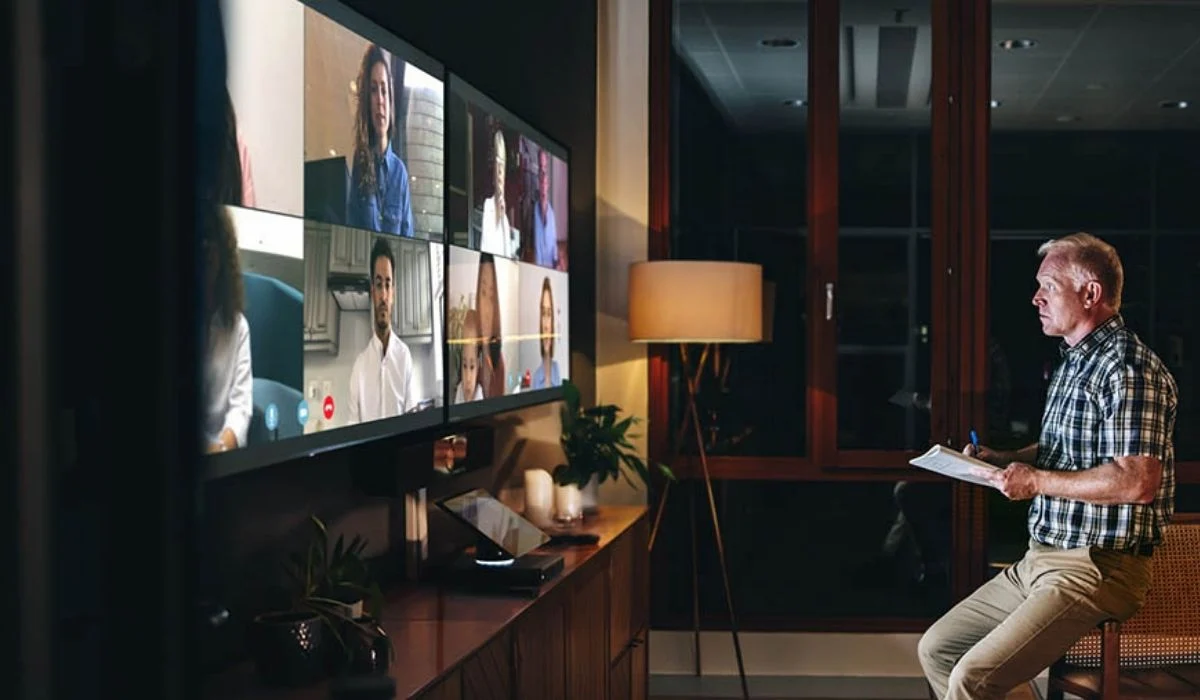
Gone are the days when you had to huddle around a small computer screen or deal with messy cables to enjoy your digital content. By connecting your computer wirelessly to your Samsung Smart TV, you can seamlessly stream videos, display presentations, or even play games on a larger display.
But before we dive into the steps, it is important to ensure compatibility between your computer and Samsung Smart TV. Additionally, make sure that both devices are connected to the same Wi-Fi network for a flawless connection. We’ll cover all of these aspects and more in this comprehensive guide.
So, if you’re ready to upgrade your viewing experience and connect your computer to your Samsung Smart TV wirelessly, let’s get started with the step-by-step process. Whether you’re using a Windows PC or a Mac, we’ve got you covered!
Step 1: Check the Compatibility of Your Samsung Smart TV
Before you begin the process of connecting your computer to your Samsung Smart TV wirelessly, it’s essential to ensure that your TV is compatible with this feature. Not all Samsung Smart TVs have the capability to connect to a computer wirelessly, so it’s important to check your TV’s specifications.
First, locate the model number of your Samsung Smart TV. You can find this information on the back of the TV or in the settings menu. Once you have the model number, visit Samsung’s official website and search for your TV model to access its specifications.
Look for features like “Screen Mirroring” or “Wi-Fi Direct” in the specifications. These are the functionalities that allow you to connect your computer to your TV wirelessly. If your TV supports these features, then you’re good to go. If not, you may need to consider alternative methods like connecting via HDMI cable.
It’s worth noting that some older Samsung Smart TV models might not support wireless connectivity to computers. In such cases, purchasing additional hardware, like a wireless display adapter, might be necessary to establish a wireless connection.
If you’re uncertain about your TV’s compatibility, you can also refer to the user manual or contact Samsung customer support for assistance. They will be able to provide you with the accurate information regarding your specific TV model.
Once you’ve confirmed that your Samsung Smart TV is compatible with wireless computer connectivity, you can move on to the next step: connecting your TV to a Wi-Fi network.
Step 2: Connect Your Samsung Smart TV to a Wi-Fi Network
In order to connect your computer to your Samsung Smart TV wirelessly, both devices need to be connected to the same Wi-Fi network. If your TV is not already connected to a Wi-Fi network, follow these steps:
- Using your TV remote, press the Menu button.
- Navigate to the Network settings and select the “Wireless” option.
- A list of available Wi-Fi networks will appear on the screen. Select your Wi-Fi network from the list.
- If your Wi-Fi network is password-protected, enter the Wi-Fi password using the on-screen keyboard. Use the arrow keys on your remote to navigate and the OK button to confirm each character.
- Once you have entered the correct password, select “Connect” to establish the connection.
- Your Samsung Smart TV will now attempt to connect to the selected Wi-Fi network. Wait for the connection to be established successfully.
After successfully connecting your Samsung Smart TV to the Wi-Fi network, you are now ready to proceed to the next step, which involves connecting your computer to the same Wi-Fi network.
It’s important to note that the steps mentioned above are general instructions and may vary slightly depending on the model of your Samsung Smart TV. Refer to your TV’s user manual for specific instructions related to Wi-Fi setup.
Step 3: Connect Your Computer to the Same Wi-Fi Network
In order for your computer to communicate with your Samsung Smart TV wirelessly, it needs to be connected to the same Wi-Fi network that your TV is connected to. Follow these steps to connect your computer to the Wi-Fi network:
- On your computer, click on the Wi-Fi icon located in the system tray or menu bar.
- A list of available Wi-Fi networks will appear. Select the same Wi-Fi network that you connected your Samsung Smart TV to in the previous step.
- If prompted, enter the Wi-Fi network password. This is the same password you used to connect your TV to the network.
- Wait for your computer to establish a connection with the Wi-Fi network. Once connected, you will see the Wi-Fi icon change to indicate a successful connection.
Now that your computer is connected to the same Wi-Fi network as your Samsung Smart TV, you’re ready to move on to the next step: enabling screen mirroring on your TV.
Note: The process of connecting your computer to a Wi-Fi network may differ slightly depending on the operating system you are using. The steps provided here are general instructions and may vary. Please refer to your computer’s documentation or support resources for specific instructions on connecting to a Wi-Fi network.
Step 4: Enable Screen Mirroring on Your Samsung Smart TV
In order to connect your computer to your Samsung Smart TV wirelessly and mirror your computer’s screen onto the TV, you need to enable screen mirroring on your TV. Follow these steps to enable screen mirroring:
- Using your TV remote, press the Menu button.
- Navigate to the Settings menu and select the “General” option.
- Scroll down and select “Network” or “Network & Internet”.
- Look for the option labeled “Screen Mirroring,” “Mirroring,” “AllShare Cast,” or something similar.
- Select the “Screen Mirroring” option and ensure that it is set to “On” or “Enabled”.
Enabling screen mirroring on your Samsung Smart TV allows your TV to receive and display the content being transmitted from your computer.
Once you have enabled screen mirroring on your TV, you’re ready to move on to the next step, which involves connecting your computer to your Samsung Smart TV.
Note: The steps to enable screen mirroring may vary slightly depending on the model of your Samsung Smart TV. Refer to your TV’s user manual for specific instructions related to screen mirroring setup.
Step 5: Connect Your Computer to Your Samsung Smart TV
Now that you have ensured compatibility, connected your Samsung Smart TV and computer to the same Wi-Fi network, and enabled screen mirroring on your TV, it’s time to establish the connection between the two devices. Follow these steps to connect your computer to your Samsung Smart TV:
- On your computer, open the Settings menu or Control Panel.
- Look for the option labeled “Display” or “Screen”. Click on it to access the display settings.
- Within the display settings, locate the screen mirroring or casting option. The terminology may vary depending on your operating system.
- Select your Samsung Smart TV from the list of available devices. Your computer will start establishing a connection with your TV.
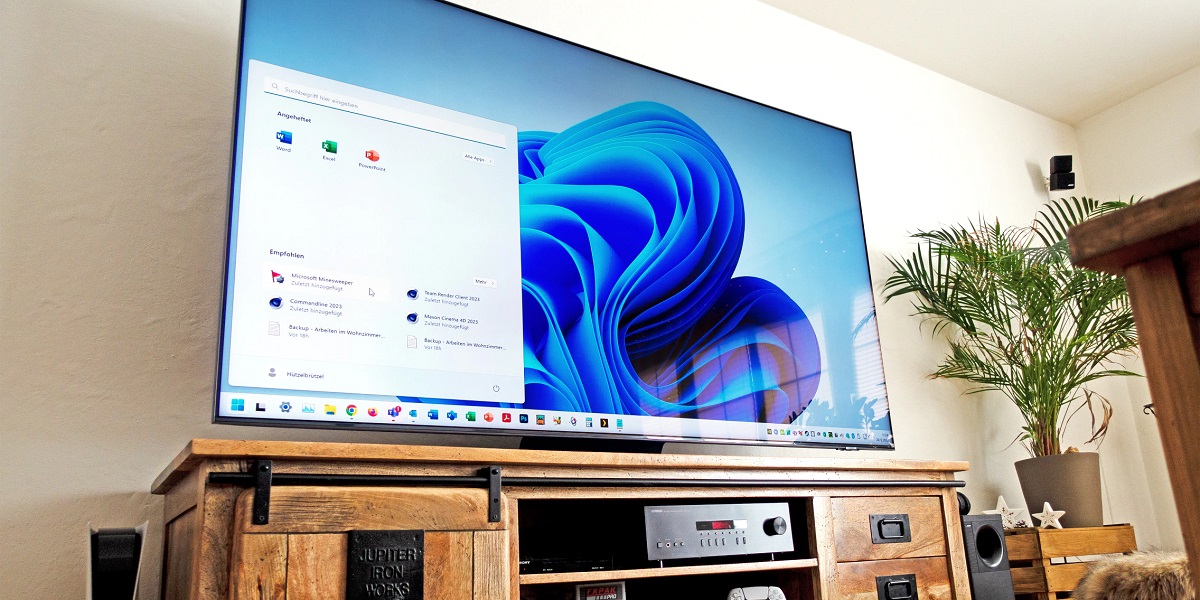
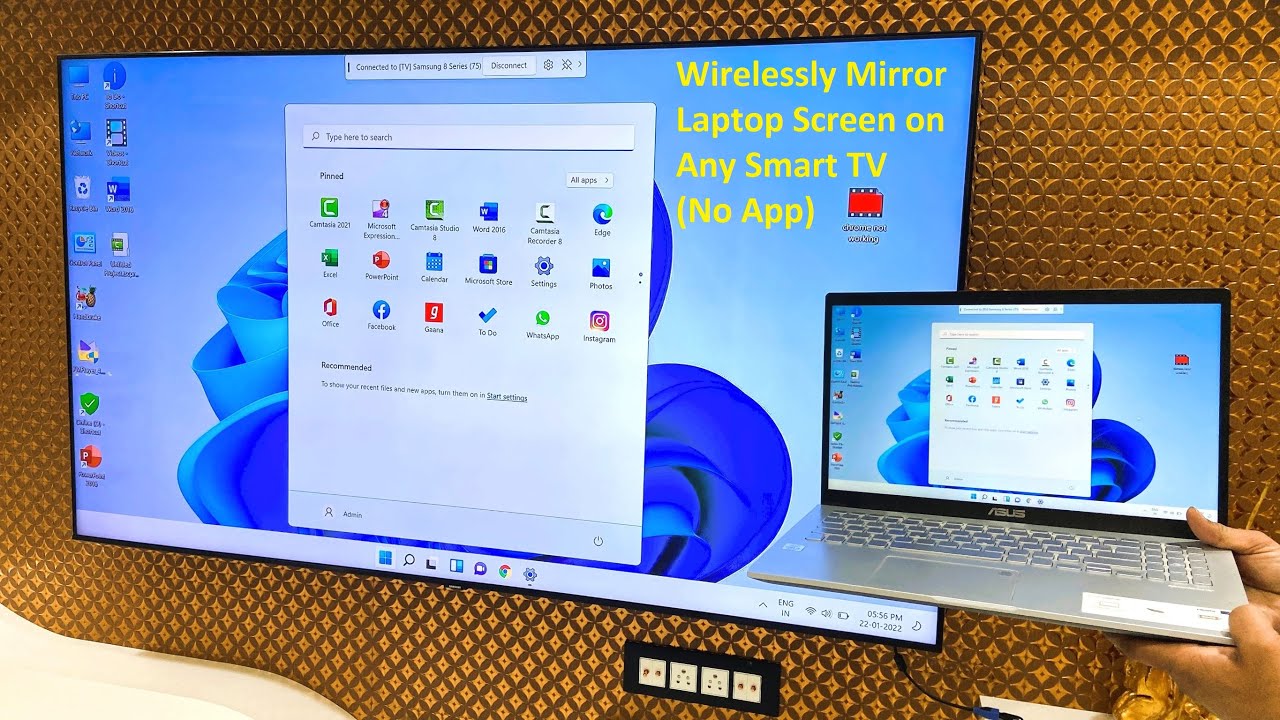
- Once the connection is established, your computer screen will be mirrored on your Samsung Smart TV. You should now see your computer’s display on the TV screen.
Congratulations! You have successfully connected your computer to your Samsung Smart TV wirelessly. You can now enjoy your favorite content from your computer, such as movies, videos, photos, presentations, and more, on the larger screen of your TV.
If you encounter any issues during the connection process, refer to the troubleshooting tips in the next step. Additionally, make sure that both devices are well within the range of your Wi-Fi network for a stable connection.
Note: The steps to connect your computer to a Samsung Smart TV may differ slightly depending on the operating system you are using. Consult your computer’s documentation or support resources for specific instructions on connecting to an external display or screen mirroring.
Step 6: Troubleshooting Tips
While connecting your computer to your Samsung Smart TV wirelessly is a relatively straightforward process, you may encounter a few challenges along the way. Here are some troubleshooting tips to help you overcome common issues:
- Check the Wi-Fi connection: Ensure that both your computer and Samsung Smart TV are connected to the same Wi-Fi network. If you’re facing connectivity issues, try resetting your router or moving closer to the router to establish a stronger connection.
- Confirm compatibility: Double-check that your Samsung Smart TV model supports wireless computer connectivity. Visit the manufacturer’s website or refer to the user manual for accurate information.
- Update software: Make sure that your computer and Samsung Smart TV have the latest software updates installed. Outdated software can sometimes cause compatibility issues. Check for updates in the settings menu of both devices.
- Restart devices: If you’re experiencing connectivity issues or glitches, try restarting both your computer and Samsung Smart TV. This can often resolve minor software or connection problems.
- Verify firewall settings: Some firewalls or antivirus software may block the connection between your computer and TV. Temporarily disable any firewall or antivirus software on your computer and attempt to connect again.
- Use recommended apps or software: Depending on your computer’s operating system, there may be specific applications or software recommended for screen mirroring. Install and use the recommended app or software for a smoother connection.
- Consider alternative connection methods: If you’re unable to establish a stable wireless connection, you may need to resort to alternative methods such as using an HDMI cable or a wireless display adapter.
If you’re still experiencing difficulties despite following these troubleshooting tips, consult the user manuals or reach out to customer support for both your computer and Samsung Smart TV. They can provide further assistance and help resolve any specific issues you may be facing.
By troubleshooting and overcoming these challenges, you’ll be able to enjoy seamless wireless connectivity between your computer and Samsung Smart TV.
Conclusion
Connecting your computer to your Samsung Smart TV wirelessly opens up a world of possibilities for enjoying your favorite content on a larger screen. By following the step-by-step process outlined in this guide, you can establish a seamless connection and mirror your computer’s screen onto your TV.
We began by checking the compatibility of your Samsung Smart TV and ensuring that it supports wireless computer connectivity. Then, we walked through the process of connecting your TV to a Wi-Fi network and connecting your computer to the same network.
Next, we enabled screen mirroring on your Samsung Smart TV, allowing it to receive and display the content from your computer. Finally, we discussed troubleshooting tips to address potential issues that may arise during the connection process.
With your computer and Samsung Smart TV connected, you can enjoy a wide range of digital content on a larger, more immersive display. Watch movies, stream videos, display presentations, or even play games with the ease and convenience of wireless connectivity.
Remember to keep your software up to date, check for compatibility, and troubleshoot any potential challenges you may encounter. With a stable connection and a little troubleshooting, you’ll be able to unlock a new level of entertainment and productivity with your Samsung Smart TV and computer.
Now that you are equipped with the knowledge and the steps to connect your computer to your Samsung Smart TV wirelessly, it’s time to grab the popcorn, sit back, and enjoy your favorite content on the big screen!