Introduction
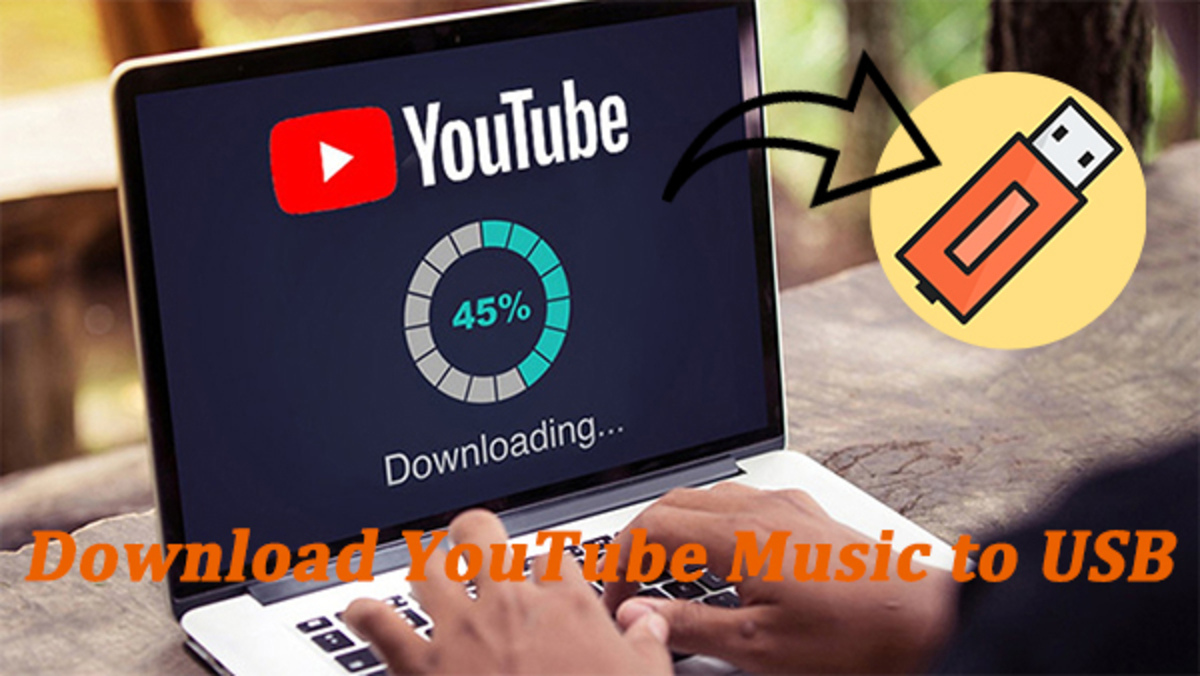
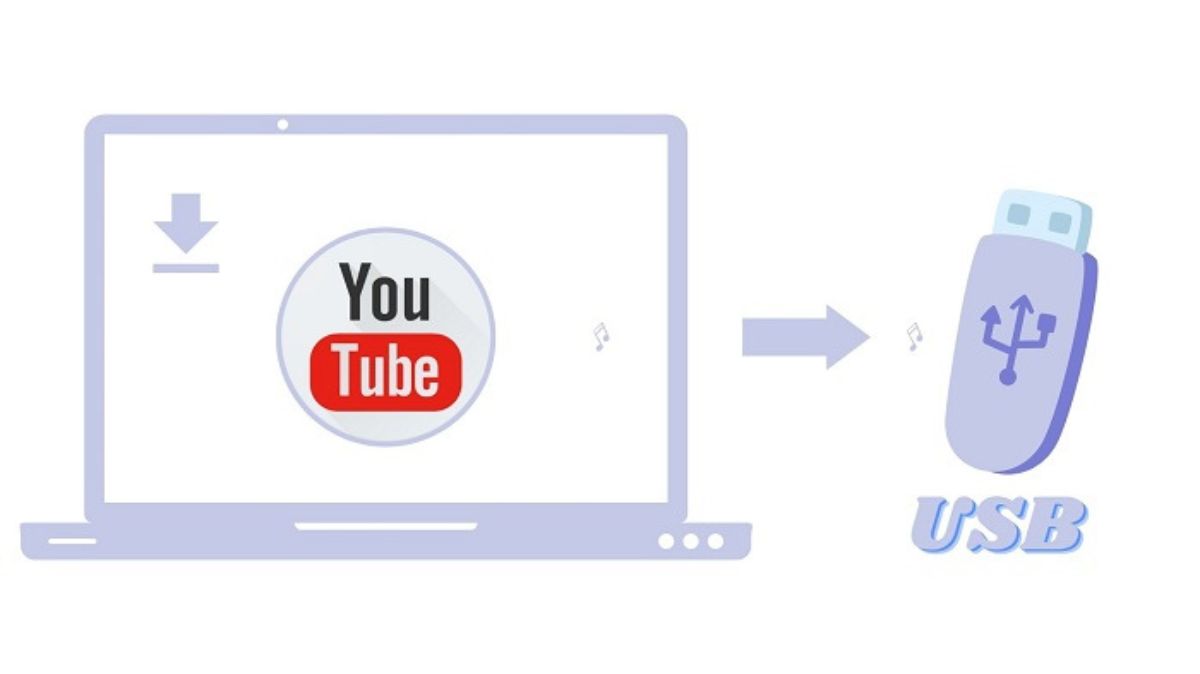
Welcome to this comprehensive guide on how to download YouTube videos to a USB drive. With the rise of online streaming services, YouTube has become the go-to platform for watching and sharing videos. However, there may be times when you want to access your favorite videos offline or watch them on a device without an internet connection. In such cases, downloading YouTube videos to a USB drive can be incredibly convenient. This allows you to carry your favorite videos with you and enjoy them anytime, anywhere.
Downloading YouTube videos may seem like a complicated process, but with the right tools and guidance, it can be a straightforward and hassle-free experience. In this article, we will walk you through the step-by-step process of downloading YouTube videos and saving them to your USB drive.
We will be using a reliable and user-friendly third-party YouTube video downloader to accomplish this task. This software will enable us to download videos from YouTube in various formats and resolutions, giving us the flexibility to choose the one that best suits our needs. So, let’s get started and learn how to download YouTube videos to a USB drive!
Please note that downloading copyrighted content without permission may infringe on the intellectual property rights of the content owner. Ensure that you have the necessary permissions or are downloading videos that are available for free distribution or personal use.
Why Download Youtube Videos to USB Drive?
Downloading YouTube videos to a USB drive offers several advantages that make it worth considering. Let’s explore some of the reasons why you might want to save your favorite videos from YouTube to a USB drive.
1. Offline Access: While YouTube allows you to stream videos online, it requires a stable internet connection. By downloading videos to a USB drive, you can access them offline, without the need for an internet connection. This is particularly useful when you’re traveling or in areas with limited or no internet access.
2. Portability: USB drives are compact and lightweight, making them highly portable. You can carry your USB drive with you and have instant access to your favorite YouTube videos on various devices, such as laptops, TVs, or even in-car entertainment systems. It’s an excellent way to keep yourself entertained during long journeys or when you’re away from home.
3. Convenience: Having your favorite YouTube videos saved on a USB drive eliminates the need to search for them every time you want to watch them. Instead, you can simply plug in your USB drive and enjoy your personalized collection of videos without any hassle.
4. Customizable Formats: YouTube video downloaders often give you the option to choose from different formats and resolutions. This flexibility allows you to select the format that works best for your specific needs, such as MP4, AVI, or MKV. You can also adjust the video quality to suit your device’s capabilities or the available storage space on your USB drive.
5. Backup and Archiving: Downloading YouTube videos to a USB drive serves as a backup and archival solution. If a favorite video gets deleted from the platform or you want to create a personal collection of videos, saving them to a USB drive ensures that you have a permanent copy at your disposal.
6. Shareability: USB drives make it easy to share videos with others. Whether it’s sharing educational content with your classmates or exchanging funny videos with friends, having the videos saved on a USB drive allows for convenient and quick sharing.
By downloading YouTube videos to a USB drive, you unlock a world of flexibility, convenience, and portability. Now that we understand the benefits let’s dive into the step-by-step process of how to download and save YouTube videos to a USB drive.
Step 1: Install Third-Party YouTube Video Downloader
The first step in downloading YouTube videos to a USB drive is to install a reliable third-party YouTube video downloader on your computer. There are various software options available that simplify the downloading process and offer additional features.
Here are a few popular YouTube video downloaders to consider:
- 4K Video Downloader: This versatile software allows you to download videos, playlists, and even entire YouTube channels. It supports high-quality downloads in various formats and resolutions.
- YTD Video Downloader: YTD is a user-friendly downloader that offers fast and efficient video downloading. It supports a wide range of video formats and allows you to convert downloaded videos to different file types.
- Freemake Video Downloader: Freemake is a free video downloader that enables you to save videos from YouTube and other popular video platforms. It supports batch downloads, allowing you to download multiple videos simultaneously.
Choose the YouTube video downloader that best fits your requirements and download it from the official website. Once the download is complete, double-click on the installer file and follow the on-screen instructions to install the software on your computer.
It’s essential to download YouTube video downloaders from reputable sources to ensure that you have a safe and reliable software on your computer. Verify the authenticity of the software by checking user reviews and ratings, as well as scanning the downloaded file with an antivirus program.
After the installation process is complete, launch the YouTube video downloader software on your computer. Now, you’re ready to proceed to step 2 and start downloading your favorite YouTube videos!
Step 2: Copy YouTube Video URL
Now that you have installed the YouTube video downloader on your computer, the next step is to copy the URL of the YouTube video you want to download. The video URL is the unique web address that identifies the specific YouTube video you wish to save to your USB drive.
Here’s how you can copy the YouTube video URL:
- Open your preferred web browser (e.g., Chrome, Firefox, Safari).
- Go to the YouTube website (www.youtube.com).
- Search for the video you want to download by entering relevant keywords in the search bar.
- Once you have found the desired video, click on it to open and play it.
- Below the video, you will find the video description and sharing options. Look for the share icon (usually represented by an arrow).
- Click on the share icon, and a share panel will appear with various social media and sharing options.
- Look for the “Copy Link” or “Copy URL” button and click on it.
By clicking on the “Copy Link” or “Copy URL” button, the YouTube video URL will be copied to your computer’s clipboard, ready to be pasted in the YouTube video downloader software.
Alternatively, you can also copy the video URL directly from the web browser’s address bar. Just click on the address bar at the top of the browser window, and the URL will be highlighted. Right-click on the highlighted URL and select “Copy” from the context menu.
Ensure that you copy the entire URL link without any missing characters or added spaces. The YouTube video downloader software requires the complete and accurate URL to locate and download the desired video.
Now that you have successfully copied the YouTube video URL, let’s move on to the next step and learn how to use the YouTube video downloader to initiate the download process.
Step 3: Open YouTube Video Downloader
With the YouTube video URL copied to your clipboard, it’s time to open the YouTube video downloader software on your computer. Launch the program by locating its icon on your desktop or by accessing it from the Start menu or applications folder.
After opening the YouTube video downloader, you will typically see a user-friendly interface with various options and features. The exact layout and design may vary depending on the software you have installed, but the basic functionalities remain consistent.
Here are some common features you may find in a YouTube video downloader:
- Video URL Input: Look for a text box or field where you can paste the YouTube video URL you copied earlier. This is where you will enter the link to the video you want to download.
- Download Format Selection: Most YouTube video downloaders offer multiple download formats and resolutions. Look for a dropdown menu or options panel that allows you to choose the desired format in which you want to save the video.
- Additional Features: Some YouTube video downloaders provide additional features, such as the ability to download subtitles, extract audio from videos, or convert videos to different file formats.
- Download Queue: If you plan to download multiple videos, look for a download queue or manager that allows you to add multiple video URLs and download them sequentially.
Once you have opened the YouTube video downloader software and familiarized yourself with its features and options, it’s time to move on to the next step: pasting the YouTube video URL and selecting the desired download format.
Note: Ensure that you have a stable internet connection while using the YouTube video downloader, as a strong connection is necessary for seamless video downloading.
Now that you’re ready to proceed, let’s move on to Step 4 and learn how to paste the YouTube video URL and choose the download format for your video.
Step 4: Paste Video URL and Choose Download Format
Now that you have the YouTube video downloader open on your computer, it’s time to paste the video URL and choose the download format for your video. Here’s how you can proceed with this step:
- Locate the text box or field labeled “Paste URL” or “Enter Video URL” within the YouTube video downloader interface.
- Click inside the text box to activate it.
- Right-click inside the text box and select “Paste” from the context menu, or use the keyboard shortcut “Ctrl+V” (Windows) or “Command+V” (Mac) to paste the YouTube video URL that you copied in Step 2.
- After pasting the video URL, the YouTube downloader software will automatically recognize the link and fetch the necessary information about the video, such as its title, duration, and available download formats.
- Now, it’s time to choose the download format and quality for the video. Look for a dropdown menu or a list of download options within the YouTube video downloader interface.
- Click on the dropdown menu or options list and explore the available formats. Common options may include MP4, FLV, AVI, MKV, and more.
- Select the desired format based on your requirements, device compatibility, and available storage space on your USB drive.
- For better video quality, choose a higher resolution. Keep in mind that higher resolutions may result in larger file sizes.
Once you have pasted the video URL and chosen the desired download format, you’re almost ready to start the download process. However, before moving on to the next step, ensure that you have selected the correct video and that the download format matches your preferences.
Now that you have successfully pasted the YouTube video URL and selected the download format, let’s move on to the next step and set the download destination as your USB drive.
Step 5: Set Download Destination as USB Drive
Setting the download destination as your USB drive is a crucial step in ensuring that the YouTube video is saved directly to the USB drive instead of your computer’s internal storage. Let’s proceed with setting the download destination:
- Within the YouTube video downloader interface, look for the “Save To” or “Download Destination” field. This field allows you to specify where the downloaded video will be saved.
- Click on the “Browse” or “Select Folder” button next to the “Save To” field to open a file explorer window.
- Navigate to your USB drive in the file explorer window. The USB drive is typically labeled with a letter (e.g., E:, F:, G:).
- Select your USB drive folder to set it as the download destination for the YouTube video.
- Once you have selected the USB drive folder, click the “OK” or “Select” button in the file explorer window to confirm the folder selection.
By setting the download destination as your USB drive, you ensure that the downloaded YouTube video will be saved directly onto the USB drive in the format and quality that you have selected.
It’s important to ensure that your USB drive has enough available storage space to accommodate the video file. Check the file size indicated by the YouTube video downloader and compare it to the available free space on your USB drive. If necessary, consider freeing up space on the USB drive or choose a lower quality or resolution option to reduce the file size.
Once you have successfully set the download destination as your USB drive, you’re ready to initiate the downloading process. In the next step, we will learn how to start the download and save the YouTube video directly to your USB drive.
Step 6: Initiate Download
Now that you have set the download destination as your USB drive, it’s time to initiate the download process and save the YouTube video directly onto your USB drive. Let’s follow these steps to start the download:
- Double-check that you have selected the correct video, desired download format, and set the USB drive as the download destination.
- Look for the “Download” or “Start” button within the YouTube video downloader interface. This button is typically located near the video information or download options.
- Click on the “Download” or “Start” button to initiate the download process.
After clicking the download button, the YouTube video downloader will begin fetching the video from YouTube and transferring it directly to your USB drive. The time required for the download process will vary based on the video’s duration, your internet speed, and the performance of your computer.
During the download process, you will typically see a progress indicator or a percentage display to indicate how much of the video has been downloaded. Some YouTube video downloaders also provide an estimate of the remaining time for the download to complete.
It is important to keep your computer and internet connection stable during the download process to avoid any interruptions or incomplete downloads.
Once the download process is complete, the YouTube video will be successfully saved to your USB drive in the specified download format and quality. You can now disconnect your USB drive from the computer and enjoy your downloaded YouTube video on any compatible device with a USB port.
Now that you have initiated the download and saved the YouTube video to your USB drive, let’s move on to the final step and learn how to enjoy your YouTube videos on the USB drive!
Step 7: Enjoy Your YouTube Videos on USB Drive!
Congratulations! You have successfully downloaded and saved your favorite YouTube videos to your USB drive. Now, it’s time to enjoy your videos on any device that supports USB playback. Follow these simple steps to start enjoying your YouTube videos:
- Disconnect the USB drive from your computer.
- Locate the USB port on the device where you want to play the videos. This could be your laptop, TV, gaming console, or even a car entertainment system.
- Insert the USB drive into the USB port of the device.
- Use the device’s media player or file explorer to navigate to the USB drive.
- Open the folder that contains the downloaded YouTube videos.
- Select the video you want to watch and click on it to start playback.
Depending on the device you’re using, you may have additional playback options, such as pausing, skipping, rewinding, or adjusting the volume. Explore the available features on your device’s media player to enhance your viewing experience.
By having your YouTube videos saved on a USB drive, you can enjoy them anytime, anywhere, without relying on an internet connection. Whether you’re going on a road trip, taking a flight, or simply relaxing at home, your USB drive provides access to a personalized collection of your favorite videos.
Remember to keep your USB drive in a safe and secure place to prevent any damage or loss. Additionally, make sure to respect the copyright and usage rights of the YouTube videos you have downloaded. Only use them for personal enjoyment or adhere to any specific permissions or licenses granted by the content creators.
Now that you know how to download YouTube videos to a USB drive and enjoy them on various devices, you can expand your offline entertainment options and have your favorite videos at your fingertips.
Enjoy your YouTube video collection on your USB drive, and happy watching!
Conclusion
Downloading YouTube videos to a USB drive opens up a world of possibilities for enjoying your favorite videos offline and on various devices. From the convenience of offline access to the portability of USB drives, this guide has provided you with the step-by-step process to save YouTube videos to your USB drive.
We started by installing a reliable third-party YouTube video downloader that simplifies the downloading process. Then, we learned how to copy the YouTube video URL and navigate to the video downloader software. From there, we pasted the URL, selected the desired download format, and set the USB drive as the download destination. After initiating the download, we explored how to enjoy the downloaded videos on any device that supports USB playback.
While downloading YouTube videos to a USB drive can be incredibly convenient, it’s important to respect the intellectual property rights of content creators. Ensure that you have the necessary permissions or download videos that are freely available for distribution or personal use.
By following these steps, you can build a curated collection of YouTube videos that you can enjoy whenever and wherever you want. Whether you’re traveling, relaxing at home, or sharing videos with friends, having your YouTube videos stored on a USB drive provides you with freedom, flexibility, and offline access.
Remember to choose a reliable YouTube video downloader, secure your USB drive in a safe place, and enjoy your downloaded videos responsibly. Now that you have the knowledge and tools to download YouTube videos to a USB drive, go ahead and create your personalized collection of offline entertainment!