Introduction
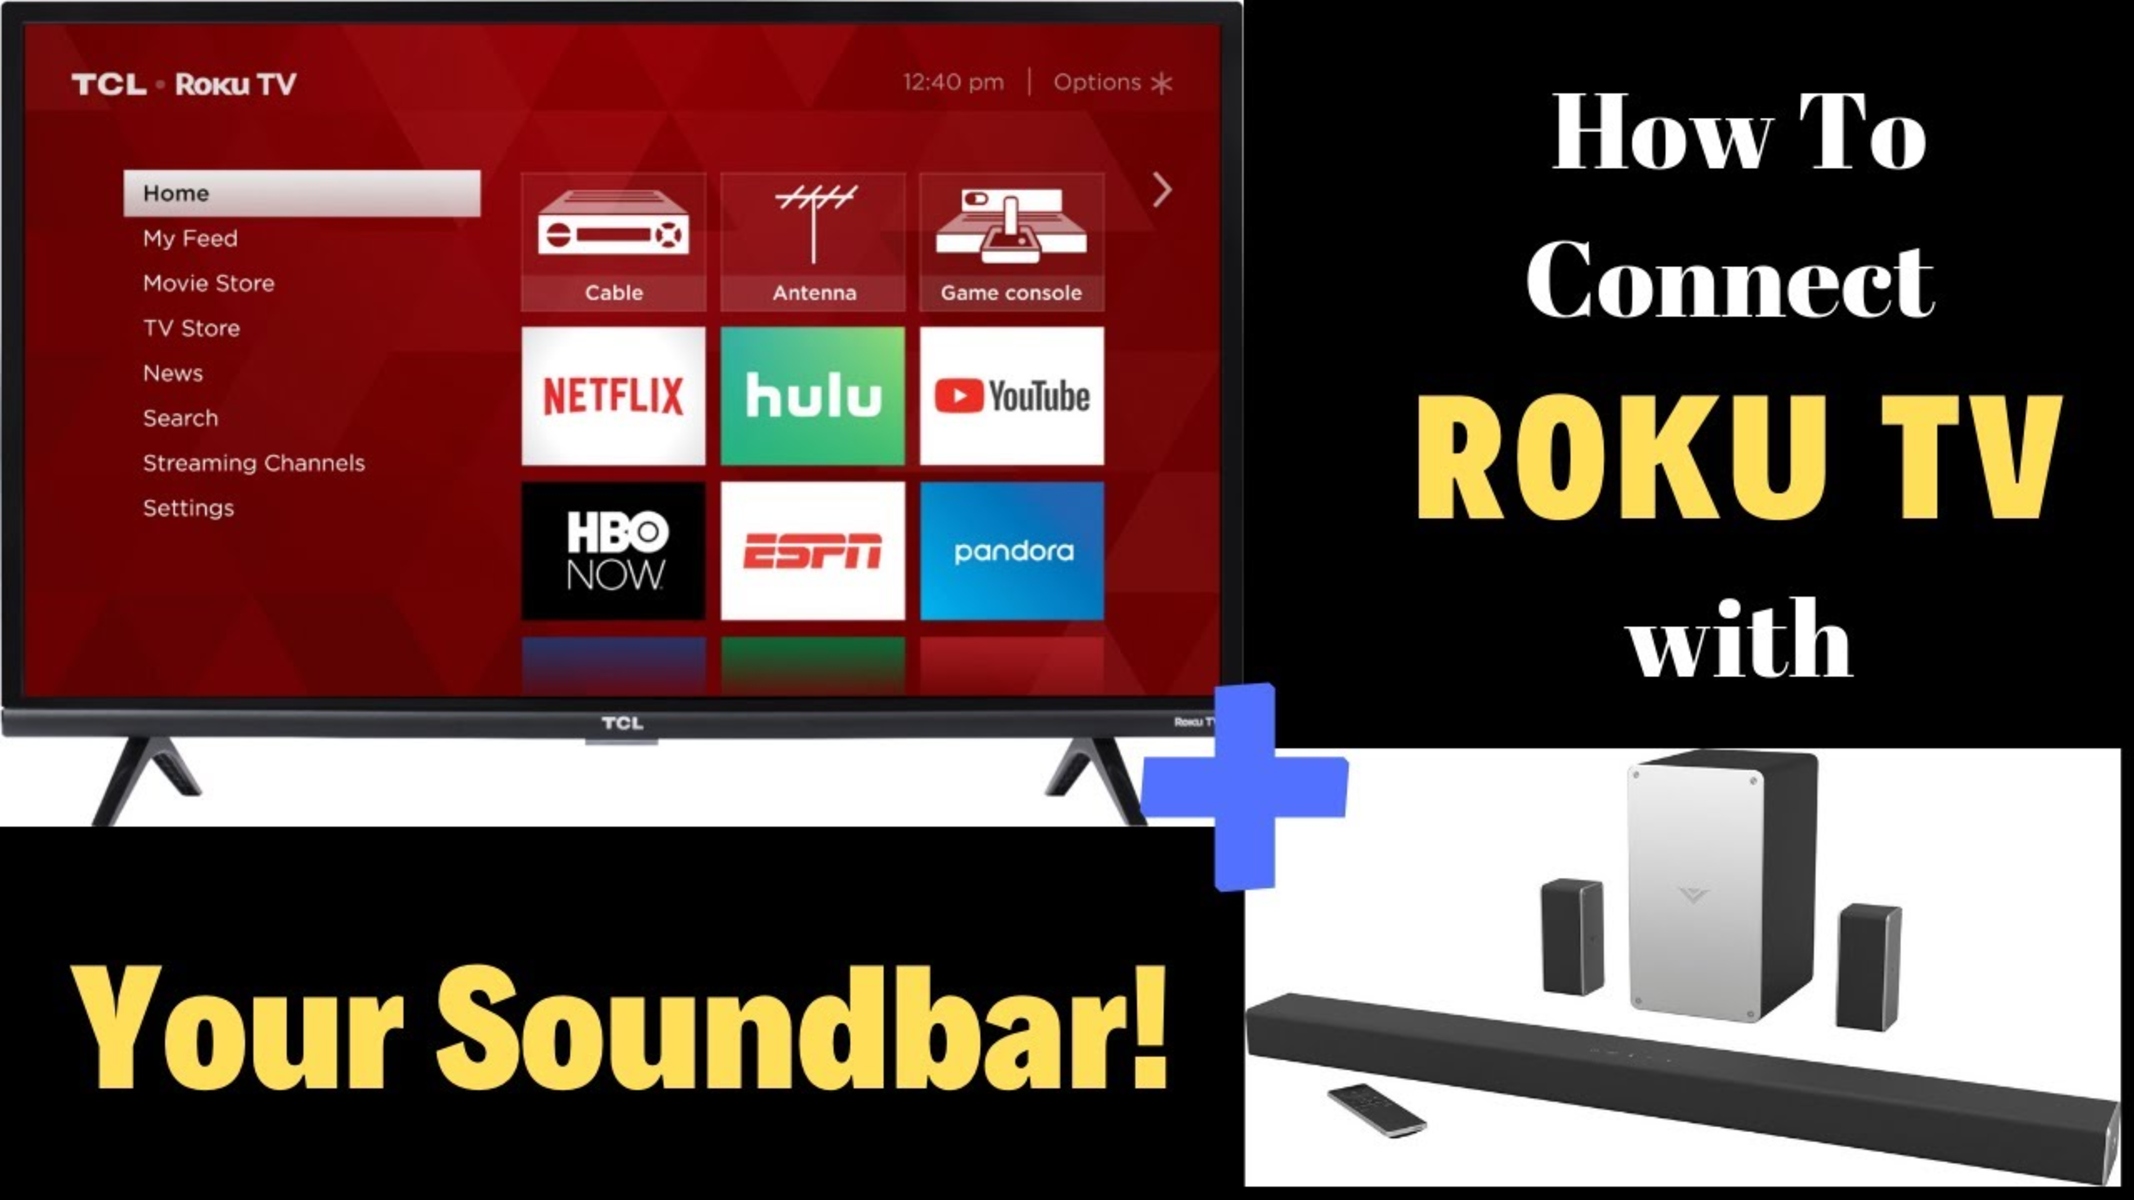
Welcome to the guide on how to connect your Roku TV to your soundbar. If you have recently purchased a soundbar and are looking to enhance the audio experience of your Roku TV, you’ve come to the right place. By connecting your soundbar to your Roku TV, you can enjoy a more immersive and high-quality sound while watching your favorite movies, TV shows, or even streaming music.
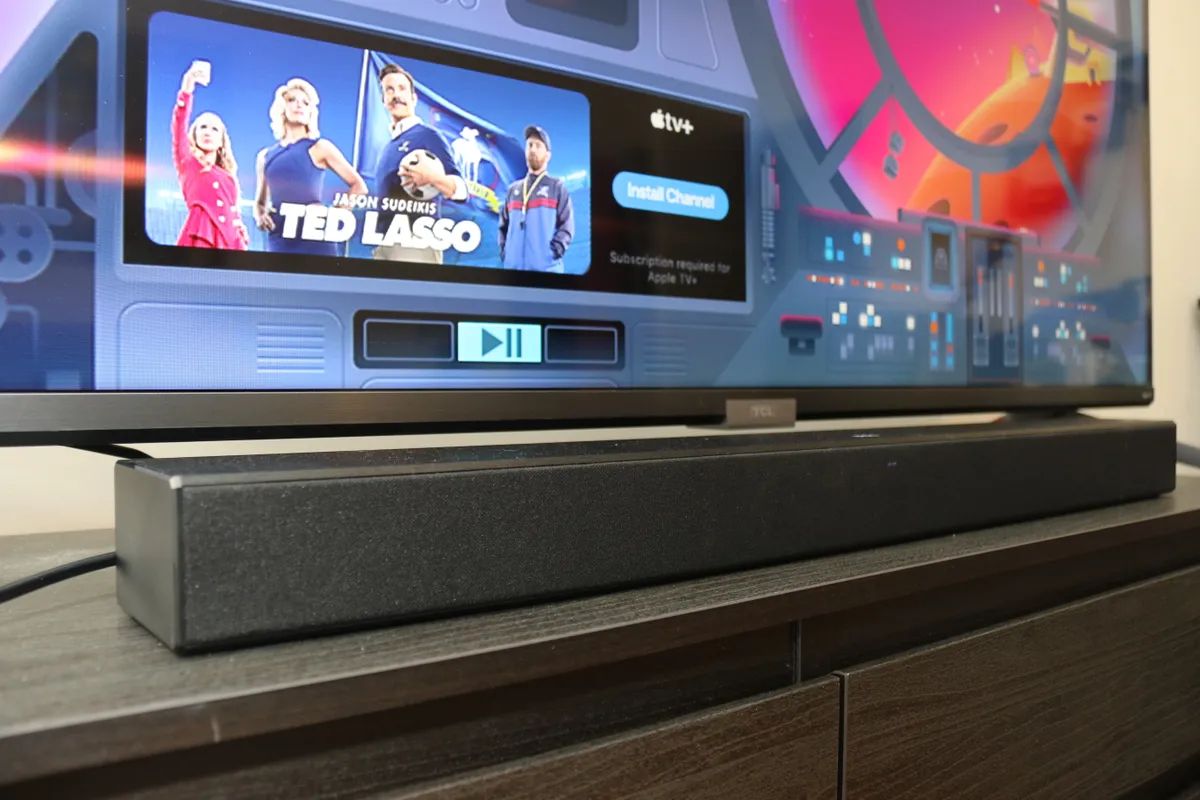
Many televisions have built-in speakers, but they often lack the depth and clarity that a dedicated soundbar can provide. With a soundbar, you can enjoy rich, cinematic sound without the need for a complicated home theater system. By following the steps outlined in this guide, you’ll be able to connect your soundbar to your Roku TV quickly and easily.
Before we dive into the steps, it’s essential to mention that different soundbars and Roku TV models may have slightly different setups. However, the general process remains the same, so you can use this guide as a starting point and adapt it to your specific devices.
So, if you’re ready to enhance your audio experience and take your Roku TV to the next level, let’s get started with the step-by-step instructions on how to connect your Roku TV to your soundbar.
Step 1: Check the available ports on your Roku TV
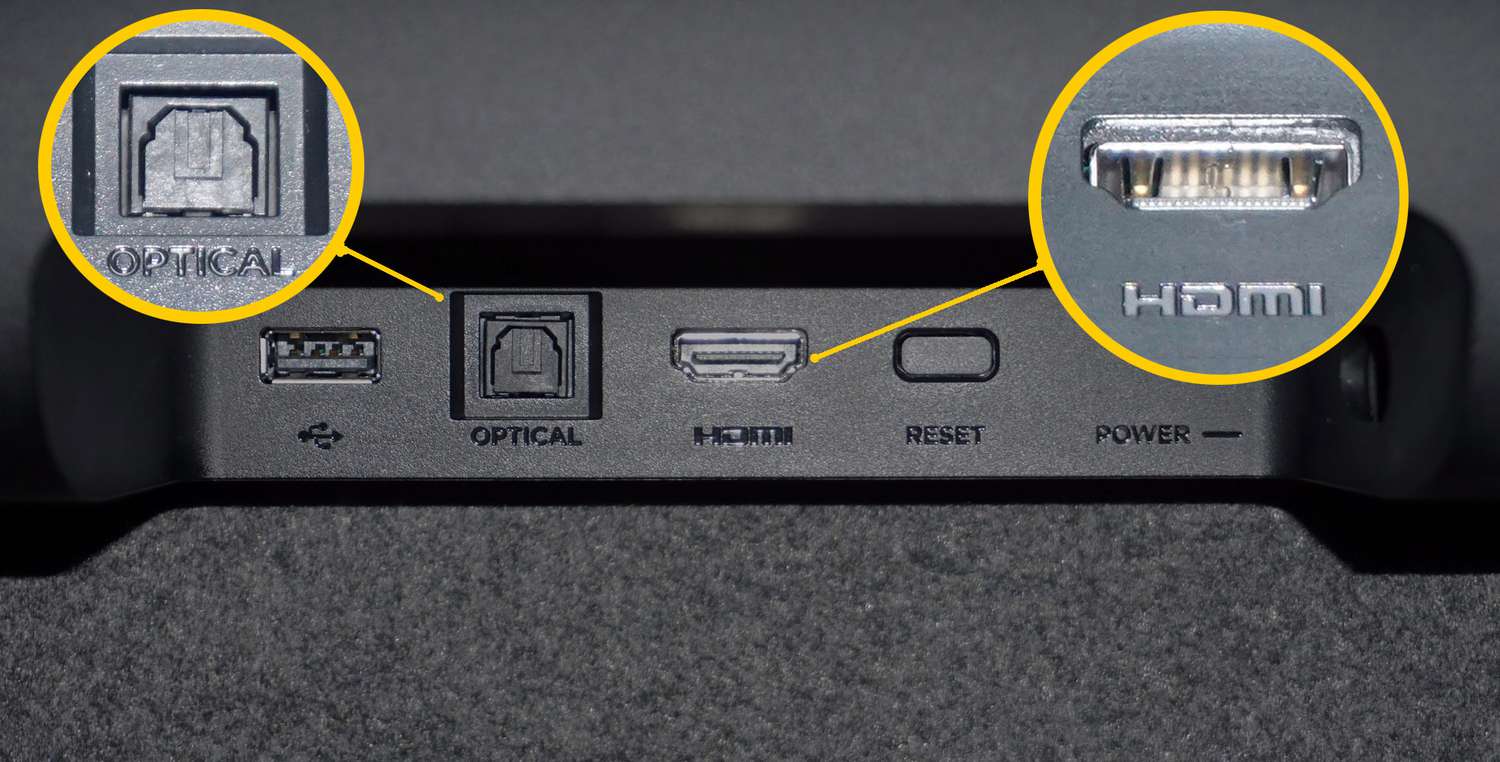
The first step in connecting your soundbar to your Roku TV is to check the available ports on your television. Roku TVs typically come with multiple input and output options to accommodate various devices.
Look at the back or side of your Roku TV for the available ports. The most common audio output ports you will find are HDMI, Optical, and 3.5mm AUX. HDMI and Optical ports are usually preferred for connecting soundbars due to their ability to transmit high-quality audio signals.
If your Roku TV has an HDMI-ARC (Audio Return Channel) labeled port, it is recommended to use this port for the best audio experience. The HDMI-ARC port allows two-way communication between your TV and soundbar, making it easier to control the volume and power using a single remote.
In addition to audio output ports, it’s also worth checking if there are any HDMI input ports available. Some soundbars have HDMI pass-through functionality, allowing you to connect other devices, such as gaming consoles or Blu-ray players, directly to the soundbar. This eliminates the need for additional HDMI ports on your TV.
Once you have identified the available audio output ports on your Roku TV, proceed to the next step to select the appropriate cable for your setup.
Step 2: Choose the right type of cable
Once you have identified the available ports on your Roku TV, the next step is to choose the right type of cable to connect your Roku TV to the soundbar. The type of cable you need will largely depend on the available ports on both your TV and soundbar.
If your Roku TV and soundbar have HDMI-ARC ports, using an HDMI cable is the most convenient option. An HDMI cable not only transmits high-quality audio signals but also allows for two-way communication between the devices. This means you can control the volume and power of the soundbar using your Roku TV remote.
If your Roku TV doesn’t have an HDMI-ARC port but has an Optical (TOSLINK) port, you can use an Optical cable. An Optical cable is capable of transmitting high-quality digital audio signals from your TV to the soundbar. However, unlike HDMI, it doesn’t support two-way communication, which means you’ll need to use a separate remote to control the soundbar.
If your Roku TV and soundbar have a 3.5mm AUX port, you can use a 3.5mm AUX cable to connect them. This type of cable is suitable for analog audio connections and is straightforward to set up. However, keep in mind that the audio quality may not be as high as HDMI or Optical connections.
When choosing a cable, ensure that it is long enough to reach from the port on your TV to the soundbar comfortably. It’s also a good idea to opt for high-quality cables to ensure optimal audio performance.
Once you have selected the appropriate cable, proceed to the next step for the actual connection process.
Step 3: Connect the cable to your Roku TV
Now that you have chosen the right type of cable for your setup, it’s time to connect the cable to your Roku TV. Remember to power off your Roku TV before making any connections.
If you are using an HDMI cable, locate the HDMI-ARC or HDMI input port on your Roku TV. Insert one end of the HDMI cable into the corresponding port on your TV, ensuring a secure connection. Take note of the HDMI port number if there are multiple HDMI inputs available.
If you have opted for an Optical cable, locate the Optical (TOSLINK) port on your Roku TV. Gently insert one end of the Optical cable into the Optical out port on your TV until it fits securely.
For those using a 3.5mm AUX cable, locate the 3.5mm AUX port on your Roku TV. Insert one end of the cable into the AUX output port on your TV, ensuring a snug fit.
Once the cable is securely connected to your Roku TV, you can now proceed to connect the other end of the cable to your soundbar. This will be covered in the next step.
Step 4: Connect the other end of the cable to your soundbar
After successfully connecting the cable to your Roku TV, the next step is to connect the other end of the cable to your soundbar. Ensure that both your Roku TV and soundbar are powered off before proceeding.
If you are using an HDMI cable, locate the HDMI-ARC or HDMI input port on your soundbar. Insert the other end of the HDMI cable into the corresponding port on your soundbar, making sure it fits securely.
For those using an Optical cable, locate the Optical (TOSLINK) input port on your soundbar. Gently insert the other end of the Optical cable into the Optical input port on your soundbar, ensuring a snug fit.
If you have chosen a 3.5mm AUX cable, locate the 3.5mm AUX input port on your soundbar. Insert the other end of the cable into the corresponding port on your soundbar, ensuring it is firmly connected.
Once you have successfully connected the cable to your soundbar, proceed to the next step to power on both your Roku TV and soundbar.
Step 5: Power on your Roku TV and soundbar
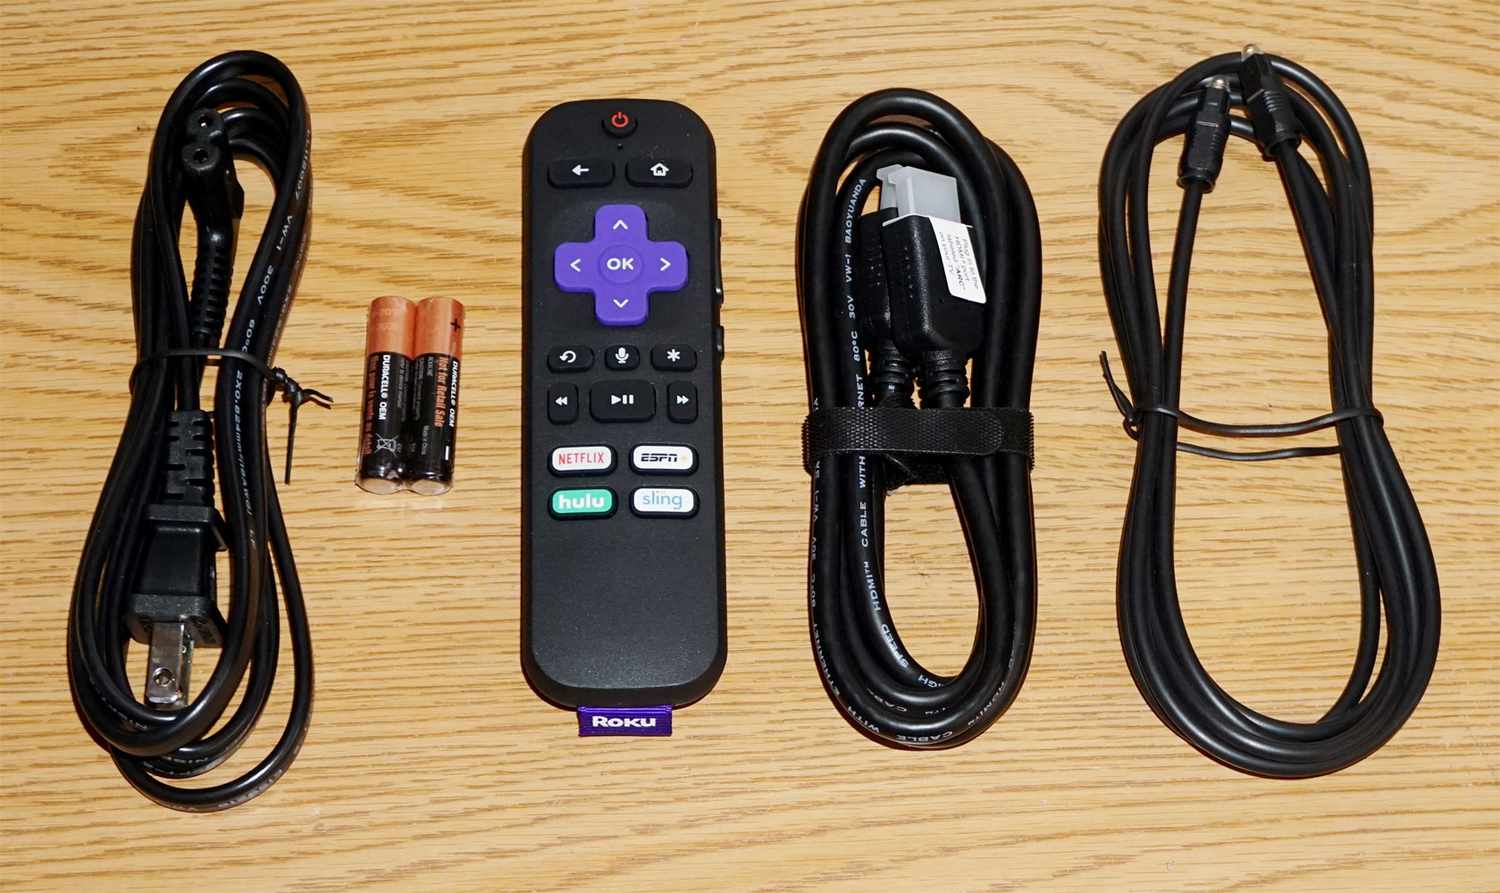
Now that you have connected the cable between your Roku TV and soundbar, it’s time to power on both devices. Ensure that your soundbar is plugged into a power source using the appropriate power cable.
Start by powering on your Roku TV. Use your TV remote or press the power button on the TV itself to turn it on. Wait for your TV to fully boot up.
Next, power on your soundbar. Depending on the model, you may need to press the power button on the soundbar itself or use the remote that came with your soundbar to turn it on. It’s essential to consult the user manual of your particular soundbar model to ensure the correct way to turn it on.
Once both your Roku TV and soundbar are powered on, you may notice that your soundbar automatically switches to the correct audio input. However, if it doesn’t, you may need to manually select the corresponding input on your soundbar through the remote or control panel.
With your Roku TV and soundbar powered on, you are now ready to configure the audio settings on your Roku TV for optimal sound output. This will be covered in the next step.
Step 6: Configure the audio settings on your Roku TV
After powering on both your Roku TV and soundbar, it’s necessary to configure the audio settings on your Roku TV to ensure proper sound output through your newly connected soundbar.
Using your Roku TV remote, navigate to the home screen and select the Settings option. From the Settings menu, find and select the Audio option. The location and naming of these options may vary slightly depending on your Roku TV model.
Within the Audio settings, look for the Output mode or Sound mode option. Here, you’ll want to select either HDMI-ARC or Optical, depending on the type of cable you used to connect your Roku TV and soundbar.
If your Roku TV has an HDMI-ARC port and you used an HDMI cable, select HDMI-ARC as the output mode. This will ensure that the audio signals are being routed through the HDMI connection between your Roku TV and soundbar.
If you used an Optical cable for the connection, select Optical as the output mode in the audio settings. This will ensure that the audio signals are being transmitted through the Optical connection.
Some Roku TV models also offer additional audio settings, such as surround sound or equalizer options. You can explore these settings and adjust them according to your preferences. Remember to refer to your TV’s user manual for specific instructions on navigating and adjusting the audio settings.
Once you have configured the audio settings on your Roku TV, proceed to the next step to test the soundbar connection.
Step 7: Test the soundbar connection
After configuring the audio settings on your Roku TV, it’s time to test the soundbar connection to ensure everything is working correctly. This step will help you verify that the audio is being routed through the soundbar and that you’re getting the desired sound quality.
Start by playing some audio content on your Roku TV, such as a movie, TV show, or music. Make sure the volume on both your Roku TV and soundbar is set to an audible level.
Listen carefully to the audio. If you hear the sound coming from your TV’s built-in speakers instead of the soundbar, it may indicate that the proper audio output mode was not selected in the previous step. Double-check the audio settings on your Roku TV and make sure the correct output mode (HDMI-ARC or Optical) is selected.
If the audio is coming from the soundbar, pay attention to the sound quality. Adjust the volume and try different audio content to see how well the soundbar performs. If you encounter any issues, such as low volume, distorted sound, or syncing problems, refer to the user manual of your soundbar for troubleshooting tips and solutions.
During this testing phase, you can also experiment with other audio settings on your soundbar, such as EQ presets or sound modes, to find the optimal sound configuration that suits your preferences.
Once you’re satisfied with the soundbar connection and audio performance, you have successfully completed the process of connecting your Roku TV to your soundbar. Sit back, relax, and enjoy the enhanced audio experience while watching your favorite content.
Conclusion
Congratulations! You have successfully connected your Roku TV to your soundbar, elevating your audio experience to new heights. By following the step-by-step instructions in this guide, you have learned how to check the available ports on your Roku TV, choose the right type of cable, and connect it to both your TV and soundbar. Additionally, you have learned how to power on your devices, configure the audio settings on your Roku TV, and test the soundbar connection.
With your soundbar connected, you can now enjoy immersive and high-quality audio while watching your favorite movies, TV shows, or listening to music. The soundbar enhances the depth and clarity of the audio, providing a cinematic experience right in the comfort of your own home.
Remember, while this guide provides general instructions, it’s always essential to consult the user manuals for your specific Roku TV and soundbar models for any additional details or troubleshooting guidance.
Now that you’re equipped with the knowledge to connect your Roku TV to a soundbar, you can easily enjoy a superior audio experience and make the most out of your entertainment setup. So go ahead, sit back, relax, and immerse yourself in a world of enhanced sound!