Introduction
Welcome to our guide on how to connect a soundbar to a Roku TV using an optical cable. If you’re looking to enhance your TV watching experience by adding a soundbar, this step-by-step tutorial will help you through the process.
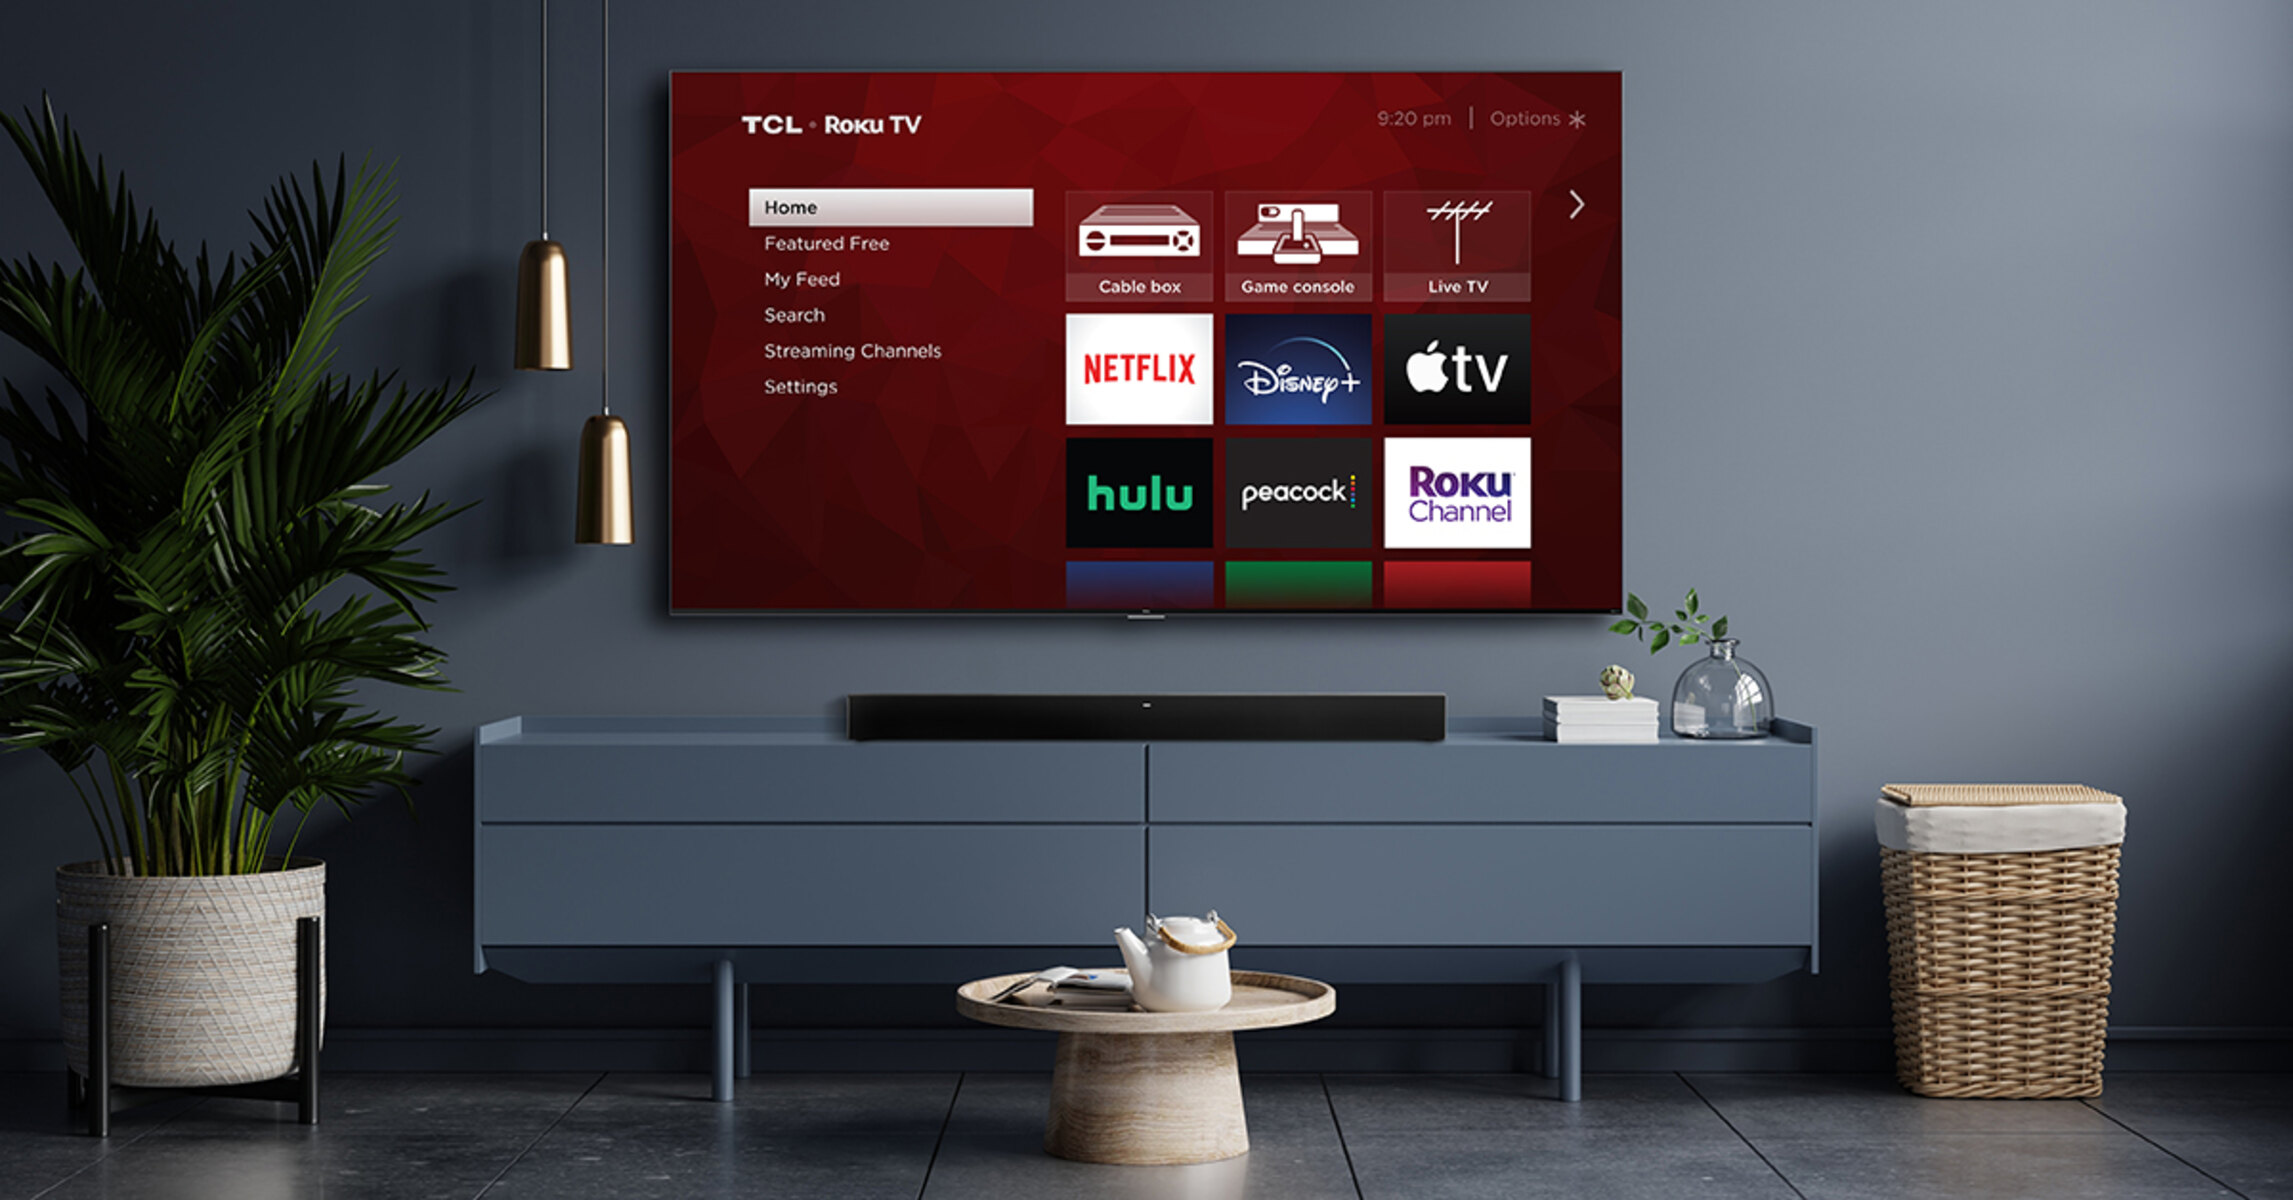
Soundbars are a popular choice for improving the audio quality of flat-screen TVs. They offer better sound output and a more immersive experience compared to the built-in speakers of most TVs. With a soundbar connected to your Roku TV, you can enjoy crisp and clear audio while watching your favorite movies, TV shows, or playing games.
One of the most common and reliable methods of connecting a soundbar to a Roku TV is through an optical cable. An optical cable provides a digital audio connection that ensures high-quality sound transmission between the TV and the soundbar.
This guide will take you through each step of the process, from locating the optical audio port on your Roku TV to configuring the audio settings. By the end of this tutorial, you’ll have your soundbar connected to your Roku TV and ready to enjoy an upgraded audio experience.
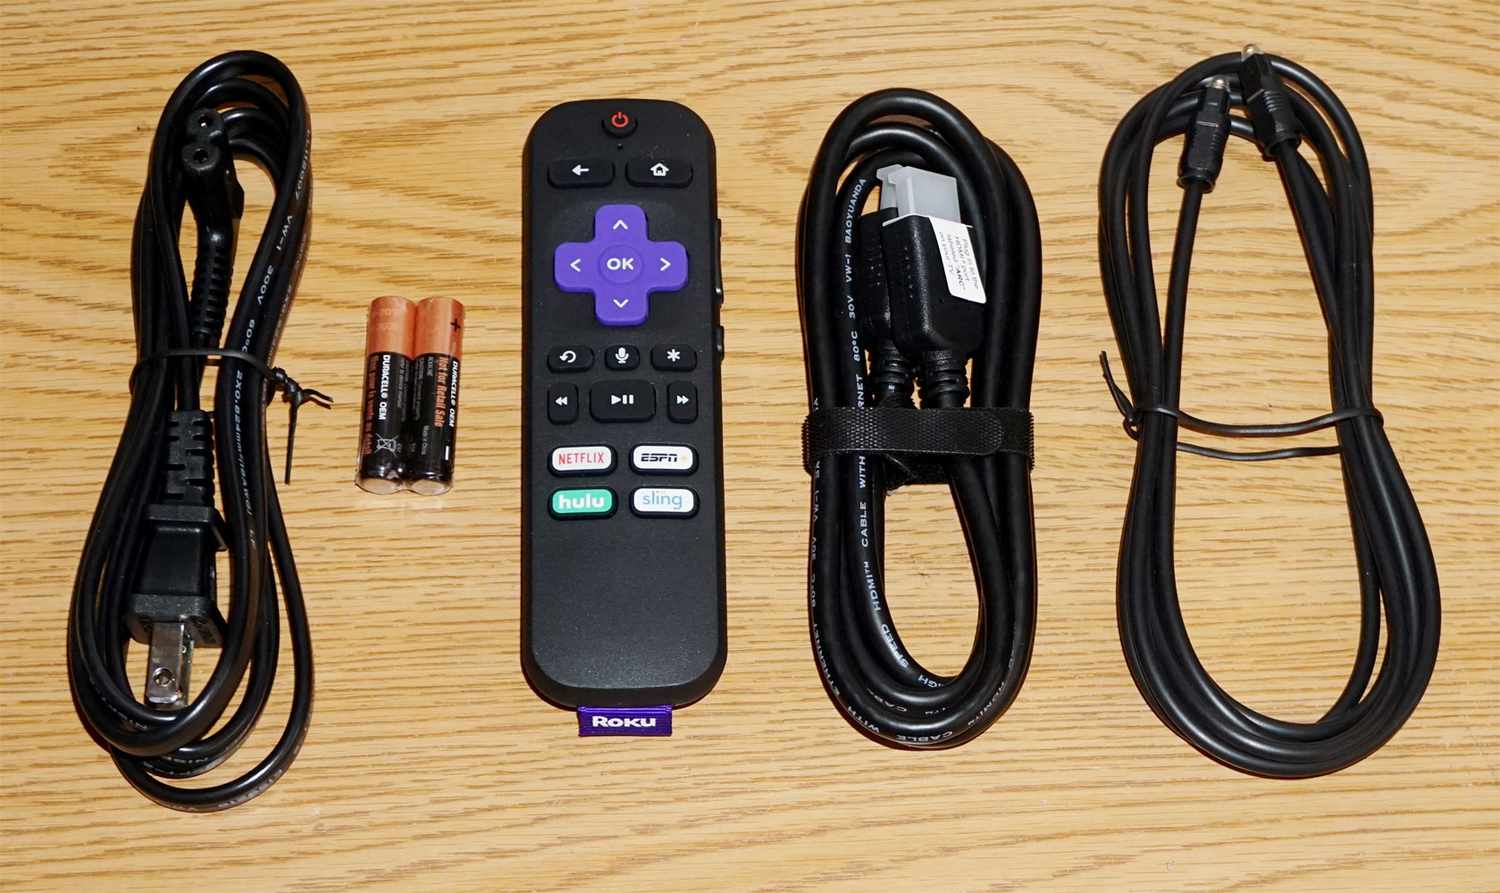
Before we begin, let’s go over the items you’ll need for this setup:
What you’ll need
Before you can connect your soundbar to your Roku TV using an optical cable, make sure you have the following items:
- A Roku TV: Ensure you have a Roku TV with an available optical audio port. Most Roku TVs have this port, but it’s important to check your specific model.
- A Soundbar: Purchase a soundbar that has an optical audio input. This input is usually labeled as “Optical IN” or “Digital IN” on the back of the soundbar.
- An Optical Cable: You’ll need an optical cable to connect the Roku TV to the soundbar. The cable should have a TOSLINK connector on both ends.
- A Power Outlet: Make sure you have a nearby power outlet to plug in both the Roku TV and the soundbar.
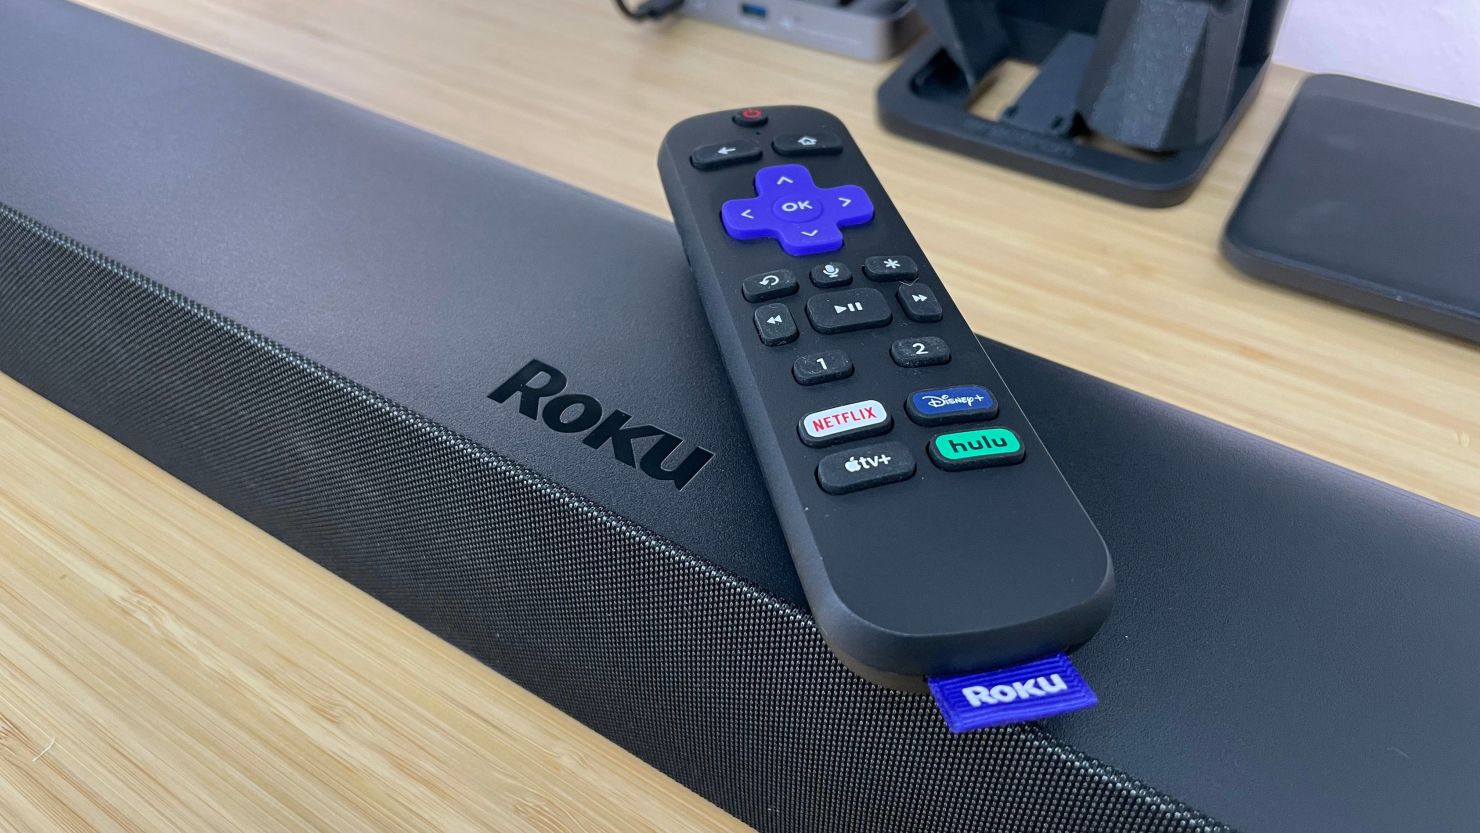
- Remote Control: Ensure that you have the remote control for your Roku TV. You may need it to access certain settings during the setup process.
It’s important to gather all of these items before proceeding with the setup. Ensuring you have each component in place will make the process smoother and allow you to enjoy the enhanced audio experience as soon as possible.
Now that you’ve gathered everything you need, let’s move on to the next step: locating the optical audio port on your Roku TV.
Step 1: Locate the Optical Audio Port on Your Roku TV
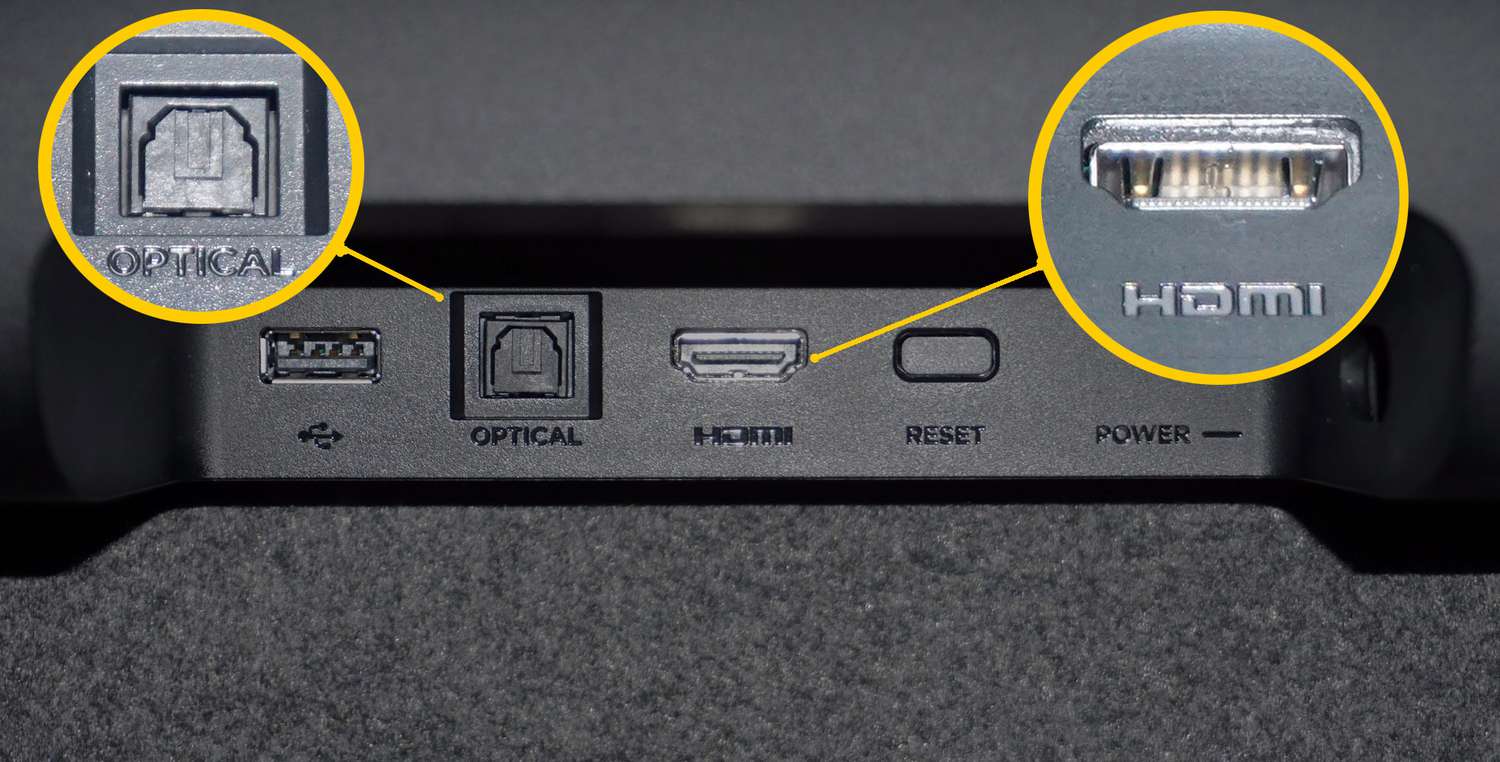
Before connecting your soundbar to your Roku TV, you need to locate the optical audio port on the TV. This port is where you will connect one end of the optical cable to establish the audio connection.
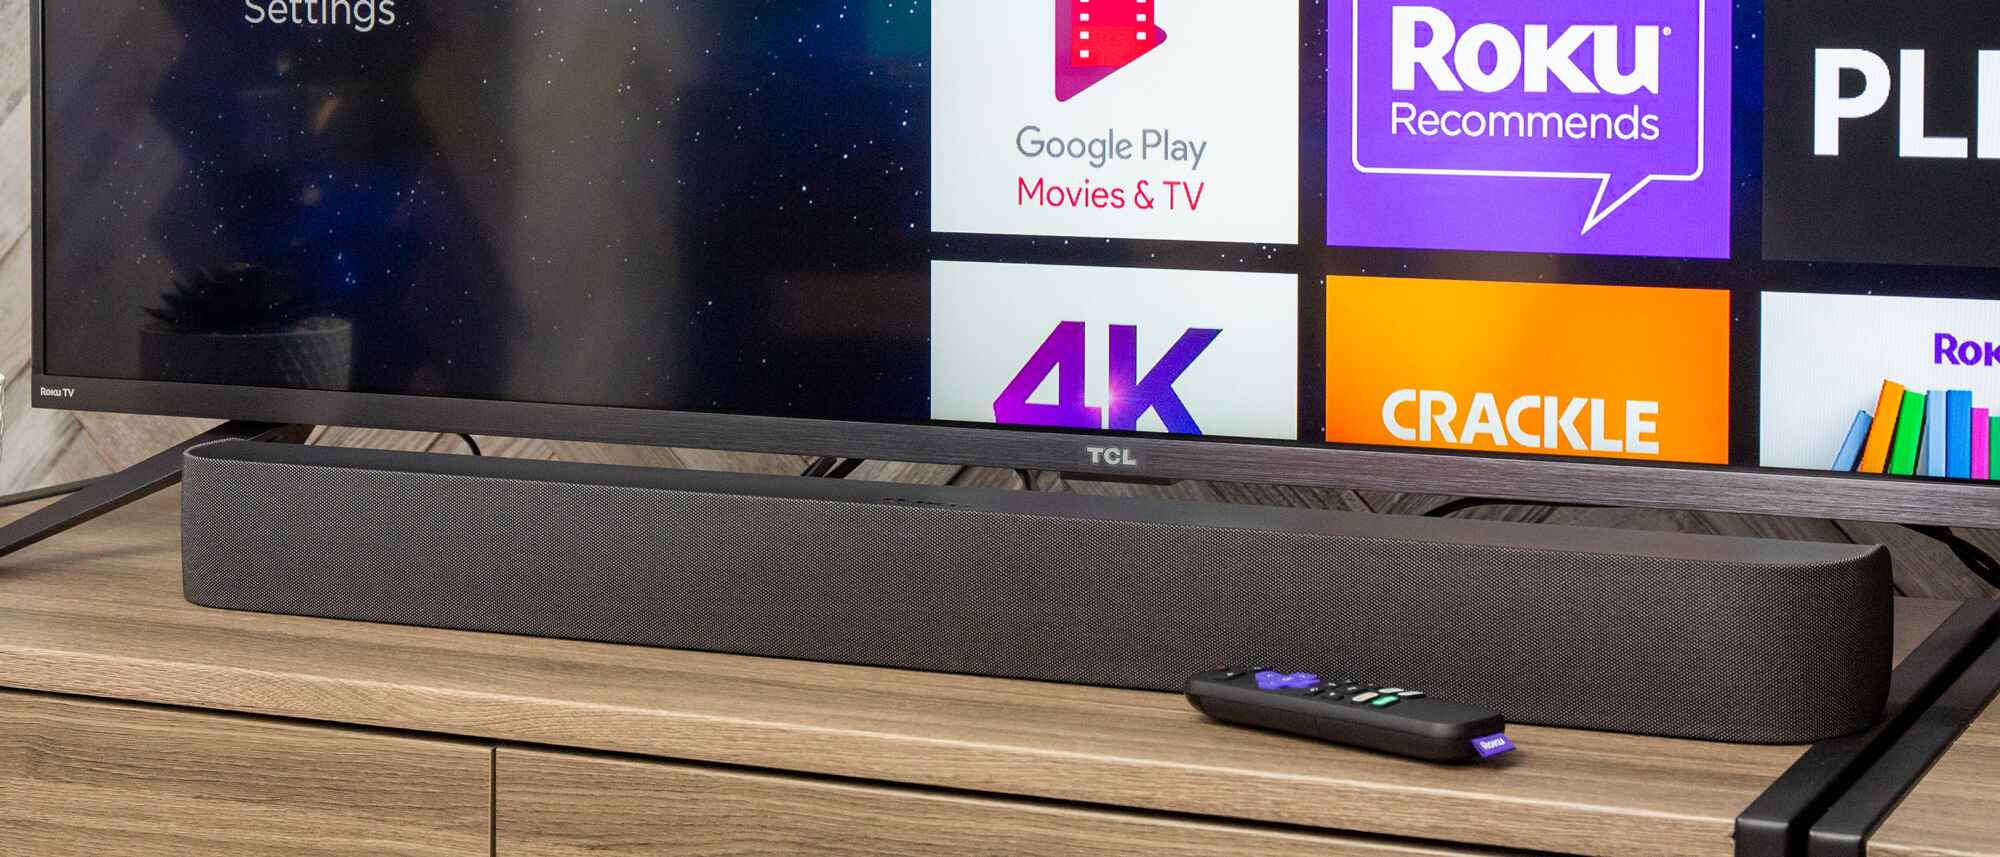
The location of the optical audio port may vary depending on the model of your Roku TV. However, it is typically found on the back or side of the TV. Look for a small square-shaped port labeled as “Optical,” “Digital Audio Out,” or something similar.
Once you have located the optical audio port, make sure to take note of its position. This will help you when connecting the optical cable later on.
It’s important to mention that not all Roku TV models have an optical audio port. If you cannot find one, it is possible that your specific model does not support audio output through the optical connection. In this case, you may need to explore alternative methods like HDMI ARC or Bluetooth to connect your soundbar to the TV.
Now that you have located the optical audio port on your Roku TV, let’s move on to preparing the soundbar for the connection.
Step 2: Prepare the Soundbar
Before you can connect the soundbar to your Roku TV, you need to prepare the soundbar for the setup. Here are the necessary steps to prepare the soundbar:
- Read the Soundbar Manual: Familiarize yourself with the soundbar’s user manual. Each soundbar may have specific instructions and features, so it’s essential to understand how it works.
- Find the Optical Audio Input: Locate the optical audio input on the soundbar. It is usually labeled as “Optical IN” or “Digital IN” on the back of the soundbar. Ensure that the soundbar has this input to establish an optical connection.
- Clear the Surrounding Area: Make sure the area around the soundbar is clear of any obstacles or objects that may interfere with the audio output. This includes removing any items that might obstruct the soundbar’s speakers or the path of the optical cable.
- Power On the Soundbar: Plug in the soundbar to a power outlet and turn it on. Depending on the soundbar, you may need to use the included remote control or buttons on the soundbar itself to power it on.
- Mute or Lower the Volume: Before connecting the soundbar to the Roku TV, it’s a good idea to mute or lower the volume on both the TV and the soundbar. This will prevent any sudden loud sounds or interference during the setup process.
Once you have completed these steps, your soundbar is now prepared to be connected to the Roku TV. With the soundbar ready and the optical audio input identified, you are one step closer to enjoying an enhanced audio experience while watching your favorite content.
Next, we will move on to connecting the optical cable to the Roku TV.
Step 3: Connect the Optical Cable to the Roku TV
Now that you have prepared the soundbar, it’s time to connect the optical cable to the Roku TV. Follow these steps to establish the audio connection:
- Turn off the Roku TV: Before connecting any cables, it’s best to turn off the Roku TV to avoid any potential electrical mishaps.
- Locate the Optical Audio Port: Refer back to Step 1 and locate the optical audio port on your Roku TV.
- Connect one end of the Optical Cable: Take one end of the optical cable and insert it into the optical audio port on the Roku TV.
- Secure the Connection: Ensure that the optical cable is inserted securely into the optical audio port. It should fit snugly without any loose connections.
With the optical cable now connected to the Roku TV, you’re ready to proceed to the next step, which involves connecting the other end of the optical cable to the soundbar.
Remember, the optical connection provides a high-quality digital audio transmission, which allows you to experience richer and more immersive sound from your Roku TV through the soundbar.
Now, let’s move on to Step 4: connecting the other end of the optical cable to the soundbar.
Step 4: Connect the Other End of the Optical Cable to the Soundbar
With the optical cable connected to the Roku TV, it’s time to complete the audio connection by connecting the other end of the cable to the soundbar. Follow these steps:
- Locate the Optical Audio Input: Refer to Step 2 and locate the optical audio input labeled as “Optical IN” or “Digital IN” on the back of the soundbar.
- Connect the Other End of the Optical Cable: Take the other end of the optical cable and insert it into the optical audio input on the soundbar.
- Secure the Connection: Ensure that the optical cable is firmly inserted into the soundbar’s optical audio input, creating a secure connection.
It is important to note that some soundbars may have multiple audio inputs. Make sure you connect the optical cable to the correct input labeled specifically for optical audio. This will ensure that the soundbar recognizes and uses the optical connection for audio playback.
Once the optical cable is securely connected to both the Roku TV and the soundbar, you have completed the physical setup. The audio signal will now be able to pass from the Roku TV to the soundbar, providing a more immersive sound experience.
In the next step, we will configure the audio settings on your Roku TV to ensure proper audio output through the soundbar. Let’s proceed to Step 5.
Step 5: Configure the Roku TV Audio Settings
Now that you have successfully connected the optical cable between your Roku TV and soundbar, it’s time to configure the audio settings on your Roku TV. Follow these steps to ensure proper audio output:
- Turn on the Roku TV: Power on your Roku TV using the remote control or the power button on the TV itself.
- Access the Roku TV Home Screen: Navigate to the Roku TV home screen by pressing the Home button on the remote control.
- Select Settings: Using the arrow keys on the remote control, navigate to the gear icon for “Settings” and press the OK button to enter the settings menu.
- Go to Audio Settings: Within the settings menu, locate and select “Audio” to access the audio settings.
- Select Audio Output: In the audio settings, look for the “Audio Output” option and select it.
- Choose “Optical” as the Audio Output: Within the audio output options, select “Optical” to instruct the Roku TV to output audio through the optical connection.
- Adjust Audio Settings: Depending on your preferences, you can further adjust the audio settings such as volume leveling, sound modes, and equalizer settings.
- Test the Soundbar Connection: Once you have made the necessary audio settings adjustments, navigate to the Roku TV home screen and play a movie, TV show, or any content to test the soundbar connection. Ensure that the audio is being played through the soundbar and not the TV’s built-in speakers.
By configuring the audio settings on your Roku TV, you are directing the TV to send the audio signal through the optical cable to the soundbar. This ensures that you can fully enjoy the enhanced audio experience provided by the soundbar.
If the audio is not being outputted through the soundbar or you encounter any issues, proceed to the troubleshooting tips in the next section to resolve common problems.
Now, let’s move on to Step 6: testing the soundbar connection to ensure everything is working correctly.
Step 6: Test the Soundbar Connection
Now that you have completed the setup process, it’s time to test the soundbar connection to ensure everything is working correctly. Follow these steps to perform a quick test:
- Turn on the Roku TV and the Soundbar: Ensure both the Roku TV and the soundbar are powered on.
- Play Audio or Video Content: Select any audio or video content on your Roku TV, such as a movie, TV show, or music. Make sure the volume is set at a reasonable level.
- Listen for Sound: Pay attention to the audio output. If the sound is coming through the soundbar and not the TV’s built-in speakers, then the soundbar connection has been successfully established.
- Adjust Soundbar Settings: If needed, you can adjust the soundbar settings for volume, equalizer settings, or sound modes to your liking. Refer to the soundbar’s user manual for instructions on how to make these adjustments.
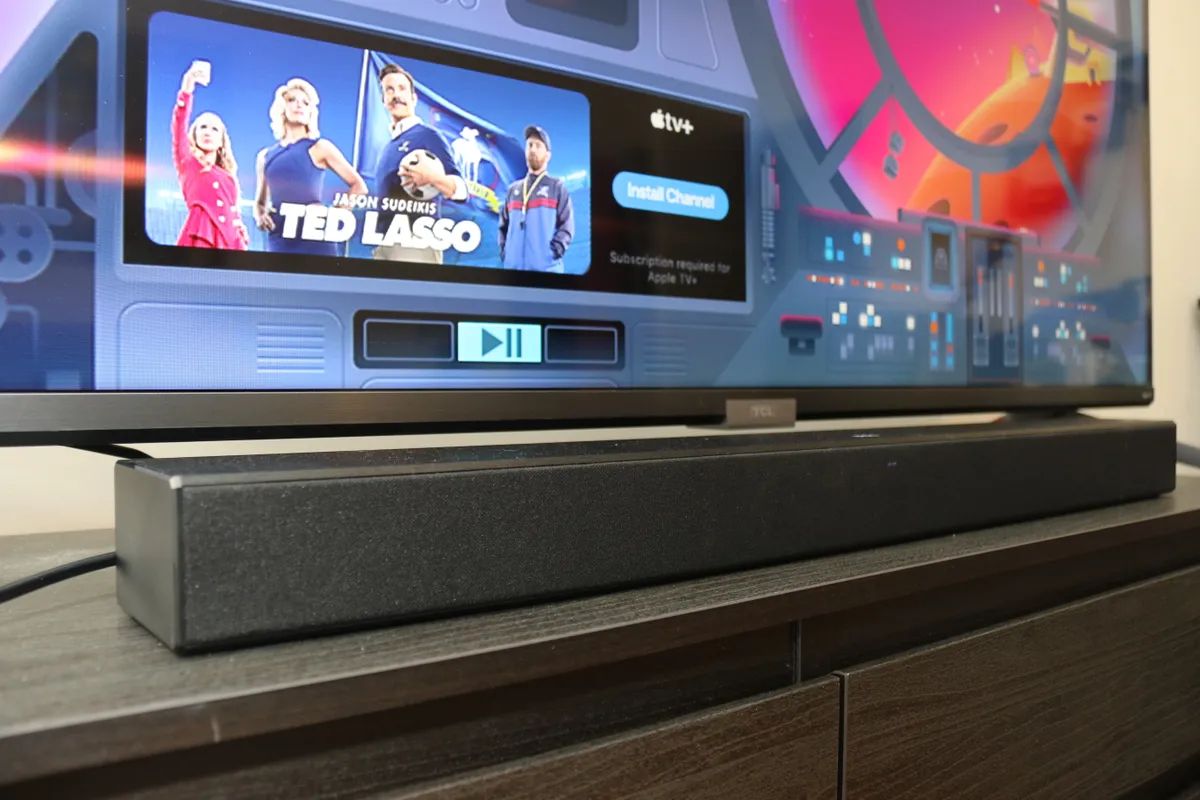
If you can hear the audio through the soundbar, congratulations! You have successfully connected the soundbar to your Roku TV using an optical cable. You can now enjoy an enhanced audio experience and immerse yourself in your favorite entertainment with superior sound quality.
If you are not hearing any sound or experiencing issues, please refer to the troubleshooting tips in the next section to help resolve common problems and ensure a seamless audio connection.
Now that you have tested the soundbar connection, you’re ready to sit back, relax, and enjoy your favorite content with an improved audio experience.
Before we conclude, let’s explore some troubleshooting tips to help address any issues you may encounter.
Troubleshooting Tips
While connecting a soundbar to your Roku TV using an optical cable is generally a straightforward process, you may encounter some common issues along the way. Here are some troubleshooting tips to help resolve any problems:
- Check Cable Connections: Double-check all cable connections to ensure they are secure and inserted properly. Sometimes, a loose connection can cause audio issues.
- Reset Devices: Try power cycling both the Roku TV and the soundbar by turning them off, unplugging them from the power source, waiting for a few minutes, and then plugging them back in and turning them on again.
- Verify Optical Cable Quality: Ensure that you are using a high-quality optical cable. Faulty or low-quality cables may result in audio disruptions or no sound at all.
- Check Soundbar Settings: Review the soundbar’s settings and make sure the correct audio input is selected. Verify that the soundbar is set to receive sound from the optical input.
- Update Firmware: Check for firmware updates for both the Roku TV and the soundbar. Updating the firmware can resolve compatibility issues and improve performance.
- Disable TV Speakers: In the Roku TV audio settings, make sure to disable the TV speakers to ensure that the audio is exclusively routed through the soundbar.
- Choose Correct Audio Output Option: Select the correct audio output option on your Roku TV. Make sure “Optical” is chosen as the audio output to direct the sound to the connected soundbar.
- Contact Support: If none of the troubleshooting steps resolve the issue, consult the user manuals or contact the support teams for your Roku TV and soundbar for further assistance.
By following these troubleshooting tips, you can overcome common obstacles and ensure a smooth connection between your Roku TV and the soundbar. Remember, patience and attention to detail are key in resolving any technical difficulties you may encounter.
Now that you have identified and resolved any issues, you can sit back, relax, and enjoy your favorite movies, TV shows, and games with enhanced audio quality.
Lastly, always consult the user manuals for your specific Roku TV and soundbar models for more detailed troubleshooting information tailored to your devices.
Conclusion
Congratulations! You have successfully connected your soundbar to your Roku TV using an optical cable. By following the step-by-step instructions in this guide, you can now enjoy a superior audio experience while watching your favorite content.
Remember, a soundbar enhances the audio quality of your Roku TV, providing clearer sound, improved bass, and a more immersive experience. The optical connection ensures high-quality digital audio transmission between the Roku TV and the soundbar.
We started by locating the optical audio port on the Roku TV and preparing the soundbar for the connection. Then, we connected the optical cable, first to the TV and then to the soundbar. Afterward, we configured the audio settings on the Roku TV to direct the sound through the optical connection.
Following that, we tested the soundbar connection by playing audio or video content, verifying that the sound was coming through the soundbar. Lastly, we provided troubleshooting tips to help address common issues that may arise during the setup process.
Now, sit back, relax, and immerse yourself in the elevated audio experience provided by your soundbar. Enjoy the crystal-clear dialogue, rich sound effects, and immersive soundstage as you enjoy your favorite movies, TV shows, and games.
If you encounter any further issues or need additional assistance, consult the user manuals for your specific Roku TV and soundbar models or reach out to their respective support teams. They will be able to provide you with further guidance tailored to your devices.
Thank you for choosing our guide to connect your soundbar to your Roku TV. We hope you have found this information helpful and that you enjoy your enhanced audio experience to the fullest!