Introduction
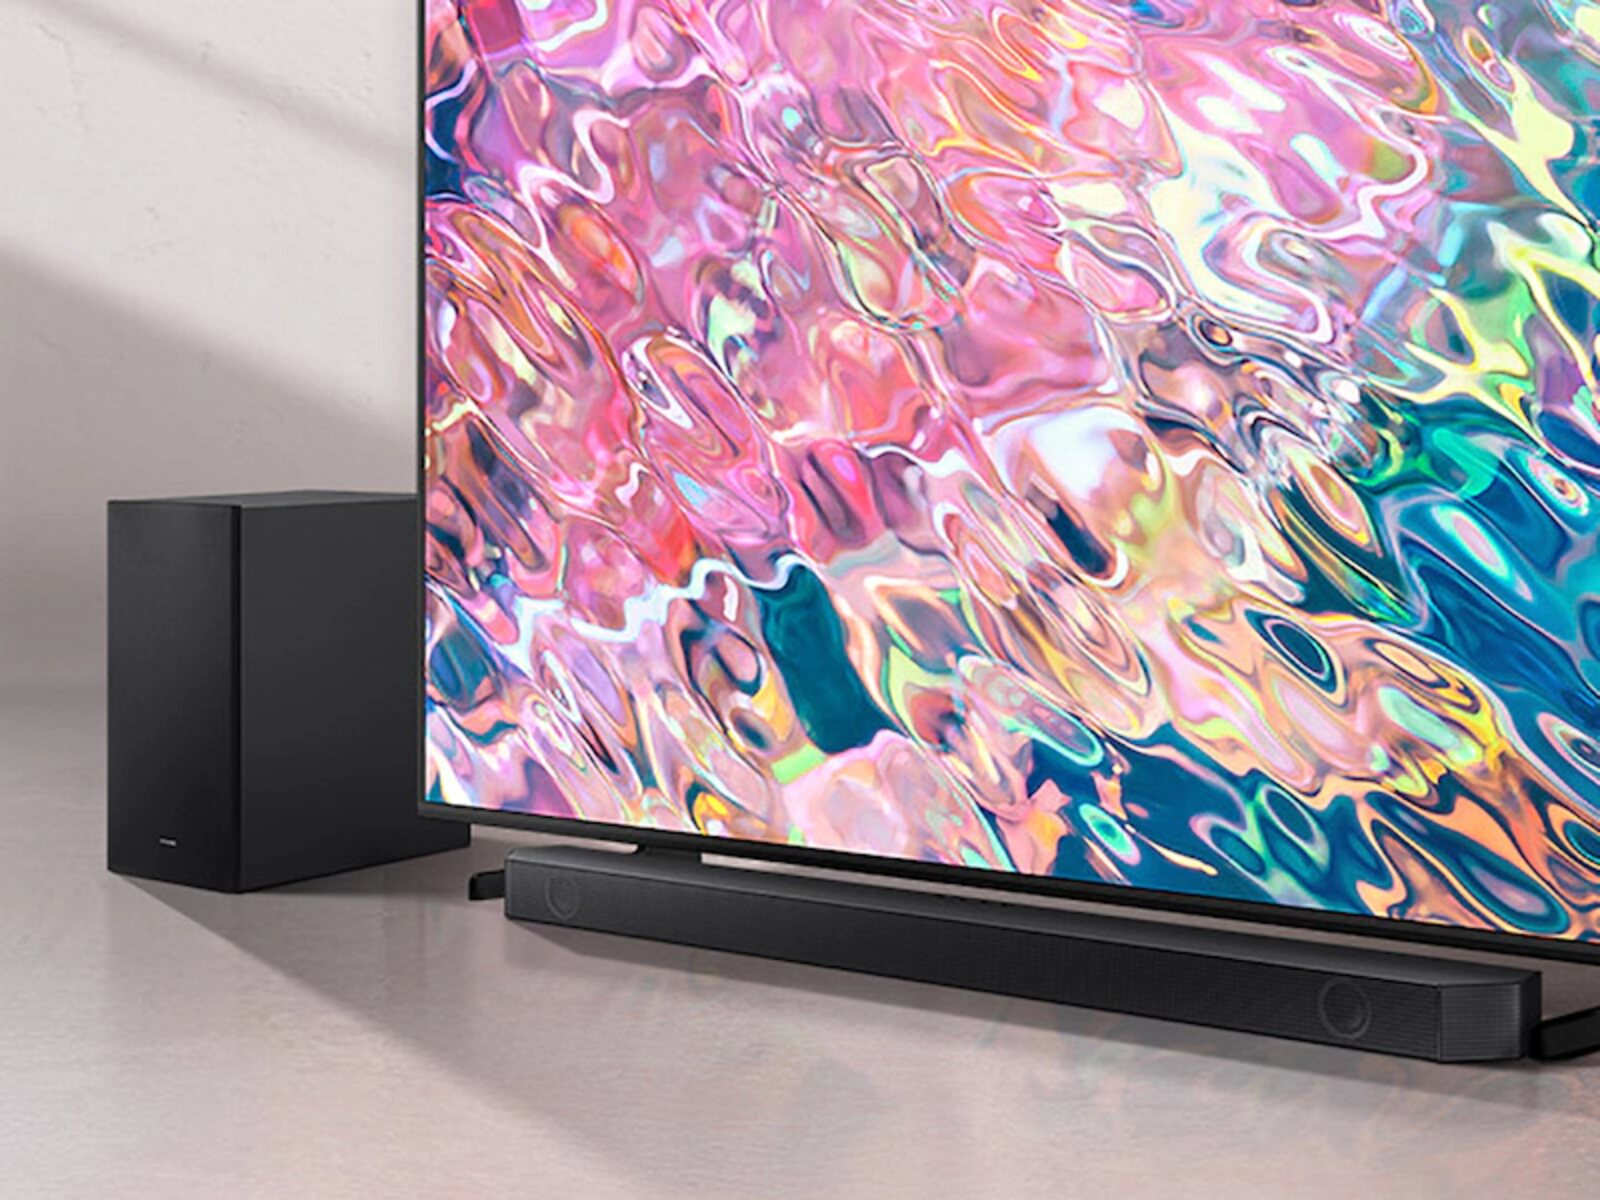
Enhancing your home theater experience with surround sound can add a new level of immersion and excitement to your favorite movies, shows, and games. Samsung rear speakers are a popular choice among enthusiasts looking to create an immersive audio setup. By connecting Samsung rear speakers to a soundbar, you can achieve a truly captivating surround sound experience without the need for cumbersome wires and separate amplifiers.
In this guide, we will walk you through the step-by-step process of connecting Samsung rear speakers to a soundbar. We will discuss the different types of Samsung rear speakers available, compatible soundbars, and the necessary steps to set them up. Whether you’re a tech-savvy enthusiast or a beginner looking to upgrade your home theater system, this guide will help you get the most out of your Samsung rear speakers.
Before we dive into the setup process, it’s important to note that the compatibility of the rear speakers and soundbar is crucial. Samsung offers various rear speaker models that are specifically designed to work with certain soundbars. Make sure to check the compatibility information provided by Samsung for your specific models to ensure a seamless connection.
Now, let’s explore the types of Samsung rear speakers and the soundbars they are compatible with, so you can choose the best setup for your home theater system.
Types of Samsung Rear Speakers
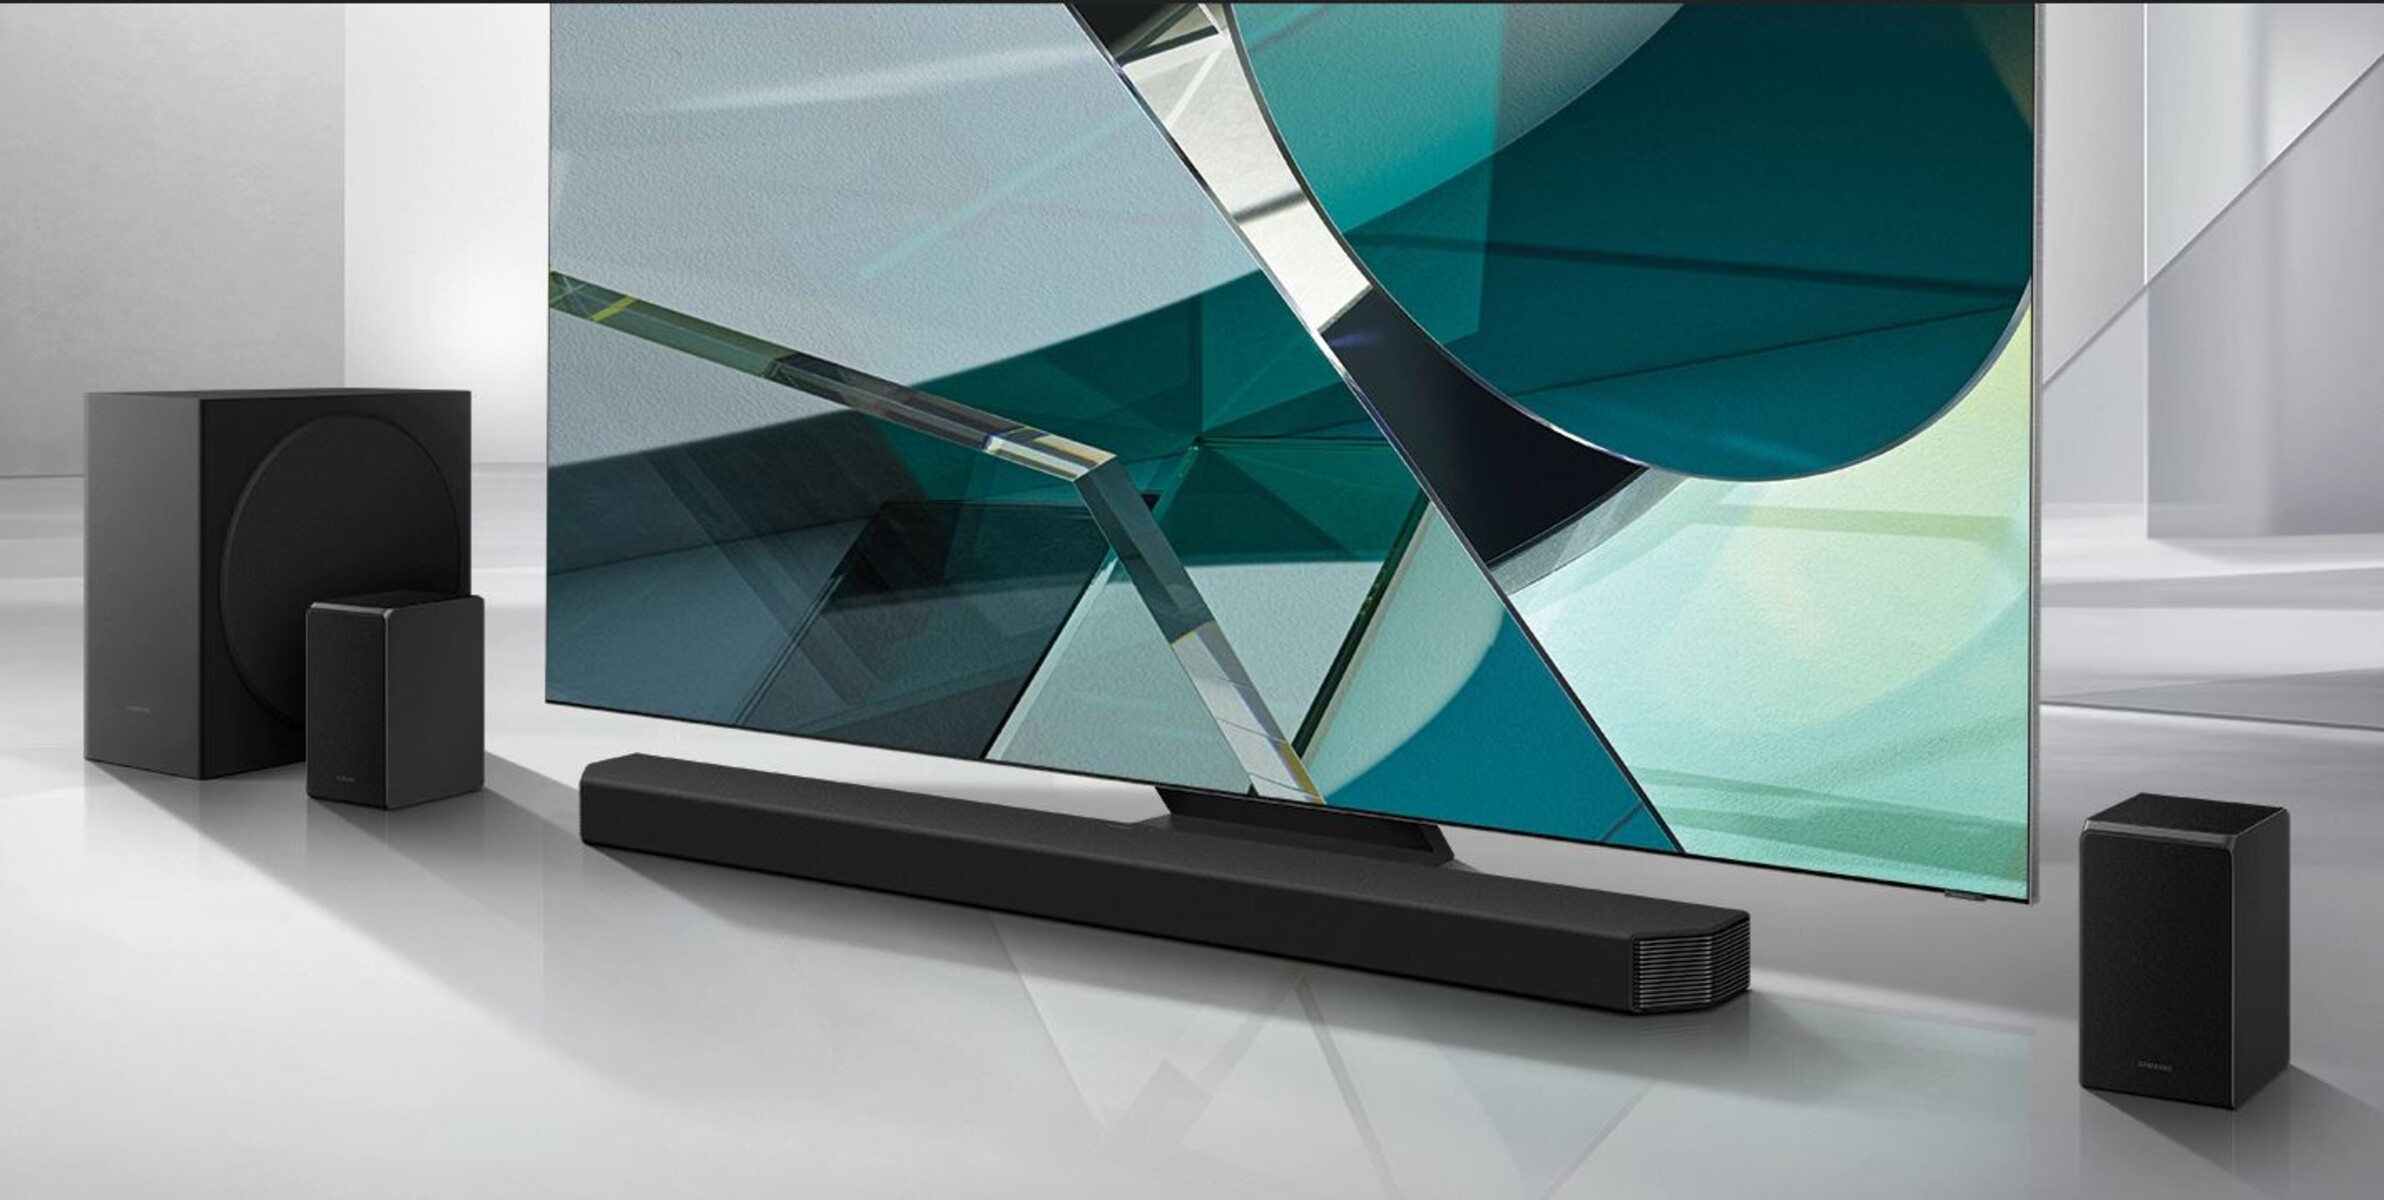
Samsung offers a range of rear speakers that are designed to complement their soundbars and provide an immersive surround sound experience. Here are some of the main types of Samsung rear speakers available:
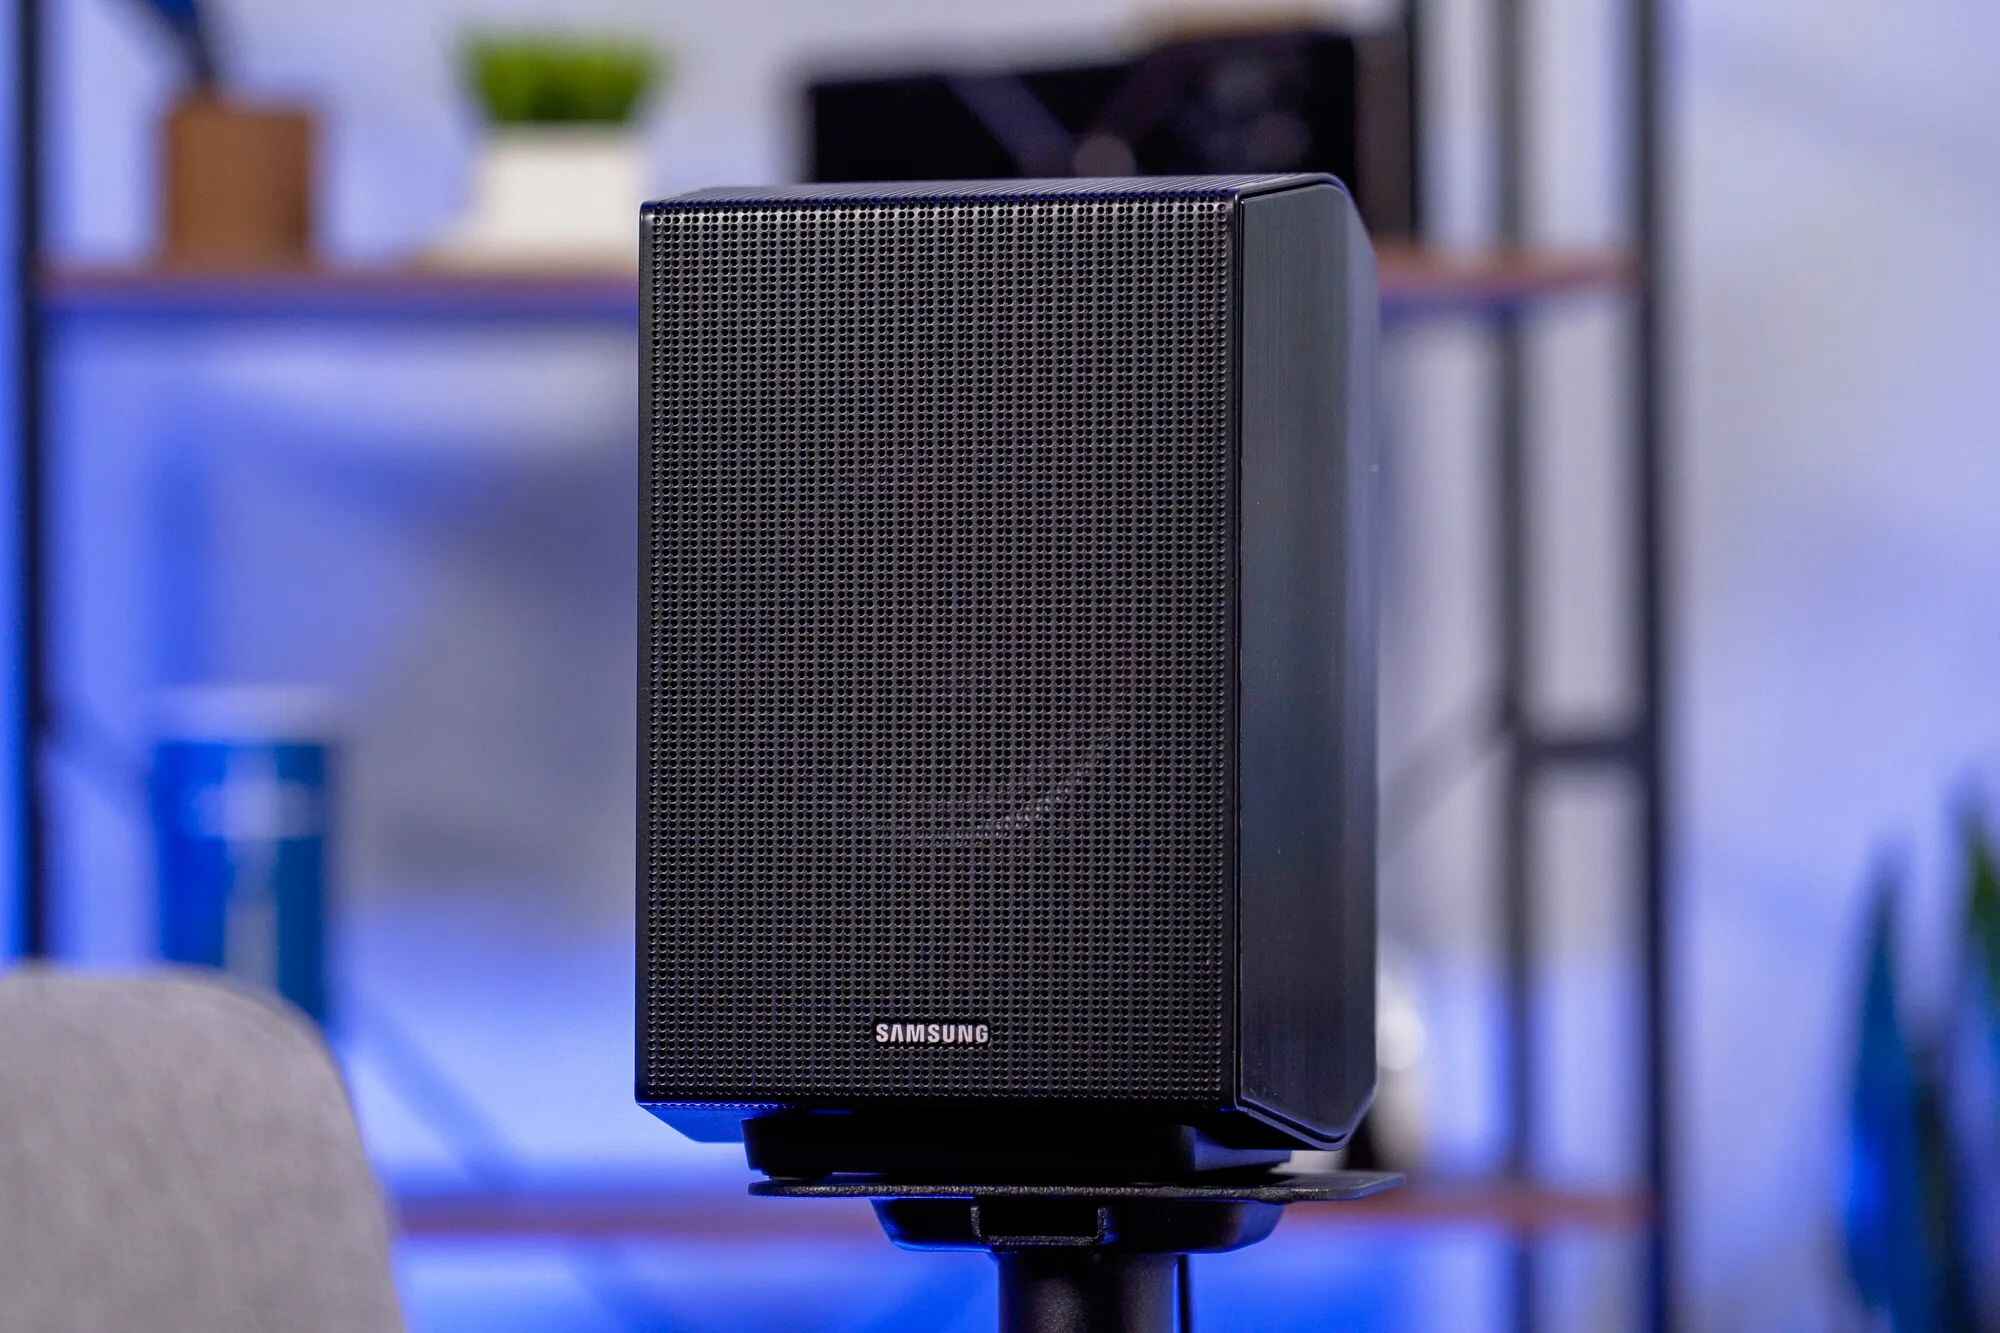
1. Wireless Rear Speaker Kit:
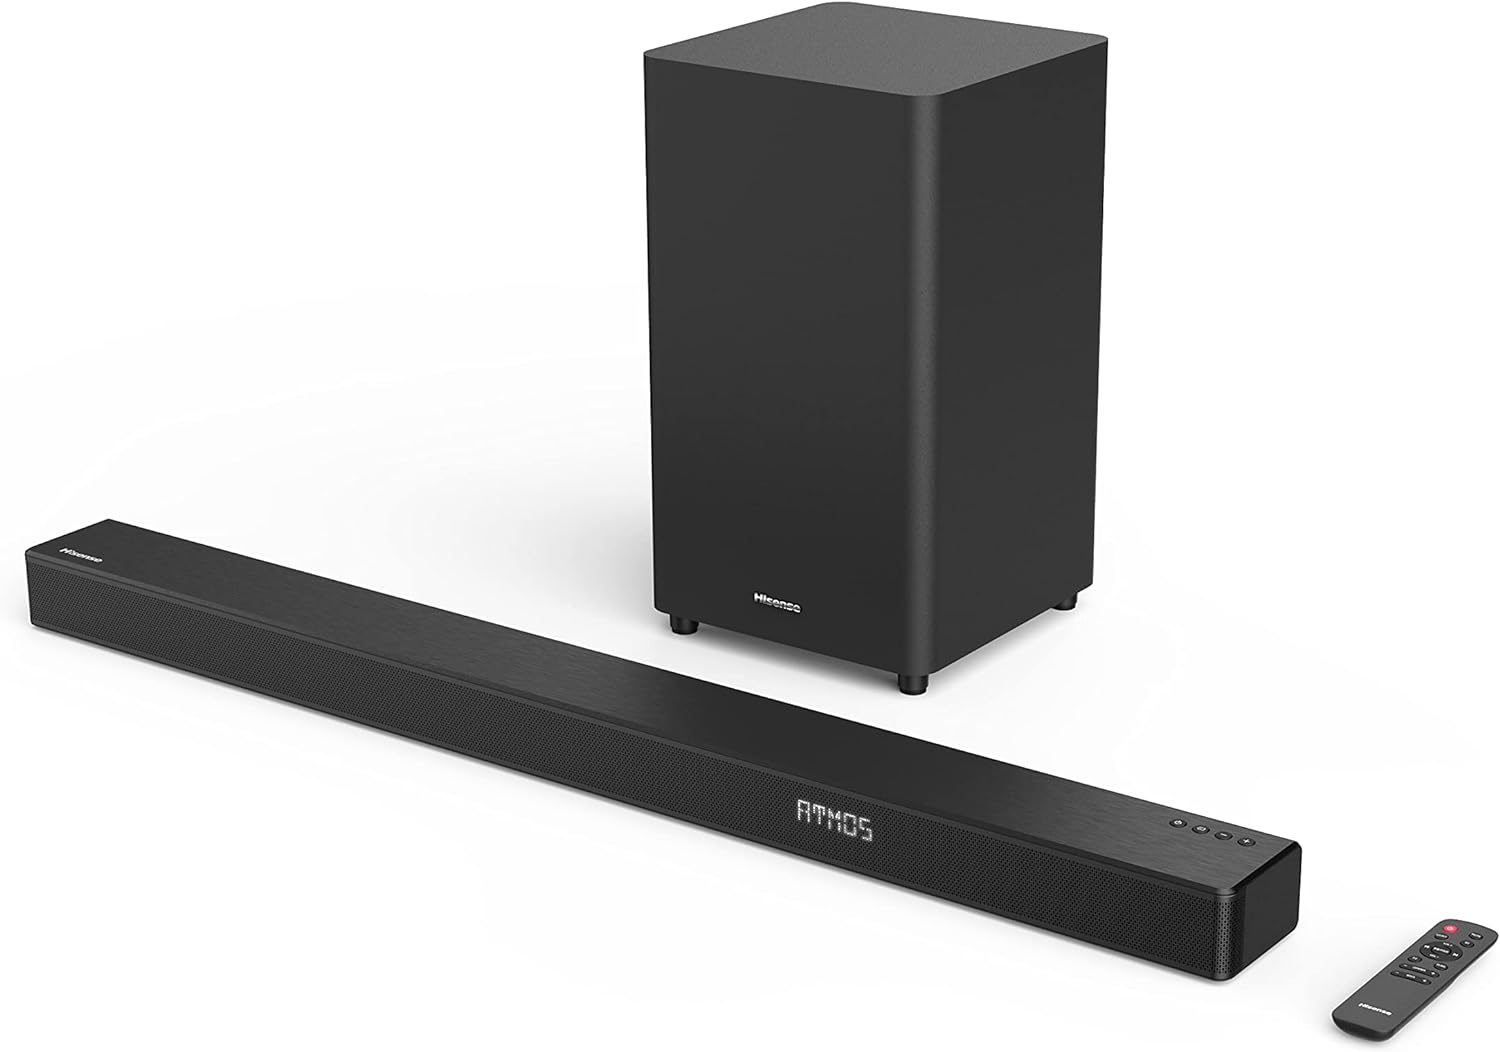
The Wireless Rear Speaker Kit is a popular choice for those looking to add rear speakers to their Samsung soundbar setup. It includes two wireless rear speakers that can be placed behind the listener to create a true surround sound experience. These speakers connect wirelessly to the soundbar, eliminating the need for cable clutter.
2. Soundbar with Built-in Rear Speakers:
Some Samsung soundbars come with built-in rear speakers, eliminating the need for separate rear speakers. These soundbars are designed to create a virtual surround sound effect without the physical presence of rear speakers. This is achieved through sophisticated audio processing algorithms, which simulate the effect of rear speakers for an immersive audio experience.
3. Expansion Rear Speakers:
Expansion rear speakers are an additional set of speakers that can be added to select Samsung soundbars. These speakers work in conjunction with the main soundbar and rear speakers to create a more expansive and enveloping surround sound experience. Expansion rear speakers are a great option if you already have a Samsung soundbar and want to enhance your audio setup.
It’s important to note that the availability of these rear speaker options may vary depending on the specific model of the Samsung soundbar. Always check the compatibility information provided by Samsung to ensure that the rear speakers you choose are compatible with your soundbar.
Now that you’re familiar with the different types of Samsung rear speakers, let’s move on to understanding which soundbars are compatible with these rear speaker options.
Compatible Soundbars and Rear Speakers
To ensure a seamless and hassle-free setup, it’s important to choose compatible Samsung rear speakers and soundbars. Samsung provides detailed information regarding the compatibility of different rear speaker models with their soundbars. Here are some of the main soundbar and rear speaker combinations that are compatible:
1. Samsung Soundbar with Wireless Rear Speaker Kit:
If you’re opting for the Wireless Rear Speaker Kit, it is compatible with a wide range of Samsung soundbars, including the popular Q, N, and T series. Before purchasing the kit, make sure to check the compatibility information on the Samsung website or in the product specifications.
2. Samsung Soundbar with Built-in Rear Speakers:
Soundbars that come with built-in rear speakers are specifically designed to work together, ensuring perfect compatibility and synchronization. These soundbars are available in various series, such as the HW-Q series and HW-N series. Check the product details to confirm compatibility with the built-in rear speakers.
3. Samsung Soundbar with Expansion Rear Speakers:
If you already own a Samsung soundbar and want to add expansion rear speakers, check the compatibility information provided by Samsung. Expansion rear speakers are typically compatible with specific models, such as the HW-Q series, HW-N series, and some select Q series soundbars.
Remember to note down the specific model numbers of both your soundbar and rear speakers to ensure compatibility when purchasing. Samsung provides comprehensive information on their website, including compatibility charts and specifications for each product.
By choosing the right combination of Samsung soundbars and rear speakers, you can create a powerful and immersive home theater audio setup. Now that you have an understanding of compatible soundbars and rear speakers, let’s move on to the step-by-step process of connecting and setting up your Samsung rear speakers.
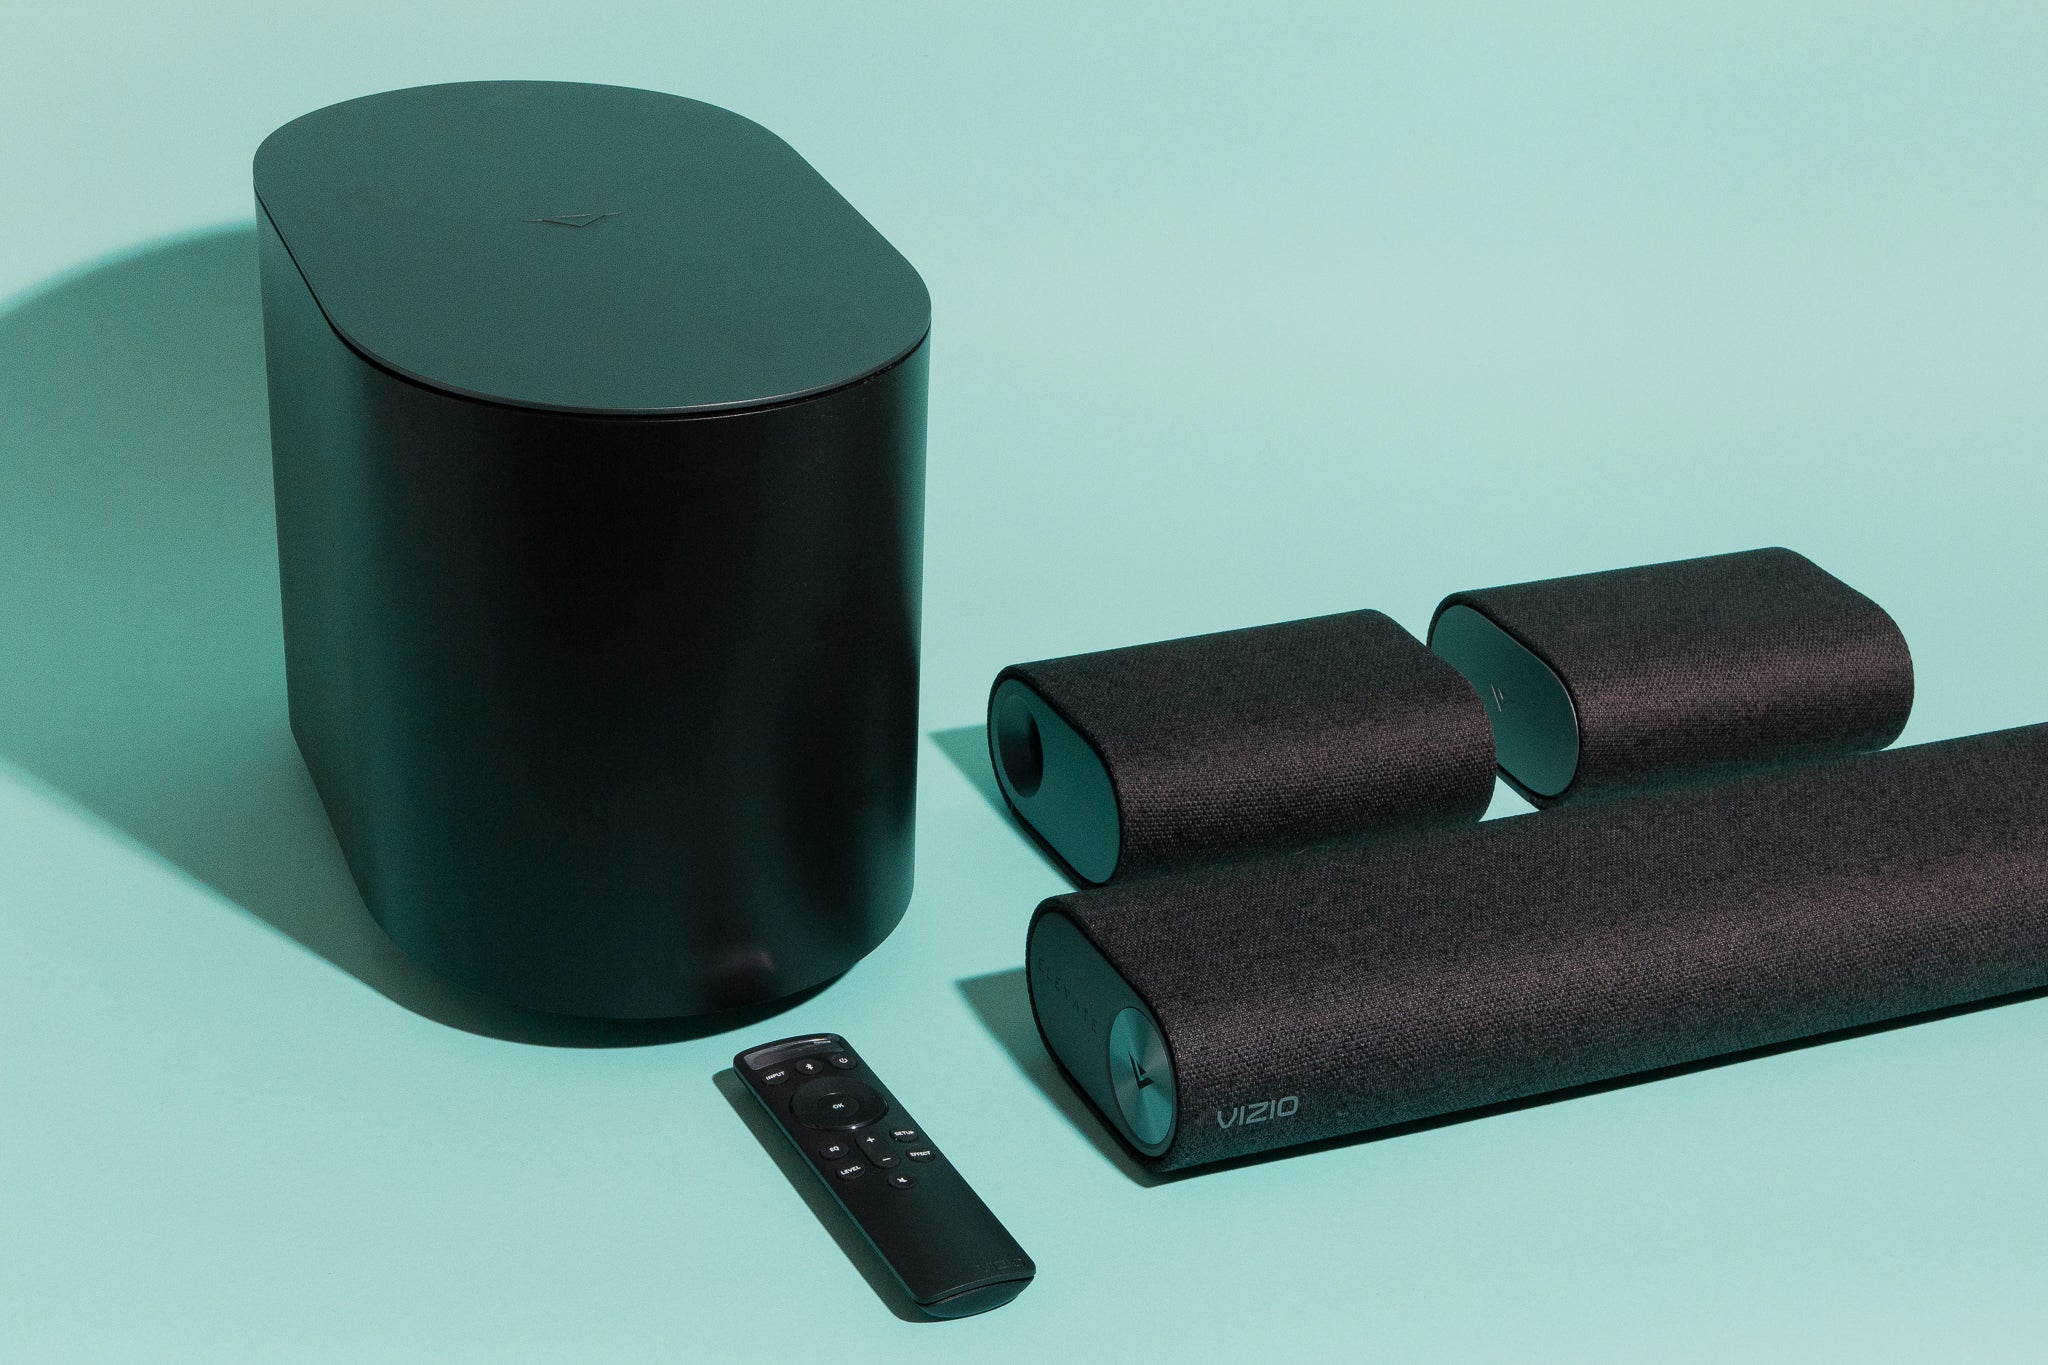
Step 1: Unboxing the Rear Speakers
Once you have chosen the compatible Samsung rear speakers for your soundbar, it’s time to unbox them and prepare for the setup process. Here are the steps to unbox your rear speakers:
1. Find a suitable workspace:
Select a clean and spacious area where you can unbox and set up the rear speakers. Clear any clutter and make sure there is enough room to maneuver.
2. Open the packaging:
Carefully open the box containing the rear speakers. Use a sharp object, such as a box cutter or scissors, to open the packaging without damaging the contents.
3. Remove the contents:
Gently take out all the components included in the box. This typically includes the rear speakers, power cables, and any other accessories or user manuals provided.
4. Inspect the components:
Check the rear speakers and other components for any signs of damage or defects. If you notice any issues, contact Samsung’s customer support for assistance.
5. Arrange the cables:
Untangle and organize the cables that are included with the rear speakers. This will make it easier to connect them to the soundbar in the next steps.
6. Prepare the rear speakers:
Position the rear speakers in the desired locations behind your listening area. Ensure that there is enough space between the speakers and the surrounding objects for optimal sound dispersion.
By following these steps, you will have successfully unboxed your Samsung rear speakers and prepared them for the setup process. Next, we will move on to connecting the rear speakers to the soundbar in Step 2.
Step 2: Connecting the Rear Speakers to the Soundbar
Now that you have unboxed your Samsung rear speakers, it’s time to connect them to your soundbar. Follow these steps to establish the connection:
1. Identify the rear speaker ports on the soundbar:
Take a look at your soundbar and locate the rear speaker ports. These ports are usually labeled “Rear Speaker” or “Surround Speaker” and are designed to connect the rear speakers.
2. Connect the power cables:
Plug in the power cables of each rear speaker into an available power outlet. Make sure that the cables are securely plugged in and that there is no loose connection.
3. Pair the rear speakers with the soundbar:
Depending on your specific Samsung soundbar model, there are two methods to pair the rear speakers:
– Automatic pairing: Some Samsung soundbars have an automatic pairing feature. In this case, the soundbar will automatically detect and pair with the rear speakers once they are powered on. Follow the instructions provided in the user manual to activate automatic pairing mode.
– Manual pairing: If your soundbar does not have automatic pairing, you will need to manually pair the rear speakers. Look for the pairing buttons on both the soundbar and the rear speakers. Press and hold the pairing buttons simultaneously until the LED lights on both devices start blinking. This indicates that the pairing process has started. Wait for a few moments until the LED lights stabilize, indicating a successful pairing.
4. Check the connection status:
Once the pairing process is complete, check the connection status on your soundbar’s display or control panel. It should indicate that the rear speakers are connected and ready for use. Some soundbars also have a dedicated rear speaker status indicator on the display.
Now that you have successfully connected the rear speakers to your Samsung soundbar, you are one step closer to enjoying a surround sound experience. In the next step, we will cover how to pair the rear speakers with the soundbar for optimal audio synchronization and performance.
Step 3: Pairing the Rear Speakers with the Soundbar
After connecting the rear speakers to your Samsung soundbar, the next step is to pair them for optimal audio synchronization. Follow these steps to pair the rear speakers with your soundbar:
1. Access the soundbar’s settings menu:
On your Samsung soundbar, locate the settings menu. This can usually be accessed through the soundbar’s remote control or physical buttons. Look for the “Settings” or “Options” button and press it to enter the menu.
2. Navigate to the Rear Speaker pairing option:
Within the soundbar’s settings menu, look for the “Rear Speaker” or “Surround Speaker” option. Use the navigation buttons on the remote control or soundbar to highlight and select this option.
3. Activate the pairing mode:
Once you have selected the Rear Speaker pairing option, choose the “Pair” or “Activate” option to initiate the pairing mode. This will allow the soundbar to search for the connected rear speakers.
4. Wait for the pairing process to complete:
After activating the pairing mode, wait for a few moments while the soundbar searches for the rear speakers. This process may take a short while, so be patient and wait for the soundbar to complete the pairing process.
5. Confirm the successful connection:
Once the pairing process is complete, the soundbar will display a confirmation message or an indicator light will illuminate to signify that the rear speakers are successfully paired and ready to use. Some soundbars may also play a test sound through the rear speakers to verify the connection.
It’s important to note that the specific steps and options may vary depending on your Samsung soundbar model. Refer to the user manual or on-screen instructions provided by Samsung for accurate and detailed guidance on pairing the rear speakers with your specific soundbar.
With the rear speakers successfully paired, you are now ready to enjoy the immersive surround sound experience they provide. In the next step, we will cover how to test the rear speakers to ensure they are functioning properly.
Step 4: Testing the Rear Speakers
After pairing the rear speakers with your Samsung soundbar, it’s important to test them to ensure they are functioning properly. Follow these steps to test the rear speakers:
1. Play a test audio or video:
Choose a test audio or video source that has surround sound content. This can be a Blu-ray disc, a streaming service that supports surround sound, or a dedicated surround sound test file. Make sure that the audio or video source is set to output in surround sound mode.
2. Position yourself in the listening area:
Sit in the desired listening position where you will be experiencing the surround sound effect. This is usually in the center of your home theater setup, facing the screen.
3. Listen for sound from the rear speakers:
As the test audio or video plays, pay close attention to the audio coming from the rear speakers. You should hear distinct sound effects and ambient sounds that are representative of the surround sound experience. For example, if you’re watching a movie with a helicopter flying, you should hear the sound of the helicopter coming from behind you.
4. Adjust the soundbar settings if necessary:
If you find that the sound from the rear speakers is too low or too loud compared to the front speakers, you can adjust the soundbar settings to achieve a balanced audio output. Most Samsung soundbars have sound settings that allow you to control the volume and balance of the rear speakers. Refer to the user manual or on-screen settings for instructions on adjusting the soundbar settings.
5. Repeat the test with different audio sources:
To further ensure the functionality of the rear speakers, try playing different types of audio content that have surround sound effects. This can include movies, TV shows, music, and video games. Pay attention to the audio coming from the rear speakers and ensure that it is immersive and well-balanced.
By testing the rear speakers, you can verify that they are properly connected and synchronized with your Samsung soundbar, allowing you to enjoy a rich and engaging surround sound experience. If you encounter any issues during the testing process, refer to the troubleshooting section or seek assistance from Samsung’s customer support.
Congratulations! You have now successfully connected, paired, and tested your Samsung rear speakers with your soundbar. You can now sit back, relax, and enjoy a truly immersive home theater experience.
Troubleshooting Common Issues
While setting up and connecting your Samsung rear speakers to a soundbar, you may encounter some common issues. Here are a few troubleshooting steps to help resolve these issues:
1. No sound from the rear speakers:
– Check the rear speakers’ power connection and ensure they are properly plugged into a power outlet.
– Make sure that the rear speakers are paired and connected to the soundbar. Refer to the user manual for instructions on pairing the rear speakers.
– Verify that the audio content you are playing has surround sound information. Some audio sources may not have dedicated rear speaker effects.
2. Audio synchronization issues:
– If you notice audio delays or synchronization issues between the front and rear speakers, check if there is a feature called “audio delay” or “lip sync” in your soundbar’s settings menu. Adjust the timing settings to synchronize the audio properly.
– Ensure that the rear speakers are positioned correctly and not too far away from the soundbar. Excessive distance can lead to synchronization issues.
3. Interference or connection dropout:
– If you experience intermittent or sudden connection dropout with the rear speakers, check for any potential interference sources. Move any electronic devices or Wi-Fi routers away from the soundbar and rear speakers.
– Ensure that there are no large obstacles, such as walls or furniture, blocking the wireless signal between the soundbar and rear speakers.
4. Firmware updates:
– Check if there are any firmware updates available for your Samsung soundbar and rear speakers. Firmware updates often include performance improvements and bug fixes, which can address common issues. Visit the Samsung support website and follow the instructions to update the firmware.
If the above troubleshooting steps don’t resolve the issues, consult the user manual or contact Samsung customer support for further assistance. They can provide specific guidance based on your soundbar and rear speaker models.
Remember, it’s important to carefully follow the setup and connection instructions provided by Samsung to ensure a smooth and successful setup experience. By troubleshooting common issues, you can overcome any obstacles and enjoy a seamless surround sound experience with your Samsung rear speakers and soundbar.
Now that you are equipped with troubleshooting knowledge, you can address any potential issues and fully enjoy the immersive audio experience your Samsung rear speakers provide.
Conclusion
Congratulations on successfully connecting and setting up your Samsung rear speakers with your soundbar! By following the step-by-step process outlined in this guide, you have created an immersive surround sound experience that will enhance your home theater system.
We began by introducing the different types of Samsung rear speakers available, including the Wireless Rear Speaker Kit, soundbars with built-in rear speakers, and expansion rear speakers. Understanding the compatibility of these rear speakers with specific soundbars is crucial for a seamless setup.
We then walked through the process of unboxing the rear speakers and preparing them for connection to the soundbar. Ensuring a clean and organized workspace is essential for a smooth unboxing experience.
Next, we covered the steps to connect the rear speakers to the soundbar, including the necessary power cable connections and the pairing process. Both automatic and manual pairing methods were discussed, depending on your soundbar model.
Once the rear speakers were connected, we emphasized the importance of testing them to ensure they are functioning properly. Playing test audio or video content and positioning yourself in the listening area are essential for a comprehensive test.
Lastly, we provided troubleshooting steps to address common issues that may arise during the setup and connection process. These troubleshooting techniques will help you overcome any challenges and optimize your surround sound experience.
With your Samsung rear speakers successfully set up and tested, you can now sit back, relax, and enjoy an immersive audio journey. Whether you’re watching movies, playing games, or listening to music, the enhanced surround sound will transport you into the heart of the action.
Remember to refer to the user manuals and seek assistance from Samsung’s customer support for any further questions or concerns you may have. They are equipped with the knowledge and expertise to provide you with the necessary guidance.
Thank you for choosing Samsung rear speakers to elevate your home theater experience. We hope this guide has been helpful in setting up your soundbar and rear speakers, and we wish you many enjoyable hours of immersive audio entertainment!