Introduction
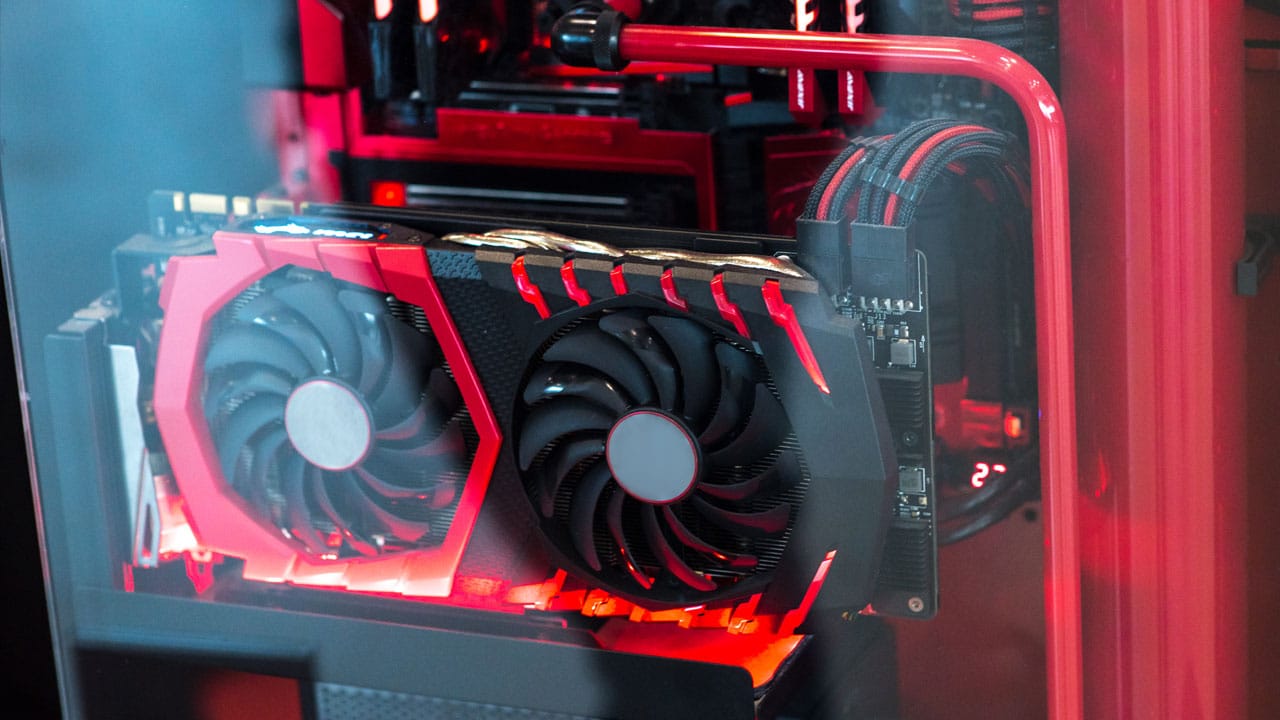
When it comes to keeping your PC cool and running efficiently, the PC case fan plays a crucial role. It helps to circulate the air inside the case, dissipating heat from the components such as the CPU, GPU, and motherboard. Over time, PC case fans can become worn out or develop issues, which can lead to overheating and performance problems.
Regularly testing your PC case fan is essential to ensure that it is working properly and providing the necessary cooling for your system. By identifying any potential issues early on, you can take the necessary steps to rectify the problem and prevent further damage.
In this article, we will discuss various methods to test your PC case fan and determine its functionality. These methods range from simple visual inspections and listening for unusual sounds to more advanced techniques utilizing fan controller software. By following these steps, you can ensure that your PC case fan is operating optimally and keep your computer running smoothly.
Tools needed for testing PC case fan
Before you begin testing your PC case fan, it is important to gather the necessary tools to ensure accurate results. Here are some tools you may need:
- Flashlight: A small flashlight will help you inspect the fan blades and the overall condition of the fan.
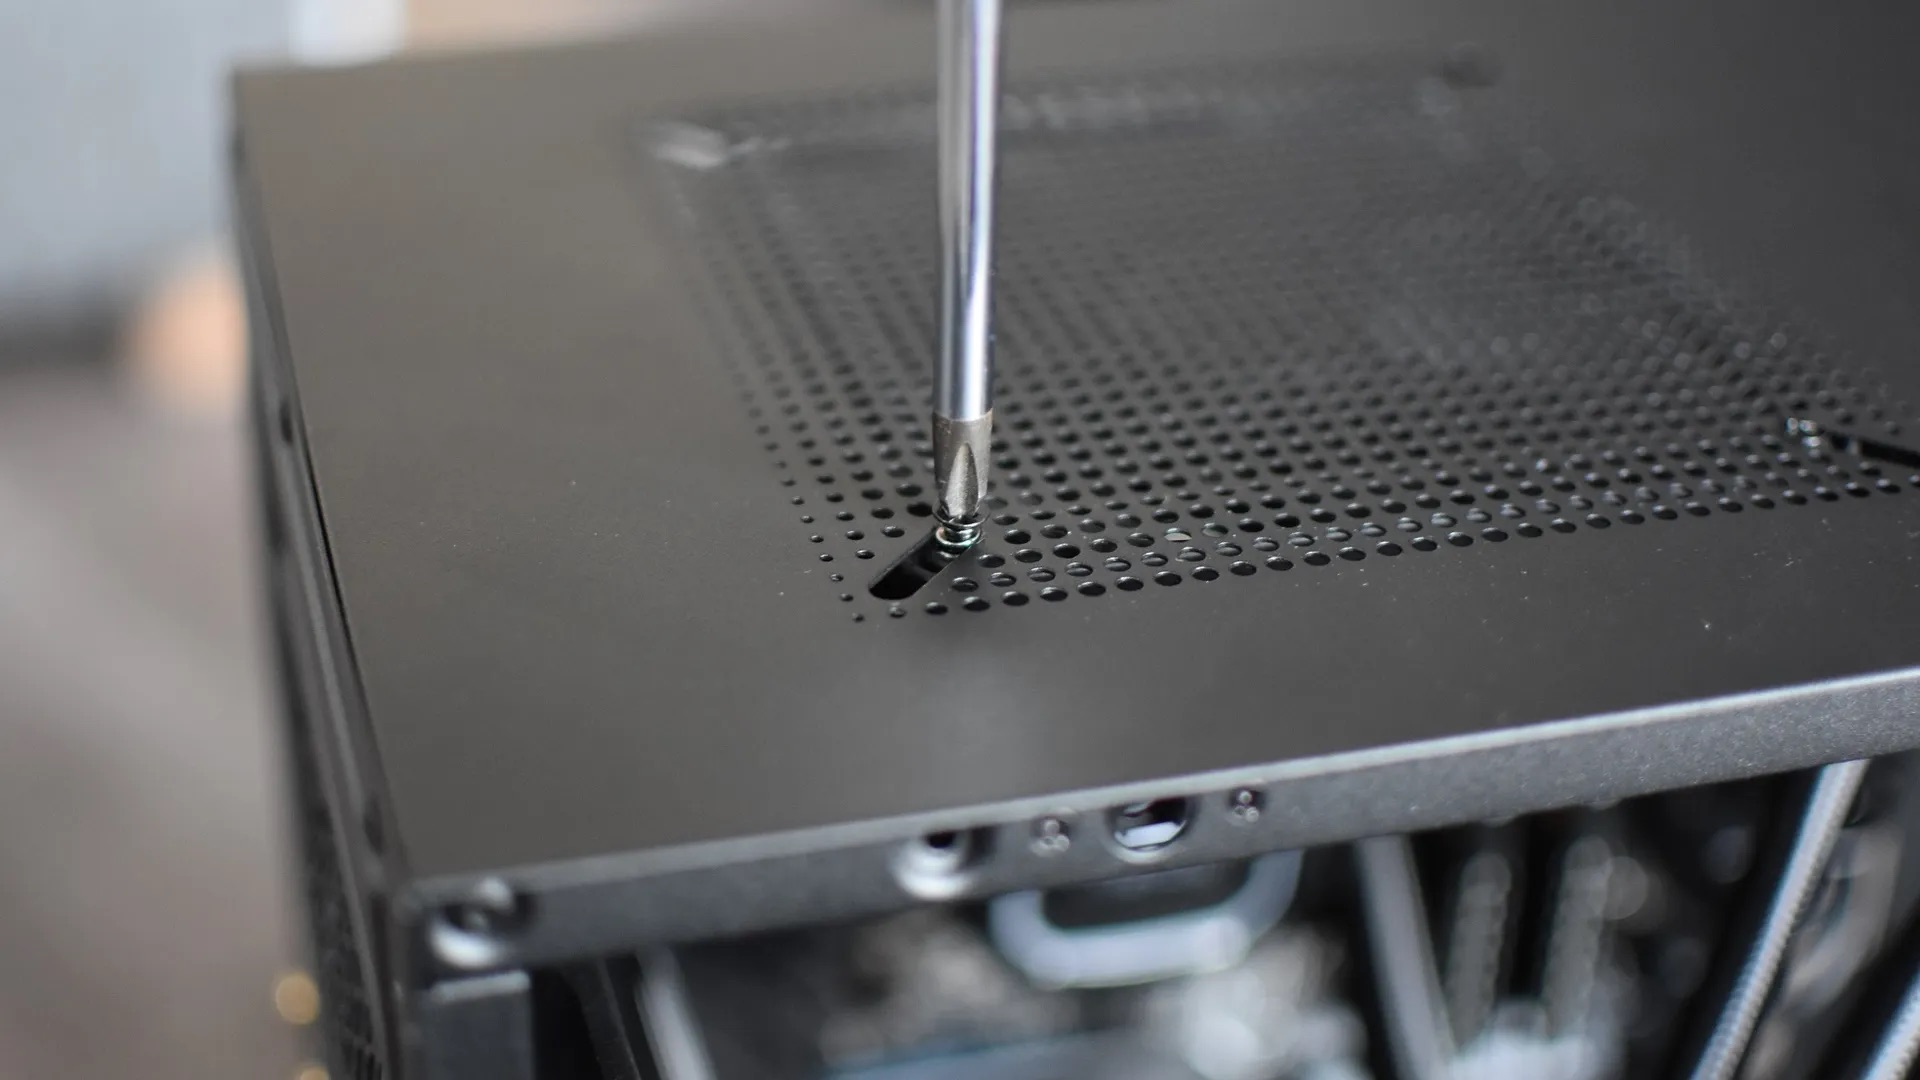
- Screwdriver: Depending on your PC case, you may need a screwdriver to remove the side panel and access the fan.
- Earbuds or headphones: These will come in handy during the listening test to detect any unusual sounds.
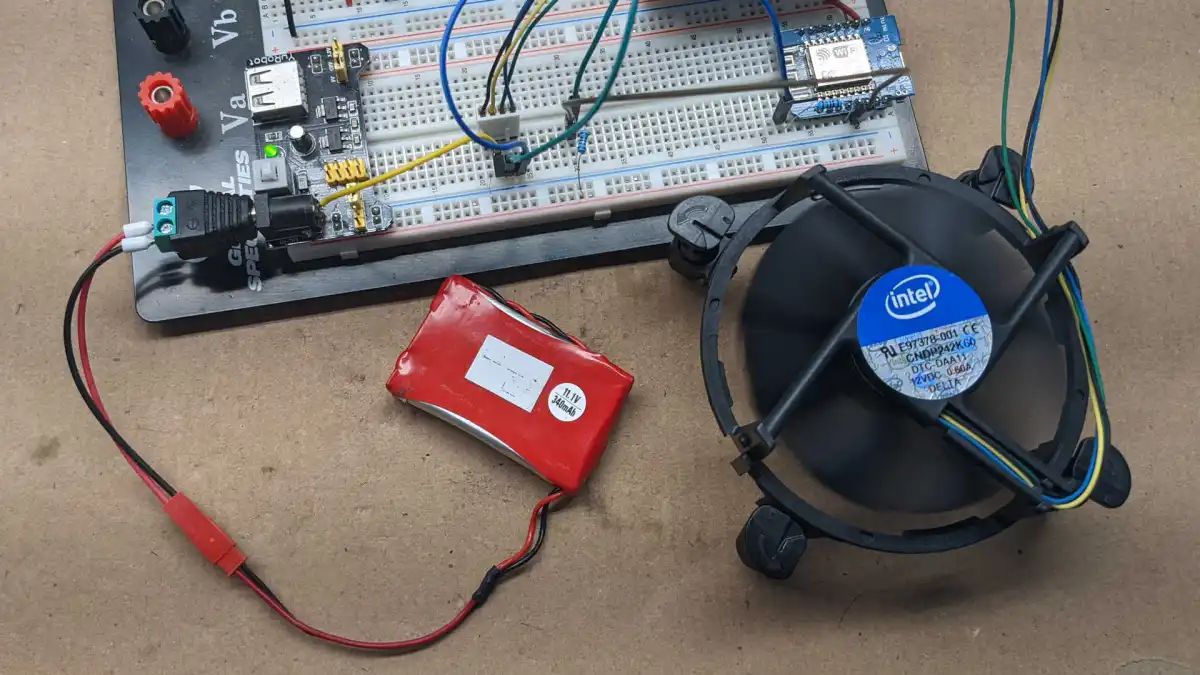
- RPM measuring tool: To measure the fan’s RPM accurately, you can use a tachometer or a fan speed controller with built-in RPM display.
- Smoke or tissue paper: These materials can be used to test the airflow of the fan.
- Fan controller software: If your motherboard supports it, you can use fan controller software to monitor and control the fan’s speed.
Having these tools readily available will make the testing process smoother and more efficient. If you don’t have all of them, don’t worry – most of the tests can be done with just a few basic tools.
Method 1: Visual inspection
Visual inspection is the simplest method to start testing your PC case fan. Here’s how you can perform a visual inspection:
- Turn off your computer and unplug it from the power source.
- Open the side panel of your PC case. Depending on your case, you may need to use a screwdriver to remove the screws holding the panel in place.
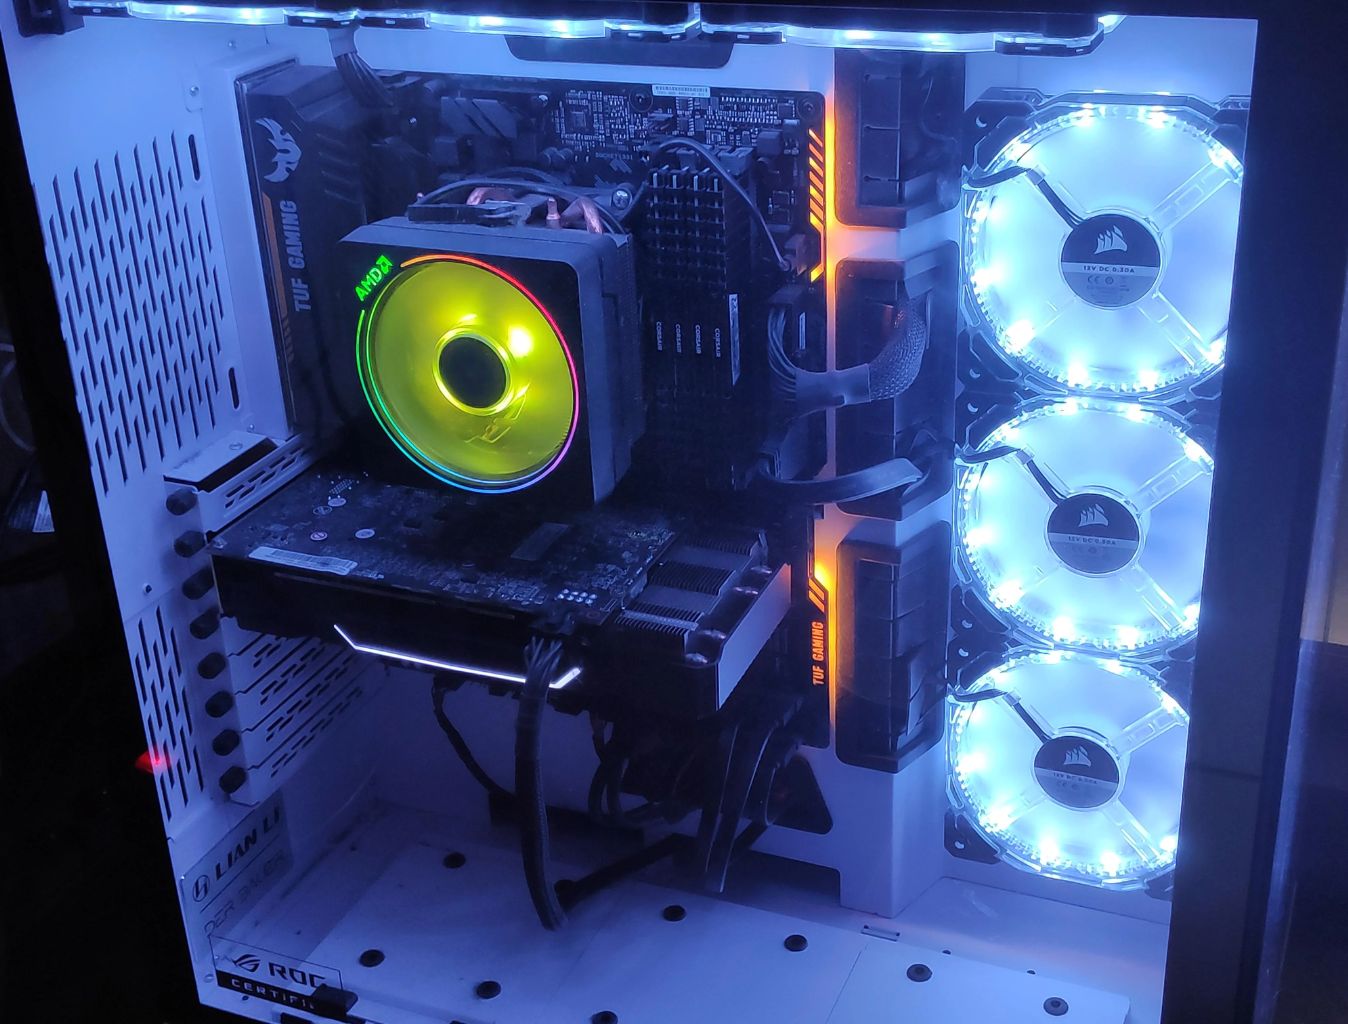
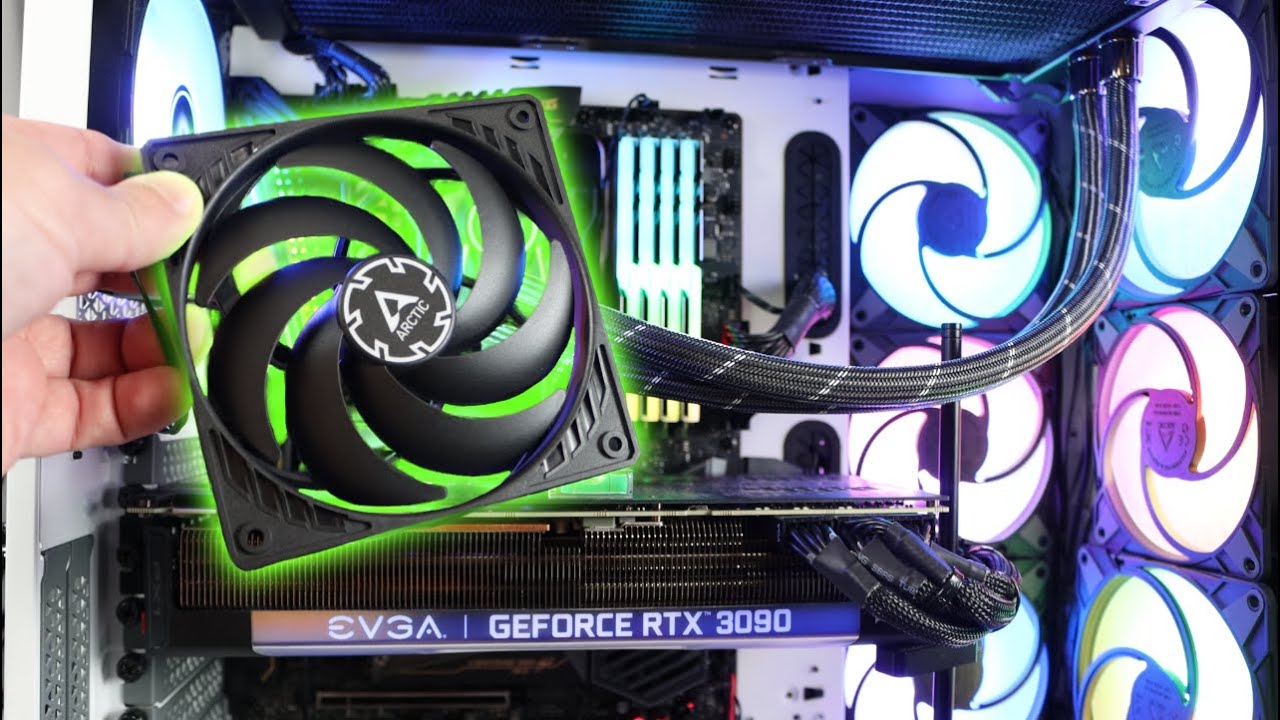
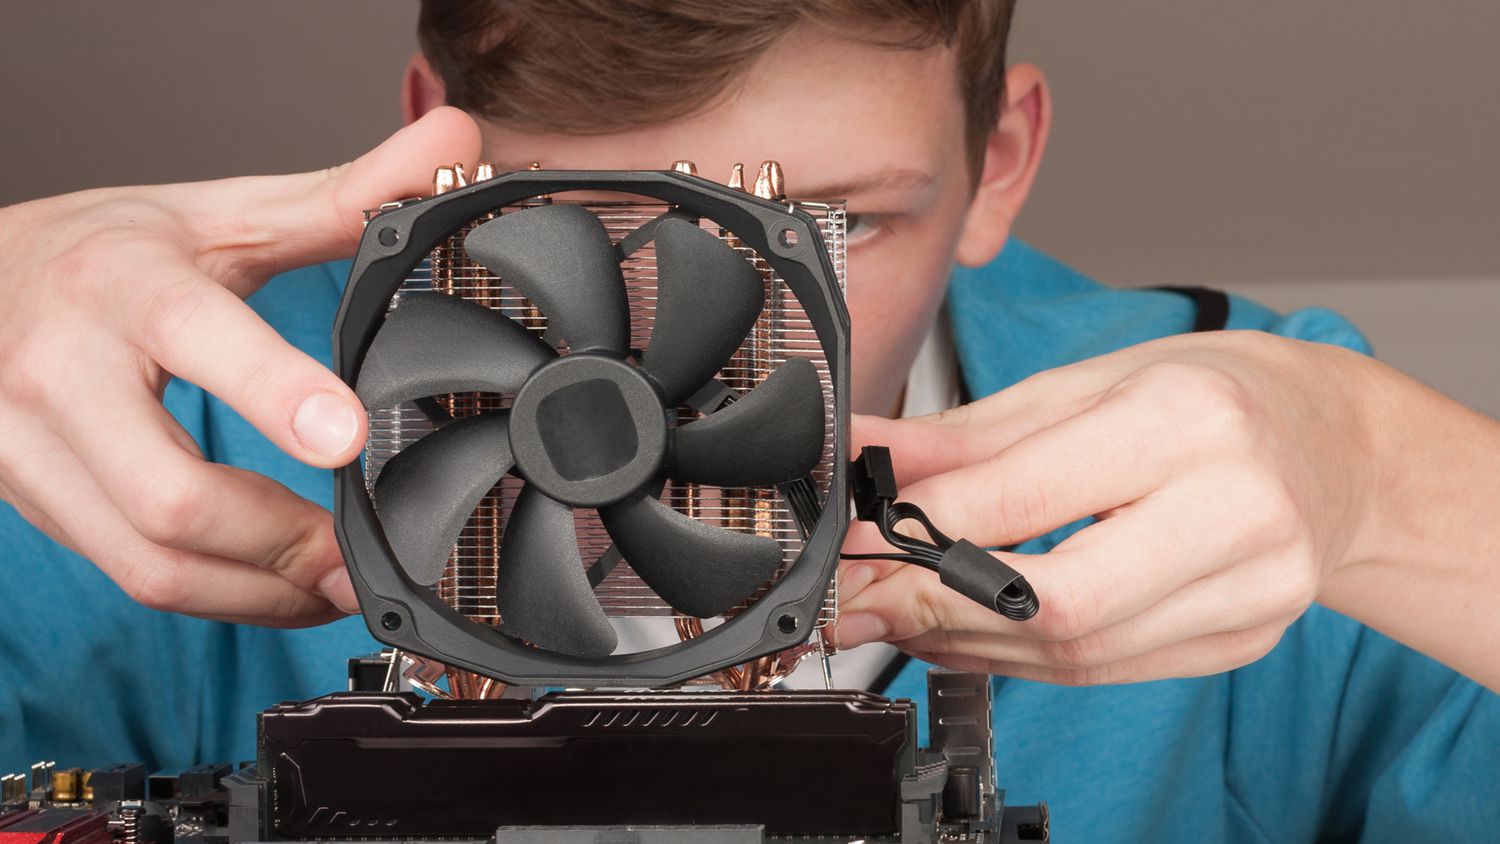
- Locate the fan within the case. Typically, you’ll find it at the rear or front of the case, near the CPU or GPU.
- Examine the fan blades for any signs of damage, such as cracks, chips, or excessive dust build-up. Ensure that the blades are free from obstruction.
- Check the fan’s power cable connections to ensure they are securely plugged into the motherboard or fan controller. Loose or disconnected cables can cause the fan to malfunction.
- Inspect the fan’s motor for any physical damage or signs of wear and tear.
- Observe the fan while turning on your computer. It should spin freely and smoothly without any jerky movements.
If you notice any issues during the visual inspection, such as damaged fan blades or loose connections, you may need to replace the fan or fix the problem accordingly. Keep in mind that a dirty fan can also lead to inefficiency and overheating, so it’s essential to clean it regularly to maintain optimal performance.
Performing a visual inspection is the first step in determining the overall condition of your PC case fan. While it doesn’t provide conclusive evidence of the fan’s functionality, it helps identify any obvious issues that may require further attention.
Method 2: Listening for unusual sounds
Another method to test the functionality of your PC case fan is by listening for any unusual sounds it may produce. Here’s how you can do it:
- Start your computer and let it run for a few minutes to ensure the fan has enough time to reach its normal operating speed.
- Find a quiet environment where you can focus on listening to the fan.
- Place your ear close to the PC case or use earbuds or headphones to amplify the sound.
- Listen carefully for any abnormal noises coming from the fan. These can include grinding, clicking, buzzing, or rattling sounds.
- If you hear any unusual sounds, it could be an indication of a faulty bearing, loose fan blades, or other mechanical issues.
- Take note of any specific patterns or frequencies in the noises, as this can help in diagnosing the problem.
If you notice any unusual sounds, it’s recommended to further investigate the issue. For example, if you hear a grinding noise, it could indicate a worn-out bearing and the need for a replacement. If you hear a rattling sound, it might be due to loose fan blades that require tightening or realignment.
Keep in mind that some fan models may produce a low humming sound, which is generally normal. However, if the sound becomes louder or changes in tone over time, it’s advisable to address the issue promptly to prevent potential damage to the fan or other components.
Listening for unusual sounds is an effective method to identify potential problems with your PC case fan. By being attentive to any abnormal noises, you can take appropriate measures to resolve the issue and maintain the optimal functioning of your fan.
Method 3: Touching for vibrations
In addition to visual inspection and listening for unusual sounds, you can also test your PC case fan by checking for vibrations. Here’s how you can do it:
- Make sure your computer is powered off and unplugged from the power source.
- Open the side panel of your PC case.
- Gently touch the fan while it is turned off to establish a baseline. Feel for any excessive vibrations or movements.
- Turn on your computer and observe the fan while it spins. Place your finger lightly on the fan hub or frame.
- If you feel strong vibrations or the fan appears to wobble, it may indicate an imbalance or loose fan blade.
- Excessive vibrations can lead to increased noise, decreased performance, and potential damage to the fan or other components over time.
- If you notice significant vibration issues, it may be necessary to tighten any loose screws or realign the fan to maintain stability.
By touching the PC case fan, you can get a sense of the vibrations it produces during operation. Excessive vibrations can be an indication of a problem that needs attention.
It’s important to note that some amount of vibration is normal due to the rotating components. However, if the vibrations are excessive or have become more pronounced over time, it’s best to investigate the issue further and take corrective measures.
Testing for vibrations is a simple yet effective method to determine the condition of your PC case fan. By ensuring that the fan is properly balanced and stable, you can maintain smooth operation and prolong the lifespan of your fan.
Method 4: Measuring RPM (Revolutions Per Minute)
Measuring the RPM (Revolutions Per Minute) of your PC case fan is a more quantitative approach to test its functionality. Here’s how you can measure the RPM:
- Ensure that your computer is powered on and the fan is running.
- Using a tachometer or a fan speed controller with a built-in RPM display, place the device near the fan.
- Align the sensor or the RPM display with the fan blades.
- Read the RPM value from the device’s display.
- Compare the measured RPM value to the manufacturer’s specifications or the expected RPM range for your particular fan model.
- If the measured RPM is significantly lower than what it should be, it could indicate a problem with the fan’s motor or power supply.
- Conversely, if the measured RPM is higher than expected, it may suggest an issue with the fan control settings.
Measuring the RPM provides a more accurate assessment of the fan’s performance and can help identify any deviations from the expected operating range.
It’s important to note that RPM readings may vary slightly due to factors like fan load and power fluctuations. Therefore, it’s advisable to take multiple readings at different times to ensure consistency.
Keep in mind that some newer fan models may offer built-in sensors or communicate with the motherboard to provide real-time RPM data, which can be monitored through fan controller software or BIOS settings.
By measuring the RPM of your PC case fan, you can verify if it is operating within the expected range and make any necessary adjustments or replacements to maintain optimal cooling performance.
Method 5: Testing airflow using smoke or tissue paper
Another effective method to test the airflow of your PC case fan is by using smoke or tissue paper. This method allows you to visualize the direction and strength of the airflow. Here’s how you can perform the test:
- Ensure that your computer is powered on and the fan is running.
- Prepare a small piece of tissue paper or incense stick.
- Hold the tissue paper or incense stick near the fan’s intake or exhaust area.
- Observe the movement of the tissue paper or the direction of smoke from the incense stick.
- If the tissue paper is sucked towards the fan or the smoke is pulled into the fan, it indicates proper airflow.
- Conversely, if the tissue paper moves away from the fan or the smoke is blown away, it may imply restricted airflow or an improperly functioning fan.
- Check for any obstructions near the fan, such as cables or debris, and remove them if necessary.
- If you notice weak or inconsistent airflow, it may indicate a worn-out fan or the need for cleaning.
By testing the airflow using smoke or tissue paper, you can quickly assess the efficiency and direction of the airflow in your PC case. Adequate airflow is crucial for maintaining optimal temperatures and preventing overheating of the components.
It’s important to reiterate that you should exercise caution when using incense sticks near your computer to avoid any fire hazards or damage to the components. Using tissue paper, on the other hand, is a safer alternative.
If the airflow test reveals any issues, you may need to clean the fan or consider replacing it to ensure proper cooling and prevent performance problems.
Method 6: Using a fan controller software
For more advanced testing and control over your PC case fan, you can utilize fan controller software. This method allows you to monitor and adjust the fan’s speed and performance. Here’s how you can use a fan controller software:
- Check if your motherboard supports fan control features or if you have a dedicated fan controller installed.
- Download and install the appropriate fan controller software for your system.
- Launch the software and locate the fan control settings.
- Adjust the fan speed settings to different levels and monitor the changes in RPM or airflow.
- Run stress tests or intensive applications to verify if the fan adjusts itself accordingly and provides adequate cooling.
- Use the software to monitor the temperature of your components and ensure that the fan responds effectively to changes.
- Explore additional features offered by the fan controller software, such as custom fan profiles or temperature-based fan curves.
- Take note of any abnormalities or issues encountered during the software-controlled testing.
Fan controller software provides a convenient way to fine-tune the fan’s performance according to your specific needs and system requirements. You can optimize the balance between cooling efficiency and noise levels, ensuring optimal performance for your PC.
However, it’s important to be cautious when making adjustments to the fan speed. Running the fan at excessively high speeds for an extended period may lead to increased wear and noise, while running it too slowly may result in inadequate cooling.
If you encounter any issues with the fan controller software, such as unresponsive controls or inconsistent performance, it may be necessary to update the software or consult the manufacturer’s support for further assistance.
Using fan controller software gives you greater control over your PC case fan and allows you to monitor and optimize its performance for the best balance of cooling and noise levels.
Conclusion
Testing your PC case fan is a crucial step in maintaining optimal cooling and performance for your computer. By following the methods outlined in this article, you can effectively assess the functionality of your fan and identify any potential issues that may require attention.
Starting with a visual inspection, you can check for any damage, obstructions, or loose connections. Listening for unusual sounds can help reveal underlying mechanical problems, while touching for vibrations can indicate balance or stability issues.
Measuring the RPM allows for a quantitative assessment of the fan’s performance, while testing the airflow using smoke or tissue paper provides a visual indication of the airflow direction and strength.
For more advanced control, fan controller software gives you the ability to monitor and adjust the fan’s speed and performance to suit your specific needs.
Remember, regular maintenance, including cleaning and replacing worn-out fans, is essential to ensure efficient cooling and prevent hardware damage due to overheating.
By incorporating these testing methods into your routine, you can keep your PC case fan in optimal condition and prolong the lifespan of your computer components, ensuring a smooth and reliable computing experience.