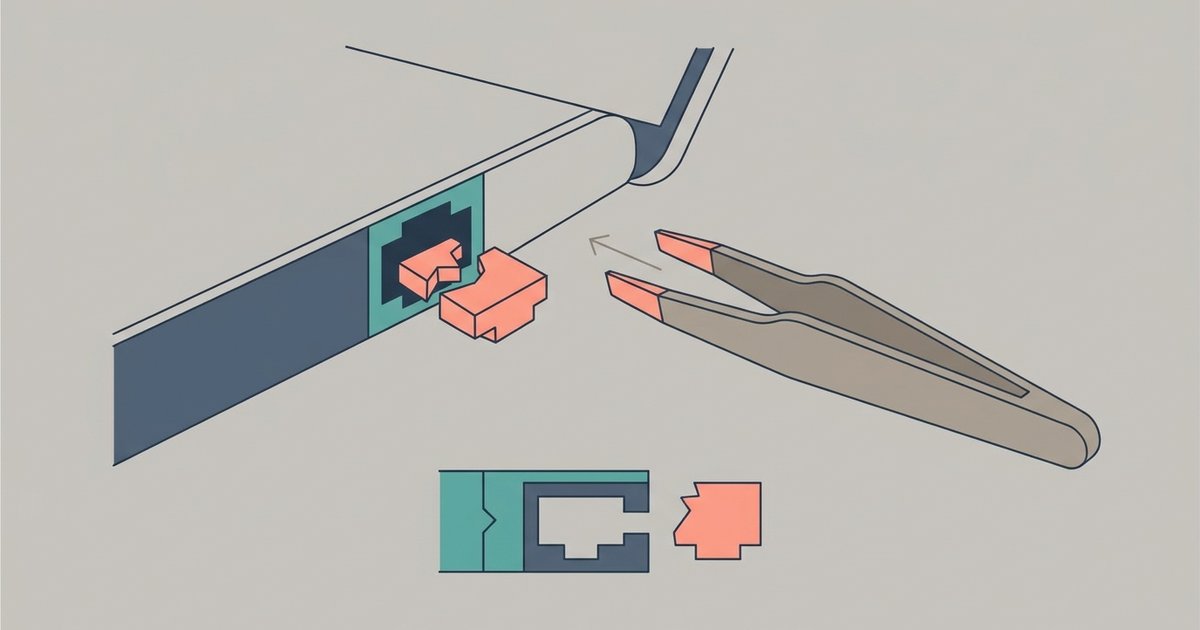
Slide a thin, rigid piece of plastic—like a cut-up credit card or a plastic spudger—into the top gap of the port to push the broken tab down and back until it dislodges, then shake or pull it out.
The plastic shim method for a broken Ethernet clip
Power down the device attached to the port before you touch anything. Cut a strip from an old credit card or gift card about half an inch wide and three inches long, then round one end with scissors so it slides smoothly. Locate the thin gap at the top of the Ethernet port, this is where the clip’s locking tab normally sits. Insert the rounded plastic strip into that gap, angled slightly downward, and push it in about a quarter inch until you feel resistance. Gently press the strip downward to depress the locking tab; the broken clip should pop loose from its catch. If it does not, rock the strip side to side while maintaining downward pressure. Once the clip is free, tilt the device or shake the port gently, gravity often dislodges the piece. If it stays stuck, use the same plastic strip to nudge it out from the rear. This method works because it mimics the exact motion a working clip would make when you find Ethernet port in house and press the tab to release a cable. For stubborn fragments, order a plastic spudger from a phone repair kit, which is even thinner and more flexible than a cut card. For most standard ports, the clip's locking mechanism releases when pressed from above; however, some laptop designs require alternate approaches such as angling the cable upward while pressing the clip, and once you have a working connection you can find out wifi password through Ethernet cable to get other devices online.
Skip the tweezers and metal tools entirely
Do not grab the broken clip with tweezers or a metal pick. When you try, you are almost certainly squeezing the sides of the tab rather than depressing its release. A standard RJ45 connector has a small ramp on the clip that catches on a ledge inside the port; pulling forward with tweezers only forces that ramp deeper against the ledge. Worse, metal tools can scratch the port’s plastic housing or short the internal pins, turning a simple extraction into a port replacement job. If you have already tried tweezers and the clip feels tighter, stop immediately, you have likely wedged it further. The correct approach is to unplug Ethernet cable by releasing the lock from above, not by yanking the connector body. No other page will tell you that the tweezers you instinctively reach for are the single fastest way to destroy the port.
When to stop and replace the jack instead
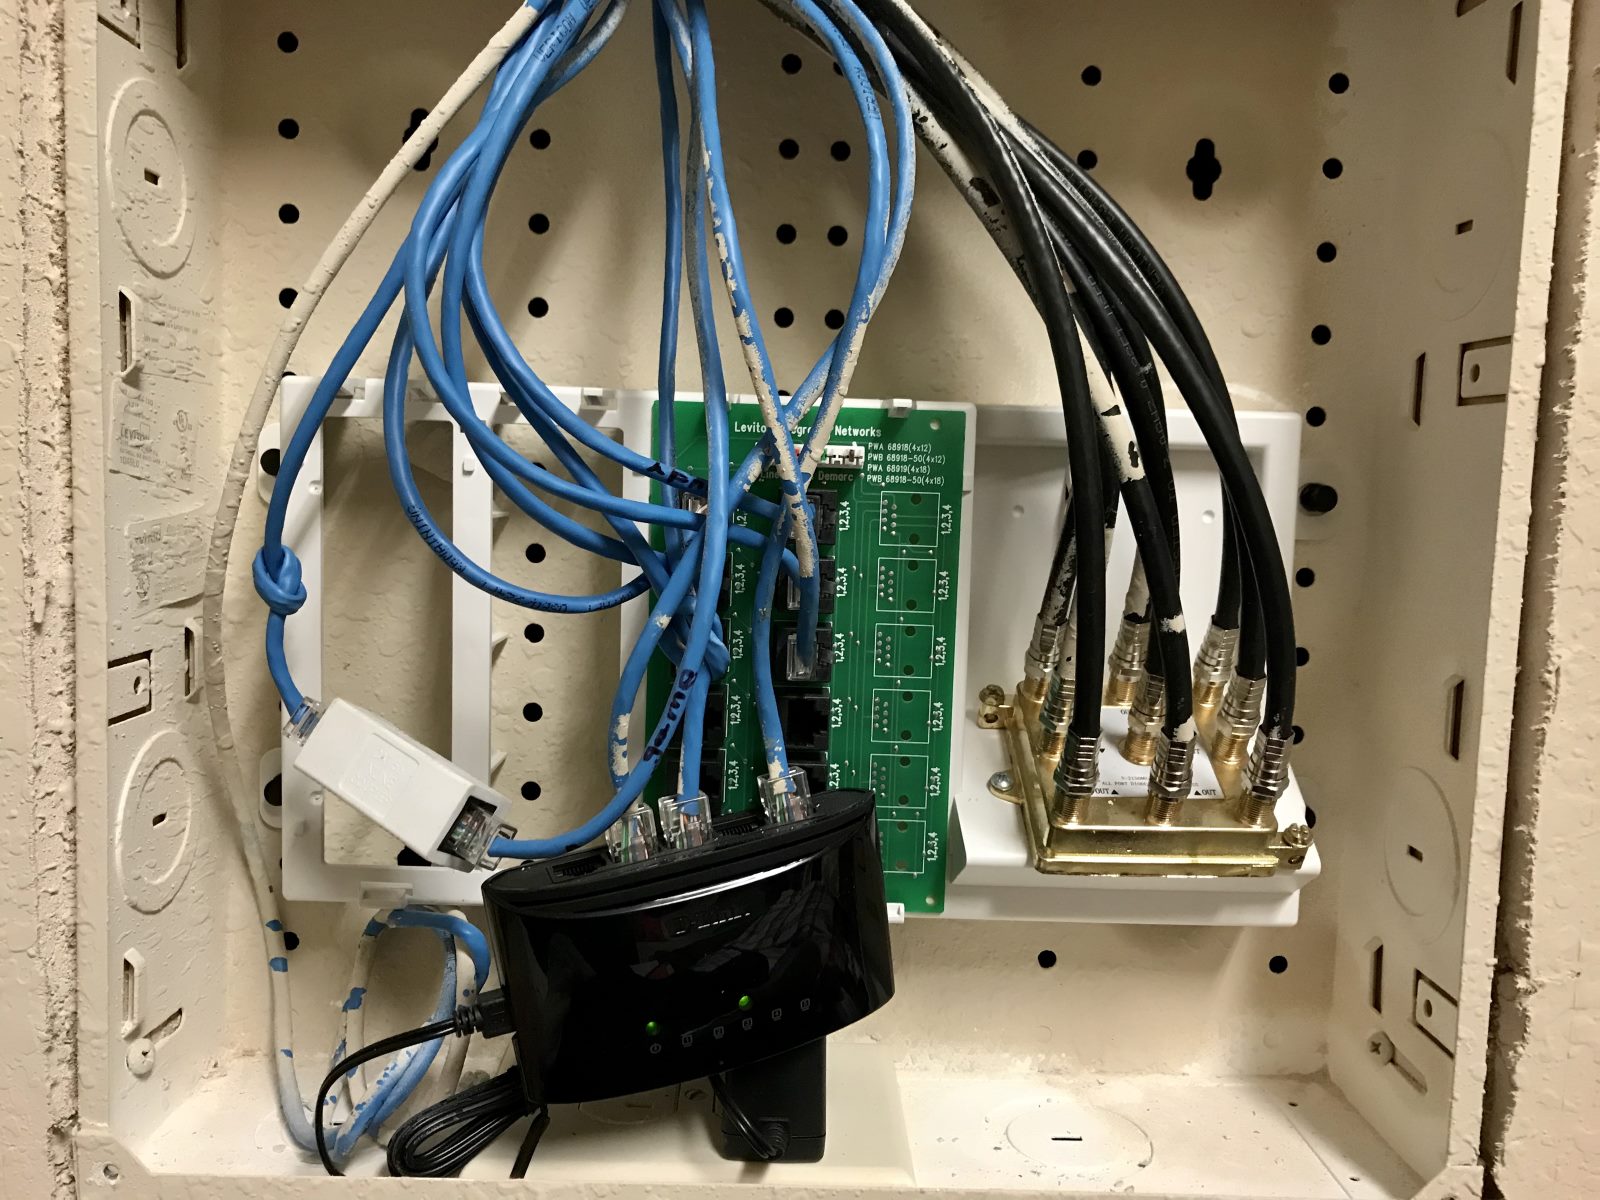
If after three attempts with the plastic shim the broken clip still refuses to budge, or if you see bent or missing pins inside the port, stop immediately. Book a replacement keystone jack that matches your wall plate brand, or call an electrician if the cable runs inside a wall. A jammed clip can bend the eight tiny pins that connect to your device, causing intermittent connection drops or total failure. Check for pin damage by looking for a visible asymmetry in the pin row, listening for a metallic scraping sound when you insert another cable, or watching for a “no link” light on your router even with a known-good cable. At this point, no amount of prying will fix the port, you must replace the entire jack. This is a common scenario when homeowners try to solutions for missing Ethernet outlets by reusing a damaged port. Cut out the old keystone jack and crimp a new one onto the existing cable. Remember that the Ethernet cable connection points are the pins inside the port, not the plastic housing; once those pins are bent, the port is dead. Do not use compressed air or adhesive to extract the clip, and do not insert any metal tool into the port, all risk further damage. Replace the jack and move on. For a full guide on how to safely unplug Ethernet cable without breaking the clip, see the broader topic of How To Unplug Ethernet Cable.