How To Ground Ethernet Cable
To ground shielded Ethernet cable, you connect the metallic shield of an STP or FTP cable to an earth ground using a grounding wire, shielded connectors, and a grounded patch panel or switch. You only need to ground shielded Ethernet cable when using STP/FTP cabling; standard UTP cables have no shield and require no grounding at all.
Do you need to ground shielded Ethernet cable?
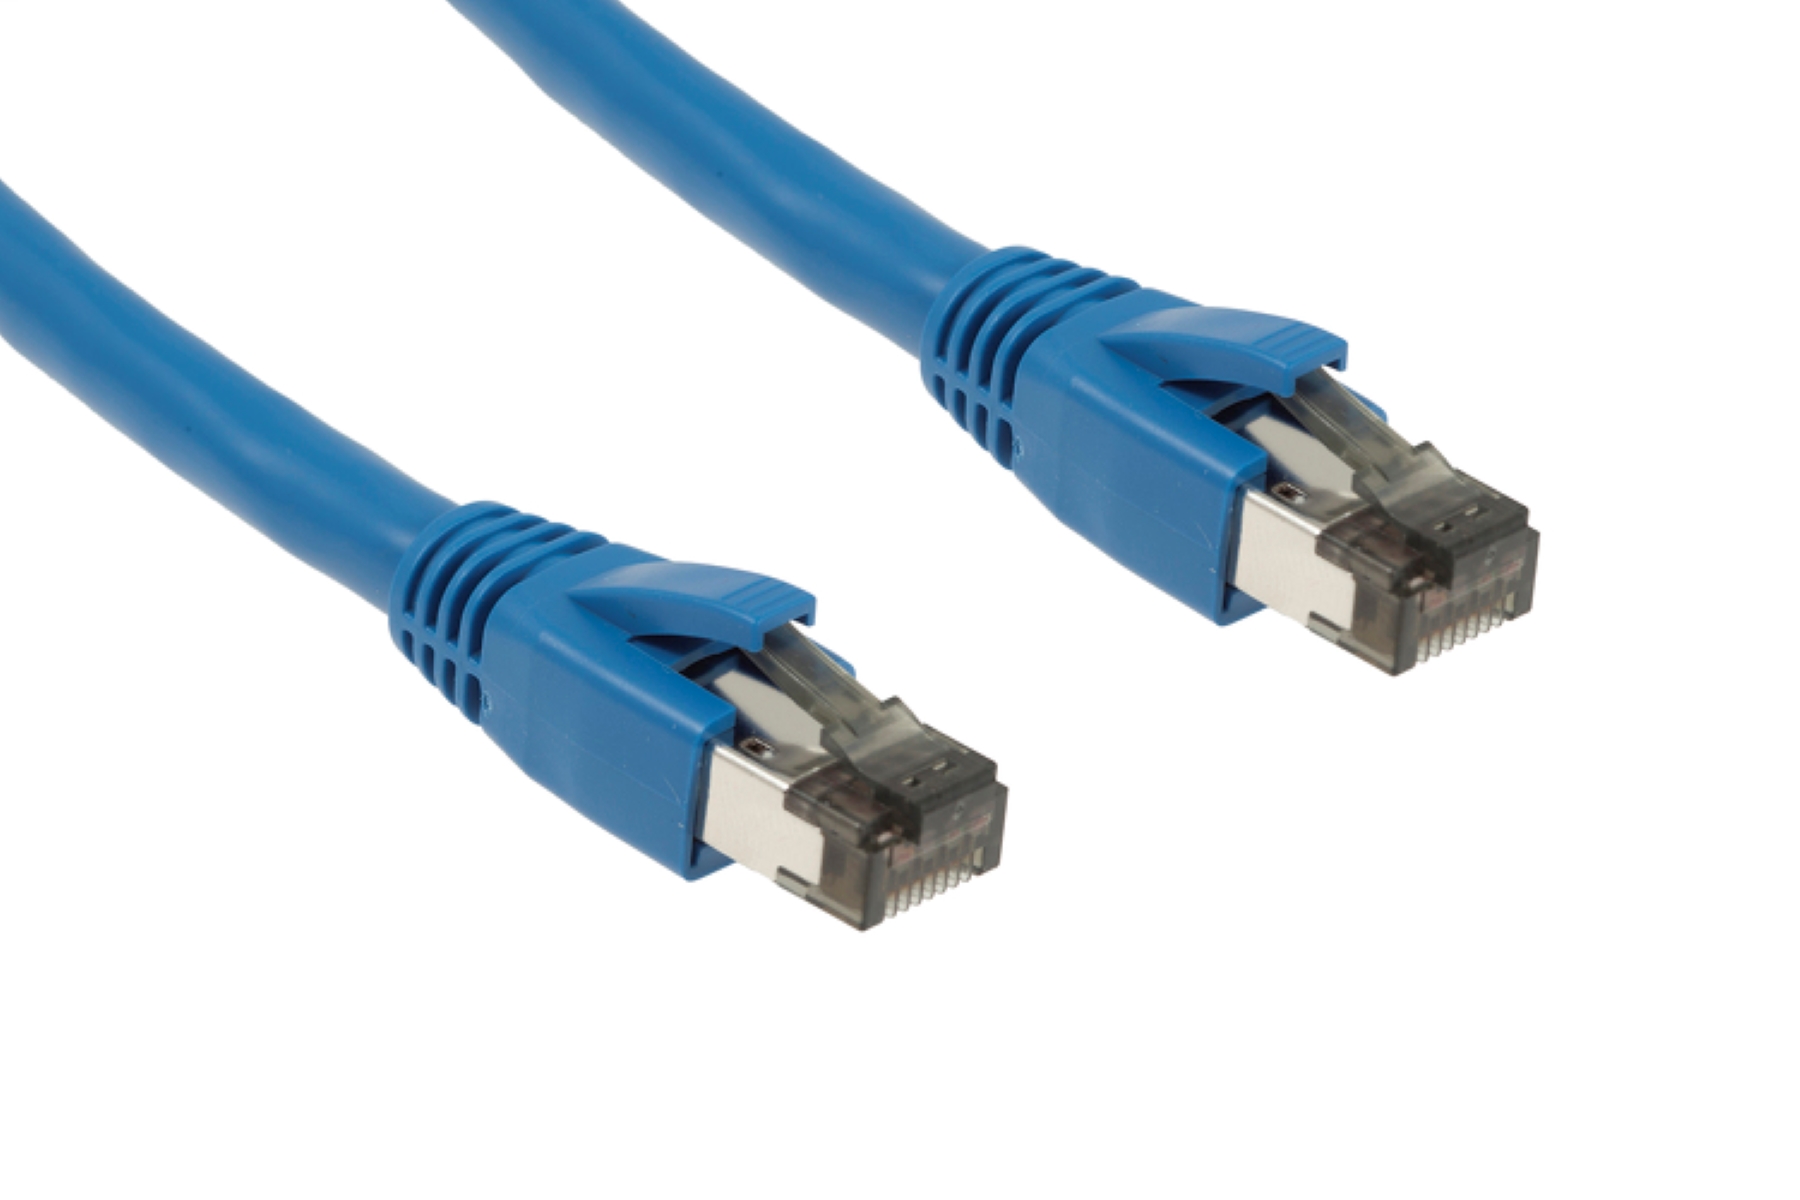
Only shielded Ethernet cables (STP/FTP) have a metallic foil or braided shield that requires grounding. Unshielded twisted-pair (UTP) cables have no shield, so there is nothing to ground. If you are running cable through areas with heavy electrical equipment, industrial machinery, fluorescent lighting, or parallel to power lines for long distances, shielded cable is recommended, and that shield must be grounded to work properly. Grounding shielded Ethernet cable is essential to dissipate electromagnetic interference (EMI) and radio frequency interference (RFI), preventing the shield from acting as an antenna. Without proper grounding, the shield can collect noise and degrade signal integrity instead of protecting it.
One end or both ends? Resolving the grounding conflict
There is a well-known conflict in grounding practice: most sources recommend grounding shielded Ethernet cable at one end only to prevent ground loops, while a reputable residential source suggests bonding both ends under specific conditions. The one-end-only rule is the fundamental approach for commercial and industrial installations, typically at the patch panel or equipment end, because grounding both ends can create a ground loop, which introduces low-frequency electrical noise into the data signal. However, in residential settings, best practice is to bond both ends of the cable shield, provided that all termination hardware is properly bonded to ground and you use shielded patch cords connected to a properly grounded Ethernet switch. The key distinction is that residential environments usually share a single ground reference, so the risk of a ground loop is minimal. For any installation, verify your equipment and building ground are at the same potential before bonding both ends.
Tools and materials you will need
Gather the following before you begin grounding shielded Ethernet cable:
- Grounding wire (6 AWG copper is recommended for U.S. residential installations)
- Shielded keystone jacks or a shielded patch panel
- Grounding clamps or lugs (e.g., two-hole grounding lugs)
- Wire strippers
- Crimping tool for RJ45 connectors or keystone jacks
- Multimeter for continuity and resistance testing
- Safety gear (insulated gloves, safety glasses)
Ensure all components are rated for your cable gauge and comply with local electrical codes.
How to ground shielded Ethernet cable to a patch panel
Follow these steps to properly ground shielded Ethernet cable at a patch panel:
Terminate the cable with a shielded RJ45 connector or keystone jack
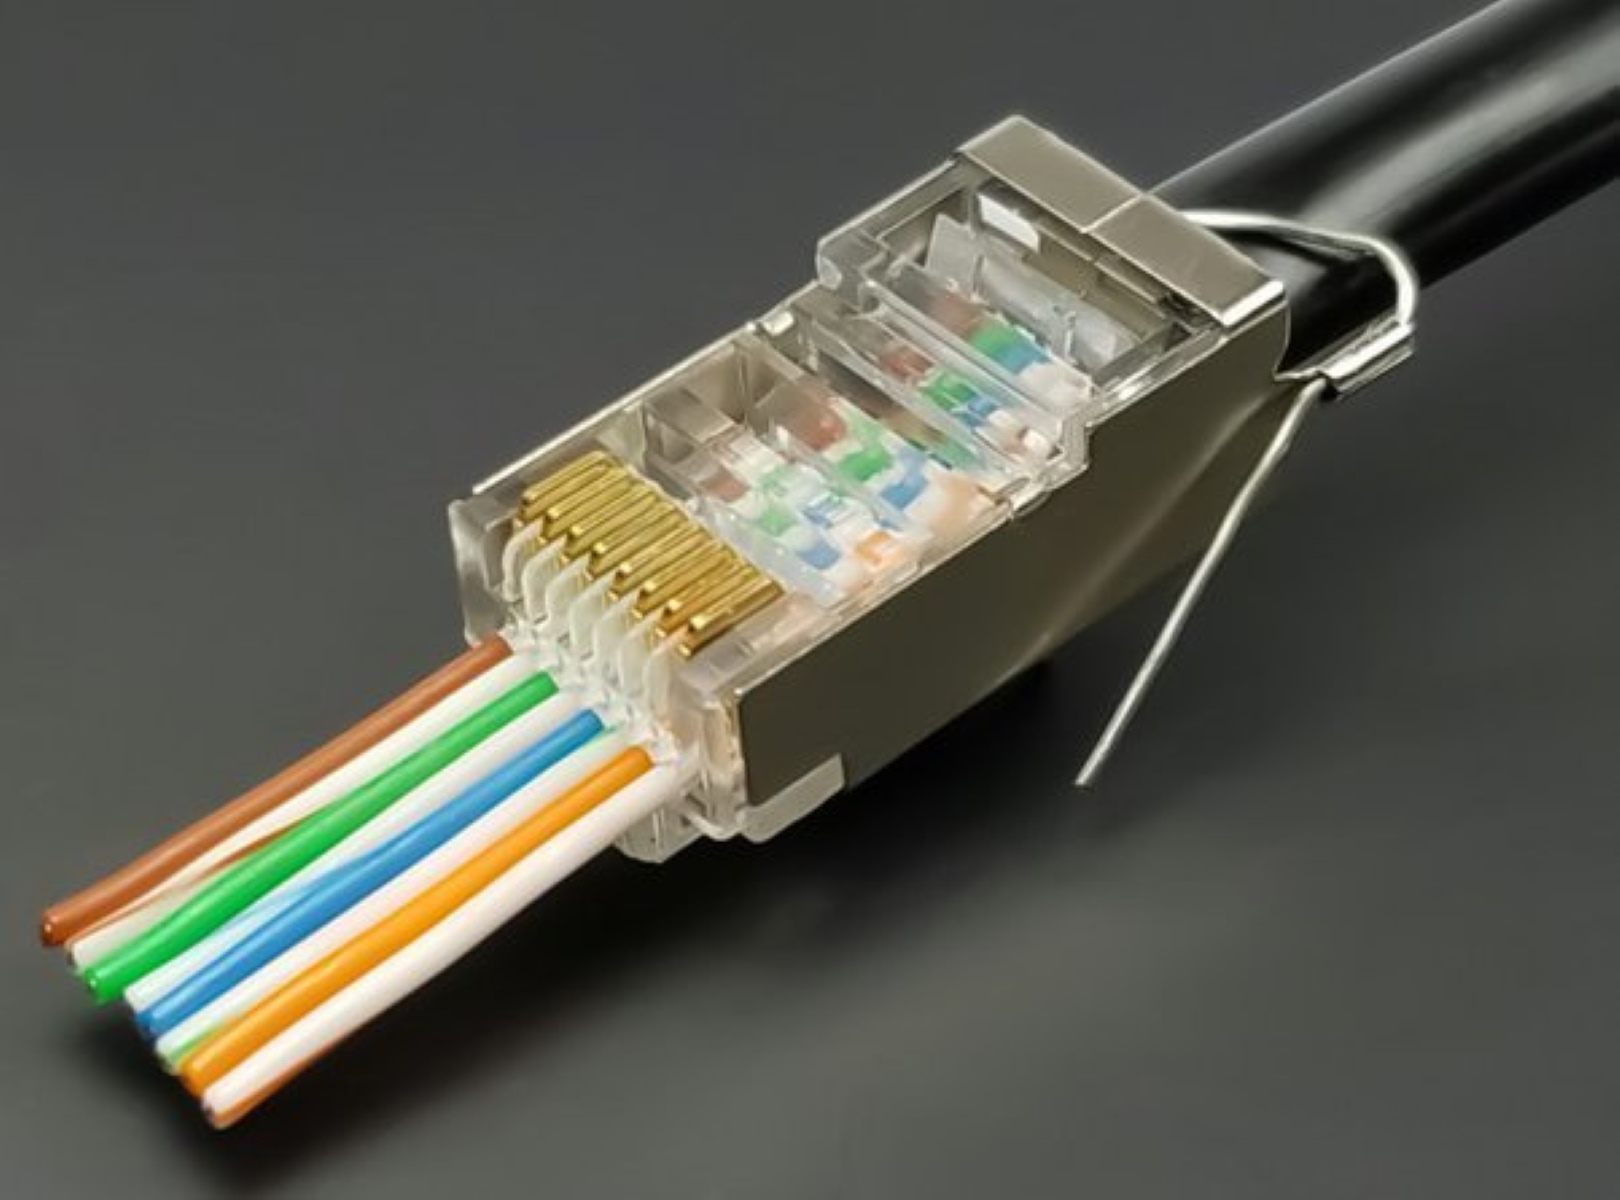
Strip the outer jacket of the shielded cable carefully to avoid nicking the foil or braid. Untwist the pairs minimally and terminate them according to T568A or T568B wiring standards. Use a shielded RJ45 connector or shielded keystone jack that makes physical contact with the cable's shield.
Bond the shield to the jack
The shield must make continuous electrical contact with the metal body of the connector or jack. Many shielded connectors have a metal back shell that clamps onto the foil or braid. Crimp the connector so the shield is firmly trapped against the connector body.
Mount the jack in a grounded patch panel
Insert the shielded keystone jack into a shielded patch panel. The panel's metal construction provides a common bonding point for all jacks. Ensure the jack snaps in securely so its metal housing touches the panel's grounded frame.
Connect the panel to the facility ground busbar
Run a grounding wire from the patch panel's dedicated grounding lug to the building's ground busbar or grounding electrode system. Use a grounding clamp or lug rated for the wire gauge, and crimp it securely. Keep the grounding path as short and straight as possible to minimize resistance.
How to ground shielded Ethernet cable directly to a device
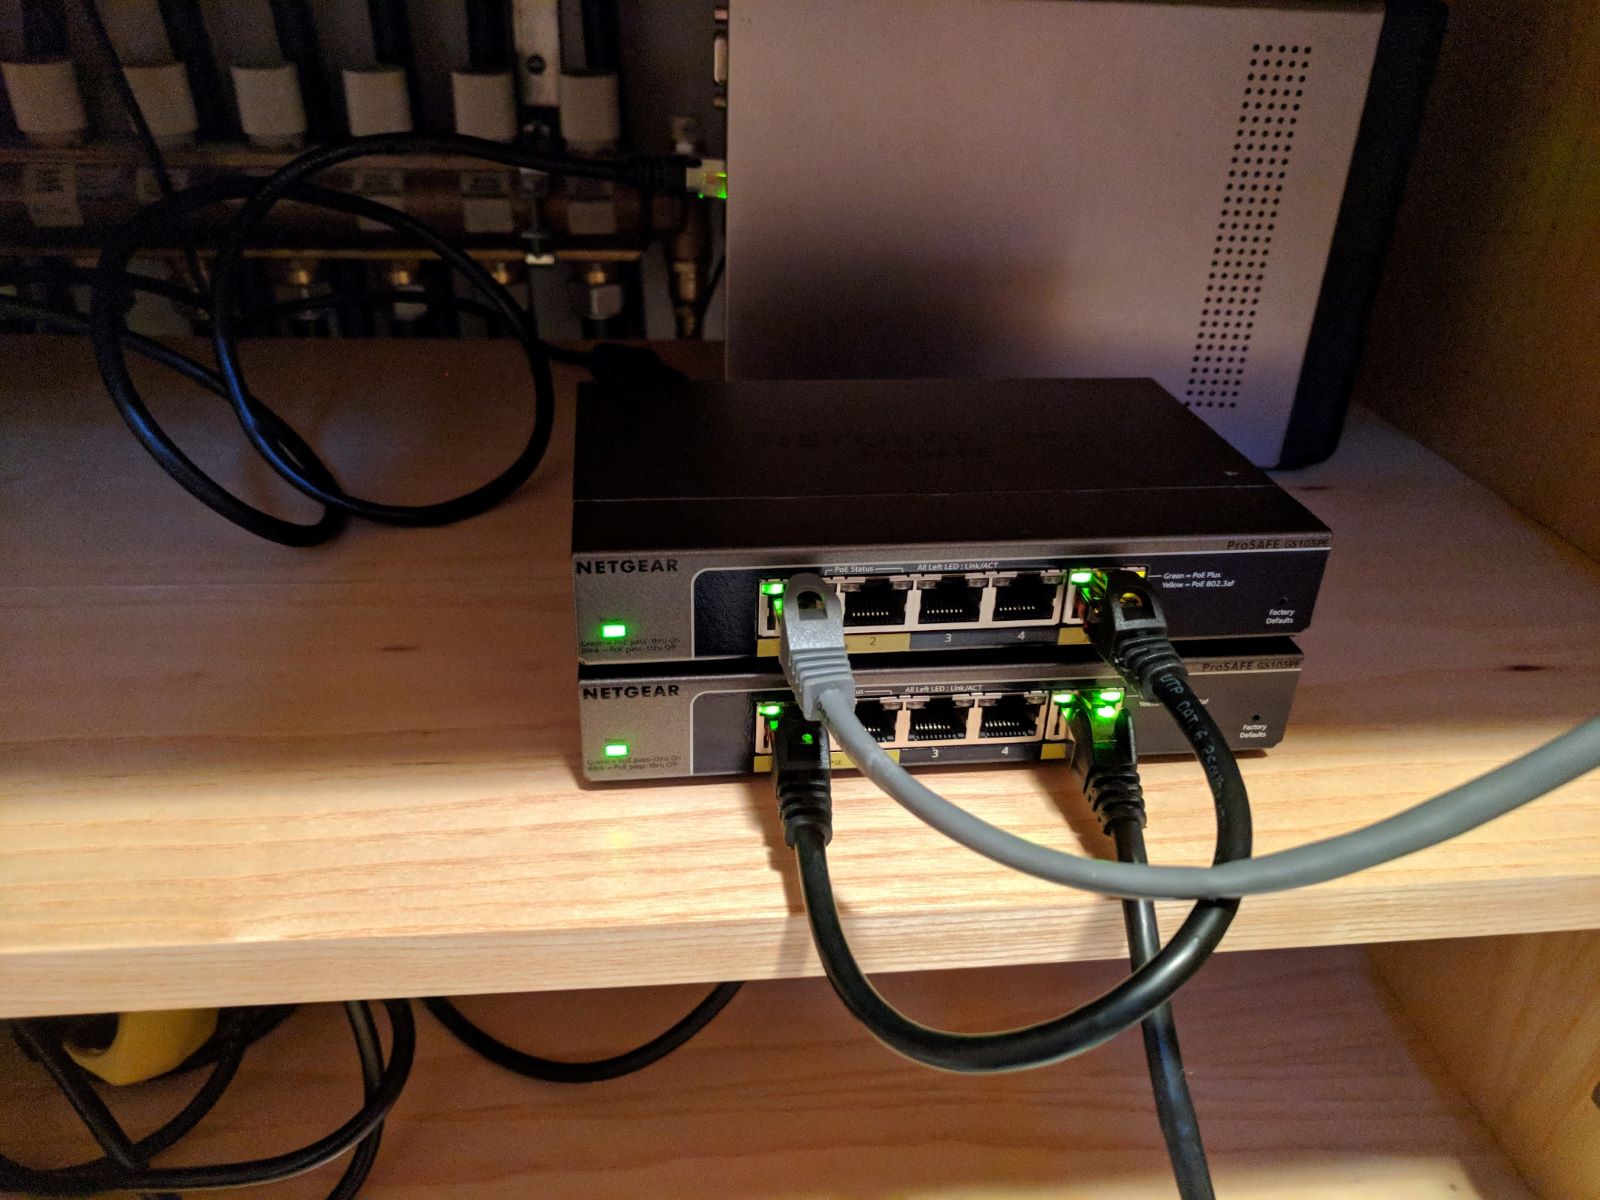
If you are not using a patch panel, you can ground shielded Ethernet cable directly to a grounded switch or other network device. Use a shielded patch cord to connect the wall jack to the switch, the shield on the patch cord carries the ground bond from the jack to the switch. Then verify that the switch chassis is grounded: most enterprise switches have a grounding lug on the rear or side. Connect a grounding wire from that lug to the facility ground busbar using a two-hole grounding lug and crimping tool. If the switch is mounted in a grounded equipment rack, the rack itself may provide the ground path, but you should still verify continuity with a multimeter.
Special case: grounding outdoor Ethernet runs
Outdoor installations require additional precautions because cables are exposed to moisture, temperature swings, and lightning-induced surges. Use outdoor-rated shielded cable with a UV-resistant jacket. Install weather-resistant grounding points, typically a ground rod or the building's grounding electrode system, and protect the connection with a waterproof enclosure. Bond the cable shield to the grounding point using a corrosion-resistant clamp. Always install a surge protector or Ethernet lightning protector at both ends of the outdoor run; these devices divert high-voltage surges to ground before they reach your switch or router. For long outdoor runs, ground the shield at the building entry point and again at the far end only if both grounds are tied to the same reference; otherwise, use a one-end grounding approach to avoid ground loops.
How to test your Ethernet grounding
Testing ensures your grounding shielded Ethernet cable work is effective. Use a multimeter set to resistance (ohms). First, disconnect power from all network equipment. Place one probe on the exposed shield of the terminated cable or the metal connector, and the other probe on the ground point (busbar, ground rod, or grounded rack). The reading should be low, ideally just a few ohms. A high reading indicates a poor bond, corrosion, or a loose connection. Move the probes along the grounding wire to check for consistent resistance throughout the entire path. Also inspect all clamps and lugs for tightness and signs of corrosion. If you measure any resistance above a few ohms, re-terminate the shield connection or replace the grounding wire. For outdoor runs, test after heavy rain to ensure moisture has not degraded the ground bond.
\nRelated reading: How To Tell What Cat Ethernet Cable, How To Unplug Ethernet Cable, and How To Connect Starlink Ethernet Adapter.