Introduction
Welcome to our comprehensive guide on how to fix a broken charger port on a tablet. If you’ve found yourself in a frustrating situation where your tablet’s charger port is not functioning properly, you’ve come to the right place. Whether the port is loose, bent, or completely non-functional, we’ll walk you through the necessary steps to get it up and running again.
A broken charger port can be a common issue for tablet owners, and it can greatly hinder the device’s functionality. It can leave you unable to charge your tablet or connect it to other devices, impacting your ability to work, play games, stream content, or stay connected.
In this guide, we’ll provide you with a step-by-step breakdown of the process, from assessing the damage to potentially replacing the charger port. With the right tools and a little bit of patience, you can restore your tablet’s charger port and save yourself the cost and hassle of professional repairs or a new device.
It’s important to note that while we aim to provide helpful instructions, repairing the charger port on your tablet may void any warranties it still holds. If your device is still under warranty or you’re unsure about performing the repairs yourself, we recommend reaching out to the manufacturer or seeking professional assistance.
Now that we’ve set the stage, let’s jump into the first step: assessing the damage.
Step 1: Assess the Damage
Before you dive into fixing your tablet’s broken charger port, you need to properly assess the extent of the damage. This will help you determine the best course of action and whether you’re able to fix the issue yourself.
Start by examining the physical appearance of the charger port. Look for any visible signs of damage, such as bent or broken pins, dirt or debris obstructing the connection, or a loose or wobbly port. Take note of any issues you observe as this will help guide your repair process.
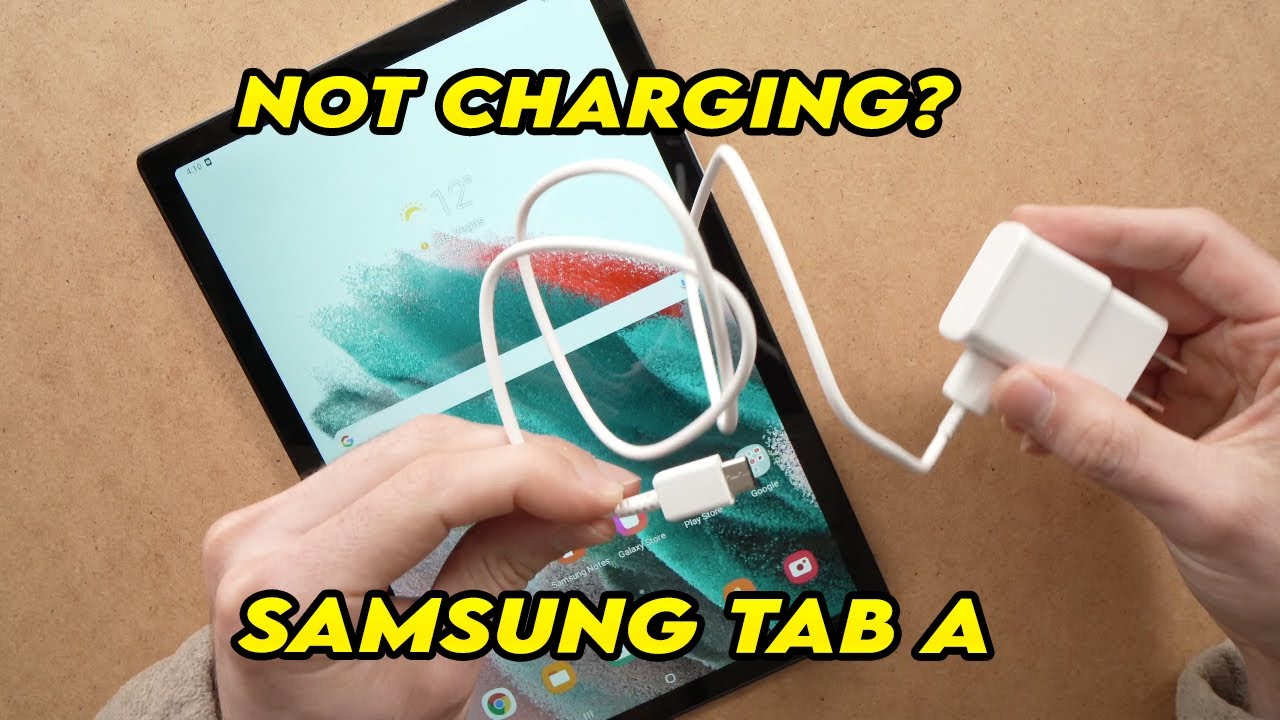
Next, proceed to test the charger port with different charging cables and chargers. Try using cables that you know are in working condition. If the tablet is not charging or the connection is weak, it’s a strong indication that the charger port is indeed damaged.
It’s also worth testing the tablet’s functionality while connected to a charger. Check if the tablet recognizes the charger or if it displays any error messages. A consistent failure to establish a stable charging connection or erratic behavior when charging can confirm that the charger port needs attention.
If you’re still unsure about the extent of the damage or how to proceed, it’s advisable to consult the tablet’s user manual or reach out to the manufacturer’s support for guidance. They may have specific troubleshooting steps or offer insight into common issues that could be affecting your charger port.
Once you have a clear understanding of the damage, you’ll be ready to move on to the next steps of the repair process. Remember, some issues may be easily fixable with a simple cleaning, while others may require replacement parts or professional assistance.
Step 2: Gather the Necessary Tools
Now that you’ve assessed the damage to your tablet’s charger port, it’s time to gather the necessary tools for the repair. Having the right tools on hand will ensure a smoother and more efficient process.
Here are the essential tools you’ll need:
- Screwdriver set: Depending on your tablet model, you may need a Phillips or Torx screwdriver to remove the screws that hold the device together.
- Plastic spudger or opening tool: This tool helps pry open the tablet safely without damaging the delicate internal components.
- Tweezers: Use tweezers with fine tips to handle small parts and gently maneuver them during the repair process.
- Cotton swabs: These are useful for cleaning the charger port and removing any dirt or debris that may be obstructing the connection.
- Isopropyl alcohol: A high concentration isopropyl alcohol will help dissolve any built-up grime or residue in the charger port.
- Microfiber cloth: Use a lint-free microfiber cloth to wipe down the tablet’s exterior and ensure a clean workspace.
- Replacement charger port (if necessary): If your assessment determined that the charger port is irreparable, you may need to purchase a new charger port compatible with your tablet model.
It’s important to note that the specific tools required may vary depending on your tablet manufacturer and model. Therefore, it’s advisable to reference your tablet’s user manual or search online for specific repair guides tailored to your device.
Before proceeding to the next step, make sure you have all the necessary tools gathered and within reach. This will save you time and frustration during the repair process.
Step 3: Power Off the Tablet
Before you begin working on your tablet’s charger port, it’s crucial to power off the device to prevent any accidents or damage. This step ensures your safety and protects the internal components from potential harm.
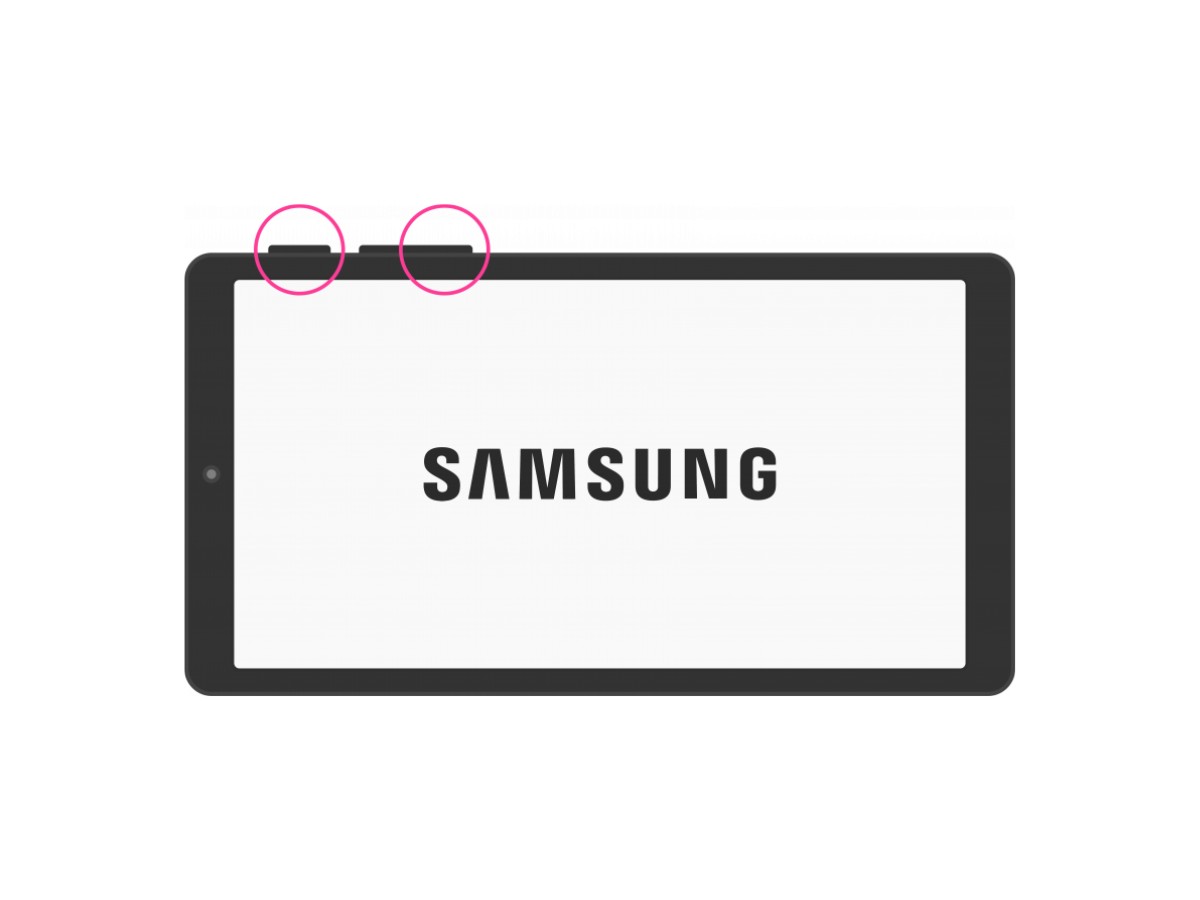
To power off your tablet, follow these general steps:
- Locate the power button on your tablet. It’s typically located on the side or top of the device.
- Press and hold the power button until you see the power options appear on the screen.
- Select the “Power off” or “Shut down” option from the menu.
- Wait for the tablet to completely power off before proceeding.
Keep in mind that the exact process of powering off your tablet may vary depending on the manufacturer and model. If you’re unsure how to power off your specific device, refer to the tablet’s user manual or search online for instructions tailored to your tablet model.
Once your tablet is powered off, it’s important to leave it disconnected from any power source throughout the repair process. This eliminates the risk of electrical shock and ensures a safer working environment.
By powering off your tablet and taking precautionary measures, you’re ready to proceed to the next steps of the repair process. Remember to double-check that your tablet is indeed powered off and disconnected from any power source before proceeding further.
Step 4: Remove the Battery (If Possible)
In this step, we’ll explore the option of removing the battery from your tablet, if it’s designed to be removable. Not all tablets have removable batteries, so skip this step if your tablet does not allow for easy removal.
Removing the battery can provide better access to the charger port and make the repair process more straightforward. However, keep in mind that not all tablets have easily removable batteries, and attempting to remove a non-removable battery may cause damage to the device.
If your tablet has a removable back cover and an accessible battery compartment, follow these general steps to remove the battery:
- Locate the small latch or release button near the battery compartment of your tablet.
- Press or slide the latch/button in the designated direction to release the battery.
- Gently lift the battery out of the compartment, being mindful of any connectors or cables that may be attached.
If you encounter any resistance or difficulty while trying to remove the battery, refer to your tablet’s user manual or search online for specific instructions that apply to your tablet model.
It’s worth noting that if your tablet has a non-removable battery, do not attempt to remove it forcefully. Trying to remove a non-removable battery can lead to irreversible damage to the device. In such cases, proceed to the next step without removing the battery.
By removing the battery (if possible), you’ll have a clearer path to reach and work on the charger port of your tablet. If your tablet does not have a removable battery, don’t worry—there are still ways to address the charger port issue without requiring battery removal.
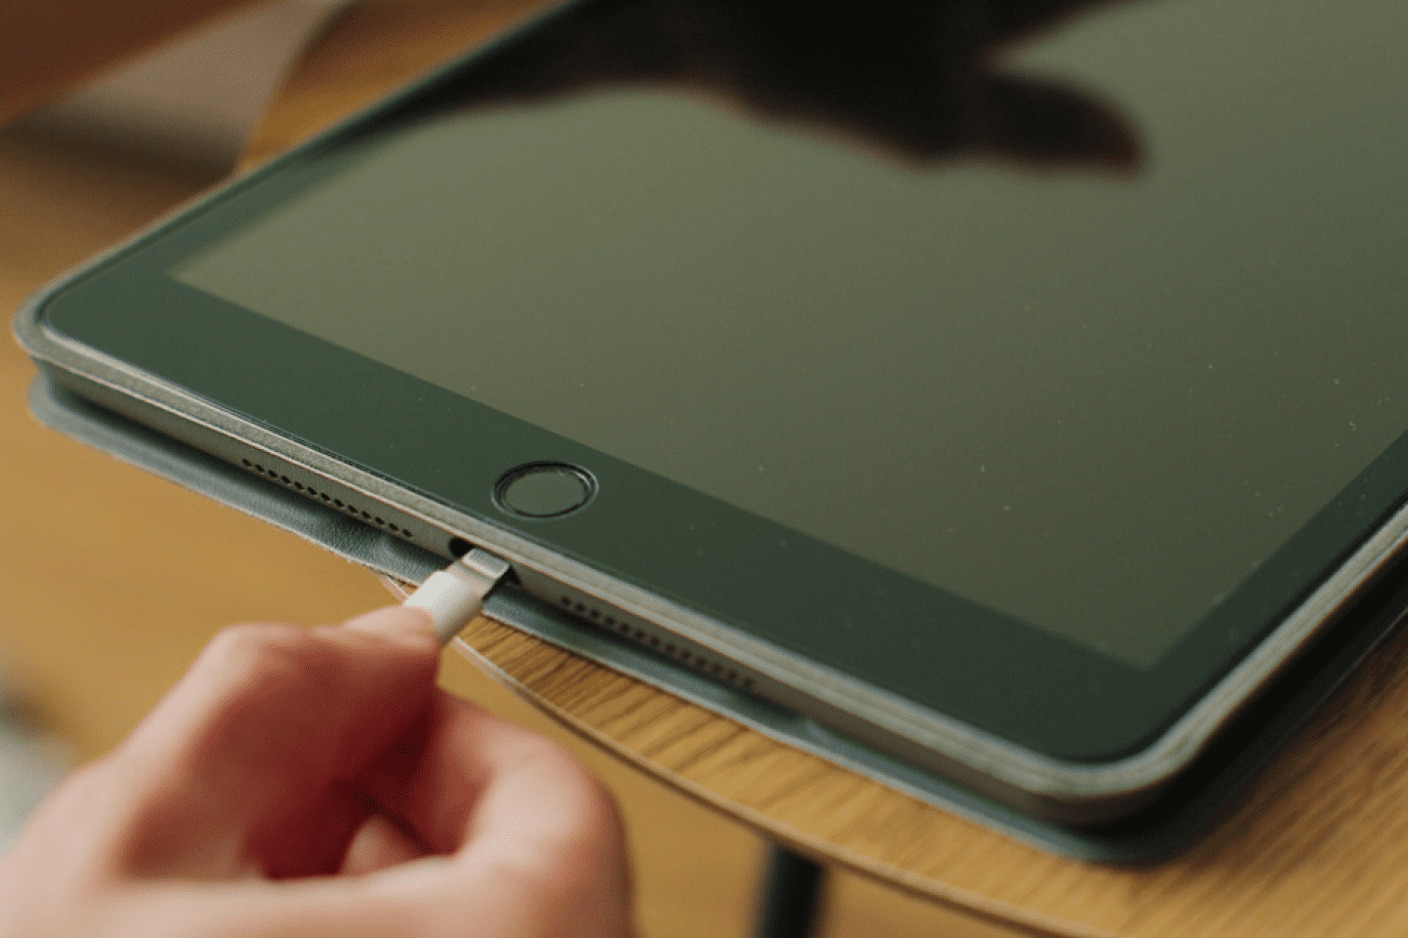
Step 5: Clean the Charger Port
Now that you have access to the charger port, it’s time to clean it. Oftentimes, a dirty or dusty charger port can cause connection issues, leading to a malfunctioning charger port. Cleaning the charger port can help restore proper functionality and eliminate any obstructions that may be hindering the connection.
Follow these steps to effectively clean the charger port:
- Start by powering off your tablet and ensuring it’s disconnected from any power source.
- Take a close look at the charger port and identify any visible dirt, debris, or lint. Use a flashlight if needed to get a better view.
- Using a soft-bristled brush or a clean toothbrush, gently brush the inside of the charger port to remove any loose particles.
- Next, grab a cotton swab and dampen it with a small amount of isopropyl alcohol. Be careful not to oversaturate the swab.
- Insert the dampened cotton swab into the charger port and gently scrub the inside, paying close attention to the corners and edges.
- Continue wiping and scrubbing until you’ve thoroughly cleaned the charger port.
- Lastly, use a dry cotton swab or compressed air to remove any remaining moisture from the charger port. Ensure it’s completely dry before proceeding.
It’s important to be gentle when cleaning the charger port to avoid causing any damage. Avoid using sharp objects or excessive force, as this can lead to bent pins or further complications.
Keep in mind that if the charger port is severely corroded or damaged beyond cleaning, you may need to consider replacing it. However, cleaning the charger port should be the first step in attempting to resolve any connection issues before resorting to a replacement.
By cleaning the charger port, you’re taking a proactive approach to ensure a clean and unobstructed connection. With a cleaner port, you can now proceed to the next step and further assess the condition of the charger port.
Step 6: Inspect for Bent or Broken Pins
After cleaning the charger port, it’s important to thoroughly inspect for any bent or broken pins. Bent or damaged pins can prevent proper contact and cause charging issues, even if the port is clean. By inspecting the pins, you can determine if any additional repair or replacement is necessary.
Here’s how to inspect the charger port pins:
- Using a flashlight or magnifying glass, carefully examine the pins inside the charger port.
- Look for any signs of misalignment, bending, or damage. Bent pins can occur from inserting the charger cable at an awkward angle or from accidental mishandling.
- Gently push on each pin using a small tool or a toothpick to check for any excessive movement or if they appear loose.
- If you notice any pins that are significantly bent, broken, or not aligned with the others, they may need to be straightened or replaced.
If you find bent pins that are relatively minor and still intact, you may attempt to straighten them using a pair of fine-tipped tweezers or a needle. Be extremely careful when straightening the pins, as excessive force or improper technique can lead to further damage.
However, if the pins are severely bent, broken, or you’re unsure about bending them back into place, seeking professional help or replacing the charger port may be the best course of action. In some cases, it’s more cost-effective and safer to replace the charger port entirely rather than risking further damage during the repair process.
By inspecting the charger port pins, you’ll have a clearer understanding of their condition. Remember, if the pins are significantly damaged, it’s always a good idea to consult a professional or refer to the tablet manufacturer for guidance.
Step 7: Straighten Bent Pins
If you have identified any bent pins during the inspection in the previous step, you may attempt to straighten them before considering a charger port replacement. Straightening bent pins can restore proper contact and improve the functionality of the charger port.
Here’s a step-by-step guide on how to straighten the bent pins:
- Ensure that your tablet is powered off and disconnected from any power source.
- Using a pair of fine-tipped tweezers or a needle, gently and carefully maneuver the bent pin back into its correct position.
- Apply minimal force to avoid excessive bending or snapping of the pin.
- Repeat this process for each bent pin, ensuring that they are straightened and aligned with the rest of the pins in the charger port.
Take your time during this process to ensure the pins are properly straightened. It’s important to note that if a pin appears to be too damaged or is broken, attempting to straighten it may cause further harm or break the pin entirely.
After straightening the pins, reinspect them to ensure they are aligned correctly and haven’t been damaged further during the straightening process.
If you encounter difficulties or lack confidence in straightening the pins yourself, it’s recommended to consult a professional technician or reach out to the tablet manufacturer’s support for further assistance. They can guide you through the process or advise on the best course of action for repairing or replacing the charger port.
Straightening bent pins can be a delicate process, so exercise caution and patience to achieve the best results. Once the pins are straightened, you can proceed to the next steps of the repair process.
Step 8: Replace the Charger Port (If Necessary)
If you have exhausted all other options and the charger port is still not functioning properly, it may be necessary to replace the charger port. This step is recommended when the charger port is severely damaged, broken, or unable to be repaired through other means.
Here’s how to replace the charger port on your tablet:
- Ensure that your tablet is powered off and disconnected from any power source.
- Refer to your tablet’s user manual or search online for a replacement charger port compatible with your tablet model.
- Using a screwdriver or the necessary tools, carefully remove any screws or fasteners securing the tablet’s shell or back cover.
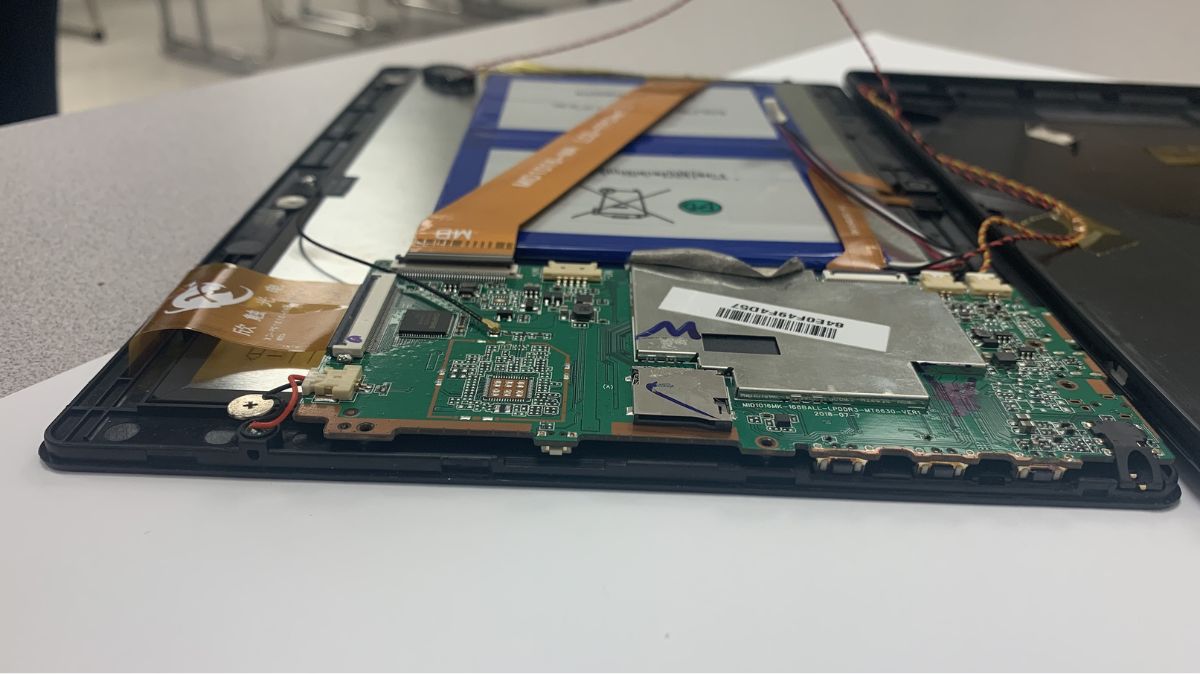
- Gently detach the back cover or shell to expose the internal components of the tablet.
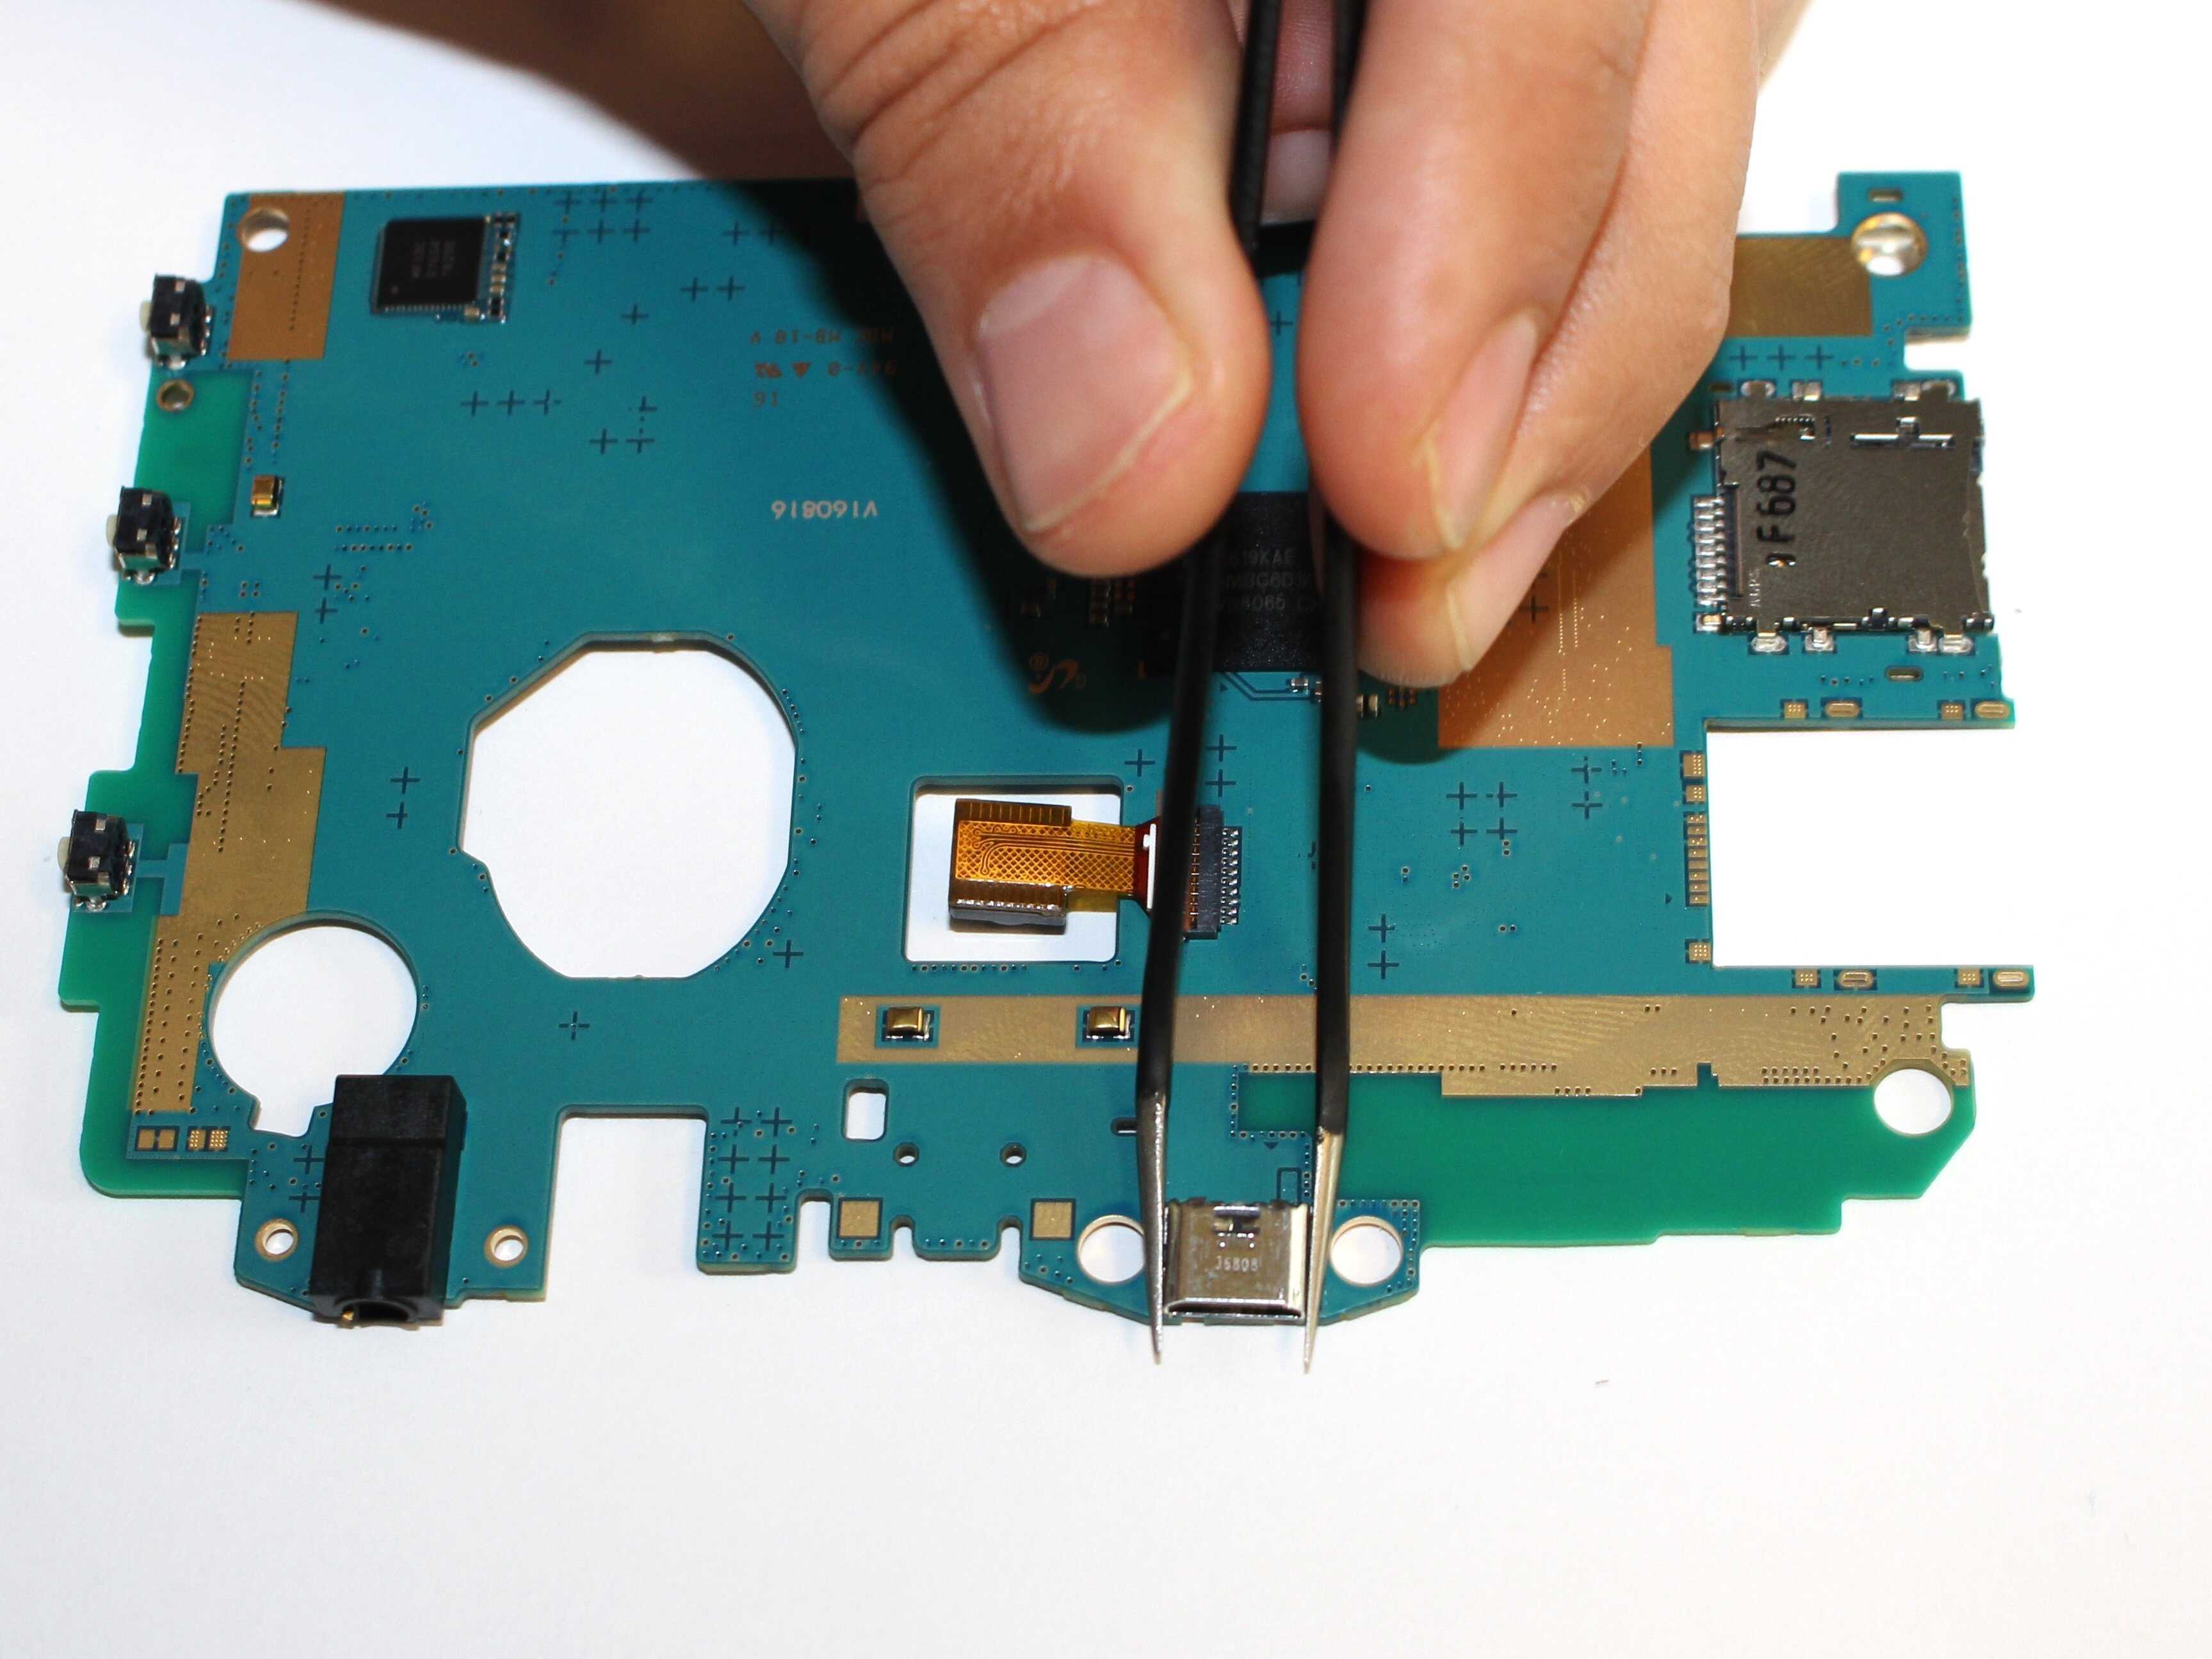
- Locate the existing charger port and carefully disconnect any cables or connectors attached to it.
- Remove the old charger port from the tablet, being mindful of any further disassembly required.
- Take the new charger port and carefully connect it to the appropriate connectors inside the tablet.
- Secure the new charger port in place using screws or fasteners.
- Reassemble the tablet by attaching the back cover or shell and tightening any screws or fasteners.
It’s important to note that the specific steps for replacing the charger port may vary depending on your tablet model. Therefore, it’s advisable to consult the tablet’s user manual or search for specific repair guides tailored to your device.
If you’re uncomfortable or uncertain about replacing the charger port yourself, it’s recommended to seek professional assistance or contact the tablet manufacturer’s support for further guidance.
By replacing the charger port, you can ensure a functional and reliable connection, allowing you to charge your tablet and enjoy its full capabilities once again.
Step 9: Reassemble the Tablet
After successfully replacing the charger port or completing any necessary repairs, it’s time to reassemble your tablet. This step involves putting all the components back together to restore the tablet to its original state and ensure proper functionality.
Follow these steps to reassemble your tablet:
- Retrieve the back cover or shell of your tablet.
- Carefully align the cover or shell with the tablet’s body and gently press it into place.
- If necessary, reinsert any screws or fasteners to secure the back cover or shell. Make sure they are tightened appropriately, but be careful not to overtighten them.
- Double-check that all cables and connectors inside the tablet are properly attached to their respective ports.
- Ensure that the new charger port is securely connected and in its correct position.
- If you removed the battery in the earlier steps and it’s removable, carefully reinsert the battery into its compartment.
- Power on your tablet and check if the charger port is functioning properly. Connect a charger and ensure that the tablet is charging as expected.
- Test the tablet’s other functions to confirm that they are working normally as well.
If you encounter any issues or if the charger port is still not functioning correctly after reassembly, it’s recommended to revisit the previous steps and double-check your work. Ensure that all connections are secure and that no components were damaged or improperly reinstalled during the repair process.
If you’re uncertain about reassembling your tablet or if you’re experiencing difficulties, it may be beneficial to seek assistance from a professional technician or contact the tablet manufacturer’s support for further guidance.
Once your tablet is successfully reassembled and functioning properly, you can enjoy using your device without any charger port issues.
Conclusion
Congratulations! You have successfully learned how to fix a broken charger port on a tablet. By following the steps outlined in this guide, you were able to assess the damage, gather the necessary tools, clean the charger port, inspect for bent or broken pins, straighten any bent pins, replace the charger port if necessary, and finally, reassemble the tablet.
Repairing a broken charger port can save you the cost and hassle of professional repairs or needing to purchase a new tablet. It’s important to approach the repair process with caution and always refer to your tablet’s user manual or seek professional assistance if you’re unsure or uncomfortable with any of the steps.
Remember to power off your tablet and disconnect it from any power source before starting the repair process. Take your time, be gentle with the delicate components, and ensure the charger port is properly cleaned and aligned.
If you encounter any difficulties during the repair process or are hesitant to perform the repairs yourself, it’s advisable to consult a professional technician or reach out to the tablet manufacturer’s support for guidance. They can provide further assistance and ensure the repair is done correctly.
By fixing a broken charger port, you can regain full functionality of your tablet and continue to use it for work, entertainment, and staying connected.
We hope this guide has been helpful in resolving your charger port issues. Best of luck with your tablet repair endeavors!