Introduction
Welcome to our guide on how to fix an Amazon tablet. Amazon tablets, including the popular Fire series, are affordable and versatile devices that provide users with access to a wide range of entertainment and productivity apps. However, like any electronic device, they can encounter issues that may disrupt their normal functionality.
In this article, we will walk you through common problems you may encounter with your Amazon tablet, such as charging troubles, unresponsiveness, slow performance, and connectivity issues. We will provide you with step-by-step solutions to help you troubleshoot and resolve these issues.
It’s important to note that these troubleshooting steps should work for most Amazon tablet models. However, if you have a specific model, it is always a good idea to refer to the manufacturer’s support documentation for any model-specific instructions.
So, whether you’re experiencing difficulties with charging, your device won’t turn on, the touchscreen is unresponsive, or the performance is sluggish, we’ve got you covered. Let’s dive into each issue and learn how to fix them.
Trouble with Charging
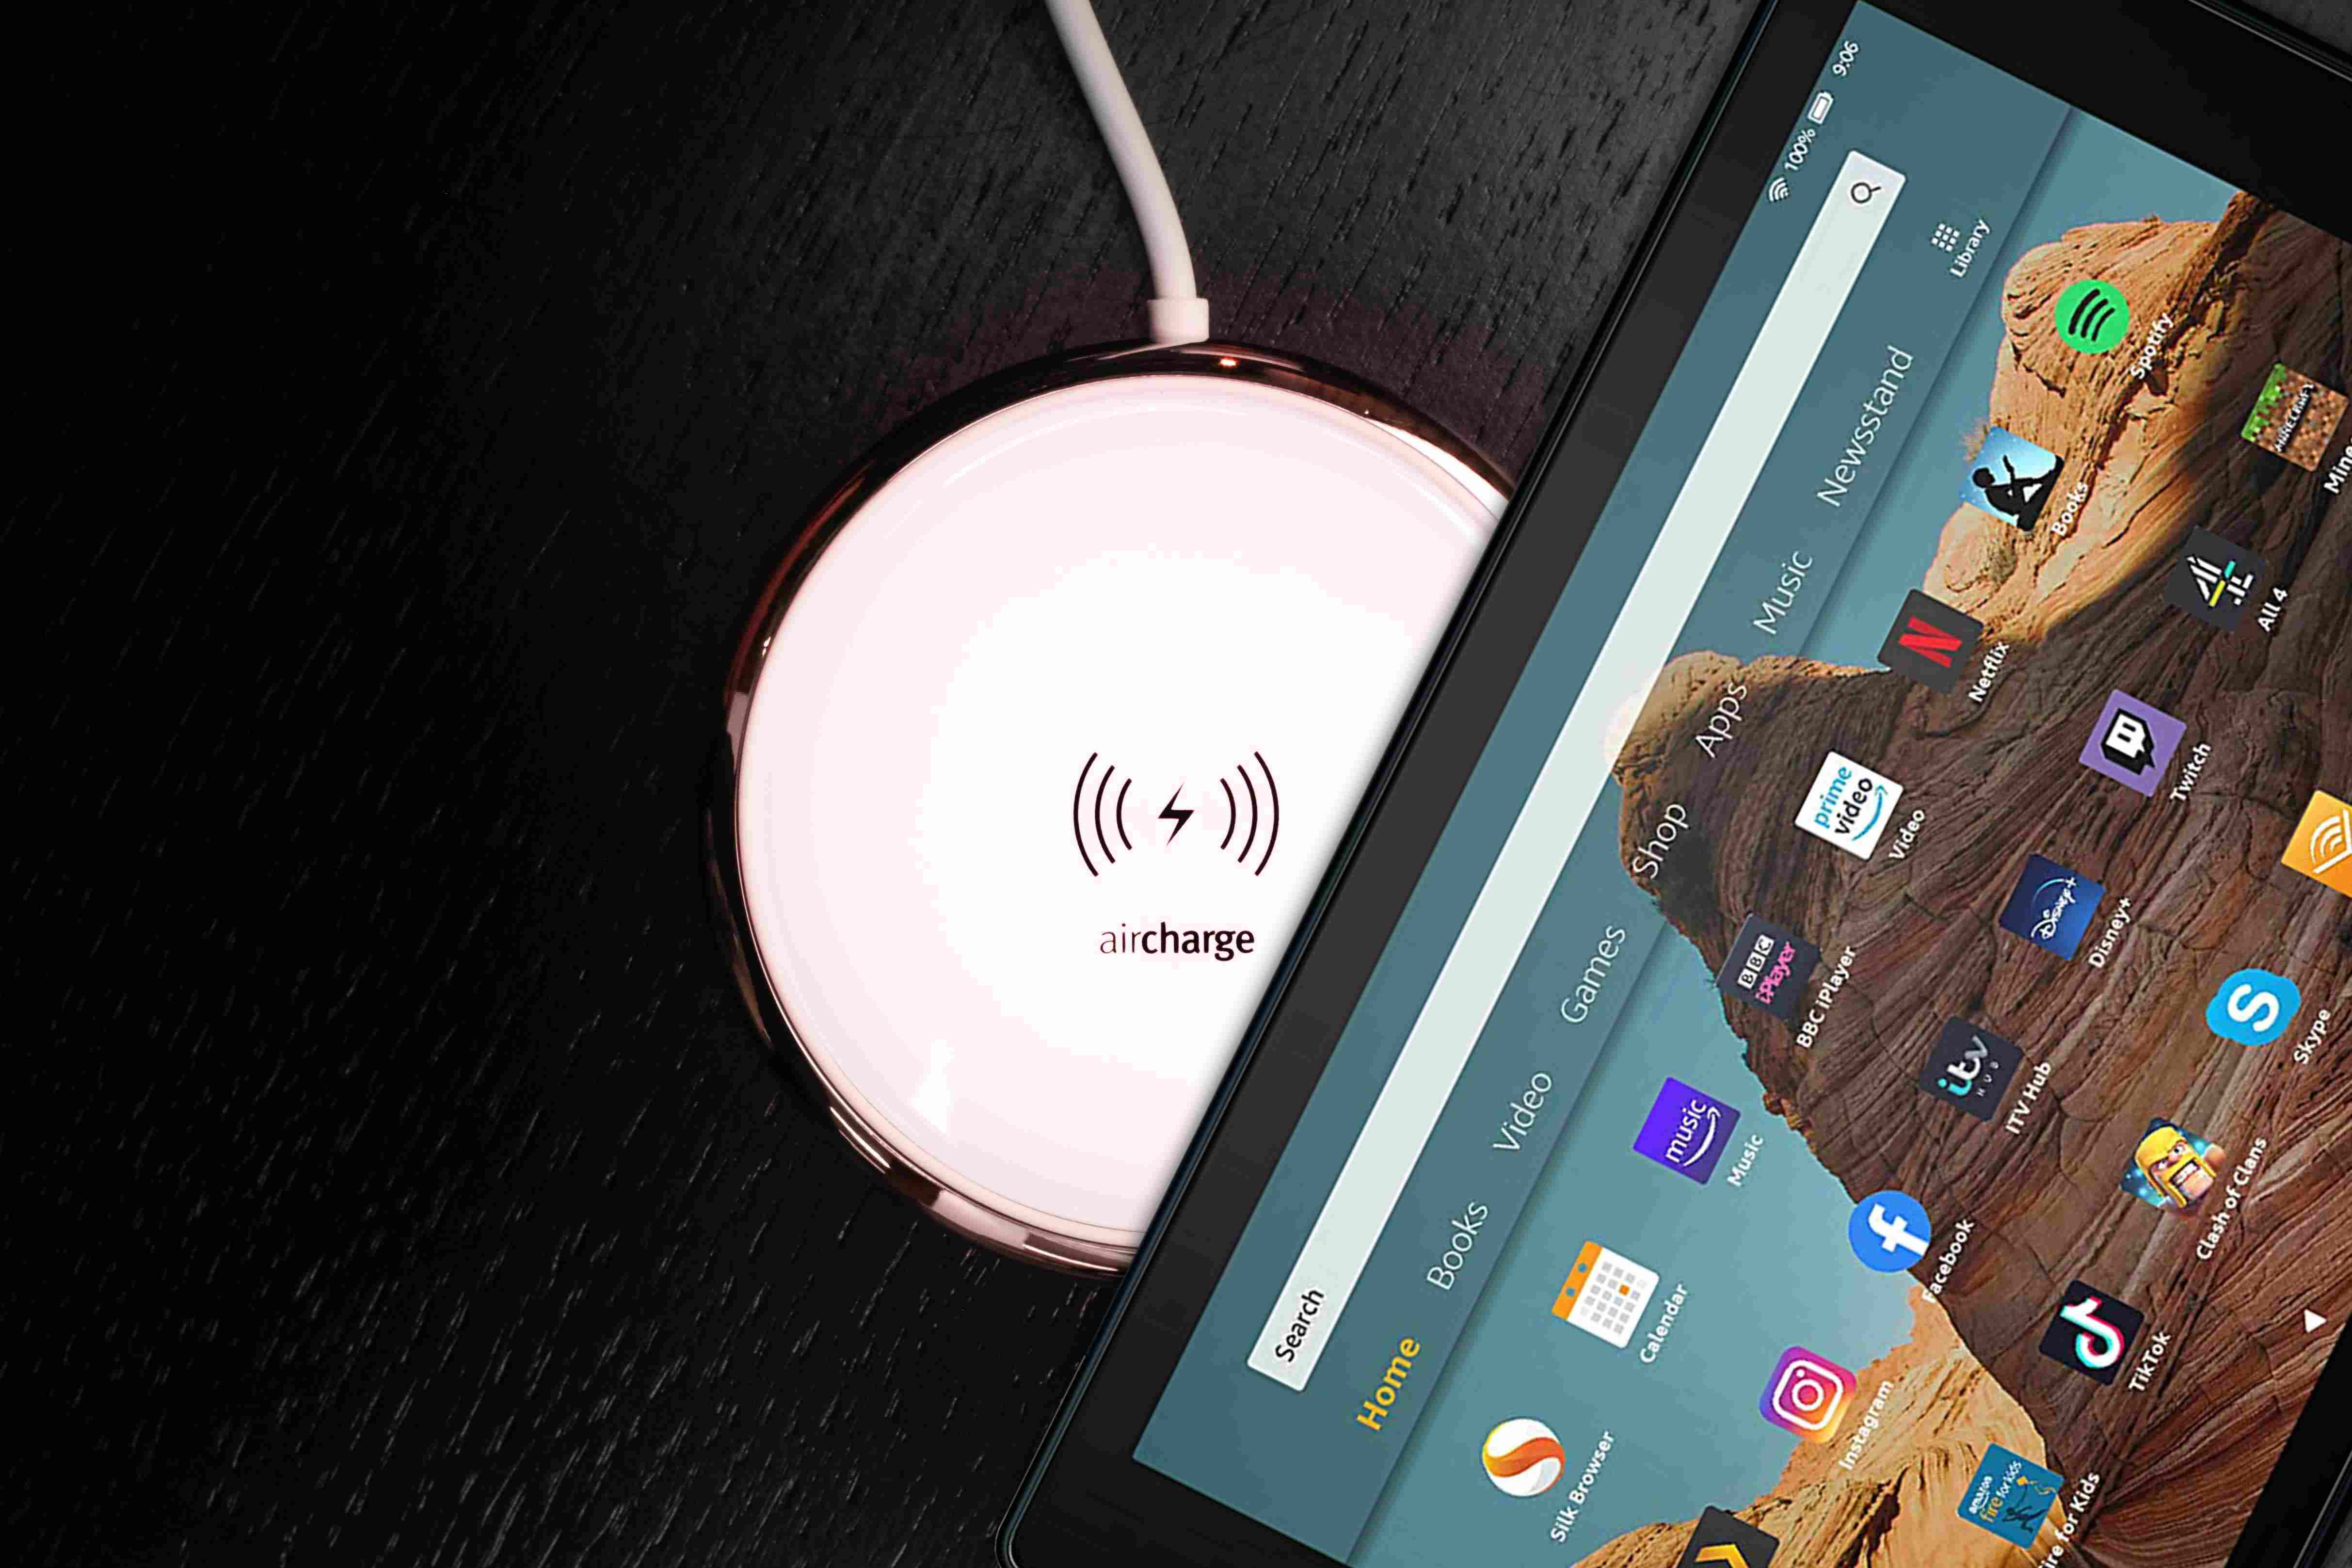
One of the most common issues faced by Amazon tablet users is trouble with charging. If you’re experiencing difficulties getting your device to charge properly, follow the troubleshooting steps below:
- Check the charging cable and adapter: Inspect the charging cable and adapter for any visible damage or frayed wires. If you notice any issues, replace them with a new, compatible charger.
- Clean the charging port: Over time, dirt and debris can accumulate in the charging port, preventing a solid connection. Use a gentle brush or a toothpick to carefully clean out any debris that may be obstructing the charging port. Be cautious not to damage the port while cleaning.
- Try a different power source: Sometimes, the problem may lie with the power source you’re using. If you’re charging your tablet through a wall outlet, try using a different outlet or a different charging source, such as a USB port on your computer or a power bank.
- Restart your device: Occasionally, a minor software glitch may cause charging issues. By restarting your Amazon tablet, you can potentially resolve these glitches and allow your device to charge properly.
- Perform a hard reset: If your tablet is completely unresponsive and not charging, try performing a hard reset. This can be done by holding down the power button for about 20 seconds until the device restarts. By doing this, you may be able to kick-start the charging process and resolve any underlying software issues.
- Seek professional help: If none of the above steps work, it may be time to seek professional assistance. Contact Amazon customer support or visit an authorized service center to get your tablet assessed and repaired.
Remember, make sure to use a genuine Amazon charger and cable to ensure compatibility and reduce the risk of potential charging problems. Following these troubleshooting steps should help resolve most charging issues with your Amazon tablet.
Device Won’t Turn On
If you’re having trouble turning on your Amazon tablet, don’t panic. There are several steps you can take to troubleshoot and resolve this issue:
- Charge your device: Connect your tablet to a power source using the original charger and cable. Allow it to charge for at least 30 minutes before attempting to turn it on again. Sometimes, a completely drained battery can prevent the device from powering on.
- Perform a soft reset: Press and hold the power button for about 20 seconds. This will force the device to restart. After the soft reset, try turning it on again. This simple step can often resolve minor software glitches or frozen screens that prevent the tablet from turning on.
- Check the power button: Ensure that the power button is not stuck or damaged. Sometimes, debris or dust can prevent the power button from functioning properly. Clean the button gently using a soft cloth or compressed air, and try pressing it again to turn on the device.
- Try a hard reset: If the soft reset doesn’t work, you may need to perform a hard reset. This will restore your tablet to its default settings, but keep in mind that your data will be erased. To perform a hard reset, hold down the power button and the volume up button simultaneously for about 15 seconds. Follow the on-screen instructions to complete the reset process.
- Contact customer support: If none of the above solutions work, it’s time to reach out to Amazon customer support. They have a team of experts who can assist you with further troubleshooting steps or guide you on how to get your tablet repaired or replaced if necessary.
By following these steps, you should be able to resolve the issue of your Amazon tablet not turning on. Remember to always use genuine Amazon chargers and cables to ensure optimal performance and avoid potential hardware problems.
Unresponsive Touchscreen
Dealing with an unresponsive touchscreen on your Amazon tablet can be frustrating, but there are steps you can take to troubleshoot and fix the issue:
- Clean the screen: Sometimes, the unresponsiveness of the touchscreen is due to dirt, smudges, or fingerprints on the screen. Use a microfiber cloth or a screen-cleaning solution to gently clean the screen surface. Avoid using harsh chemicals or abrasive materials that may damage the screen.
- Remove screen protector or case: If you’re using a screen protector or a protective case, it is possible that it is interfering with the touchscreen’s sensitivity. Try removing any accessories and check if the touchscreen responds properly.
- Restart your device: Just like with other issues, a simple restart can often resolve touchscreen problems. Hold down the power button until you see the power options menu, then select “Restart” or “Power off” and power it on again.
- Check for updates: Ensure that your tablet’s operating system and apps are up to date. Sometimes, outdated software can cause touchscreen issues. Go to Settings > Device Options > System Updates to check for and install any available updates.
- Calibrate the touchscreen: Some Amazon tablet models allow you to calibrate the touchscreen for improved accuracy. Go to Settings > Device Options > Display & Sounds > Screen Calibration. Follow the on-screen instructions to calibrate the touchscreen and check if it resolves the unresponsiveness.
- Perform a factory reset: If none of the above steps work, you may need to perform a factory reset as a last resort. This will erase all data on your device, so make sure to back up any important files. To perform a factory reset, go to Settings > Device Options > Reset to Factory Defaults. Follow the on-screen instructions to complete the process.
If the touchscreen is still unresponsive after trying these solutions, it’s best to contact Amazon customer support for further assistance. They can provide additional troubleshooting or guide you on the next steps to resolve the issue.
Slow Performance
Is your Amazon tablet running slow and lagging? Don’t worry, there are several steps you can take to improve its performance:
- Close unused apps: Having multiple apps running in the background can consume system resources and slow down your tablet. Close any unused apps by swiping them off the screen or using the app switcher.
- Clear cache: Over time, cached data can accumulate and occupy valuable storage space, causing the device to run slower. Go to Settings > Apps & Games > Manage All Applications. Select individual apps and choose “Clear Cache” to free up storage.
- Remove unnecessary files: Remove any unnecessary files or apps from your tablet to free up storage space. You can do this by going to Settings > Storage > Internal Storage and selecting the files or apps you want to remove.
- Limit live wallpapers: Animated or interactive wallpapers can be visually appealing but can also consume system resources. Consider using a static wallpaper to reduce the strain on your tablet’s performance.
- Disable or uninstall bloatware: Amazon tablets often come preloaded with apps that you may not use or need. Disable or uninstall these preinstalled apps to free up system resources and improve performance. Go to Settings > Apps & Games > Manage All Applications and select the app you want to disable or uninstall.
- Restart your tablet: A simple restart can help refresh the system and clear any temporary glitches that may be causing the slow performance. Press and hold the power button, then choose “Restart” from the power options menu.
- Factory reset: If all else fails and your tablet is still sluggish, performing a factory reset can restore it to its original state. Remember to back up any important data before proceeding. To perform a factory reset, go to Settings > Device Options > Reset to Factory Defaults and follow the on-screen instructions.
By following these steps, you should be able to improve the performance of your Amazon tablet and enjoy a smoother user experience. If the sluggishness persists, it may be worth contacting Amazon customer support for further assistance.
Connect Wi-Fi Issues
If you’re experiencing difficulties connecting your Amazon tablet to a Wi-Fi network, try these troubleshooting steps:
- Check the Wi-Fi signal: Ensure that your tablet is within range of the Wi-Fi network and that the signal is strong. Move closer to the router or access point to improve your connection.
- Restart your device and router: Sometimes, a simple restart can resolve temporary connectivity issues. Turn off both your Amazon tablet and your Wi-Fi router, wait for a few moments, and then turn them back on. This can refresh the network connections and resolve any glitches.
- Make sure Wi-Fi is enabled: Double-check that Wi-Fi is enabled on your tablet. Swipe down from the top of the screen to open the quick settings menu, and tap the Wi-Fi icon. If it’s already enabled, try disabling and re-enabling it to see if that resolves the issue.
- Forget and reconnect to the network: Go to Settings > Network & Internet > Wi-Fi. Find the Wi-Fi network you’re having trouble connecting to, then tap and hold on the network name. Select “Forget Network” and then try reconnecting to it by tapping on the network name and entering the password.
- Reset network settings: If the previous steps didn’t work, you can try resetting your network settings. Go to Settings > Network & Internet > Advanced > Reset Wi-Fi, mobile & Bluetooth. Tap “Reset Settings” and confirm the action. Note that this will also remove saved Wi-Fi passwords and Bluetooth pairings.
- Check the router settings: If you’re still experiencing issues, there may be a problem with your router’s settings. Access your router’s configuration page and ensure that the Wi-Fi settings are configured correctly. You may need to consult your router’s manual or contact your internet service provider for assistance.
- Perform a software update: Keeping your Amazon tablet’s software up to date is crucial for optimal performance and compatibility. Check for any available system updates by going to Settings > Device Options > System Updates. Install any updates and try connecting to Wi-Fi again.
If you’ve tried all these steps and are still unable to connect to Wi-Fi, it’s recommended to contact your internet service provider or Amazon customer support for further assistance. They can help diagnose any specific issues and provide tailored solutions to get your tablet connected again.
Reset to Factory Settings
If you’re experiencing persistent issues with your Amazon tablet that haven’t been resolved through other troubleshooting methods, performing a factory reset can often help. However, keep in mind that a factory reset will erase all data on your tablet, so it’s essential to back up any important files before proceeding. Here’s how to reset your tablet to its factory settings:
- Go to the Settings menu: Swipe down from the top of the tablet’s screen to access the Quick Settings menu. Tap on the gear icon to open the Settings menu.
- Select “Device Options”: In the Settings menu, scroll down and tap on the “Device Options” or “Device” section.
- Choose “Reset to Factory Defaults”: Look for the option that says “Reset to Factory Defaults” or “Reset to Factory Settings” and tap on it.
- Confirm the reset: A warning message will appear, informing you that all data will be erased. Read the message carefully, and if you’re ready to proceed, tap on “Reset” or “Reset Device”.
- Wait for the reset to complete: The tablet will now begin the factory reset process, which may take a few minutes to complete. Make sure not to interrupt the process by turning off the tablet or removing the battery.
- Set up the tablet: Once the reset is finished, your tablet will start up as if it were brand new. Follow the on-screen instructions to set up your tablet, including connecting to Wi-Fi and signing in with your Amazon account.
Performing a factory reset should resolve most software-related issues on your Amazon tablet. However, if the problems persist even after the reset, it’s recommended to contact Amazon customer support for further assistance or to explore other options for repair or replacement.
Software Update
Regularly updating the software on your Amazon tablet is crucial for optimal performance, bug fixes, and security enhancements. Here’s how to check for and install software updates:
- Go to the Settings menu: Swipe down from the top of the tablet’s screen to access the Quick Settings menu. Tap on the gear icon to open the Settings menu.
- Select “Device Options”: In the Settings menu, scroll down and tap on the “Device Options” or “Device” section.
- Check for updates: Look for the option that says “System Updates” or “Software Updates” and tap on it. Your tablet will now check for any available updates.
- Install updates: If an update is available, a prompt will appear on the screen. Tap on “Download” or “Install” to start the update process. Ensure that your tablet is connected to a stable Wi-Fi network and has sufficient battery power (or is plugged into a power source) to complete the update.
- Wait for the update to install: The tablet will now download and install the update. This process may take some time, depending on the size of the update and your internet connection speed. Avoid interrupting the update by turning off the tablet or disconnecting from the Wi-Fi network.
- Restart your tablet: Once the update is installed, your tablet may prompt you to restart it. Follow the on-screen instructions to restart the device.
By keeping your Amazon tablet up to date with the latest software, you can ensure that you have access to the newest features, improvements, and bug fixes. It’s recommended to regularly check for updates and install them as they become available.
If you’re experiencing specific issues with your tablet, such as performance problems or connectivity issues, it’s worth checking if a software update addresses these problems. If the issues persist even after updating the software, further troubleshooting or contacting Amazon customer support may be necessary.
Broken Screen
Dealing with a broken screen on your Amazon tablet can be disheartening, but there are a few steps you can take to handle the situation:
- Assess the damage: Carefully examine the extent of the damage on your tablet’s screen. If it’s a minor crack or scratch that doesn’t affect the functionality, you may choose to continue using the device. However, if the screen is completely shattered or the touch functionality is compromised, it’s best to proceed with the next steps.
- Contact Amazon support: If your tablet is still under warranty, reach out to Amazon support for guidance. They can provide you with options for repair or replacement depending on the terms of your warranty. Provide them with the necessary information and follow the instructions they provide.
- Professional repair: If your tablet is out of warranty or the damage is not covered, you can opt for professional repair services. Search for reputable repair shops in your area that specialize in tablet repairs. They can assess the damage and provide you with a quote for the repair cost.
- DIY repair: If you have experience and confidence in handling electronic repairs, you may choose to replace the screen yourself. However, keep in mind that this option requires technical skills and can be risky if you’re not familiar with the process. Look for step-by-step tutorials and purchase a replacement screen from a reliable source.
- Protective measures: To prevent further damage and ensure safety, consider applying a temporary screen protector or covering the broken screen with clear tape. This can help prevent any glass shards from causing harm and may provide some protection until you can get it professionally repaired or replaced.
It’s important to note that DIY repairs can void your warranty, and there is always some level of risk involved. If you’re unsure or hesitant about attempting a repair yourself, it’s best to seek professional assistance.
Remember, a broken screen can significantly impact the usability and functionality of your tablet, so it’s essential to address the issue properly. Whether you choose to contact Amazon support, seek professional repair services, or attempt a DIY repair, take the necessary steps to restore your tablet to optimal condition.
Conclusion
In conclusion, dealing with issues on your Amazon tablet can be frustrating, but with proper troubleshooting and solutions, many problems can be resolved. Whether you’re facing charging troubles, unresponsiveness, slow performance, connectivity issues, or even a broken screen, there are steps you can take to get your tablet back on track.
Some common solutions include checking the charging cable and port, performing restarts and resets, cleaning the screen and device, updating the software, and seeking professional help when needed. Following these steps and utilizing the resources available to you, such as Amazon customer support or professional repair services, can help you overcome the challenges you may encounter with your tablet.
Remember to maintain your tablet by regularly updating the software, keeping it clean, and using genuine accessories. Additionally, protecting your tablet with a case and screen protector can help prevent damage and prolong its lifespan.
By familiarizing yourself with troubleshooting techniques and seeking assistance when necessary, you can maximize your enjoyment and productivity with your Amazon tablet. Stay informed, explore support resources, and remain proactive in resolving any issues that arise.
We hope that this guide has provided you with valuable information and solutions to help you fix your Amazon tablet. Enjoy your device to the fullest and continue to explore all the features and capabilities it has to offer.