Introduction
Welcome to our guide on how to fix the charger port on tablets. Tablets have become an essential part of our everyday lives, serving as a multipurpose device for work, entertainment, and communication. However, one of the most frustrating issues tablet users face is a faulty charger port.
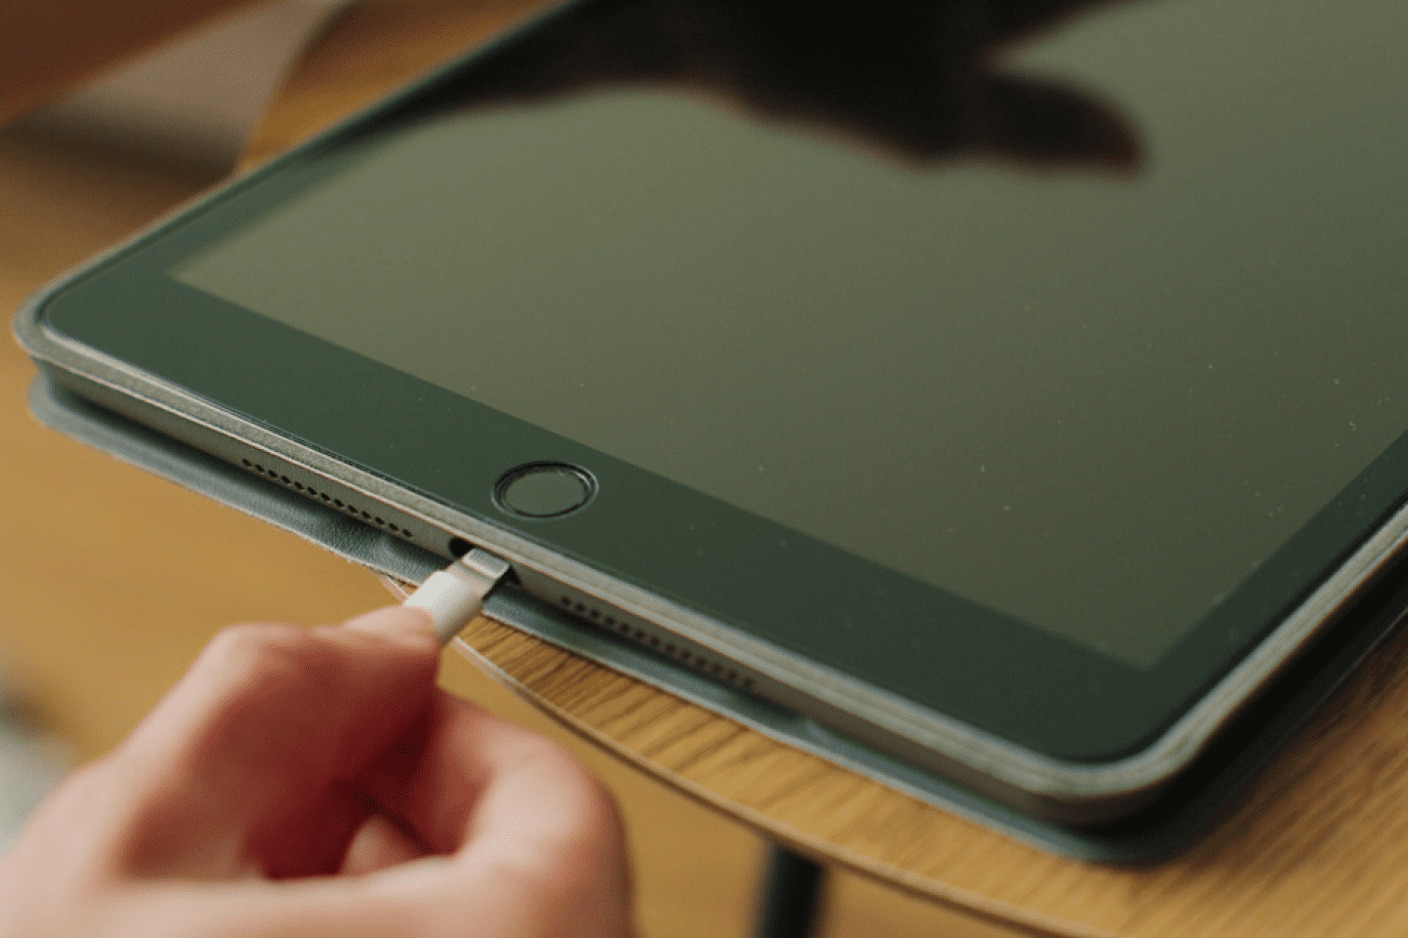
The charger port is the connection point on your tablet where the charger cable is inserted to charge the device. It is a sensitive component that can encounter problems over time, such as loose connections, physical damage, or dirt accumulation. When the charger port malfunctions, it can disrupt the charging process and render your tablet useless until it is fixed.
In this guide, we will walk you through the process of fixing the charger port on your tablet. Whether you are experiencing intermittent charging, a loose connection, or any other issue related to the charger port, we have got you covered. By following our step-by-step instructions and using the required tools, you can save the hassle and cost of taking your tablet to a repair shop.
Before we delve into the troubleshooting steps, it is important to understand the common issues you may encounter with your tablet’s charger port. By identifying the problem, you can better determine the appropriate solution and ensure a successful repair.
Understanding the Charger Port on Tablets
The charger port on tablets is a crucial component responsible for facilitating the charging of the device. It is a small opening where the charger cable is inserted to provide power to the tablet’s battery. Understanding the charger port and its functionality is essential before attempting any repairs.
Most tablets utilize a micro USB or USB-C port for charging. These ports have multiple pins that establish an electrical connection between the charger cable and the tablet. When the charger is plugged in, it delivers a specific voltage and current to charge the battery.
One common issue with charger ports is a loose connection. Over time, frequent plugging and unplugging of the charger cable can cause the port to become less secure and lead to intermittent charging. Additionally, dirt, lint, or debris can accumulate inside the port, obstructing the connection between the cable and the pins.
Another problem that can arise with charger ports is physical damage. Accidental tugs or drops can cause the port to become misaligned or even break. In such cases, the charger cable may not fit properly, or the pins inside the port may be bent or damaged.
Understanding the anatomy of the charger port and the potential issues that can arise will help you diagnose the problem more accurately. It will also allow you to determine whether the issue can be fixed through simple troubleshooting or if a more involved repair is needed.
In the next section, we will discuss the tools required for fixing the charger port on tablets. Having the right tools at your disposal not only makes the repair process smoother but also ensures that you do not cause any further damage to the device.
Common Issues with the Charger Port
The charger port on tablets is prone to certain issues that can disrupt the charging process and affect the overall functionality of the device. Understanding the common problems that can occur will help you diagnose and address the issue effectively.
1. Loose Connection: One of the most prevalent issues with charger ports is a loose connection. Over time, frequent plugging and unplugging of the charger cable can cause the port to become less secure. This can result in intermittent charging or the charger cable not staying in place properly.
2. Physical Damage: Accidental drops or tugs on the charger cable can lead to physical damage to the charger port. This can cause misalignment or even breakage of the port. When the port is damaged, it can be challenging to establish a stable connection between the charger cable and the port, hindering the charging process.
3. Dirt and Debris Accumulation: Another common issue with charger ports is the accumulation of dirt, lint, or debris inside the port. This can block the connection between the charger cable and the pins on the port. When the connection is obstructed, the charging process becomes unreliable, and the device may not charge at all.
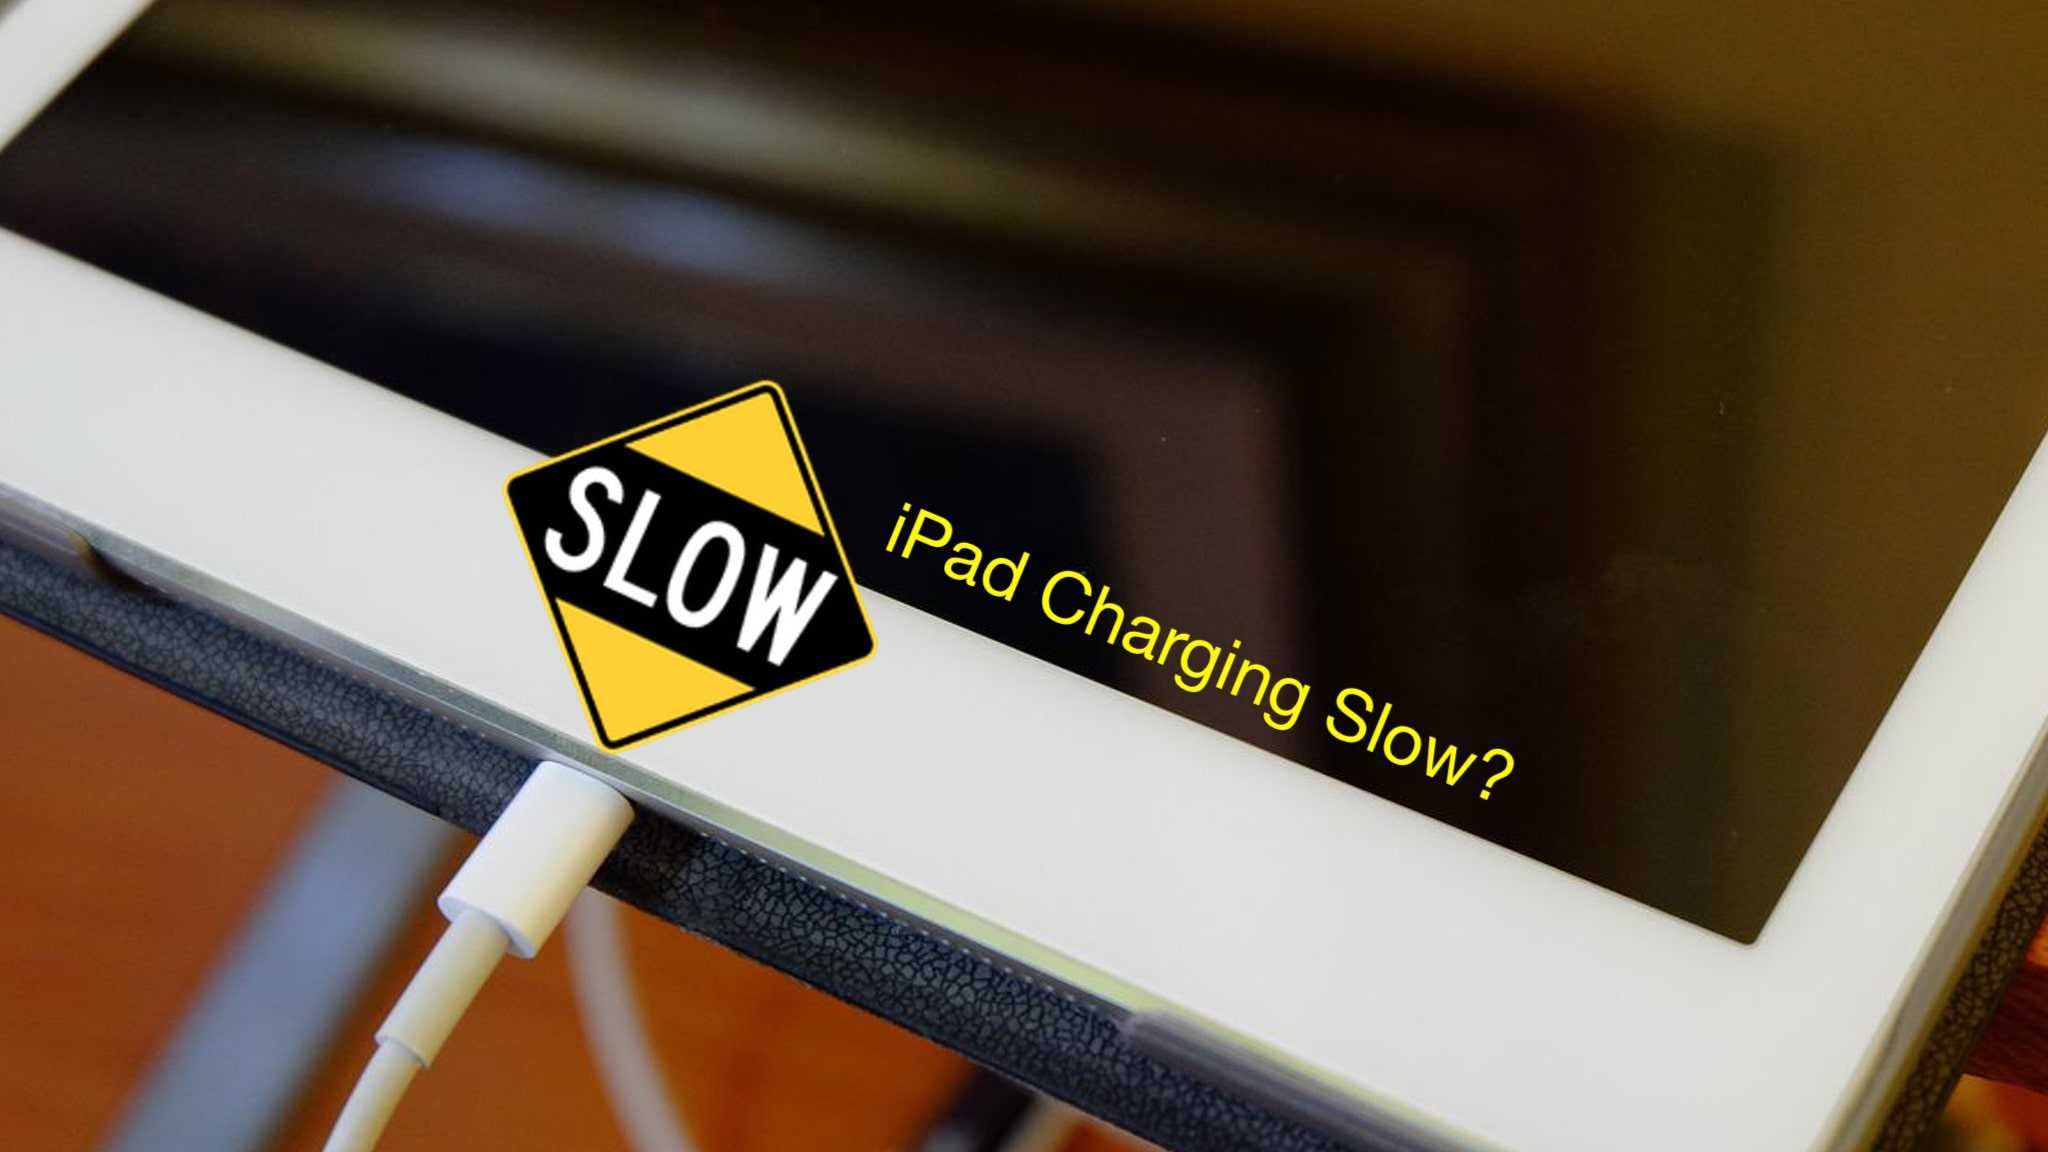
4. Bent or Damaged Pins: The pins inside the charger port can become bent or damaged due to mishandling or improper insertion of the charger cable. When the pins are not in the correct alignment, it creates a poor connection, and the device may not charge or charge slowly.
Identifying the specific issue with your tablet’s charger port is crucial for determining the appropriate troubleshooting steps or repair method. In the following section, we will discuss the tools required to fix the charger port and guide you through the step-by-step process of repairing it.
Tools Required for Fixing the Charger Port
Before you begin fixing the charger port on your tablet, it’s important to gather the necessary tools. Having the right tools will ensure a smoother repair process and increase the chances of a successful fix. Here are the tools you will need:
- Screwdriver: Depending on the tablet model, you may need a small Phillips or flathead screwdriver. This tool is essential for removing screws that secure the back panel or cover of the tablet.
- Precision Opening Tools: These thin and flexible tools are designed to safely pry open the tablet’s frame without causing any damage. They are particularly useful for tablets with a sealed design.
- Cleaning Tools: To remove dirt, lint, or debris from the charger port, you will need some cleaning tools. A small brush, compressed air, or a soft cloth can help in gently cleaning the port without causing any damage.
- Replacement Charger Port (if necessary): If the charger port is severely damaged or beyond repair, you may need to purchase a replacement charger port specific to your tablet model. Make sure to source a genuine part or a compatible one from a trusted supplier.
- Tweezers: Tweezers can be handy for removing any debris or foreign objects from the charger port. They allow for precise extraction without applying excessive force.
- Soldering Iron (if required): In some cases, you may need a soldering iron to fix any loose or broken connections within the charger port. This tool requires additional expertise, so only attempt this step if you have experience working with electronics.
By having these tools readily available, you will be well-prepared to tackle the charger port repair. In the next section, we’ll guide you through a step-by-step process to fix the charger port on your tablet, helping you regain the functionality and convenience of hassle-free charging.
Step-by-Step Guide to Fix the Charger Port
Fixing the charger port on your tablet may seem daunting, but with the right approach and tools, it can be a straightforward process. Follow these step-by-step instructions to restore the functionality of your charger port:
- Power off your tablet: Before starting any repair process, power off your tablet and disconnect it from any power sources.
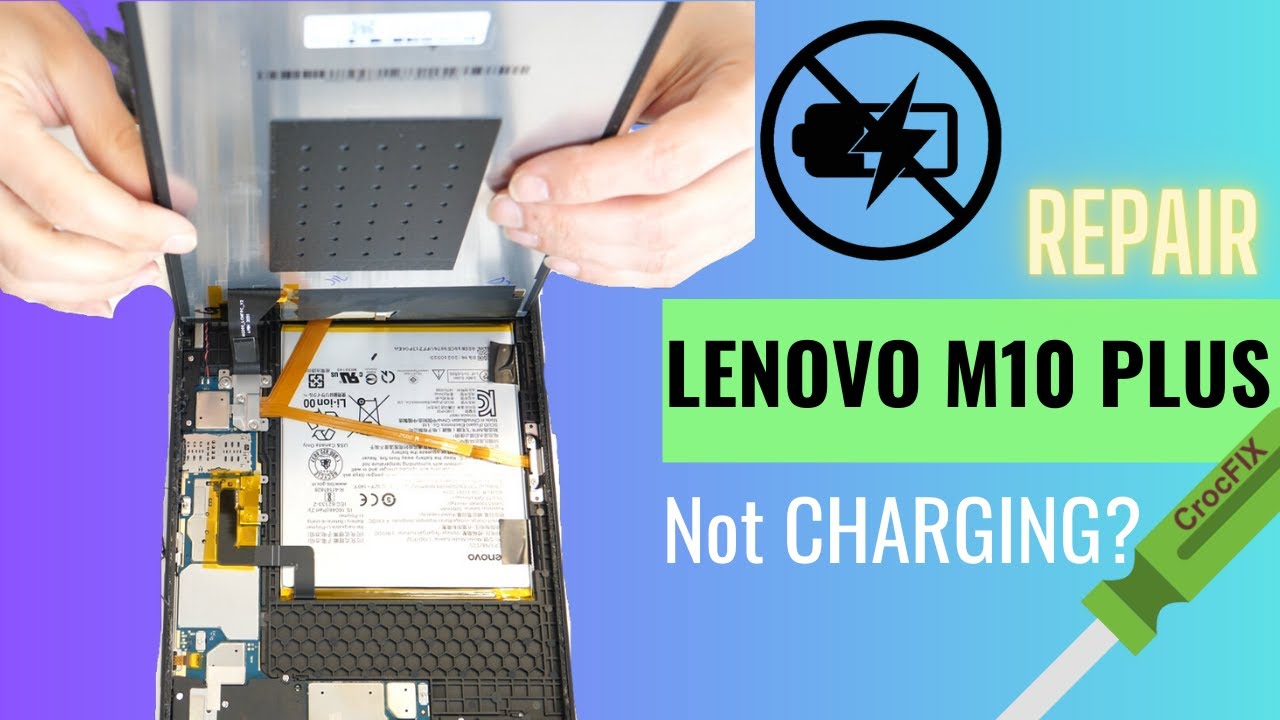
- Remove the back panel: If your tablet has a removable back panel, use a screwdriver to remove the screws holding it in place. Gently pry open the panel using precision opening tools, taking care not to damage any internal components.
- Locate the charger port: Once the back panel is off, locate the charger port on your tablet. It will be connected to the motherboard with a cable.
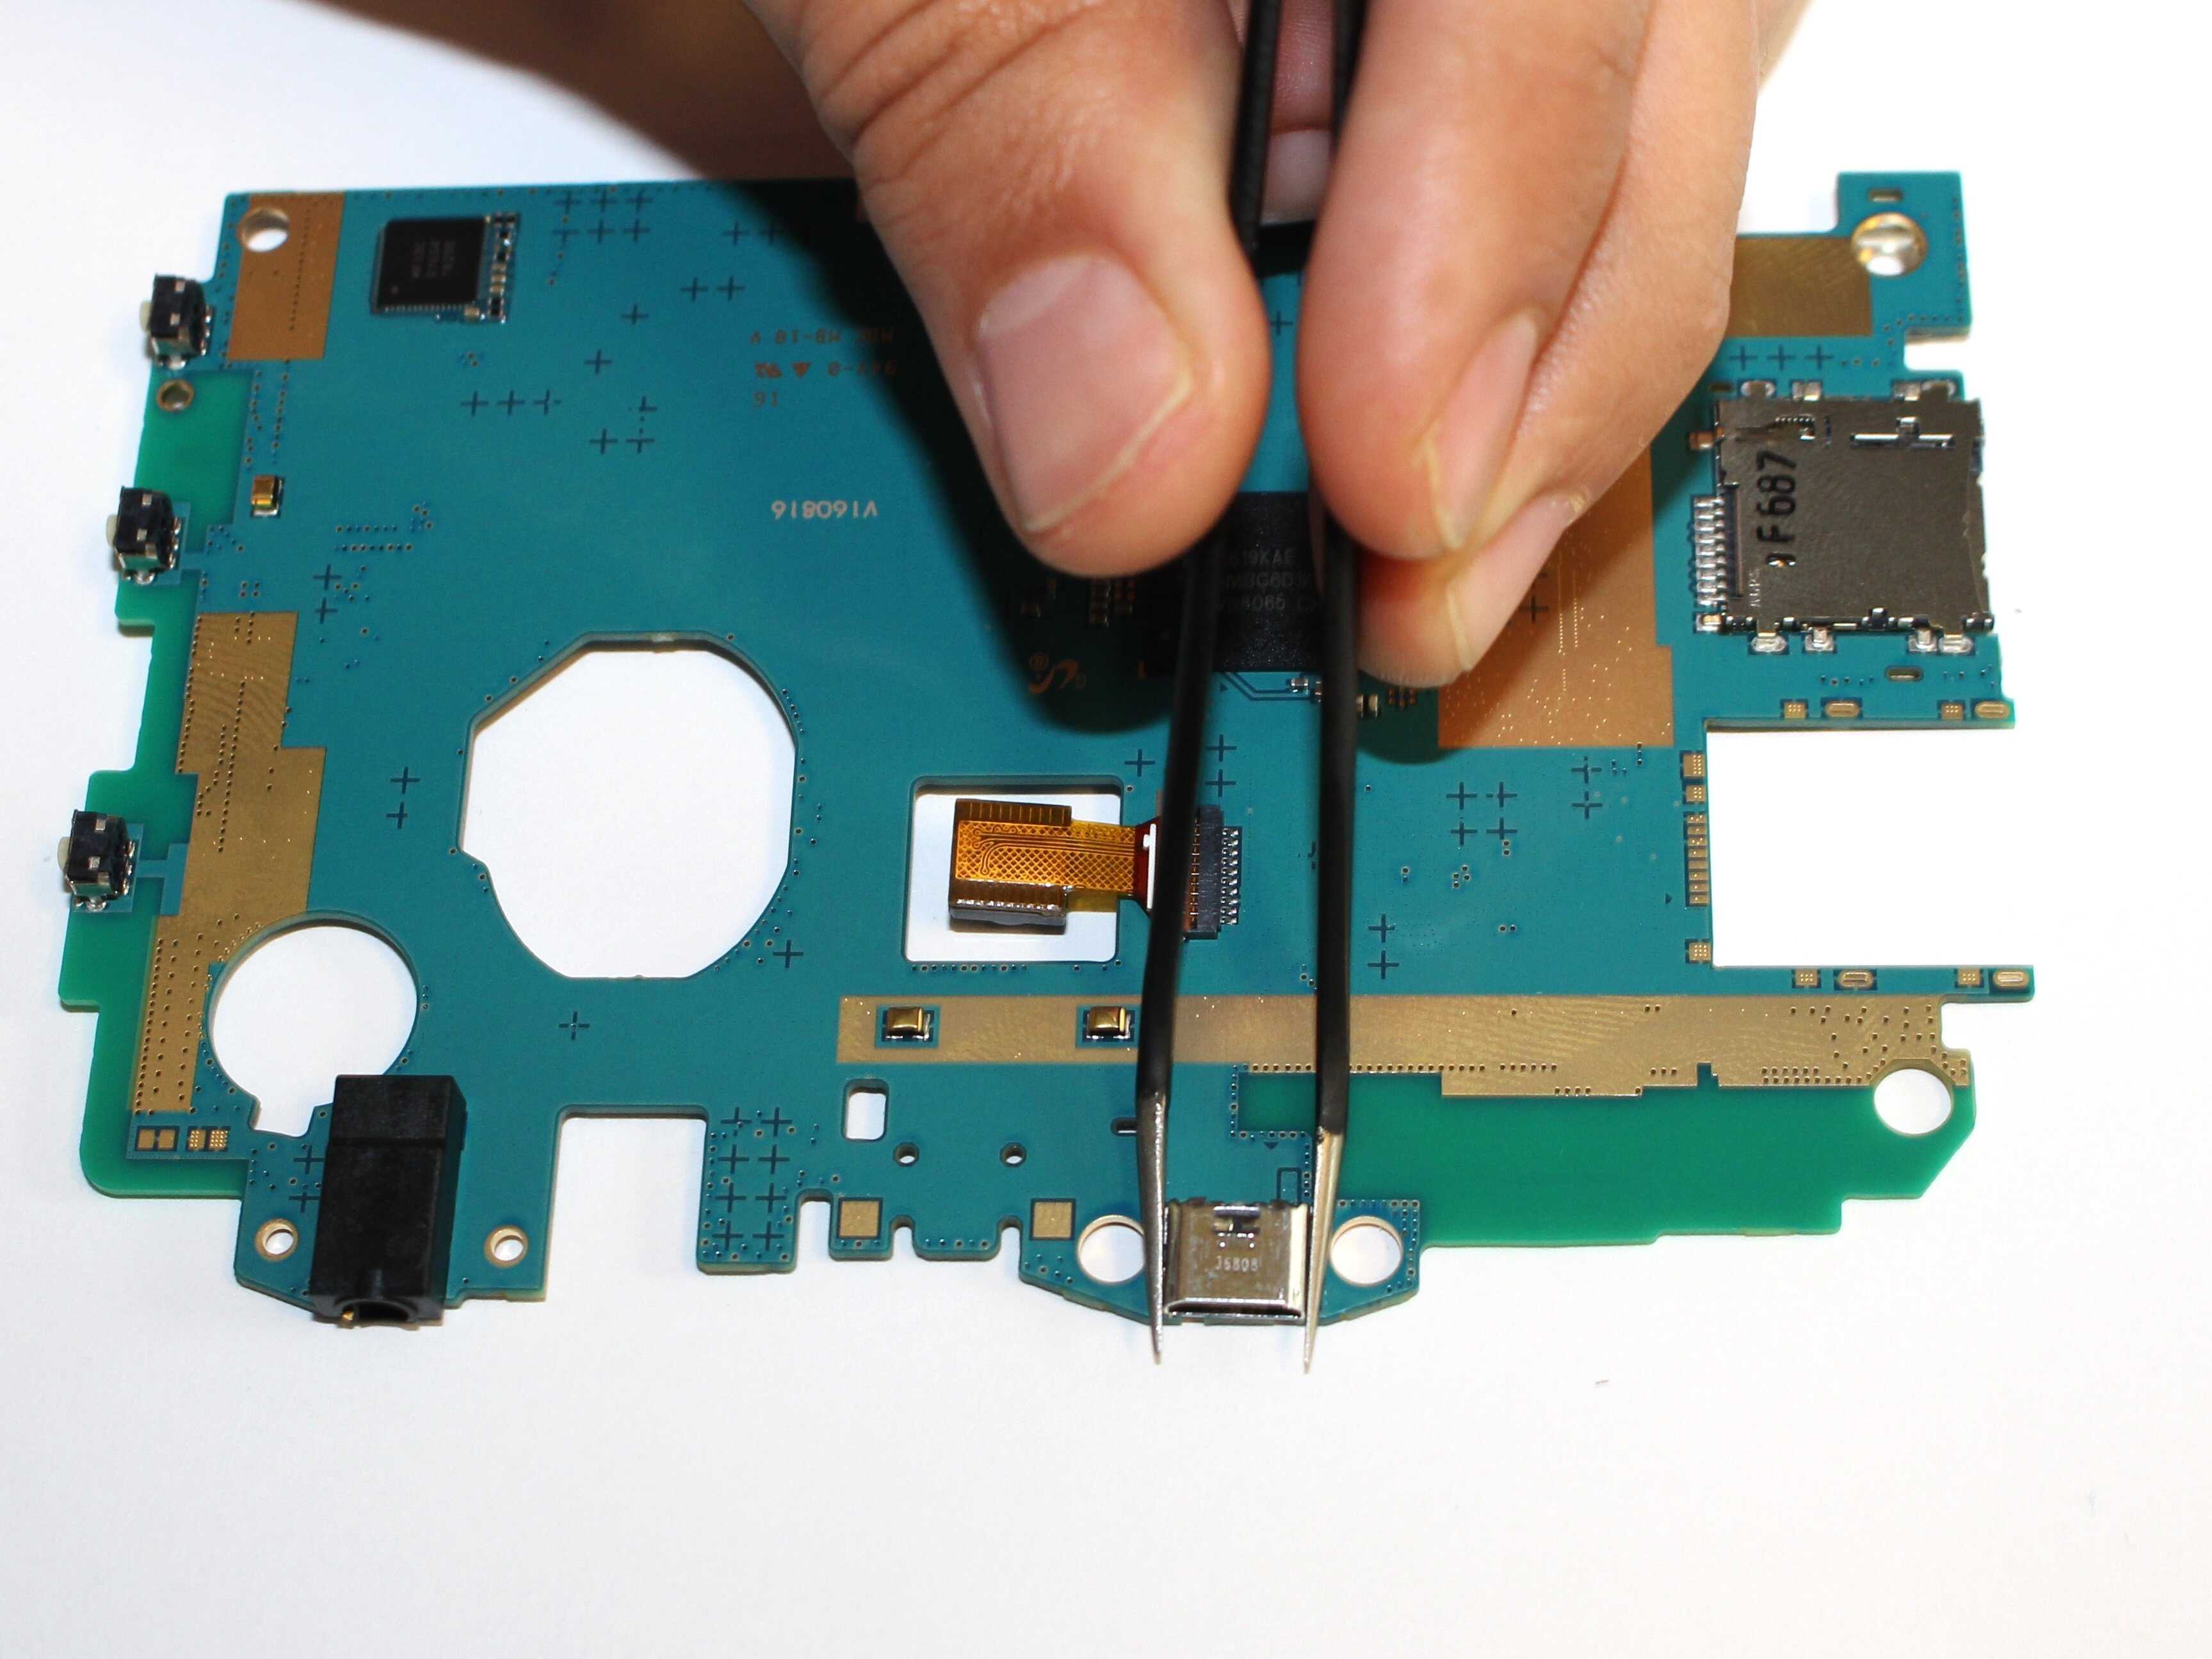
- Inspect the charger port: Carefully examine the charger port for any visible damage, such as bent pins, loose connections, or dirt accumulation. Use tweezers to remove any debris or foreign objects present in the port.
- Realign or replace the charger port: If the charger port is misaligned or damaged beyond repair, you may need to realign it or replace it with a new one. Follow the manufacturer’s instructions or consult a repair guide specific to your tablet model.
- Reconnect the charger port cable: If you had to detach the charger port from the motherboard, reattach the cable securely, ensuring it is properly aligned and inserted. Make sure to handle the delicate cables with care.
- Test the charger port: Before reassembling the tablet, test the charger port by plugging in the charger cable to ensure it fits snugly and the charging process initiates smoothly.
- Reassemble the tablet: Once you are satisfied with the charger port repair, carefully reassemble the tablet by putting the back panel back on and securing it with the screws. Make sure all components are aligned correctly.
- Power on your tablet: After the tablet is reassembled, power it on and check if the charger port is functioning properly. Connect the charger cable to ensure it charges the device without any issues.
By following these steps, you can fix the charger port on your tablet and eliminate any charging problems you were experiencing. However, if you encounter any difficulties or the issue persists, it may be wise to seek professional help or consult the tablet manufacturer for further assistance.
Troubleshooting Tips
If you are having trouble with your tablet’s charger port, there are a few troubleshooting tips you can try before opting for a complete repair. These tips may help you identify the underlying issue and potentially fix it without major intervention. Here are some troubleshooting suggestions:
- Clean the charger port: Use a soft brush, compressed air, or a cotton swab to gently clean the charger port. Removal of any debris or dirt buildup can often solve charging issues.
- Try a different charger cable: Sometimes, the problem lies with the charger cable rather than the charger port. Test your tablet with a different charger cable to see if the issue persists.
- Verify the power source: Ensure that the power source you are using to charge your tablet is functioning correctly. Try charging your device using a different power outlet or USB port.
- Restart or reset your tablet: Occasionally, a software glitch can affect the charging process. Restart your tablet or perform a factory reset to eliminate any potential software-related complications.
- Check for software updates: It is essential to keep your tablet’s operating system up to date. Check for any available software updates and install them, as they may fix compatibility issues that affect charging.
- Remove any cases or covers: Thick or poorly-fitted cases or covers can interfere with the charger connection. Remove any protective accessories and try charging your tablet again.
- Inspect the charger cable: Examine the charger cable for any visible damage or frayed wires. If the cable appears damaged, replacing it with a new one may solve the charging problem.
- Contact customer support: If none of the troubleshooting tips work or if you are unsure about performing a repair yourself, contact the customer support of your tablet manufacturer for further assistance or to inquire about warranty options.
Remember, these troubleshooting tips are meant to alleviate common charger port issues and help you identify the problem. However, if the problem persists or if you are uncomfortable attempting the repair yourself, it is recommended to seek professional help or consult an authorized repair service to avoid any further damage to your tablet.
Safety Precautions
Before attempting any repairs on your tablet’s charger port, it is important to prioritize your safety. Handling electronic devices and performing repairs can carry certain risks, so it is crucial to take the necessary precautions to protect yourself and your device. Here are some safety measures to keep in mind:
- Power off and disconnect: Always ensure that your tablet is powered off and disconnected from any power sources before starting the repair process. This reduces the risk of electrical shock or damage to the device.
- Use proper tools: Use the appropriate tools for the repair, as specified in the previous section. Using improper tools can cause damage to the tablet or result in personal injury.
- Work in a well-ventilated area: Perform the repair in a well-ventilated, clean area to minimize the risk of inhaling dust or debris. Adequate ventilation will also prevent the accumulation of any fumes, such as those emitted during soldering.
- Protective gear: Consider wearing safety glasses or goggles to protect your eyes from any potential flying debris or small components during the repair process.
- Static electricity precautions: Static electricity can damage delicate electronic components. To prevent static discharge, work on a grounded surface and consider wearing an anti-static wrist strap.
- Handle with care: Be gentle when handling the tablet and its internal components. Avoid excessive force or sudden movements that may cause additional damage.
- Avoid liquid exposure: Keep liquids away from your workspace to prevent accidental spills or damage to the tablet’s internal circuitry.
- Consult professional help if unsure: If you are uncertain about any aspect of the repair process or lack experience working with electronics, it is best to consult professional technicians or authorized repair centers to avoid any risks.
Following these safety precautions will help minimize the chances of accidents, injuries, or further damage to your tablet. Remember, if you are uncomfortable or unsure about performing the repair, it is always wise to seek professional assistance. Your safety and the proper functioning of your device should be the top priority throughout the repair process.
Final Thoughts
Fixing the charger port on your tablet is a task that can save you time and money, ensuring that your device remains functional and ready for use. By following the step-by-step guide and implementing the troubleshooting tips provided in this article, you can successfully address common charger port issues and restore the charging capability of your tablet.
Remember to approach the repair process with caution and prioritize safety. Take the necessary precautions, gather the right tools, and work in a well-organized and clean environment. If you encounter any difficulties or feel uncertain about the repair process, it is always advisable to seek professional help or consult the tablet manufacturer’s support team.
Proper maintenance and care of your tablet’s charger port can also prevent future problems. Regularly clean the port and handle the charger cable with care to avoid stressing the connection. This will prolong the lifespan of your charger port and prevent issues from arising in the future.
If the charger port issue persists or if you are unable to fix it on your own, it may be time to consider professional repairs or replacement options. The experts in tablet repair services can assess the problem accurately and provide the necessary solutions, ensuring that your tablet functions optimally and charges efficiently.
We hope this guide has been helpful in assisting you with fixing the charger port on your tablet. By following the instructions and tips provided, you can overcome common charger port issues and enjoy the convenience of a properly functioning device.
Remember, working on electronic devices comes with risks, so it is essential to prioritize safety and seek professional assistance if needed. With proper care and maintenance, your tablet will continue to serve you well, keeping you connected and productive for years to come!