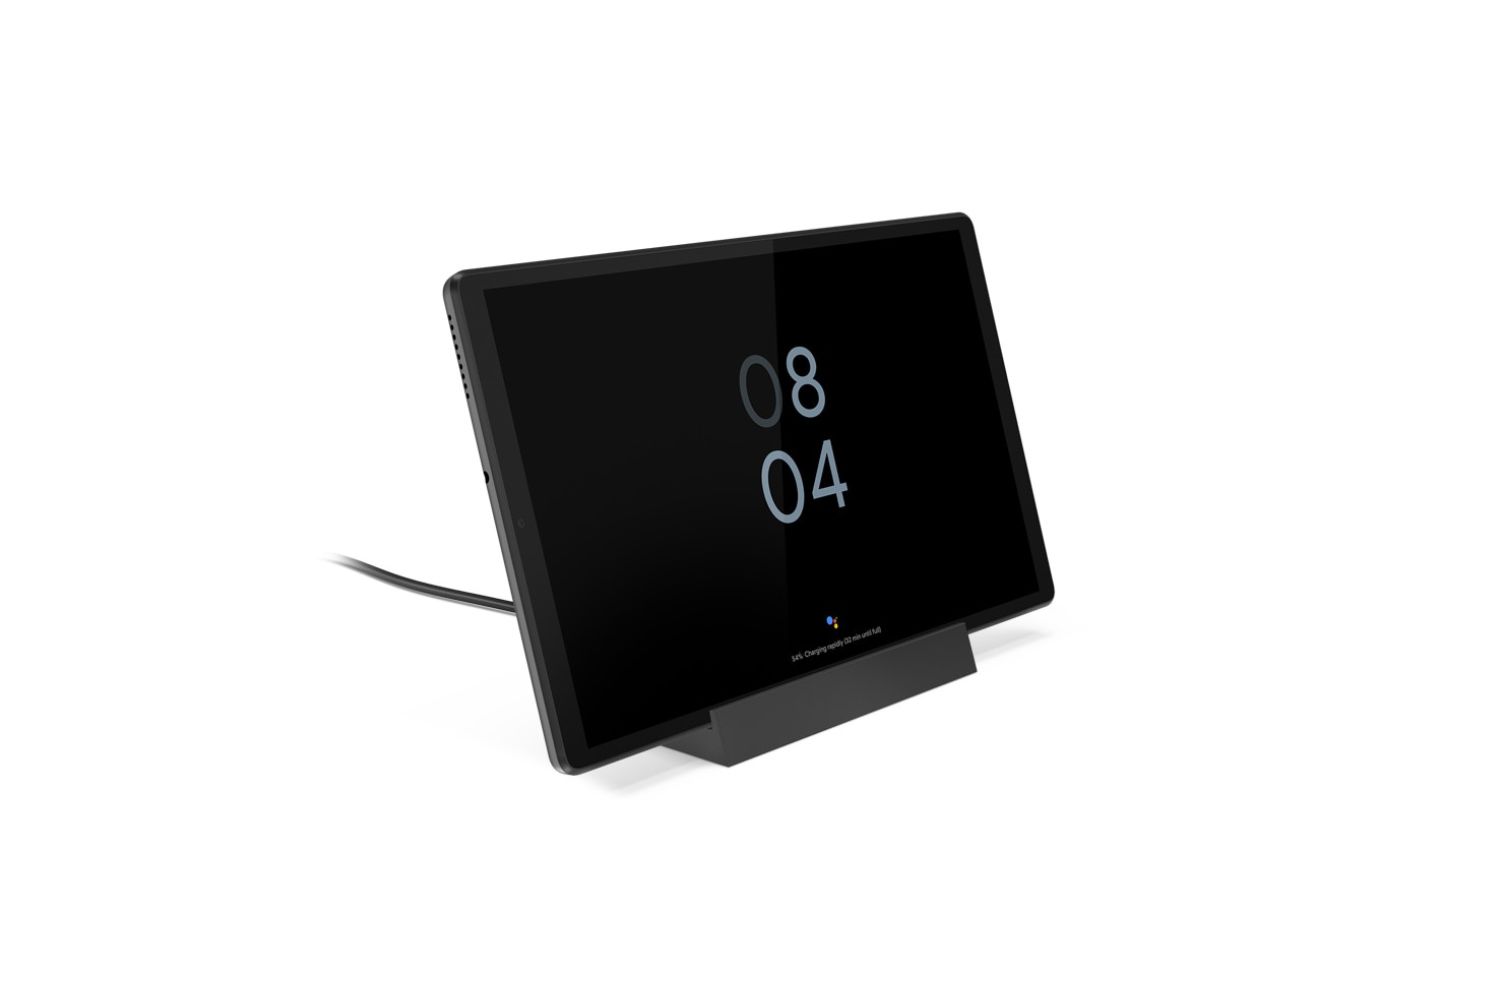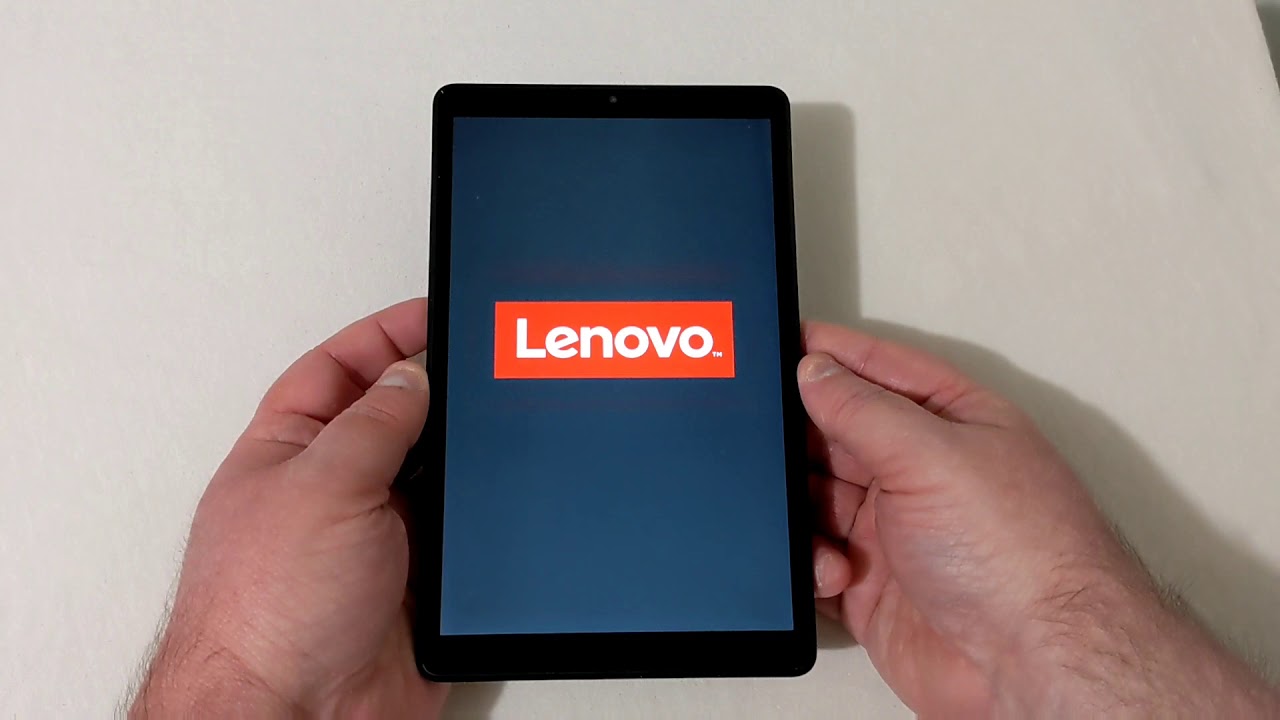
Possible Causes of Lenovo Tablet Not Charging When Plugged In
Having your Lenovo tablet not charging when it’s plugged in can be incredibly frustrating. There are several possible reasons why this might be happening, and understanding these causes can help you troubleshoot and resolve the issue. Here are some of the common culprits:
- Faulty Charging Cable or Power Adapter: A damaged or faulty charging cable or power adapter can prevent your Lenovo tablet from charging. Check for any signs of physical damage, such as frayed wires or loose connections.
- Power Outlet Issues: Sometimes, the issue lies with the power outlet itself. Ensure that the outlet is functioning properly by plugging in another device. If the outlet is not supplying power, try a different one.
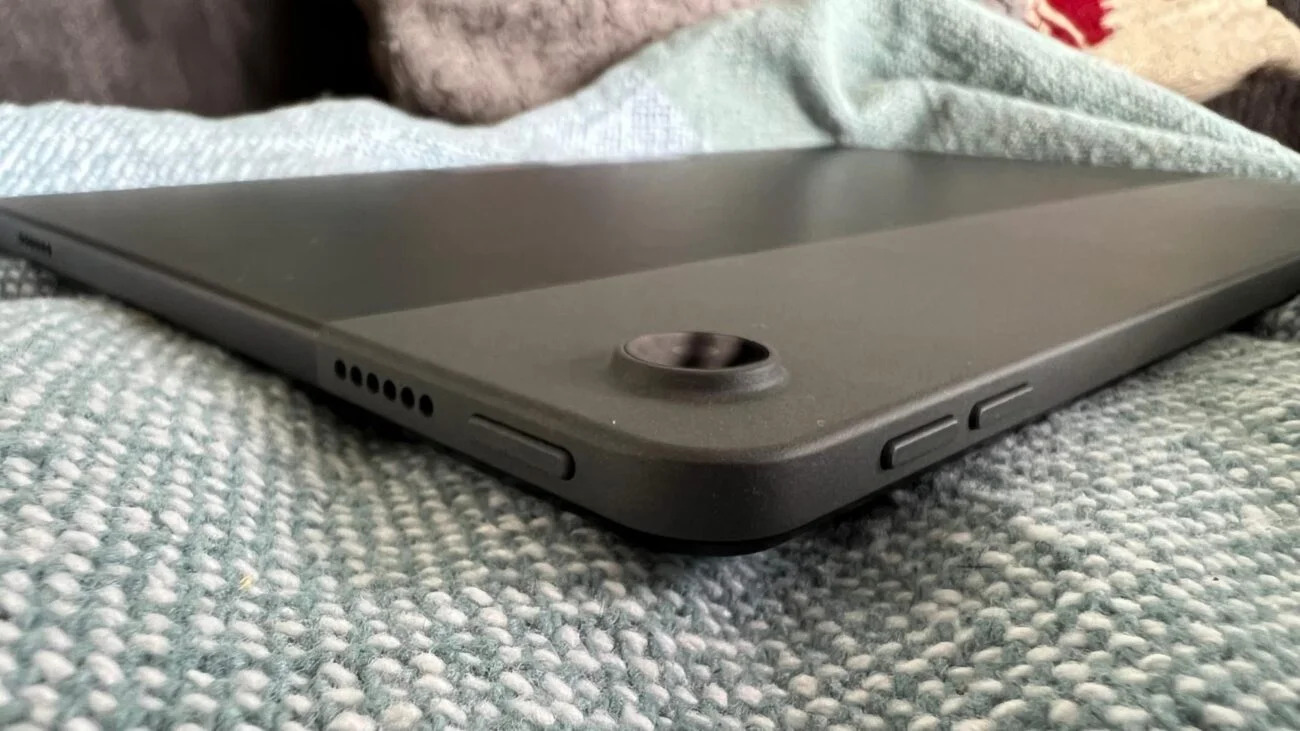
- Charging Port Problems: The charging port on your Lenovo tablet may be dirty or obstructed, preventing proper charging. Dust, lint, or debris can accumulate in the port and hinder the connection. Clean the port carefully using a soft brush or compressed air.
- Compatibility Issues: Incompatible chargers or cables may not provide sufficient power to charge your Lenovo tablet. Make sure you are using the original charging accessories that came with your device or high-quality third-party alternatives that are compatible with your tablet model.
- Firmware or Software Glitches: Sometimes, software issues can interfere with the charging process. Ensure that your tablet is running the latest firmware and software updates. These updates often include bug fixes and performance improvements that can resolve charging problems.
- Battery Malfunction: A malfunctioning battery can be the cause of your charging woes. If you have tried various troubleshooting steps without success, it is possible that the battery needs to be replaced. Contact Lenovo support for further assistance in diagnosing and resolving this issue.
By identifying the potential causes mentioned above, you can begin troubleshooting your Lenovo tablet’s charging problem. Remember to rule out the simplest issues first, such as checking the charging cable and power outlet, before moving on to more complex solutions. In the following sections, we’ll explore different troubleshooting steps to help you resolve the charging issue and get your Lenovo tablet up and running again.
How to Troubleshoot a Lenovo Tablet That Won’t Charge
If your Lenovo tablet is not charging when plugged in, there are several troubleshooting steps you can take to identify and resolve the issue. Follow these steps to get to the root of the problem:
- Verify the Charging Cable and Power Adapter: Check if the charging cable and power adapter are working properly. Test them by using them with a different device or try a different charging cable and power adapter with your Lenovo tablet. If the problem persists, move on to the next step.
- Inspect the Charging Port: Examine the charging port on your tablet for any dust, lint, or debris that may be obstructing the connection. Use a soft brush or compressed air to carefully clean the port. Avoid using any sharp or metal objects that could damage the port. Once the port is clean, try charging your tablet again.
- Restart Your Tablet: A simple restart can sometimes resolve charging issues. Press and hold the power button on your Lenovo tablet until a menu appears. Select “Restart” or “Reboot” and wait for the device to restart. Once it powers back on, check if it is charging properly.
- Check for Software Updates: Make sure that your Lenovo tablet is running the latest firmware and software updates. Outdated software can cause charging problems. Navigate to the “Settings” menu and look for the “Software Update” or “System Update” option. If an update is available, follow the prompts to install it.
- Perform a Factory Reset: If none of the above steps work, you may need to perform a factory reset on your tablet. Keep in mind that this will erase all data and settings on your device, so make sure to back up your important files. To perform a factory reset, go to the “Settings” menu, select “System” or “Reset Options,” and choose “Factory Data Reset” or a similar option. Follow the on-screen instructions to complete the reset.
If you have tried all the troubleshooting steps above and your Lenovo tablet still won’t charge, it is recommended to contact Lenovo support for further assistance. They can provide specific guidance based on your tablet model and help determine if there is a hardware issue that needs to be addressed.
Steps to Restart Your Lenovo Tablet to Resolve Charging Issues
If you are experiencing charging issues with your Lenovo tablet, a simple restart can often help resolve the problem. Restarting your tablet can reset any software glitches that might be interfering with the charging process. Here are the steps to restart your Lenovo tablet:
- Press and Hold the Power Button: Locate the power button on your Lenovo tablet. Press and hold the power button until a menu appears on the screen. This menu will give you various options to choose from.
- Select the Restart Option: Look for the “Restart” or “Reboot” option in the menu. Use the volume buttons to navigate through the menu and the power button to confirm your selection. Select the “Restart” option and wait for your tablet to power off.
- Wait for the Tablet to Restart: After your tablet powers off, it will automatically start the restart process. This may take a few moments, so please be patient.
- Check for Charging: Once your Lenovo tablet has restarted, check if it is charging properly. Plug in the charging cable and ensure that it is securely connected to both the tablet and the power source. Look for the charging indicator on the screen or the LED light, depending on your tablet model, to confirm if the charging process has resumed.
- Monitor the Charging Process: Leave your tablet plugged in for some time to see if the charging process continues as it should. Pay attention to any error messages or unusual behavior during the charging process, as this could indicate other underlying issues that may need to be addressed.
If restarting your Lenovo tablet does not resolve the charging issues, you may need to explore other troubleshooting steps or seek assistance from Lenovo support. It’s worth trying this simple solution first, as it can often fix minor software glitches and get your tablet charging again.
Checking the Charging Cable and Power Outlet
When your Lenovo tablet is not charging, one of the first things to check is the charging cable and power outlet. Problems with the cable or power source can often cause charging issues. Here are the steps to check these components:
- Inspect the Charging Cable: Examine the charging cable for any signs of physical damage. Look for frayed wires, bent connectors, or loose connections. If you find any damage, it’s likely that the cable needs to be replaced. Even if there are no visible signs of damage, it’s worth trying a different charging cable as a troubleshooting step.
- Check the Power Adapter: Examine the power adapter that connects to your charging cable. Ensure that it is not damaged or malfunctioning. Look for any signs of overheating, unusual smells, or discoloration. If you suspect a problem with the power adapter, try using a different one that is compatible with your Lenovo tablet.
- Try Different Power Outlets: Plug your charging cable into different power outlets to rule out any issues with the outlet itself. Use known working outlets in different parts of your house or office. Make sure the outlets are providing power by plugging in a different device and verifying that it charges properly.
- Secure Connections: Ensure that both ends of the charging cable are securely connected. Check the connection at both the tablet and the power outlet. Sometimes, the cable can become loose over time, preventing proper charging. Gently wiggle the cable to see if it causes the charging indicator to appear or disappear on your tablet’s screen.
- Clean the Charging Port: Over time, dust, lint, or debris can accumulate in the charging port of your Lenovo tablet, obstructing the connection. Use a soft brush or compressed air to carefully clean the port. Be gentle and avoid using any sharp objects that could damage the port.
By checking the charging cable and power outlet, you can eliminate these components as possible causes of your Lenovo tablet’s charging problem. If the issue persists after performing these checks, continue with other troubleshooting steps to identify and resolve the underlying cause.
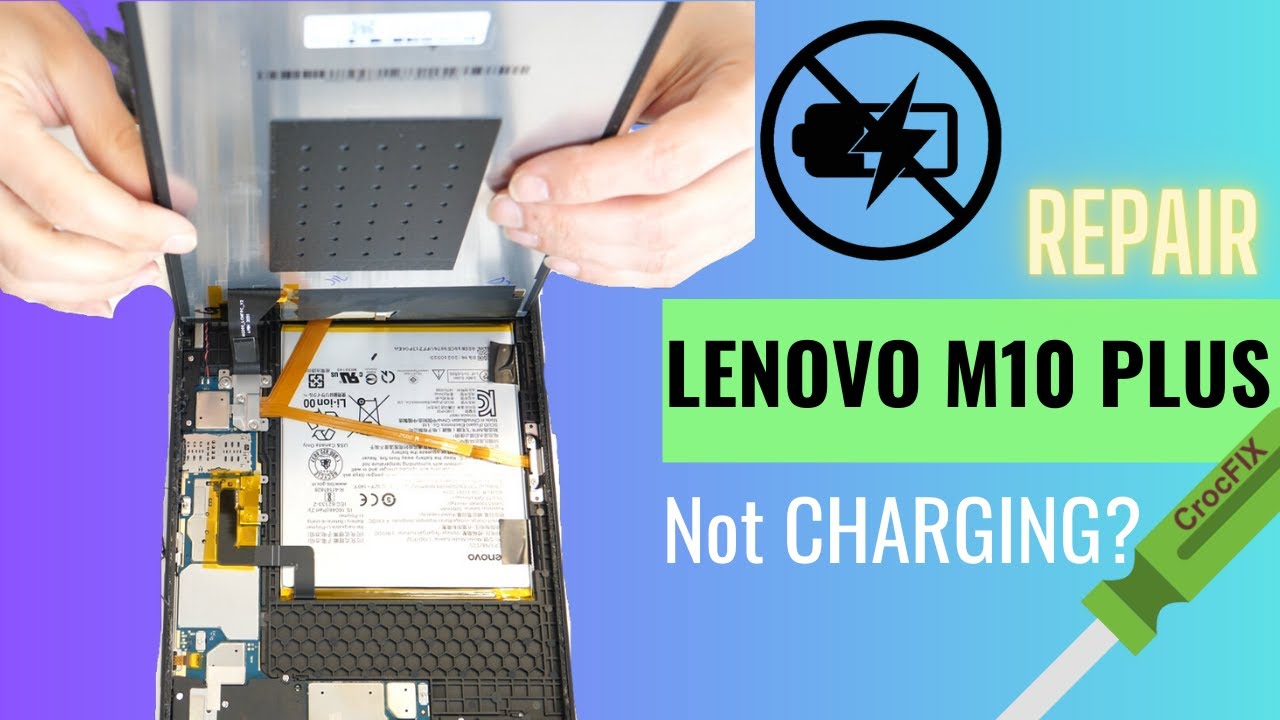
Resolving Charging Problems by Cleaning the Charging Port
If your Lenovo tablet is experiencing charging problems, a common culprit can be a dirty or obstructed charging port. Over time, dust, lint, or debris can accumulate in the port, preventing a proper connection and impeding the charging process. Cleaning the charging port can often help resolve this issue. Follow these steps to clean the charging port on your Lenovo tablet:
- Power Off Your Tablet: Before cleaning the charging port, it’s important to turn off your tablet to avoid any potential damage. Press and hold the power button until a menu appears, then select “Power Off” or a similar option.
- Gently Inspect the Charging Port: Using a flashlight, carefully inspect the charging port on your Lenovo tablet for any visible signs of dust, lint, or debris. Take note of the extent of the buildup and any areas that may require more attention.
- Use a Soft Brush or Compressed Air: Start by using a soft brush, such as a clean, dry toothbrush or a small microfiber brush, to gently remove any loose debris from the charging port. Be cautious not to apply excessive pressure or damage any of the port’s pins or connectors.
- Blow Compressed Air: If brushing is not sufficient, you can use a can of compressed air to blow away dust and lint particles from the charging port. Hold the canister upright and direct short bursts of air into the port. Make sure not to tilt the canister or shake it while using to prevent any moisture from being released.
- Inspect the Port Again: After cleaning, inspect the charging port once more to ensure that all visible debris has been removed. If there are any stubborn particles still present, you can try using a toothpick or a wooden toothpick wrapped with a small piece of soft cloth to carefully dislodge them. Be extremely gentle and avoid scratching or damaging the port.
Once you have cleaned the charging port, reattempt charging your Lenovo tablet. Ensure that the charging cable is securely connected to both the tablet and the power source. If the port was the cause of the charging problem, cleaning it should significantly improve the charging process.
If cleaning the charging port does not resolve the issue, further troubleshooting steps or assistance from Lenovo support may be required to identify and resolve the underlying cause of the charging problem.
Using Different Chargers and Cables to Determine the Issue
If your Lenovo tablet is not charging properly, it’s worthwhile to test different chargers and cables to determine if the issue lies with these components. Incompatibility, damage, or faults in the chargers or cables can often cause charging problems. Here is how you can use different chargers and cables to troubleshoot the issue:
- Identify Different Chargers and Cables: Gather various chargers and cables that are compatible with your Lenovo tablet. These can include chargers and cables from other devices you own or those borrowed from friends or family.
- Inspect the Chargers and Cables: Before testing, visually inspect each charger and cable for any visible damage, such as frayed wires or bent connectors. It is essential to use cables and chargers that are in good condition to avoid potential risks.
- Reconnect with Different Charger and Cable: Disconnect your current charger and cable from both the tablet and the power outlet. Connect another charger and cable combination to your Lenovo tablet, ensuring they are securely plugged in.
- Observe the Charging Process: Leave your tablet connected to the different charger and cable for some time and monitor the charging process. Look for indications of charging, such as the charging icon on the tablet’s screen or LED lights if applicable.
- Repeat with Other Chargers and Cables: If your Lenovo tablet still does not charge, repeat the process using other chargers and cables. Try different combinations and ensure that each is connected properly. Make a note of any changes or improvements in the charging process.
By using different chargers and cables, you can determine if the issue lies with the specific charger and cable combination you were originally using. If you find that your Lenovo tablet charges successfully with a different charger and cable, it indicates that there may be a problem with the original charger or cable.
If none of the alternative chargers and cables work and your Lenovo tablet still does not charge, the problem may lie with your tablet’s charging port, firmware, or battery. In such cases, further troubleshooting steps or assistance from Lenovo support may be required.
Checking for Firmware and Software Updates to Fix Charging Problems
If you are facing charging problems with your Lenovo tablet, it is essential to ensure that your device’s firmware and software are up to date. Outdated firmware and software can sometimes cause compatibility issues and disrupt the charging process. Here’s how you can check for updates to potentially fix the charging problems:
- Connect to a Stable Internet Connection: Ensure that your tablet is connected to a stable Wi-Fi network or has a reliable data connection. This is necessary to download and install any available updates.
- Open the Settings Menu: Locate and open the “Settings” app on your Lenovo tablet. This can typically be found in the app drawer or by swiping down from the top of the screen and tapping the gear icon.
- Navigate to the System Updates Section: Within the Settings menu, look for and select the “System” or “System Update” option. The exact naming may vary depending on your tablet model and Android version.
- Check for Updates: Once in the System Updates section, tap on “Check for Updates” or a similar button. Your tablet will now search for any available firmware and software updates for your device.
- Download and Install Updates: If any updates are found, follow the on-screen prompts to download and install them. Make sure your tablet is connected to a power source and has enough battery to complete the update process.
- Restart Your Tablet: After the updates have been installed, it is often a good idea to restart your tablet to ensure that the changes take effect. Press and hold the power button until a menu appears, then select “Restart” or “Reboot.”
Checking for firmware and software updates is crucial as these updates often include bug fixes, stability improvements, and optimizations that can positively impact the charging performance of your Lenovo tablet. After updating your device, try charging it again to see if the charging problem has been resolved.
If your tablet is already running the latest firmware and software or if the updates do not fix the charging issue, further troubleshooting steps or assistance from Lenovo support may be required.
Resetting Your Lenovo Tablet’s System Settings as a Solution
If you have tried various troubleshooting methods and your Lenovo tablet still won’t charge, resetting the system settings can be a potential solution. Resetting your tablet will revert its settings to their default state, which can help resolve any software conflicts or settings that may be causing the charging problem. Here’s how to reset your Lenovo tablet’s system settings:
- Backup Your Data: Before resetting your tablet, it’s important to back up any important data, such as photos, documents, and videos. You can use cloud storage solutions or connect your tablet to a computer to transfer your files.
- Open the Settings Menu: Navigate to the “Settings” app on your Lenovo tablet. You can usually find it in the app drawer or by swiping down from the top of the screen and tapping the gear icon.
- Find the System Reset Option: Within the Settings menu, look for and select the “System” or “Reset” option. The exact naming may vary depending on your tablet model and Android version.
- Reset Your Tablet: Once in the System settings, find the “Reset” or “Factory Data Reset” option and select it. You may be prompted to enter your tablet’s PIN or pattern lock.
- Confirm the Reset: Read the warning message carefully, as a factory reset will erase all data, settings, and accounts from your tablet. If you are certain, confirm the reset process and proceed.
- Wait for the Reset to Complete: Your tablet will now reset and reboot. This process may take a few minutes. Once the reset is complete, you will be prompted to set up your tablet as if it were new.
- Test the Charging: After completing the setup process, connect your tablet to the charger and check if it is charging properly. Make sure to use a reliable charger and cable combination.
Performing a system reset can often resolve software conflicts or settings that are preventing your Lenovo tablet from charging. However, keep in mind that a factory reset will erase all your data, so it’s important to back up your information beforehand. If the charging problem persists even after the reset, it may be necessary to seek assistance from Lenovo support or consider a hardware-related solution.
Contacting Lenovo Support for Further Assistance
If you have exhausted all the troubleshooting steps mentioned above and your Lenovo tablet still refuses to charge, it may be time to seek further assistance. Lenovo Support is available to provide expert guidance and help resolve any hardware or software-related issues that may be causing the charging problem. Here’s how you can contact Lenovo Support for assistance:
- Visit the Lenovo Support Website: Start by visiting the official Lenovo Support website. Look for the support section or the customer service page.
- Find the Contact Information: On the Lenovo Support website, locate the contact information. This may include phone numbers, email addresses, or live chat options.
- Choose the Preferred Contact Method: Select the most convenient contact method for you. If phone support is available, calling Lenovo Support directly might be the quickest way to get assistance. Alternatively, you can choose to email or engage in a live chat session.
- Provide Relevant Details: When contacting Lenovo Support, be prepared to provide details about your tablet model, the troubleshooting steps you have already taken, and any error messages or unusual behavior you have observed during the charging process. The more information you can provide, the better equipped the support team will be to assist you.
- Follow the Support Team’s Instructions: Listen carefully to the instructions given by the Lenovo Support representative. They may ask you to perform additional troubleshooting steps or share specific information about your tablet’s charging problem. Follow these instructions and provide feedback on the results.
- Consider Warranty or Repair Options: Depending on the outcome of the troubleshooting process, the Lenovo Support team may recommend availing the warranty or repair services. They will guide you through the necessary steps to initiate a repair or replacement if required.
Remember, Lenovo Support is dedicated to helping customers with their technical issues, including charging problems. Don’t hesitate to reach out to them for further assistance. They have the expertise to diagnose and resolve complex issues and can provide personalized solutions based on your specific device and circumstances.