Introduction
Welcome to our guide on how to connect a Lenovo pen to your tablet. With a Lenovo tablet and pen combination, you can unleash your creativity and enhance your productivity by utilizing the pen’s features and functionalities. Whether you’re an artist, student, or professional, having a stylus makes navigating and creating on your tablet a breeze.
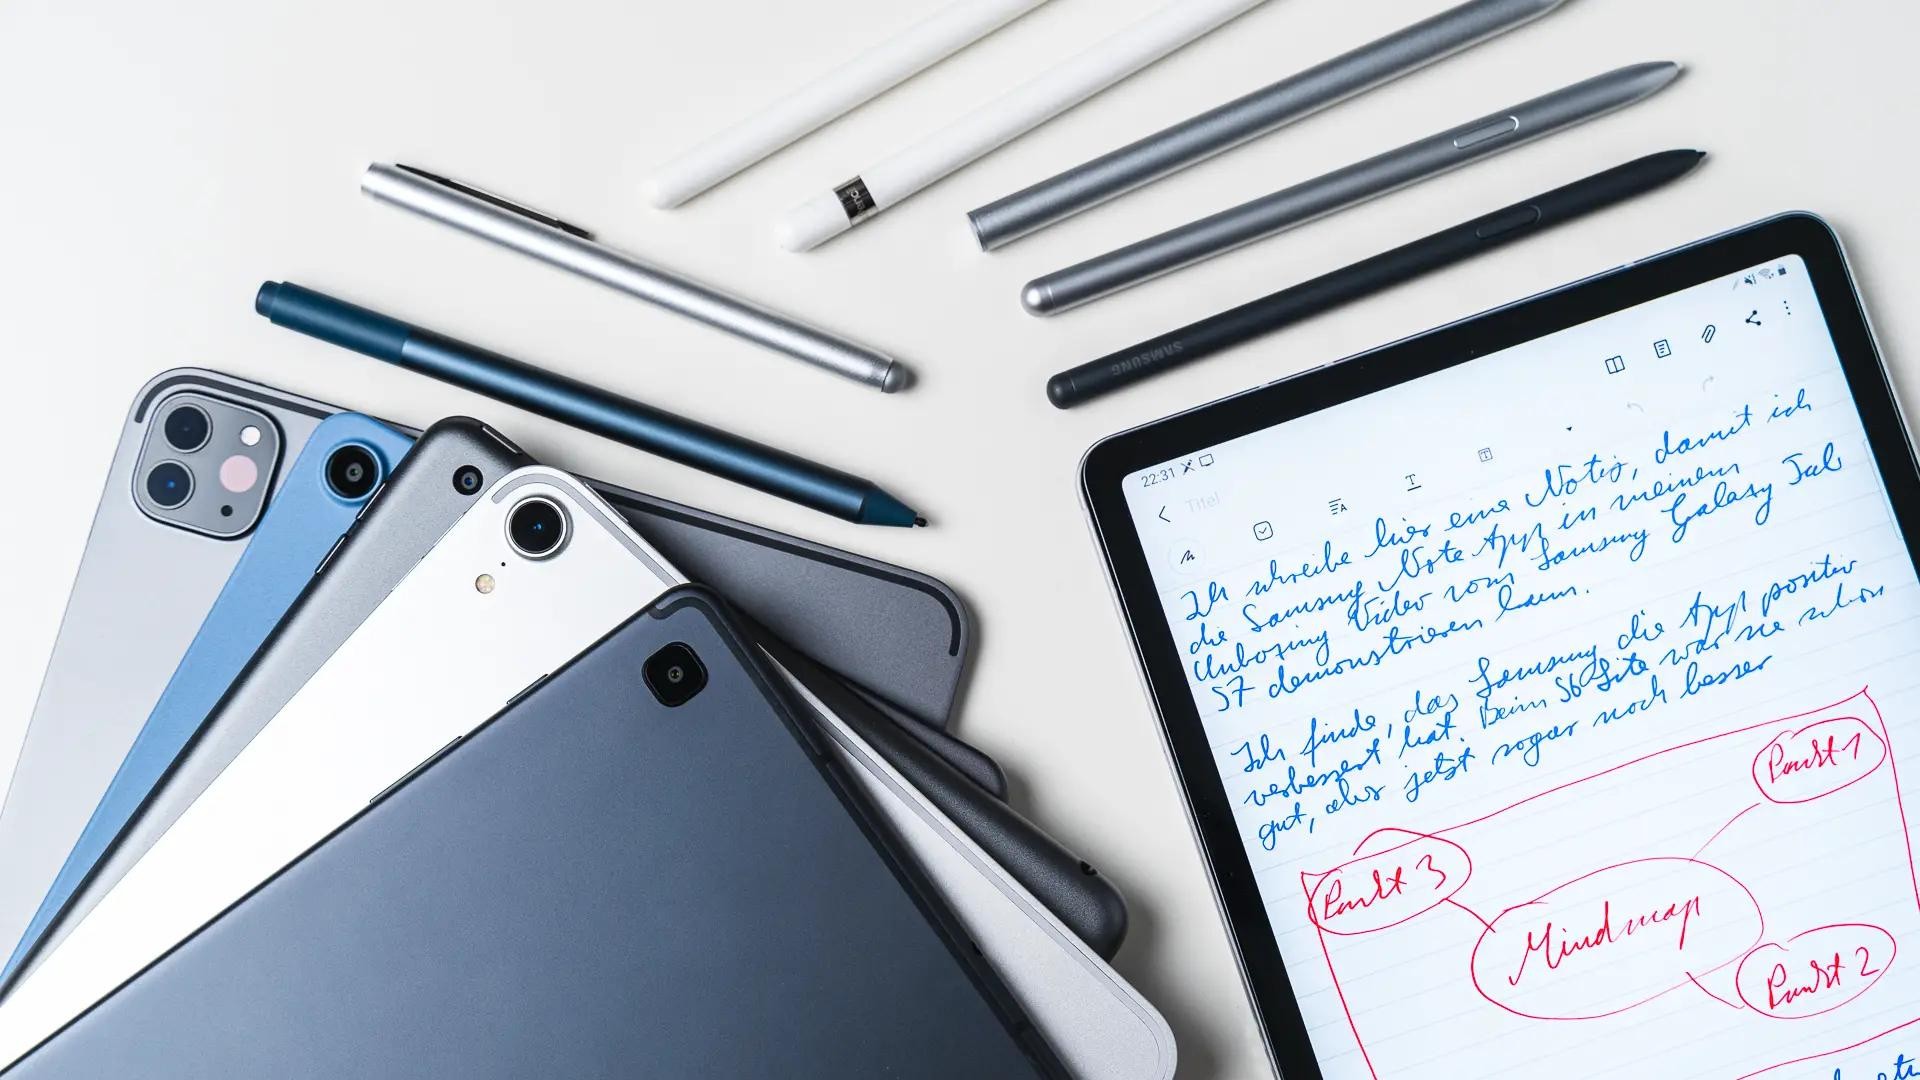
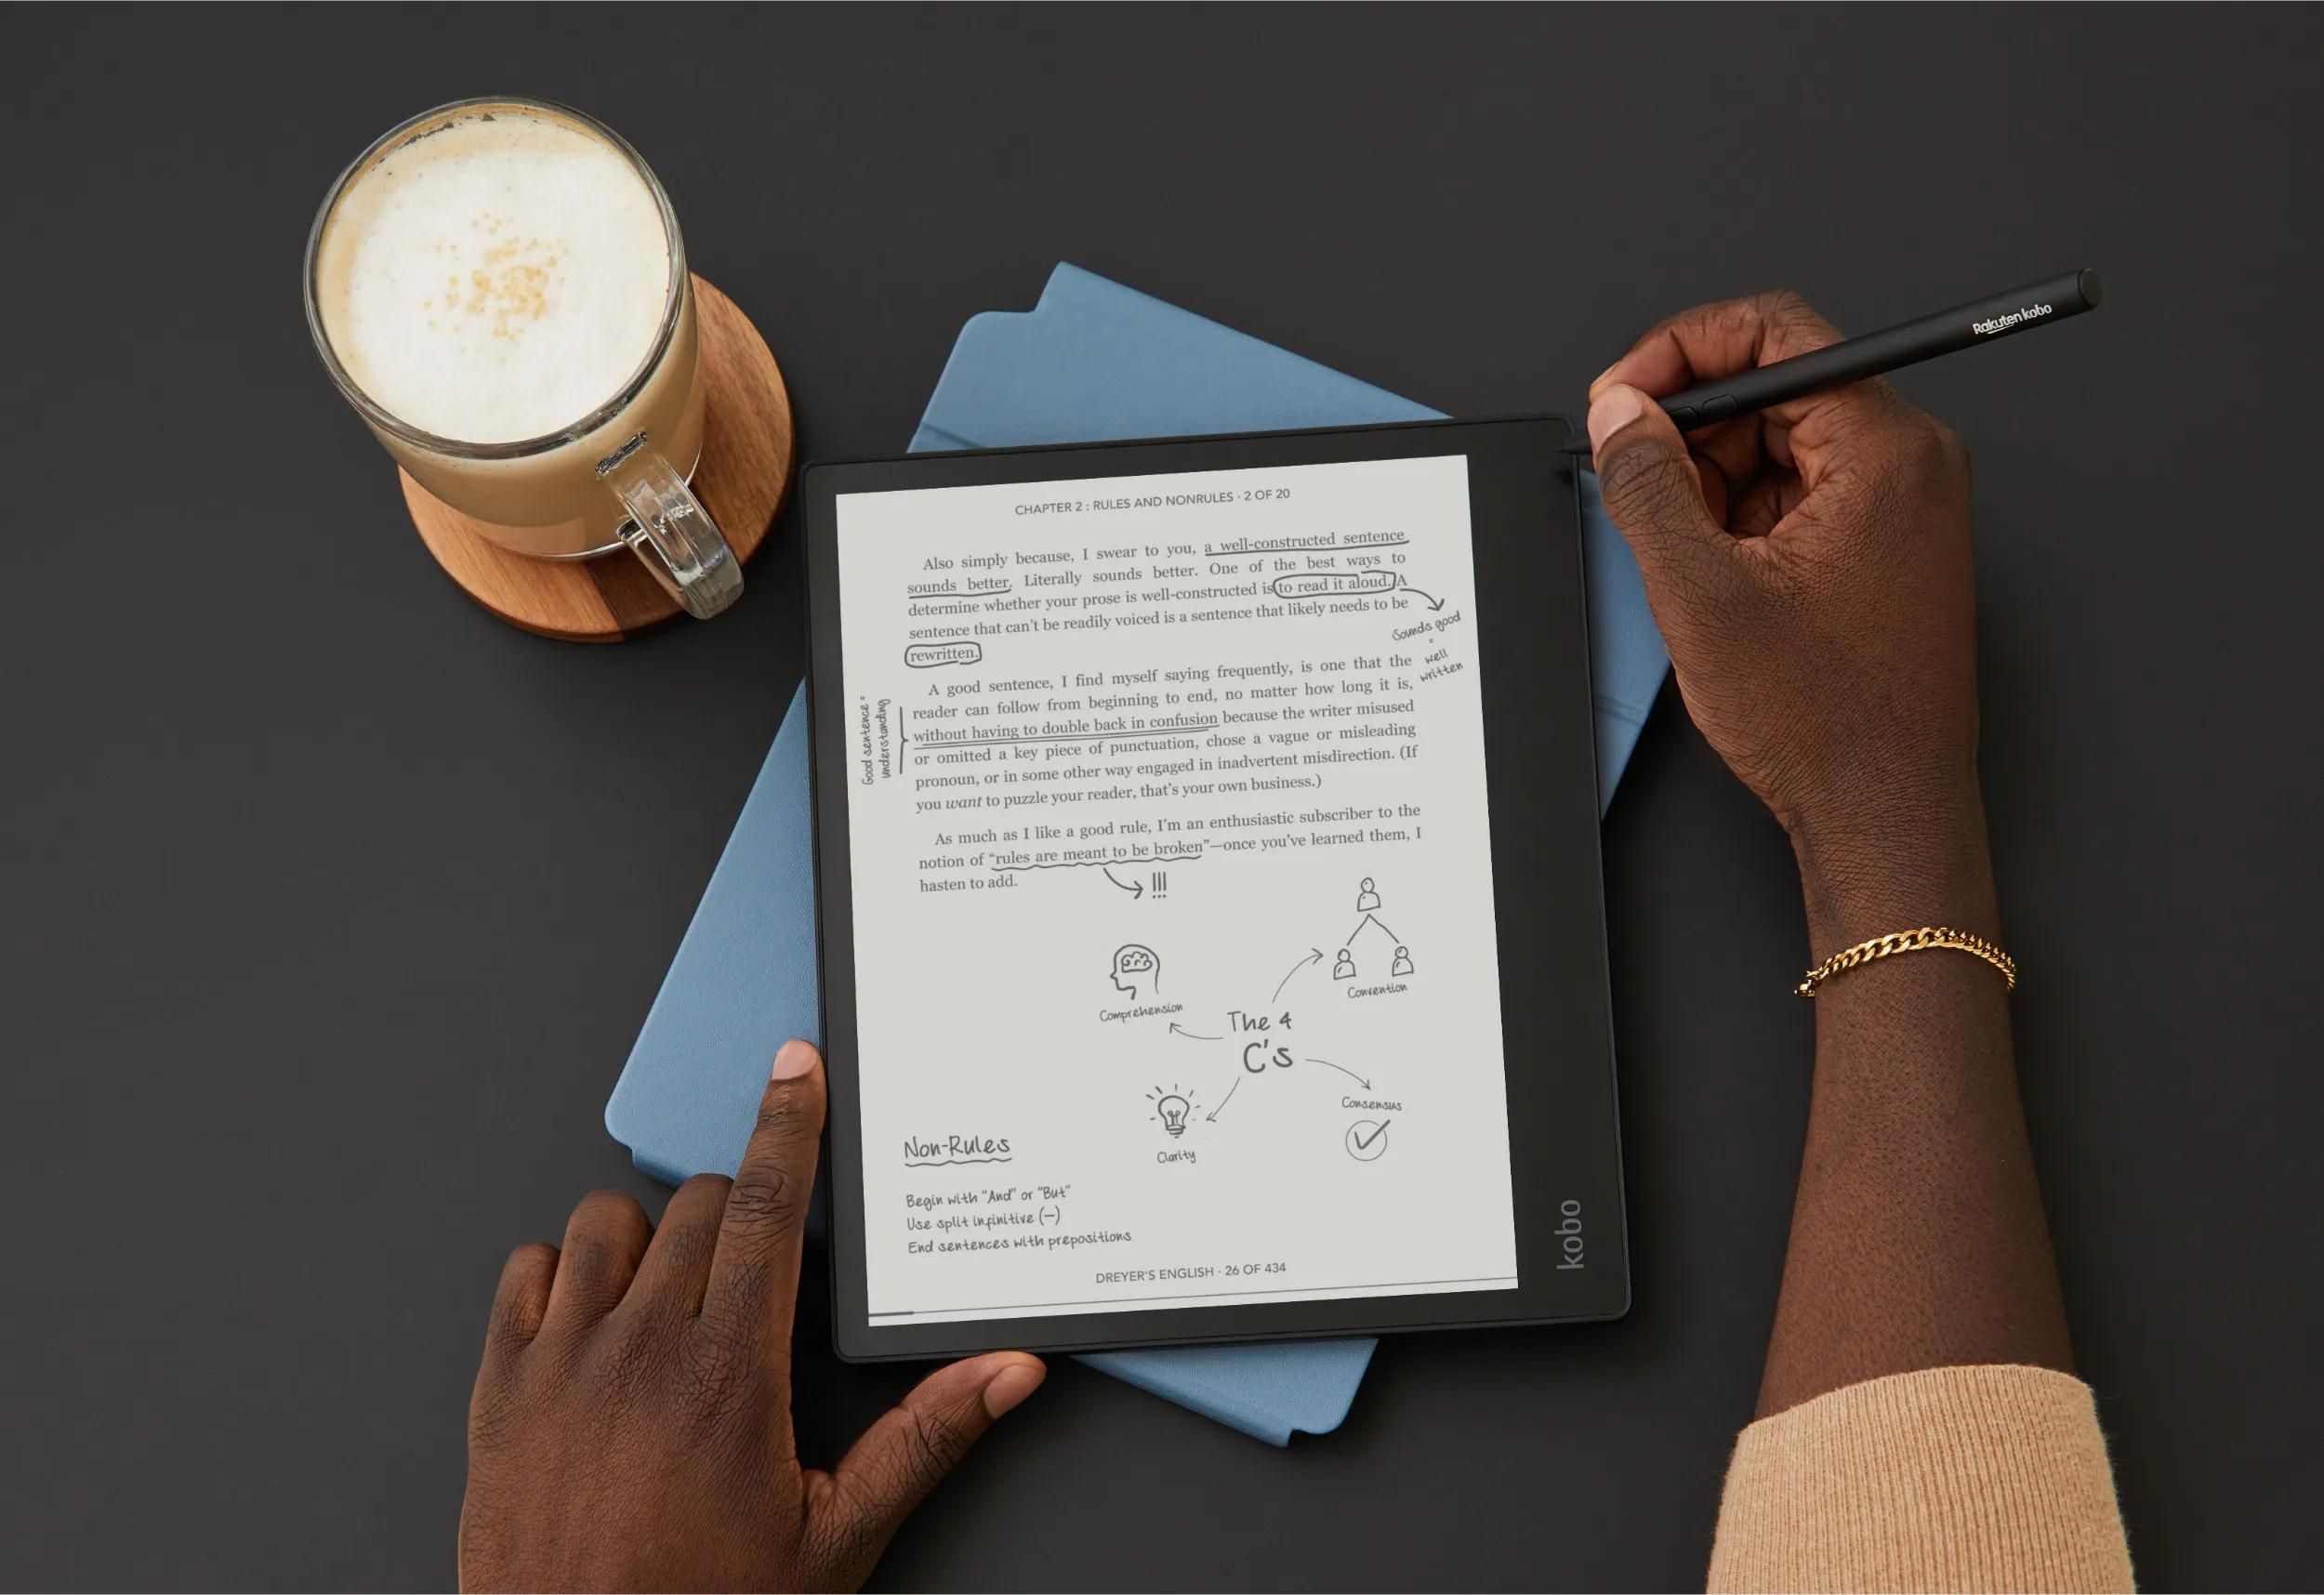
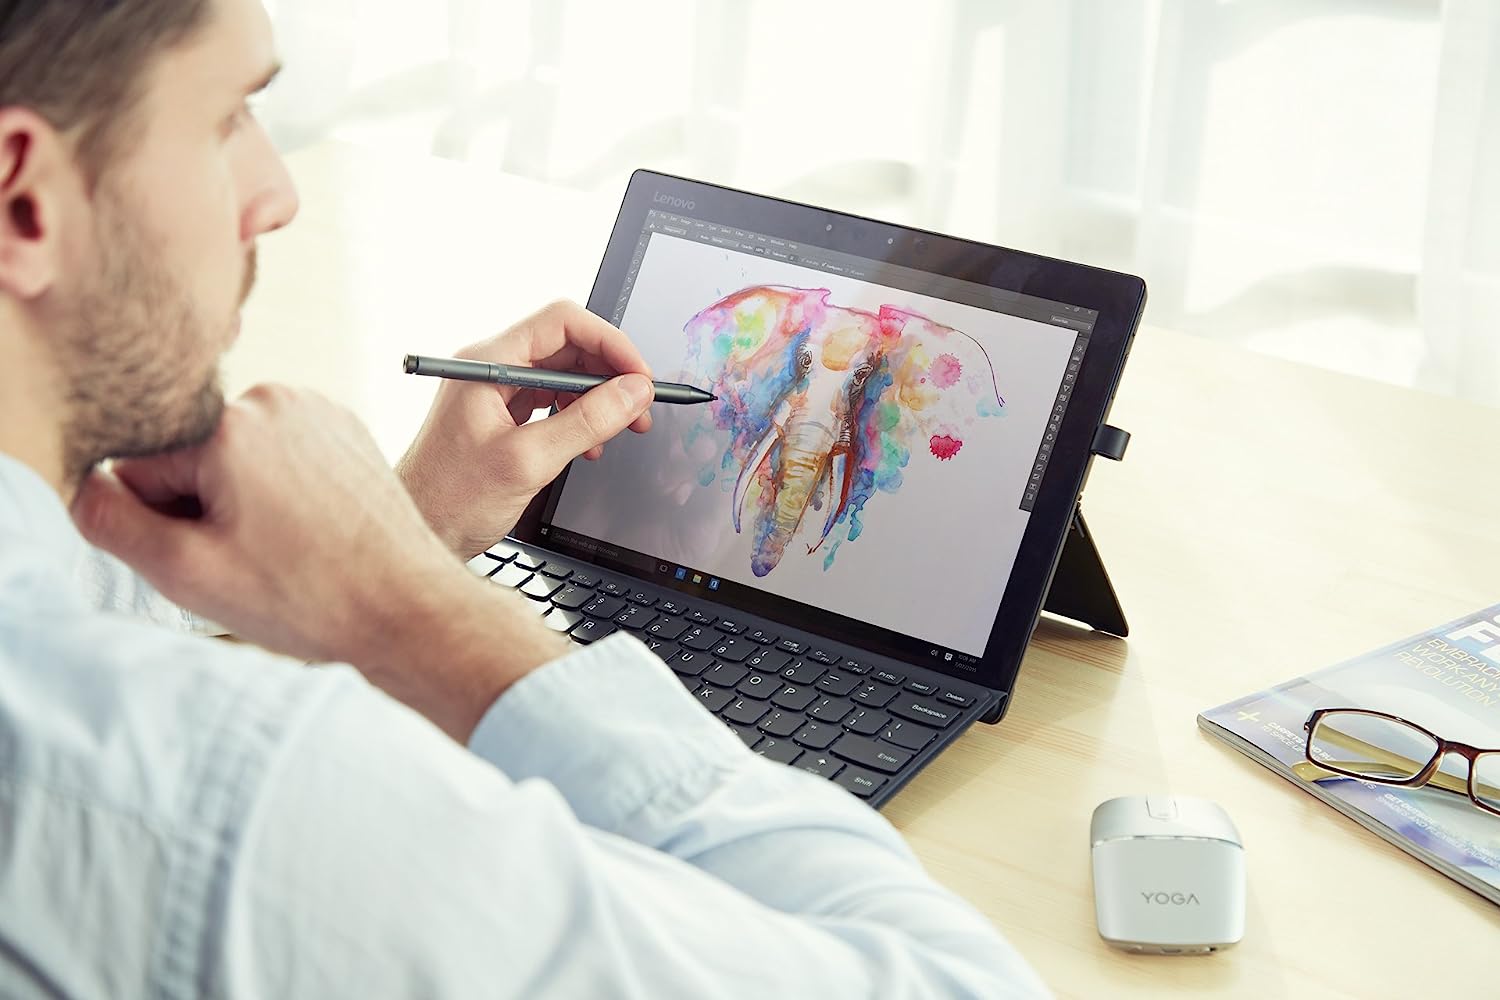
Lenovo pens are designed to provide a seamless writing and drawing experience on Lenovo tablets. The pens have pressure sensitivity, allowing you to vary the line thickness or shade by applying different levels of pressure. With its precise tip, the Lenovo pen can accurately capture every stroke, making it an excellent companion for digital note-taking, sketching, and more.
Before we dive into the steps of connecting your Lenovo pen to your tablet, it’s essential to understand the compatibility requirements. Not all Lenovo tablets are compatible with the Lenovo pen. Ensure that your tablet model is compatible with an active pen or stylus. You can usually find this information in the tablet’s user manual or by checking the Lenovo website for the specifications of your specific tablet model.
In this comprehensive guide, we will walk you through the process of connecting your Lenovo pen to your tablet. We’ll cover everything from charging the pen to pairing it with your tablet and calibrating it if necessary. By the end of this guide, you’ll be ready to enjoy all the benefits of using a Lenovo pen with your tablet.
Step 1: Check Compatibility
Before you begin the process of connecting your Lenovo pen to your tablet, it is crucial to ensure that your tablet model is compatible with an active pen or stylus. This compatibility will ensure that you can fully utilize the pen’s features and functionalities with your tablet.
Start by checking the user manual that came with your Lenovo tablet. Look for any information regarding the compatibility of active pens or styluses. The manual should specify which models of pens are compatible with your tablet.
If you no longer have the user manual, don’t worry! You can still find the compatibility information on the Lenovo website. Visit the Lenovo support page and search for your specific tablet model. Look for the specifications section, and it should indicate if the tablet supports an active pen or stylus.
Another way to check compatibility is to search for the tablet model and pen compatibility online. Lenovo forums or community groups often have discussions about specific pen and tablet compatibility. Reading through these discussions can give you insights into whether others have successfully used the same pen with your tablet model.
Remember, it’s essential to ensure that the pen you plan to use is specifically designed for Lenovo tablets. Using a pen that is not compatible may result in limited functionality or no functionality at all.
Once you have confirmed the compatibility of your tablet with an active pen or stylus, you can proceed to the next step of connecting your Lenovo pen to your tablet. In the following steps, we will guide you through the process so that you can start enjoying the benefits of a digitized pen experience on your Lenovo tablet.
Step 2: Charge the Pen
Before connecting your Lenovo pen to your tablet, it is essential to ensure that the pen is fully charged. Charging the pen will ensure that you can use it for an extended period without any interruptions.
The charging method may vary depending on the specific model of your Lenovo pen. Most Lenovo pens come with a USB charging cable or a built-in rechargeable battery. Follow these steps to charge your Lenovo pen:
- Locate the charging port on the pen. It is usually located near the top or bottom end of the pen.
- If your pen has a built-in rechargeable battery, connect the USB charging cable to the charging port on the pen. Plug the other end of the USB cable into a power source such as a computer, laptop, or USB charger.
- If your pen requires a AAAA battery, unscrew the top cap of the pen to access the battery compartment. Insert the AAAA battery as per the polarity markings, then screw the cap back on.
- Allow the pen to charge fully. This can take anywhere from 1 to 3 hours, depending on the model and charging method.
- Once the pen is fully charged, disconnect it from the charging cable or close the battery compartment tightly.
It’s a good practice to charge your Lenovo pen before you intend to use it. Regularly checking the battery level and recharging the pen when needed will ensure that it is always ready for use.
By following these simple steps, you have successfully charged your Lenovo pen. Now, in the next step, we will guide you through the process of turning on the tablet’s Bluetooth to establish a connection between the pen and your Lenovo tablet.
Step 3: Turn on the Tablet’s Bluetooth
In order to connect your Lenovo pen to your tablet, you need to ensure that the tablet’s Bluetooth is turned on. Enabling Bluetooth will allow your tablet to discover and establish a connection with the Lenovo pen.
The process of turning on Bluetooth may vary slightly depending on the operating system of your Lenovo tablet. However, the general steps to enable Bluetooth are as follows:
- Go to the Settings menu on your Lenovo tablet. You can usually access the Settings app from the app drawer or by swiping down from the top of the screen and tapping on the gear icon.
- In the Settings menu, look for the “Bluetooth” option. It might be listed under “Connections” or “Wireless & Networks”. Tap on it to access the Bluetooth settings.
- If Bluetooth is currently turned off, toggle the switch to turn it on. The switch may appear as “Off/On” or a simple toggle switch depending on your tablet’s operating system.
- Once Bluetooth is turned on, your tablet will start scanning for nearby devices. It will display a list of available devices, including the Lenovo pen, once it is in pairing mode.
Remember to keep the Bluetooth settings screen open on your tablet as you proceed to the next step of pairing the Lenovo pen with your tablet.
Now that you have enabled Bluetooth on your Lenovo tablet, you are ready to move on to the next step of pairing the pen with your tablet. Read on to learn how to establish the connection and begin using your Lenovo pen seamlessly.
Step 4: Pair the Pen with the Tablet
Now that you’ve turned on the Bluetooth on your Lenovo tablet, it’s time to pair the Lenovo pen with your tablet. Pairing establishes a wireless connection between the pen and the tablet, allowing them to communicate and work together seamlessly.
To pair your Lenovo pen with your tablet, follow these steps:
- Make sure the pen is not paired with any other device. If it is, unpair it from the previous device before proceeding.
- Put the Lenovo pen into pairing mode. This process may vary depending on the pen model, so refer to the pen’s user manual or the manufacturer’s instructions for the specific steps. In most cases, you need to press and hold a button or combination of buttons on the pen to enter pairing mode. Look for LED indicators on the pen that indicate it is ready to pair.
- On your Lenovo tablet, navigate to the Bluetooth settings as described in Step 3. The tablet should be scanning for nearby devices.
- In the Bluetooth settings on your tablet, you should see the Lenovo pen listed in the available devices. Tap on the pen’s name to initiate the pairing process.
- Follow any prompts or instructions that appear on your tablet’s screen to complete the pairing process. This may involve entering a passcode or confirming a code displayed on both the pen and tablet.
- Once the pairing is successful, you will receive a notification on your tablet that the Lenovo pen is connected.
Now that your Lenovo pen is successfully paired with your tablet, you can start using it to unleash your creativity or enhance productivity. The pen should now be ready to respond to your touch and pressure, providing you with a fluid and intuitive writing or drawing experience.
In the next step, we will cover the option to calibrate your Lenovo pen, which can help ensure more accurate tracking and responsiveness. Calibration is an optional step but can be beneficial if you feel the need for precise pen input on your tablet.
Step 5: Calibrate the Pen (Optional)
Calibrating your Lenovo pen is an optional step, but it can greatly improve its accuracy and responsiveness when interacting with your tablet. Calibrating allows you to align the pen’s input with the tablet’s display, ensuring that the pen strokes are accurately captured.
To calibrate your Lenovo pen, follow these steps:
- Open the settings menu on your Lenovo tablet.
- Find the “Pen & Windows Ink” or “Stylus” settings. The location and naming of this option may vary depending on your tablet’s operating system.
- Within the pen settings, look for an option related to calibration. It may be labeled as “Calibrate” or “Touch calibration.”
- Follow the on-screen instructions to complete the calibration process. This typically involves tapping on specific targets or drawing lines on the tablet’s display using the Lenovo pen.
- Once the calibration process is complete, save the settings and exit the calibration menu.
Calibrating the pen ensures that the pen and tablet are perfectly synchronized, resulting in more accurate and precise pen input. If you notice any discrepancies or issues with the pen’s responsiveness, calibration can help resolve them.
Keep in mind that not all Lenovo tablets may have the option to calibrate the pen. If you cannot find the calibration settings in your tablet’s settings menu, it is likely that your tablet does not support this feature.
With the pen now paired and optionally calibrated, you are ready to put it to use and unleash your creativity or enhance your productivity on your Lenovo tablet.
In the final step, we will guide you on how to test the functionality of your Lenovo pen to ensure that it is working as expected.
Step 6: Test the Pen Functionality
After connecting and calibrating your Lenovo pen with your tablet, it’s important to test its functionality to ensure that it is working correctly. Testing the pen functionality will help you verify that the pen responds accurately to your input and performs as expected.
To test the functionality of your Lenovo pen, follow these steps:
- Launch a drawing or note-taking app on your Lenovo tablet.
- Select the pen tool or brush tool within the app.
- Begin drawing or writing on the tablet’s screen using your Lenovo pen.
- Observe the stroke accuracy and responsiveness of the pen. Pay attention to how your strokes appear on the screen and whether they are captured accurately.
- Experiment with different levels of pressure to test the pen’s pressure sensitivity, if applicable.
- Test other features of the pen, such as erasing or using shortcut buttons, if your pen has these capabilities.
- If you notice any issues or inconsistencies with the pen’s functionality, refer to the pen’s user manual or contact Lenovo support for troubleshooting assistance.
By testing the pen’s functionality, you can ensure that it meets your expectations and performs as intended. It’s also an excellent opportunity to explore the various features and capabilities of your Lenovo pen, allowing you to fully leverage its potential.
Congratulations! You have successfully connected, paired, and tested the functionality of your Lenovo pen with your tablet. Enjoy the seamless and intuitive pen experience as you sketch, write, and create on your Lenovo tablet.
Conclusion
Connecting a Lenovo pen to your tablet opens up a world of possibilities for creativity and productivity. By following the steps outlined in this guide, you can seamlessly pair your Lenovo pen with your tablet and begin enjoying the benefits of precise and intuitive pen input.
Before getting started, make sure to check the compatibility of your Lenovo tablet with an active pen or stylus. This information can typically be found in the tablet’s user manual or by visiting the manufacturer’s website.
Once you’ve confirmed compatibility, charge your Lenovo pen fully using the provided charging cable or by inserting the necessary battery. Turn on the Bluetooth on your tablet and pair it with the pen, following the specific steps for your tablet and pen model.
If desired, you can calibrate the pen to ensure optimal accuracy and responsiveness. Look for the calibration option in the pen or stylus settings of your tablet’s menu.
Finally, test the functionality of your Lenovo pen by using it within a drawing or note-taking app. Pay attention to stroke accuracy, pressure sensitivity, and any additional features your pen may have. If you encounter any issues, consult the pen’s user manual or seek support from Lenovo.
By completing these steps, you are ready to unlock the full potential of your Lenovo pen and tablet combination. Whether you’re an artist, student, or professional, the Lenovo pen offers an enhanced digital experience, allowing you to express your ideas, take precise notes, and create stunning artwork.
Remember to regularly charge your pen and keep it in a safe place when not in use. With proper care, your Lenovo pen will continue to serve you well for all your digital endeavors.
Now, grab your Lenovo pen and tablet, and let your creativity flow!