Introduction
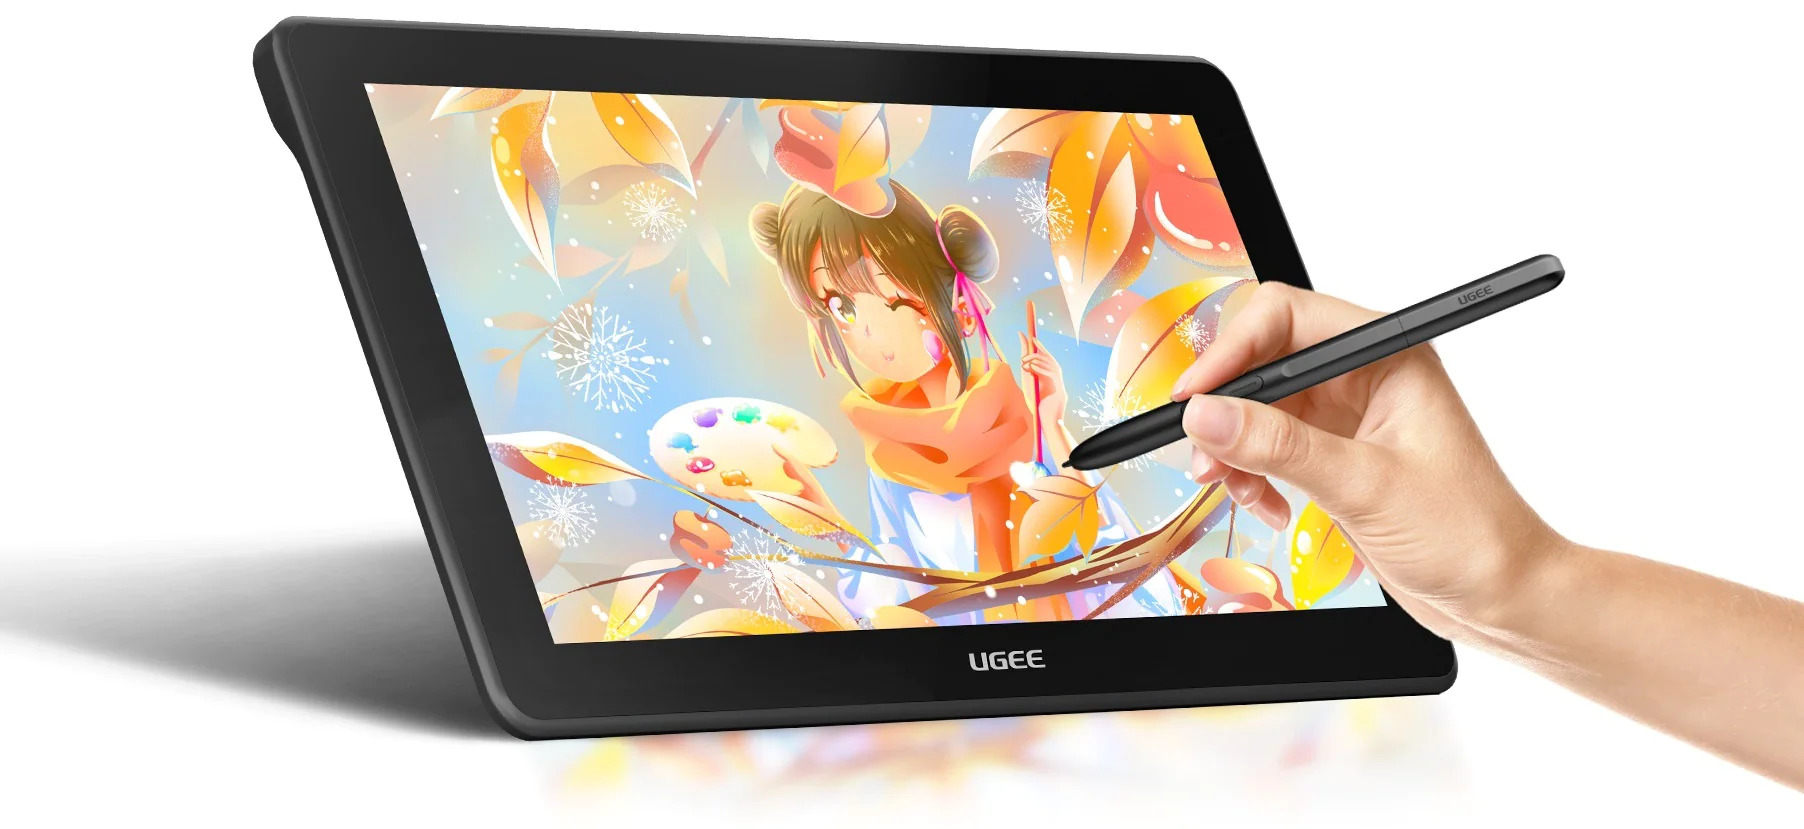
Welcome to the world of digital art! If you are an aspiring artist or a seasoned professional, having a Ugee tablet can greatly enhance your creative workflow. Ugee tablets are renowned for their accuracy, responsiveness, and exceptional pressure sensitivity, making them an excellent choice for digital artists.
In this step-by-step guide, we will walk you through the process of installing your Ugee tablet, from unpacking and inspecting, to downloading the driver, to connecting and calibrating the tablet. By the end of this tutorial, you will be ready to unleash your creativity and take full advantage of the remarkable features of your Ugee tablet.
Before we begin, it’s important to note that the instructions provided here are general guidelines, and the specific steps may vary slightly depending on the model of your Ugee tablet and the operating system you are using. It is always recommended to refer to the official documentation provided by Ugee for detailed instructions.
So, without further ado, let’s dive into the world of Ugee tablets and get started with the installation process!
Step 1: Unpack and Inspect
The first step in installing your Ugee tablet is to carefully unpack it and inspect the contents to ensure everything is in good condition. By taking the time to do this, you can identify any potential issues or defects early on, allowing for a smoother installation process.
Here are the steps to follow:
- Locate the box containing your Ugee tablet. Carefully remove all packaging materials, such as bubble wrap or foam, ensuring not to damage any components in the process.
- Inspect the tablet itself for any visible signs of damage. Check the screen for scratches or cracks, and examine the casing for any dents or dings. If you notice any issues, contact Ugee support for further assistance.
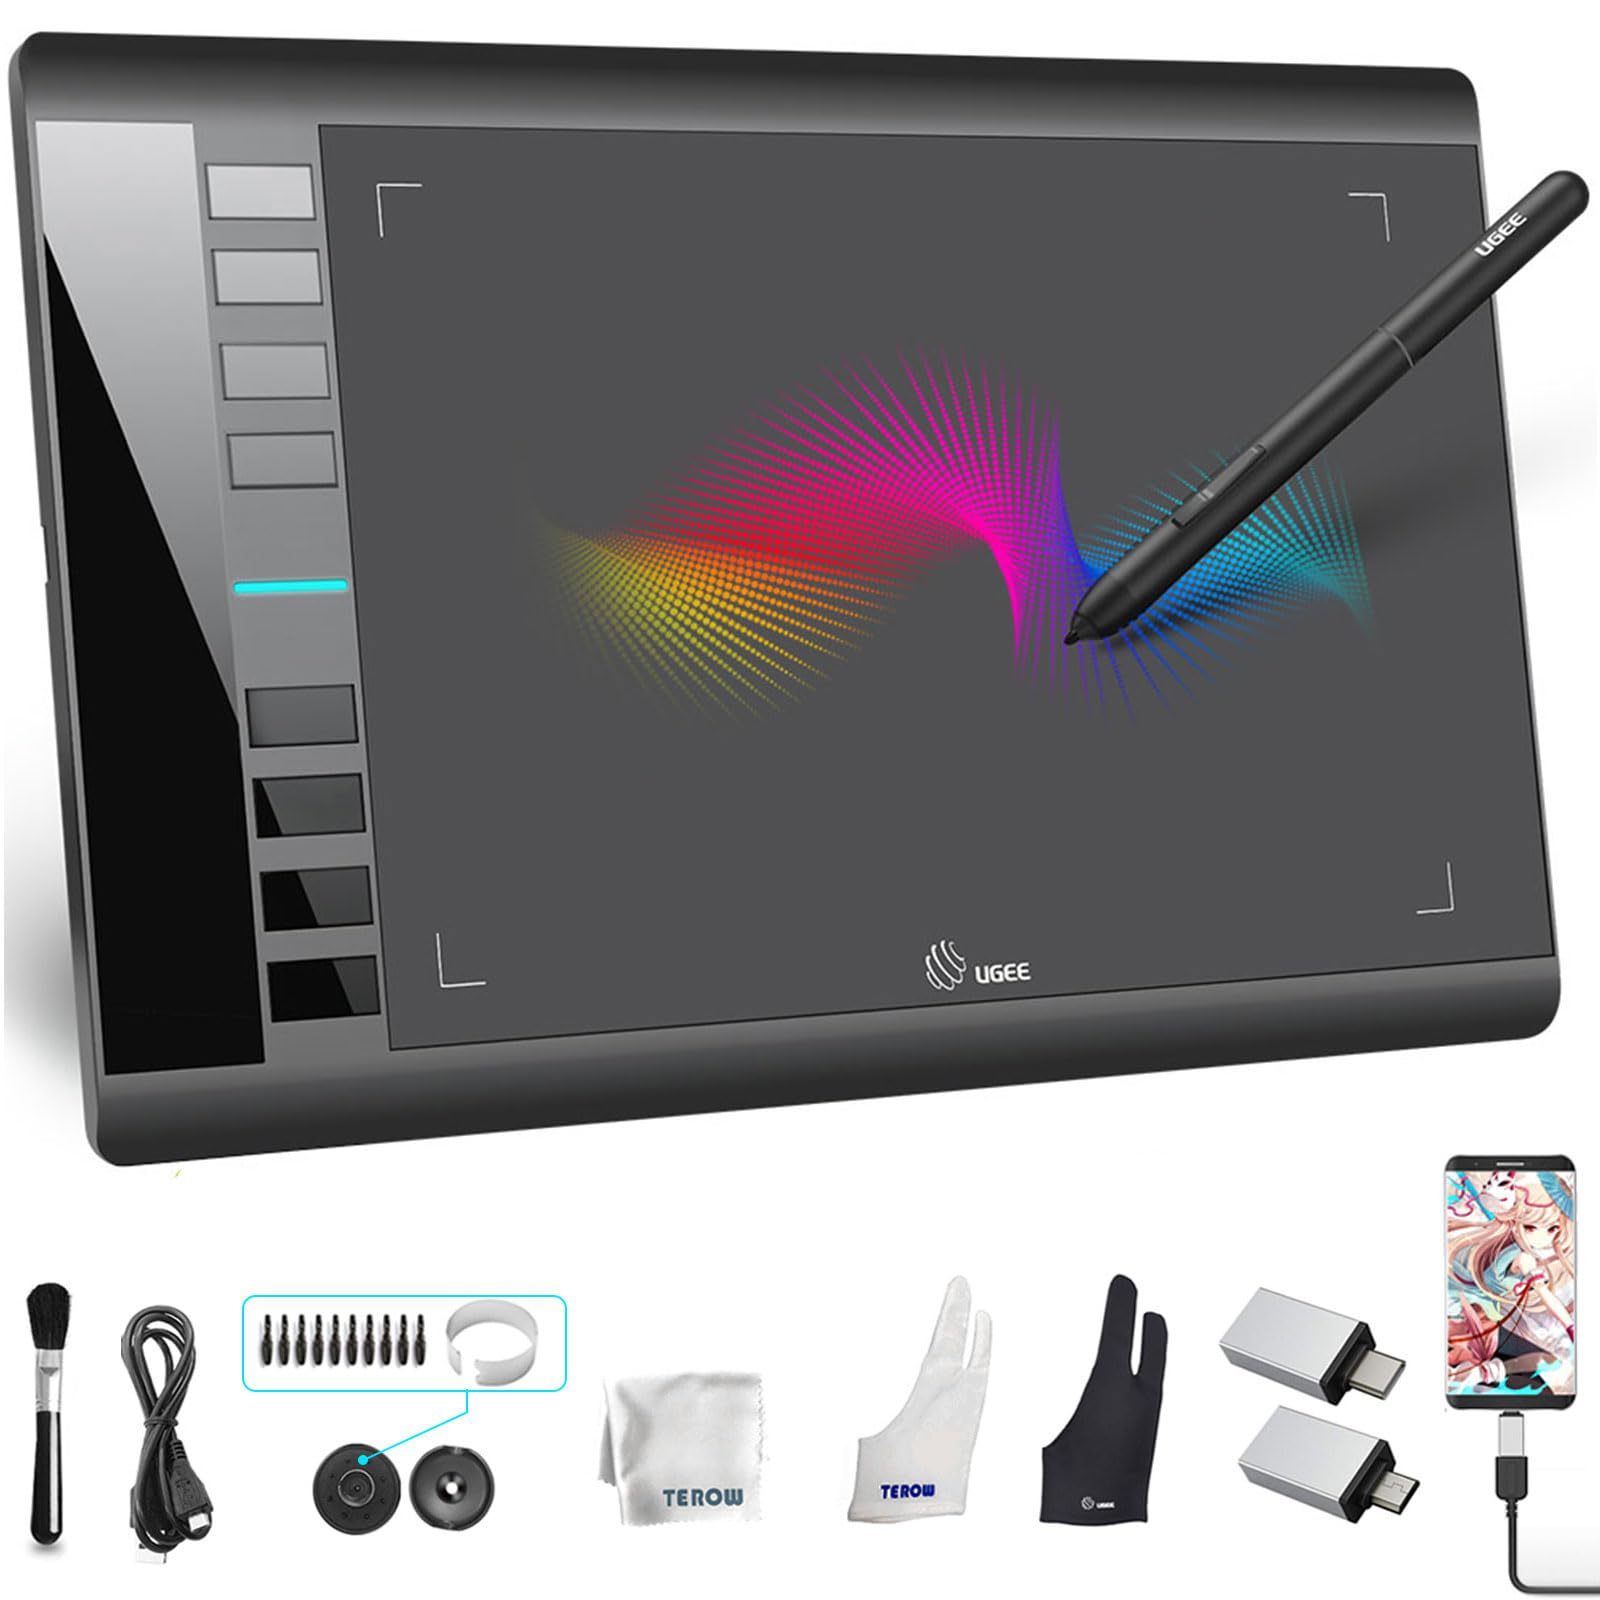
- Next, locate the accessories that come with the tablet, such as the stylus pen, USB cable, and any additional cables or adapters. Ensure that all the accessories are present and undamaged.
- Check the stylus pen for any damage or loose parts. Ensure that the pen’s buttons and pressure sensitivity are working correctly. If there are any issues, Ugee support can provide guidance on troubleshooting or replacing the pen.
- Inspect the USB cable for any frayed wires or bent connectors. A faulty cable can affect the tablet’s performance, so it’s essential to ensure it is in good condition.
- Finally, take a moment to read through the user manual provided by Ugee. Familiarize yourself with the tablet’s features and specifications, as well as any specific installation instructions that may differ from this general guide.
By thoroughly inspecting your Ugee tablet and its accessories, you can address any potential issues before starting the installation process. This will help ensure a smooth and trouble-free installation experience, allowing you to fully enjoy your Ugee tablet’s capabilities.
Step 2: Download the Driver
Once you have unpacked and inspected your Ugee tablet, the next step is to download the appropriate driver for your operating system. The driver is essential for the tablet to communicate effectively with your computer, enabling you to fully utilize its features and functionality.
Here’s how you can download the driver:
- Visit the official Ugee website at https://www.ugee.com/en/ on your computer’s web browser.
- Navigate to the “Support” or “Downloads” section of the website. Look for the driver section specifically tailored to your Ugee tablet model.
- Select your tablet model and the operating system you are using. Ugee provides drivers for Windows, macOS, and some Linux distributions.
- Click on the “Download” button to start the download process.
- Once the driver file is downloaded, locate it on your computer and double-click to run the installation wizard.
- Follow the on-screen prompts to install the driver. Make sure to read and accept any license agreements or terms of use.
- After the installation is complete, restart your computer to ensure that the driver is properly installed and loaded.
It is crucial to download the driver directly from the official Ugee website to ensure that you are getting the most up-to-date and compatible version. Avoid downloading drivers from third-party sources, as they may be outdated or contain malicious software.
If you encounter any difficulties during the driver installation process, consult the user manual provided by Ugee or visit their support website for troubleshooting guides and additional assistance.
With the driver successfully installed, you are one step closer to using your Ugee tablet to unleash your creativity and bring your artistic visions to life.
Step 3: Install the Driver
Now that you have downloaded the appropriate driver for your Ugee tablet, it’s time to proceed with the installation process. Installing the driver is a crucial step as it ensures that your tablet is recognized by your computer and functions optimally.
Here’s a step-by-step guide on how to install the driver:
- Locate the driver file that you downloaded in the previous step. It is usually a compressed file (e.g., .zip or .rar) that needs to be extracted.
- Extract the contents of the driver file to a location of your choice on your computer. This can be done by right-clicking the file and selecting “Extract” or using a file compression software.
- Once extracted, navigate to the folder containing the extracted files and locate the setup or installation file. It is typically named something like “Setup.exe” or “Installer.exe”.
- Double-click on the setup file to launch the installation wizard.
- Follow the on-screen instructions provided by the installation wizard. This may include accepting the license agreement, selecting the installation location, and choosing any additional components or features to install.
- Once the installation is complete, restart your computer to ensure that the driver is fully integrated with your system.
During the installation process, some driver installers may prompt you to connect your Ugee tablet to your computer. If this is the case, follow the instructions provided by the installer, ensuring that your tablet is properly connected via USB.
If you encounter any issues during the driver installation, such as error messages or compatibility problems, refer to the user manual or the support section on the Ugee website for troubleshooting guidance. It is also a good idea to check for any driver updates or patches on the Ugee website from time to time, as they may provide bug fixes or performance enhancements.
With the driver successfully installed, your Ugee tablet is now ready to be connected to your computer and utilized to its fullest potential. Proceed to the next step to learn how to connect your tablet.
Step 4: Connect the Tablet
With the driver successfully installed on your computer, it’s time to connect your Ugee tablet and establish a seamless connection between the tablet and your computer.
Follow these steps to connect your Ugee tablet:
- Locate the USB cable that came with your Ugee tablet.
- Plug one end of the USB cable into the USB port on your computer.
- Connect the other end of the USB cable to the corresponding USB port on your Ugee tablet.
- Once the tablet is connected, your computer should detect it and automatically recognize the device.
If your Ugee tablet has a wireless connectivity option, consult the user manual for instructions on how to connect the tablet wirelessly.
It is important to note that some Ugee tablets may require additional power or connectivity cables, such as HDMI or VGA cables, depending on the model and your specific requirements. Refer to the user manual or the Ugee website for detailed information on any additional cables or adapters needed for your particular setup.
After connecting your Ugee tablet to your computer, give your computer a moment to establish the connection. Once the tablet is successfully connected and recognized, you can proceed to the next step and calibrate your tablet for optimized performance.
If you encounter any issues during the connection process, ensure that the USB cable is securely plugged in on both ends and that there are no loose connections. If problems persist, consult the troubleshooting guides provided by Ugee or seek assistance from their support team.
Now that your Ugee tablet is connected to your computer, it’s time to move on to the next step and calibrate the tablet for accurate and precise input.
Step 5: Calibrate the Tablet
Calibrating your Ugee tablet is essential to ensure accurate and precise input when using the pen or stylus. Calibration helps align the tablet’s sensing area with your computer screen, allowing for seamless and natural interaction.
Here’s how you can calibrate your Ugee tablet:
- Open your computer’s Control Panel or System Preferences, depending on your operating system.
- Look for the “Pen and Touch” or “Tablet Settings” option. It may be located under the Hardware or Devices section.
- Within the Pen and Touch or Tablet Settings, locate the Calibration tab or option.
- Follow the on-screen instructions to start the calibration process. This usually involves tapping or touching specific points on your tablet’s screen.
- Make sure to use your stylus or pen during the calibration process, as this will ensure accurate alignment between the tablet and screen.
- After completing the calibration process, save and apply the settings.
It’s worth noting that the calibration process may vary slightly depending on your operating system and the specific Ugee tablet model. Refer to the user manual or the Ugee website for detailed instructions on how to calibrate your specific tablet.
Calibrating your Ugee tablet periodically is recommended, especially if you notice any mismatch between the cursor movement on the screen and the stylus input. Regular calibration ensures optimal performance and a seamless drawing experience.
If you experience any issues during the calibration process or the tablet’s cursor movement still doesn’t align correctly, consult the user manual or the Ugee support website for troubleshooting tips. In some cases, updating the tablet’s firmware or driver may resolve calibration issues.
With your Ugee tablet properly calibrated, you are now ready to put it to the test and unleash your creativity. Proceed to the next step to learn how to test the tablet and ensure everything is working as expected.
Step 6: Test the Tablet
After successfully calibrating your Ugee tablet, it’s important to test its functionality to ensure that everything is working as expected. This will allow you to identify any potential issues or adjustments that may be necessary before diving into your artistic projects.
Follow these steps to test your Ugee tablet:
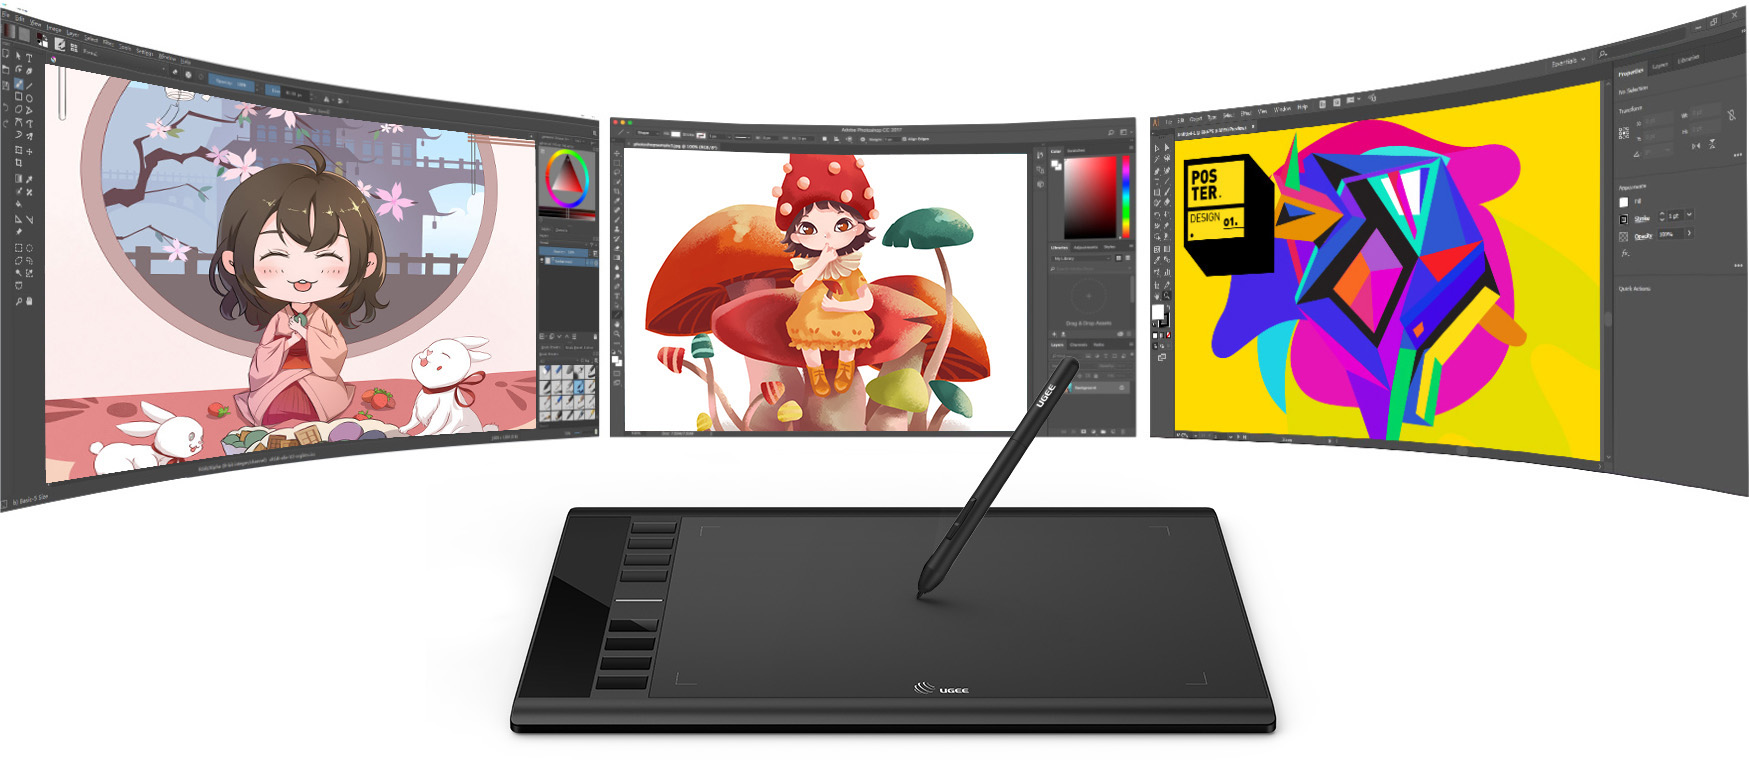
- Open your preferred drawing software or any software that supports tablet input, such as Adobe Photoshop, Corel Painter, or Krita.
- Verify that the pen or stylus is recognized and responsive within the software. The cursor should move smoothly and accurately in relation to the position of the pen on the tablet’s surface.
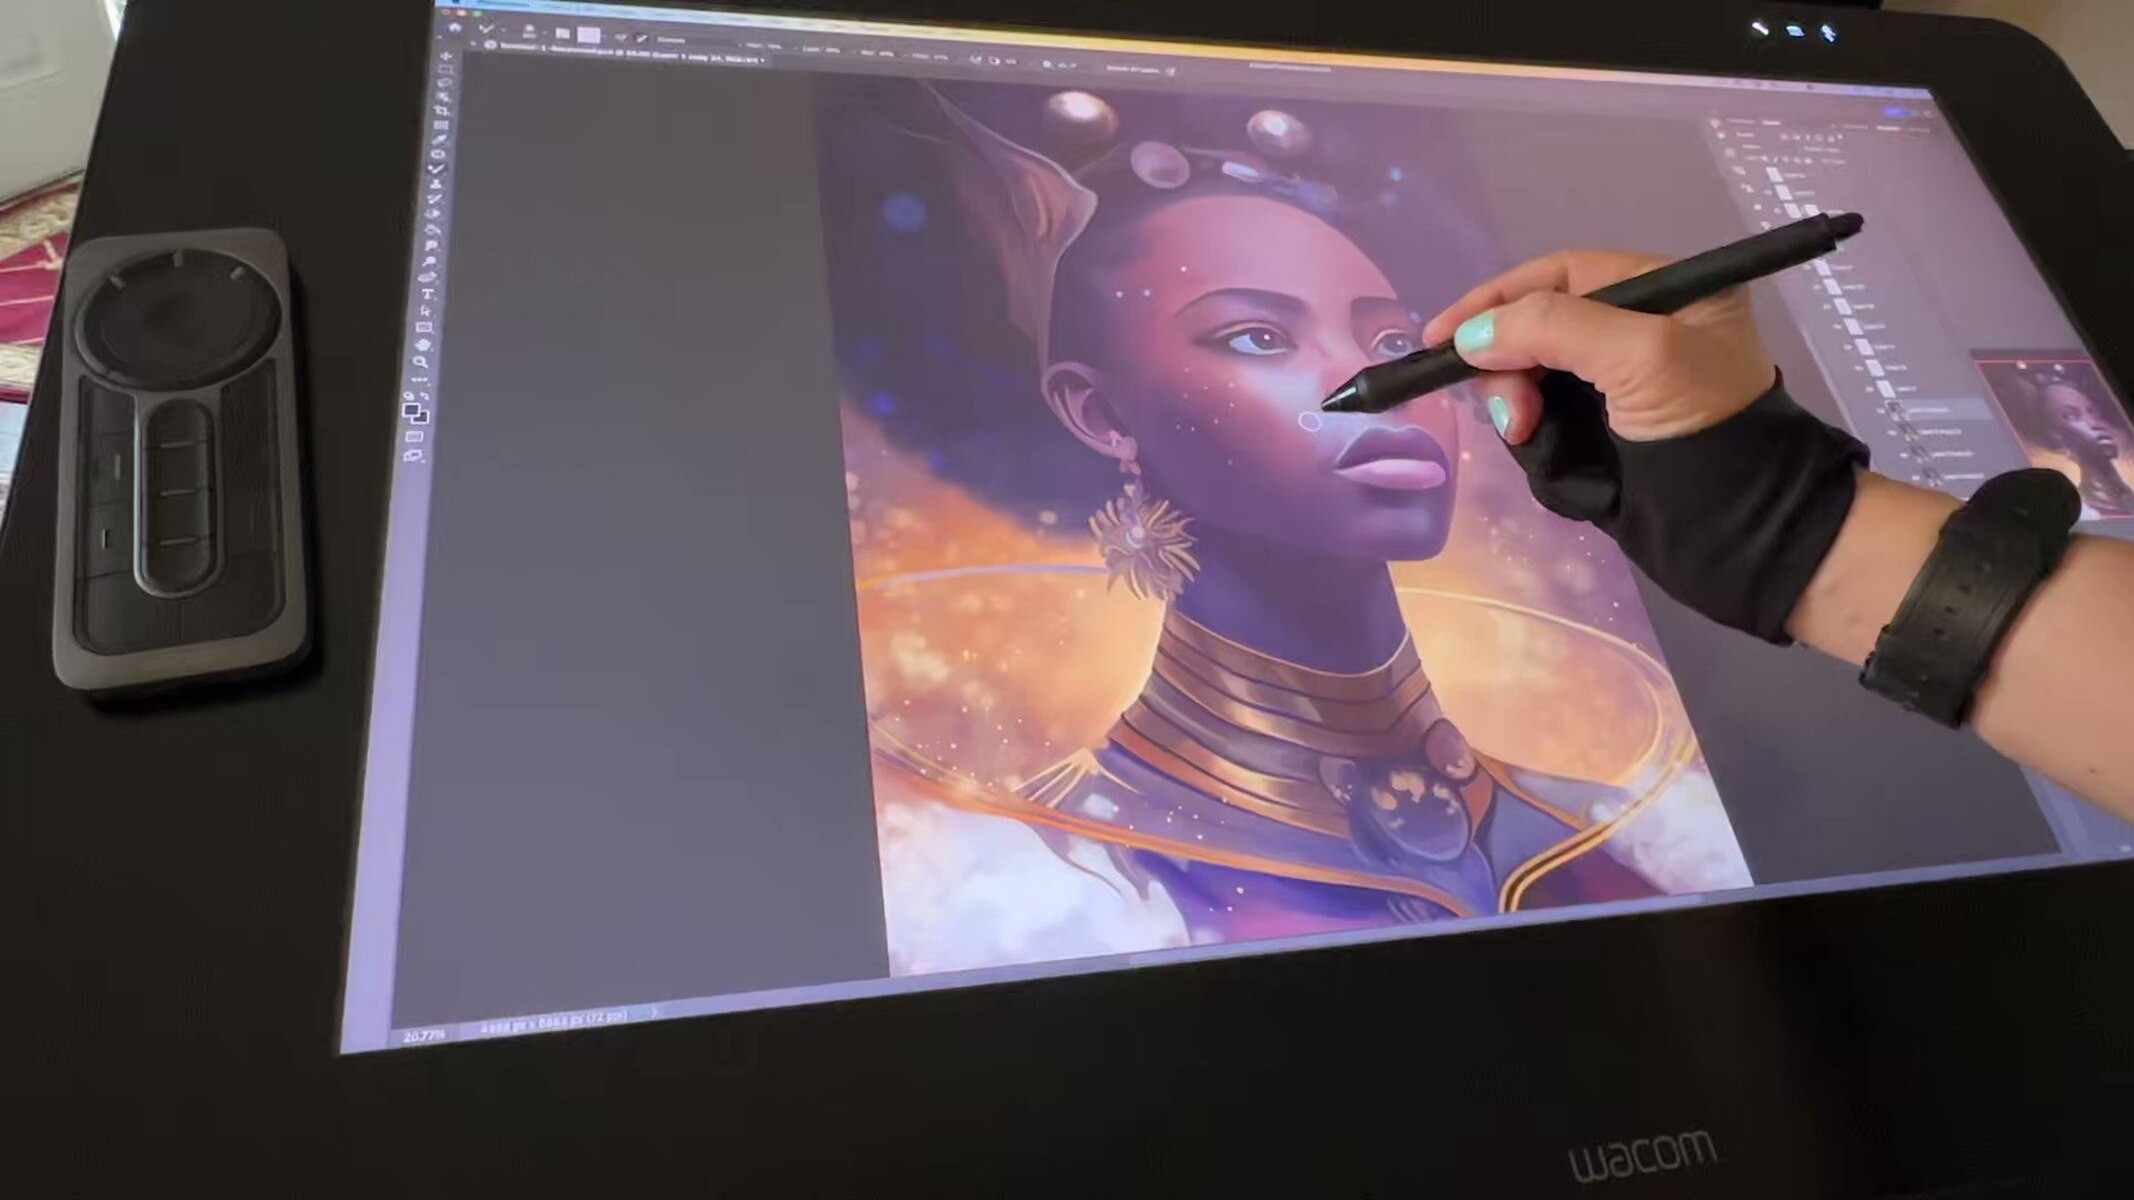
- Test the pressure sensitivity of the pen and confirm that the software registers different levels of pressure. This is crucial for creating varying brush strokes and line thicknesses depending on the pressure applied.
- Try out different functions and configurable buttons on the tablet, such as program-specific shortcuts or pen buttons. Ensure that they are properly recognized and perform the desired actions.
- Create a test drawing or sketch to further evaluate the tablet’s performance. Pay attention to the accuracy, responsiveness, and overall drawing experience.
- If you encounter any issues during the testing process, refer to the user manual or the Ugee support website for troubleshooting tips. Updating the tablet’s drivers or firmware may help resolve any software-related issues.
It’s a good practice to regularly update your tablet’s drivers and firmware to ensure optimal performance and compatibility with the latest software updates. Check the Ugee website periodically for any available updates tailored to your tablet model and operating system.
By thoroughly testing your Ugee tablet, you can gain confidence in its capabilities and make any necessary adjustments to suit your preferred workflow. This ensures that you have a smooth and enjoyable experience when creating digital art.
Congratulations! You have successfully installed, connected, calibrated, and tested your Ugee tablet. You are now fully equipped to embark on your artistic journey and explore the endless possibilities that your Ugee tablet offers.
Conclusion
Congratulations on successfully installing and setting up your Ugee tablet! By following the steps outlined in this guide, you have taken a significant step towards enhancing your digital art experience.
From unpacking and inspecting the tablet, to downloading and installing the driver, to connecting, calibrating, and testing the tablet – you have covered all the necessary steps to ensure optimal functionality and performance.
Remember to periodically check for driver updates and firmware upgrades, as they can provide enhancements and bug fixes that further improve your tablet’s performance.
Now that you have your Ugee tablet up and running, take the time to explore its extensive capabilities and unleash your creativity. Experiment with different drawing software, brushes, and techniques to create stunning digital artwork.
If you encounter any issues or have questions along the way, don’t hesitate to refer to the user manual provided by Ugee or visit their support website for guidance.
Embrace the power of your Ugee tablet and let your imagination soar. Create beautiful art, express yourself, and enjoy the seamless digital art experience that Ugee tablets provide.
Happy creating!