Introduction
The Ugee drawing tablet is a powerful tool that can take your digital artwork to the next level. Whether you are a professional artist or just starting out, this tablet offers a range of features and functionalities that can greatly enhance your creative process. From its sleek design to its pressure sensitivity, the Ugee tablet is designed to provide a seamless and intuitive drawing experience.
One of the key advantages of the Ugee tablet is its compatibility with various drawing software, such as Adobe Photoshop, Corel Painter, and Sketchbook Pro. This allows you to work with the software you are most comfortable using and take advantage of its unique tools and features. Additionally, the Ugee tablet offers customizable hotkeys, which can greatly improve your productivity and streamline your workflow.
In this guide, we will walk you through the process of getting started with the Ugee drawing tablet. We will cover everything from installing the tablet driver to customizing pen pressure sensitivity and using the tablet with different drawing software. Whether you are a seasoned digital artist or a beginner, this guide will provide you with the information you need to make the most of your Ugee drawing tablet.
So, if you are ready to unlock the full potential of your artistic abilities, let’s dive into the world of Ugee tablets and discover all the amazing things you can create.
Getting Started
Before you can start using your Ugee drawing tablet, there are a few essential steps you need to follow. By properly setting up your tablet, you can ensure a smooth and hassle-free drawing experience.
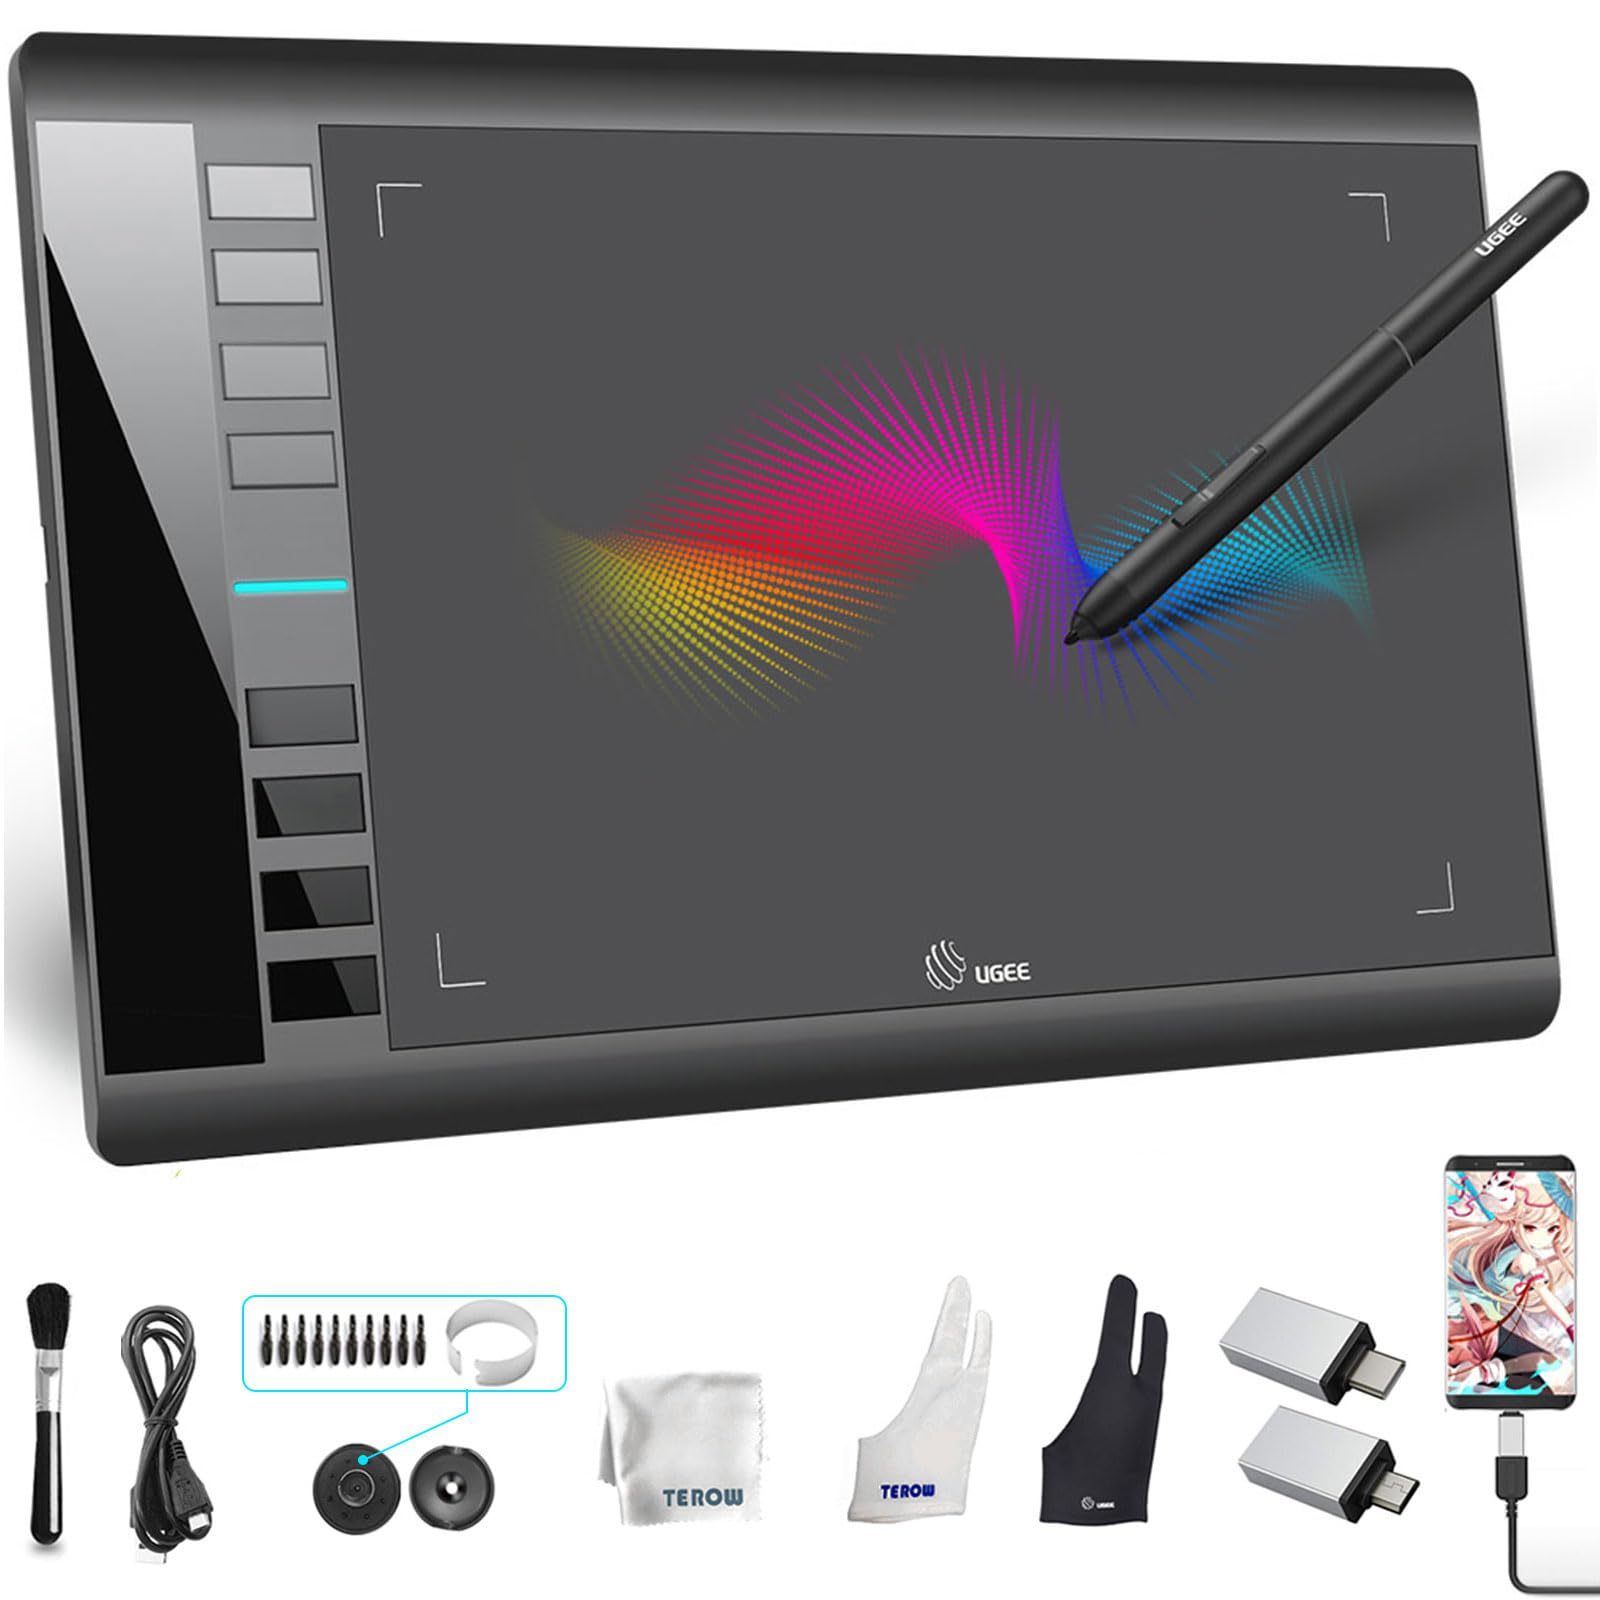
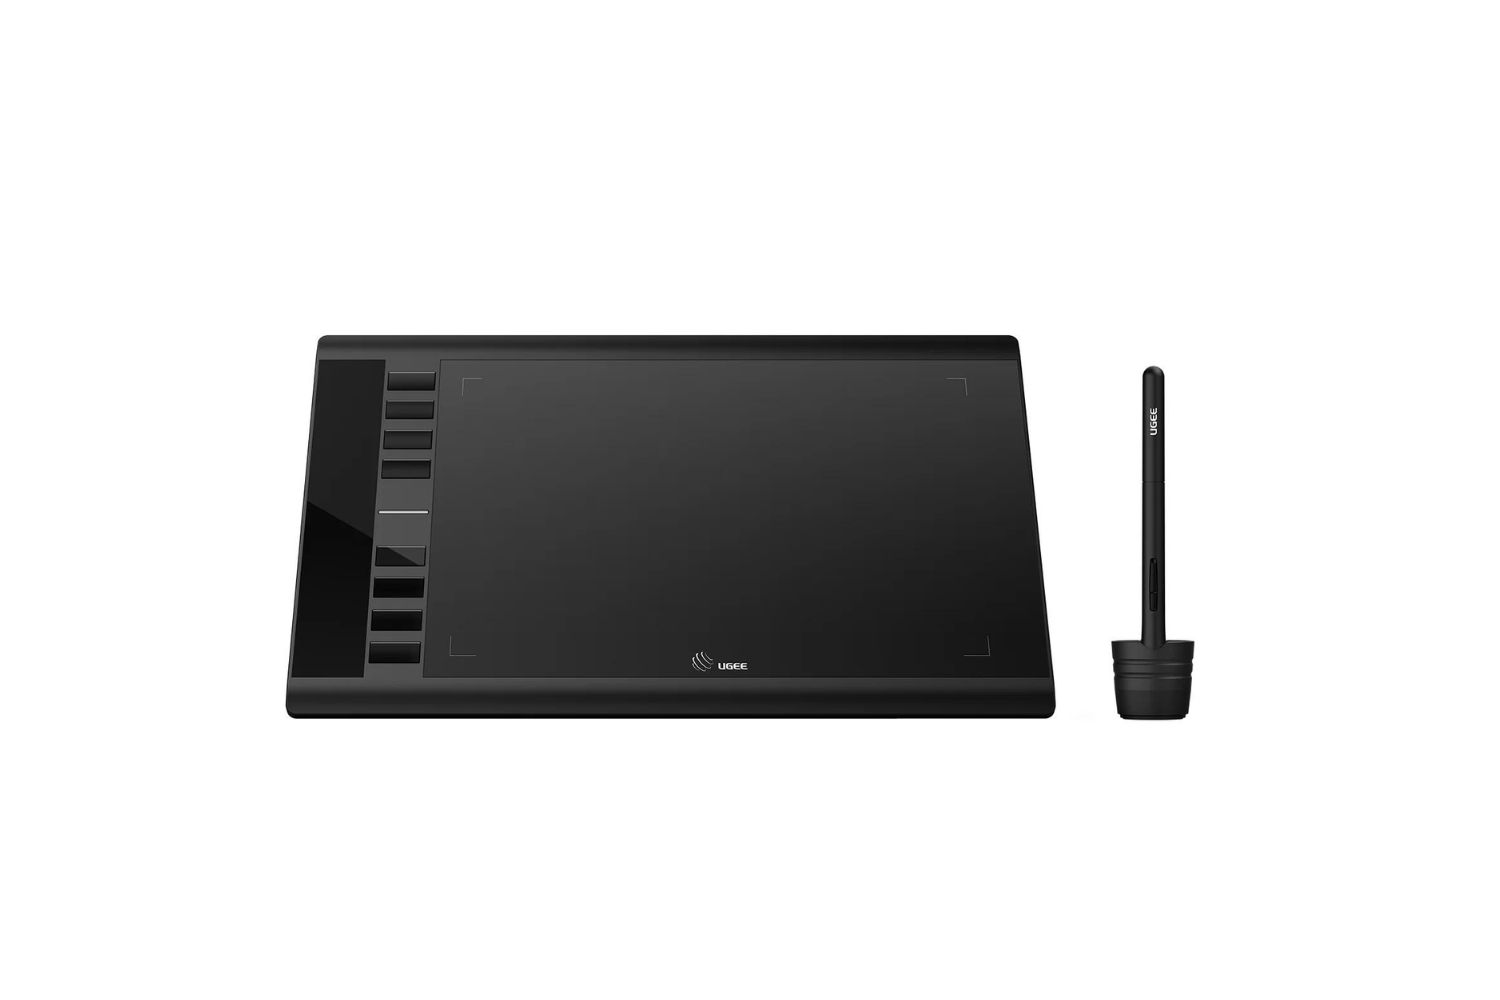
The first step is to unpack your Ugee tablet and make sure you have all the necessary components. Typically, the package includes the tablet itself, a stylus pen, USB cables, and an installation disk. Once you have everything ready, you can proceed to the next step.
Next, you need to connect your Ugee tablet to your computer. Plug one end of the USB cable into the tablet and the other end into an available USB port on your computer. Make sure the connection is secure to avoid any interruptions during use.
Once your tablet is connected, you will need to install the tablet driver. The driver is essential for the tablet to function properly and ensure compatibility with your computer’s operating system. Insert the installation disk into your computer’s disk drive and follow the on-screen instructions to complete the installation process. If your computer does not have a disk drive, you can download the latest driver from the Ugee website.
After the driver installation is complete, you may need to restart your computer to apply the changes. Once your computer has restarted, your Ugee tablet should be ready to use.
Lastly, it is important to calibrate your Ugee tablet to ensure accurate pen tracking. Calibration is a straightforward process that involves touching each specified calibration point on the tablet with the stylus pen. This allows the tablet to accurately map the position of the pen on the screen. To calibrate your tablet, follow the instructions provided in the user manual or the tablet’s software.
Now that you have set up your Ugee drawing tablet, you can start exploring its various features and functionalities. In the next sections, we will guide you through the process of customizing pen pressure sensitivity, configuring hotkeys, and using the tablet with popular drawing software. So, buckle up and get ready to unleash your creativity with your new Ugee tablet.
Installing the Tablet Driver
To ensure that your Ugee drawing tablet works seamlessly with your computer, it is important to install the necessary tablet driver. The tablet driver acts as a bridge between your tablet and your computer’s operating system, allowing them to communicate effectively.
The first step in installing the tablet driver is to insert the installation disk that came with your Ugee tablet into your computer’s disk drive. Most modern computers may not have a disk drive, in which case you can download the latest driver from the Ugee website. Ensure that you download the driver that is compatible with your tablet model and your computer’s operating system.
Once you have the installation disk or the downloaded driver, open the driver installation file. Follow the on-screen instructions to proceed with the installation. You may be prompted to choose the installation location and agree to the terms and conditions. Make sure to read the terms and conditions carefully before proceeding.
After completing the installation, you may need to restart your computer to apply the changes. This is an important step, so make sure to save any unsaved work before restarting. Once your computer has restarted, the tablet driver should be installed and ready to use.
To confirm that the tablet driver has been successfully installed, you can check the system tray or taskbar of your computer. You should see an icon or notification related to the tablet driver. Depending on the driver version and software, you may also have additional settings and customization options available.
If you encounter any issues during the installation process, make sure to consult the user manual or visit the Ugee support website for troubleshooting guidance. They may have specific instructions or solutions for common installation problems.
Now that you have successfully installed the tablet driver, you can move on to the next step of customizing the pen pressure sensitivity to suit your drawing style. This will allow you to control the thickness and opacity of your brush strokes with varying pen pressure levels. So, let’s dive into the world of pen pressure customization and take your digital artwork to new heights.
Configuring Pen Pressure Sensitivity
One of the major advantages of using a Ugee drawing tablet is its ability to detect pen pressure sensitivity. This feature allows you to achieve more precise and nuanced brush strokes, giving your digital artwork a realistic and natural feel. To fully utilize this functionality, it’s important to properly configure the pen pressure sensitivity settings.
To configure the pen pressure sensitivity, first, make sure that your Ugee tablet is connected to your computer and the tablet driver is installed. Locate the driver icon in the system tray or taskbar on your computer’s screen and right-click on it. From the context menu, select the option that allows you to access the tablet settings or preferences.
Once you’re in the tablet settings, navigate to the pen pressure sensitivity section. Depending on the tablet model and driver version, the location of this option may vary. Look for options related to “pen pressure” or “pen sensitivity.”
In the pen pressure sensitivity settings, you’ll typically find a slider or numeric values that allow you to adjust the sensitivity levels. By default, the sensitivity is usually set to a medium level. However, you can experiment with different sensitivity settings to find the one that best suits your drawing style and preference.
To test the pen pressure sensitivity, open your preferred drawing software and start drawing with the stylus pen on the Ugee tablet. Experiment with different pressure levels to see the variations in brush size, opacity, or other parameters based on the sensitivity settings you’ve configured. This will help you find the perfect balance that suits your artistic needs.
Keep in mind that the pen pressure sensitivity settings may differ across different drawing software. Some software may have additional options for customizing pen pressure curves or mapping pressure to specific brush settings. Explore the settings of your drawing software to fully utilize the pen pressure sensitivity of your Ugee tablet.
Once you’ve customized the pen pressure sensitivity to your liking, you’re all set to create stunning digital artwork with precise and expressive brush strokes. Take some time to practice and experiment with different pressure levels to fully understand the capabilities of your Ugee tablet. With time and practice, you’ll be able to master the art of using pen pressure sensitivity to create breathtaking digital masterpieces.
Customizing Hotkeys
Customizing the hotkeys on your Ugee drawing tablet can greatly enhance your productivity and streamline your workflow. Hotkeys are programmable buttons on the tablet or stylus pen that can be assigned to specific functions or shortcuts, allowing you to perform tasks quickly and efficiently.
To customize the hotkeys on your Ugee tablet, open the tablet driver software. Locate the hotkey configuration section, which is usually found in the settings or preferences menu. Depending on your tablet model and driver version, the interface may vary slightly.
In the hotkey configuration menu, you’ll see a list of available hotkeys along with their default assigned functions. You can click on each hotkey to change its function or assign a new shortcut. The available functions may include common shortcuts like undo, zoom, brush size adjustment, or even application-specific commands.
To assign a new function or shortcut to a hotkey, select the desired hotkey and choose from the available options in the drop-down menu. You may have the option to select from a list of predefined functions or customize the hotkey with a custom keyboard shortcut.
Additionally, some Ugee tablets offer the option to create multiple profiles for different drawing software or workflow scenarios. This allows you to switch between different sets of hotkey configurations based on your specific needs. You can save and switch profiles as per your convenience, ensuring easy access to the right hotkeys for each software or task.
It’s worth noting that hotkey customization is not limited to the tablet itself. Some stylus pens also have programmable buttons that can be customized. These buttons are typically located on the side of the pen, within easy reach of your thumb or fingers. Customizing the pen buttons can further improve your efficiency and reduce the need to rely on keyboard shortcuts while drawing.
Once you have customized your hotkeys, take some time to get familiar with them and incorporate them into your workflow. Practice using the assigned functions or shortcuts until they become second nature to you.
By customizing the hotkeys on your Ugee drawing tablet, you can tailor the device to your specific needs and working style. This will save you time and effort, allowing you to focus more on your artwork and less on manual tasks. So, harness the power of hotkey customization and take your digital artistry to new heights of efficiency and productivity.
Using the Tablet with Drawing Software
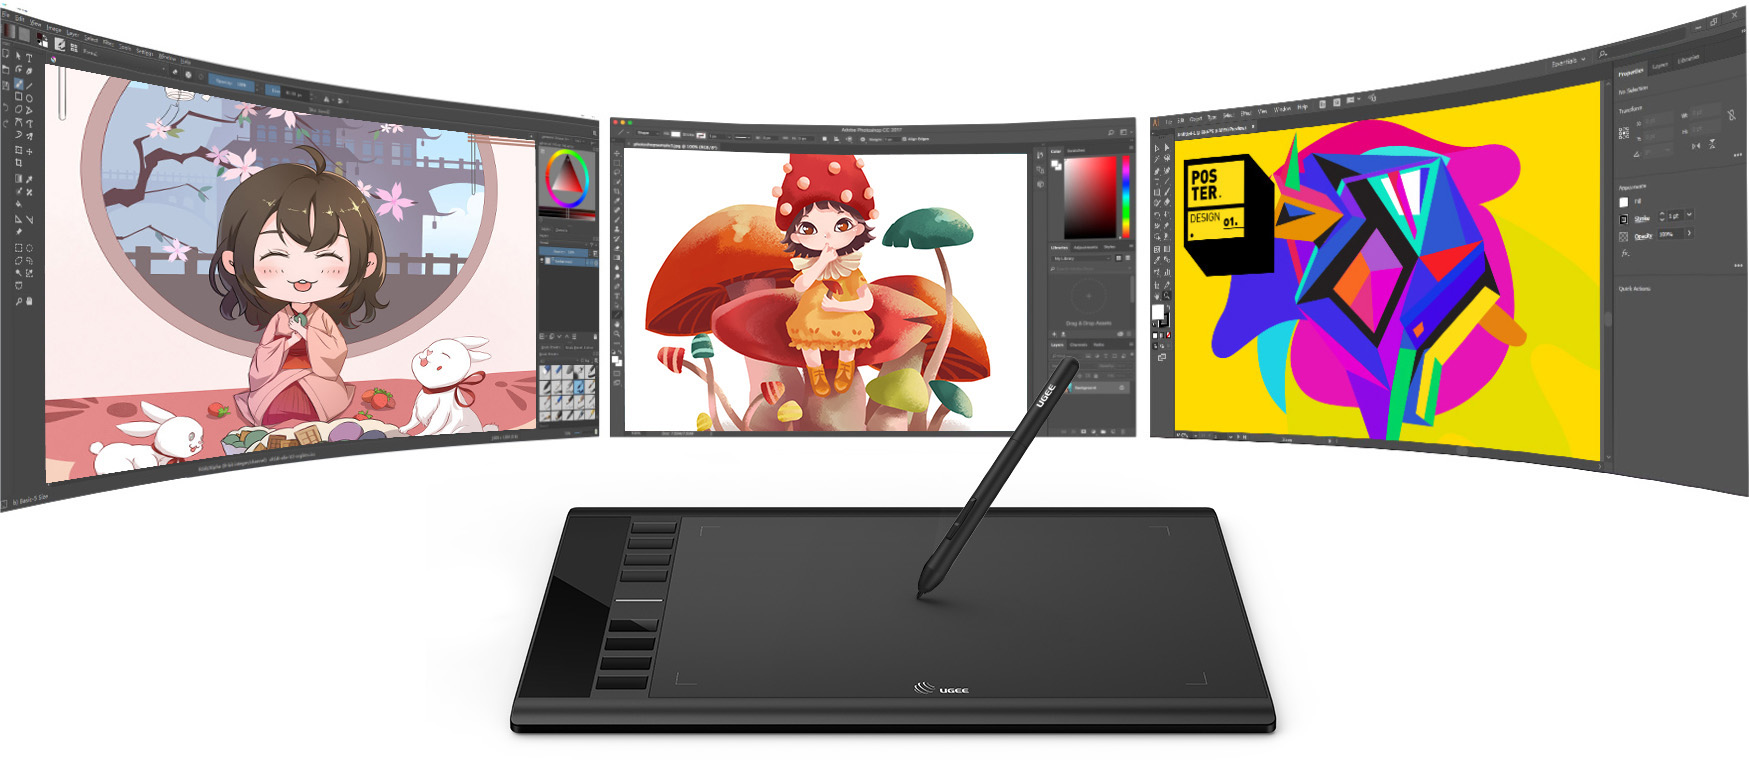
The Ugee drawing tablet is designed for seamless integration with various drawing software, giving you the flexibility to choose the software that best suits your artistic needs. Whether you prefer Adobe Photoshop, Corel Painter, Sketchbook Pro, or any other popular drawing software, the Ugee tablet can enhance your digital art experience.
To use your Ugee tablet with drawing software, first, ensure that the tablet driver is installed and the tablet is connected to your computer. Launch your preferred drawing software, and you should see the tablet being recognized as an input device.
The pressure sensitivity of your Ugee tablet will typically be automatically recognized by most drawing software. This means that as you apply varying pressure with the stylus pen, you’ll see changes in brush size, opacity, or other parameters depending on the software’s settings.
It’s important to familiarize yourself with the brush tools and settings offered by your chosen drawing software. Each software may have different brush types, brush settings, or additional tools that can enhance your creative process. Spend some time exploring these tools and experimenting with different brushes to find the ones that best suit your style.
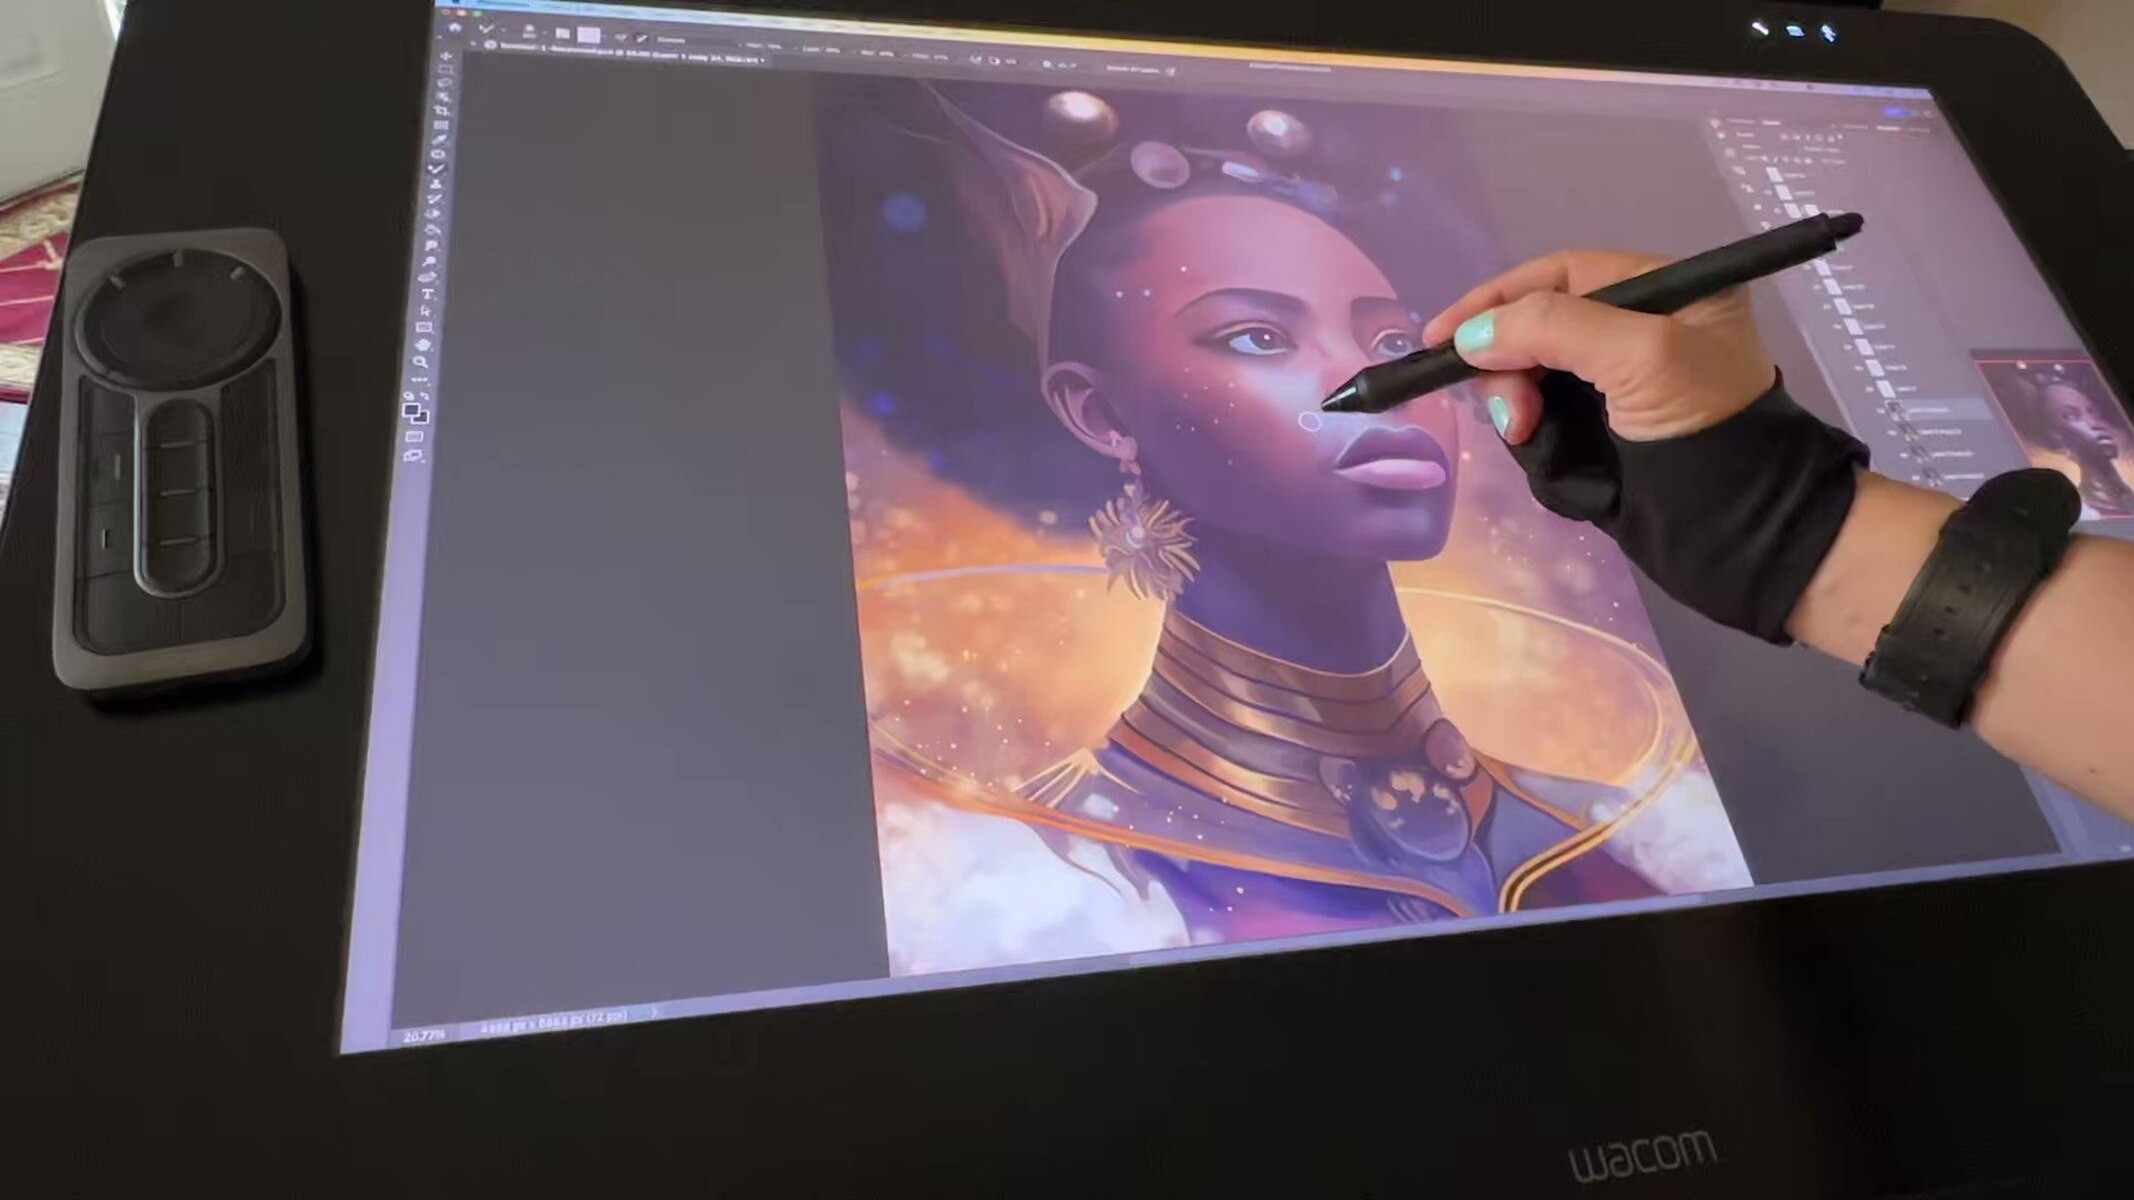
As you draw on the Ugee tablet, make sure to use the entire active area of the tablet. The active area is the designated drawing space on the tablet’s surface. Use smooth and deliberate strokes, as the tablet is designed to accurately track your pen movements. Take advantage of the tablet’s large drawing area to create intricate details or expansive brush strokes.
You can also leverage features like touch gestures if your Ugee tablet supports them. These gestures can help you navigate through your artwork, zoom in and out, or access certain functions without reaching for the keyboard or mouse.
Remember to save your work frequently to avoid losing any progress. Utilize your drawing software’s save function or assign a hotkey on your Ugee tablet for quick saving.
Lastly, practice and experimentation are key to mastering the use of your Ugee tablet with drawing software. Keep exploring different techniques, brush types, and settings. Watch tutorials or join online communities to learn from other artists and gather inspiration for your own creations.
With the Ugee tablet’s seamless compatibility with popular drawing software, the possibilities for digital art creation are endless. So, immerse yourself in your chosen drawing software, harness the power of your Ugee tablet, and bring your artistic vision to life on the digital canvas.
Calibrating the Tablet
To ensure precise and accurate pen tracking, it’s important to calibrate your Ugee drawing tablet. Calibration allows the tablet to accurately map the position of your stylus pen on the screen, ensuring that your drawings and strokes align correctly.
To begin the calibration process, open the tablet driver software on your computer. Look for the calibration settings, which are usually located in the tablet preferences or settings section.
When you enter the calibration settings, you will see a grid overlaid on your screen. This grid represents the active area of the drawing tablet. The purpose of calibration is to accurately match the movements of your stylus pen within this active area to the corresponding movements on the screen.
To calibrate, simply follow the on-screen instructions provided by the tablet driver software. Typically, you will be directed to touch specific points on the tablet with your stylus pen. Ensure that you touch each calibration point accurately and precisely, without applying excessive pressure.
It’s important to note that calibration is specific to each user. If multiple people use the Ugee tablet, it may be necessary to calibrate for each individual’s drawing style and hand-eye coordination. You can create multiple user profiles within the tablet driver software, allowing each user to have their own calibrated settings.
After completing the calibration process, perform a quick test to ensure that the pen tracking is accurate. Open your preferred drawing software and draw a few strokes on the canvas. Check if the strokes are aligned with your pen movements. If you notice any discrepancies, you may need to re-calibrate the tablet or adjust the calibration settings.
Calibration is not a one-time process. It’s advisable to periodically review and recalibrate your Ugee drawing tablet to maintain optimal accuracy. Factors like usage patterns, changes in environmental conditions, or even software updates can affect the tablet’s calibration over time.
If you encounter any issues with calibration or need additional guidance, consult the user manual provided with your Ugee tablet or visit the support section on the Ugee website. They may have troubleshooting tips or detailed instructions specific to your tablet model.
By calibrating your Ugee drawing tablet, you can ensure that your digital strokes and drawings accurately reflect your hand movements. This level of precision and accuracy will enhance your digital art experience and allow you to create stunning and lifelike artworks.
Troubleshooting Common Issues
While the Ugee drawing tablet is a reliable and high-quality device, users may occasionally encounter some common issues. Thankfully, most of these issues can be resolved with simple troubleshooting steps. Here are some common problems you might encounter and their potential solutions:
1. No tablet response: If the tablet doesn’t respond when you touch the pen to the surface, make sure that the tablet is connected to your computer properly. Try disconnecting and reconnecting the USB cable or using a different USB port. Updating the tablet driver to the latest version may also help resolve this issue.
2. Inaccurate pen tracking: If you notice that the pen movements on the tablet do not match the movements on the screen, it may be a calibration issue. Calibrate the tablet using the calibration settings in the driver software. Ensure that you follow the calibration process accurately and precisely touch each calibration point.
3. Pen pressure not working: If the pressure sensitivity of the pen is not functioning, check the settings in your drawing software to ensure that pen pressure is enabled. Additionally, verify that the tablet driver is up to date. Sometimes, restarting your computer can also resolve issues with pen pressure.
4. Cursor jumps or skips: If you experience a cursor that jumps or skips across the screen, try adjusting the tablet’s sensitivity settings. In the tablet driver software, decrease the sensitivity or adjust the active area to match your drawing style and preferences.
5. Driver compatibility issues: If you recently updated your operating system, the tablet driver may not be fully compatible. Visit the Ugee website to check for any driver updates specifically designed for the latest operating system version.
6. Unresponsive hotkeys or pen buttons: If the hotkeys or pen buttons on your tablet or stylus pen are not responding, first check the driver settings to ensure that they are properly configured. Try assigning different functions to the hotkeys or buttons to see if the issue lies with specific configurations. If the problem persists, contact Ugee customer support for further assistance.
If you encounter any other issues or have specific questions about your Ugee drawing tablet, it’s beneficial to consult the user manual or refer to the support resources provided by Ugee. Their support website often has troubleshooting guides, FAQs, and forums where you can seek help from other users who may have faced similar challenges.
By following these troubleshooting steps, you can effectively resolve common issues and ensure that your Ugee drawing tablet continues to deliver a smooth and enjoyable drawing experience.
Conclusion
In conclusion, the Ugee drawing tablet is a powerful tool that can significantly elevate your digital artwork. By following the steps outlined in this guide, you can ensure a seamless and enjoyable experience with your Ugee tablet.
We started by discussing the importance of getting started with the tablet, including unpacking, connecting, and installing the tablet driver. Then, we explored how to customize pen pressure sensitivity, allowing you to create more precise and nuanced brush strokes. We also delved into the process of customizing hotkeys, which can greatly improve your productivity and streamline your workflow.
Furthermore, we discussed the seamless integration of the Ugee tablet with popular drawing software, enabling you to unleash your creativity with the software of your choice. We also emphasized the importance of calibrating the tablet to ensure accurate pen tracking and addressed common troubleshooting issues that may arise.
By familiarizing yourself with these steps and understanding the features and functionalities of your Ugee drawing tablet, you can unlock its full potential and create breathtaking digital art. Remember to practice, experiment, and explore different techniques to enhance your skills and develop your unique style.
Lastly, don’t forget to take advantage of the resources provided by Ugee, such as the user manual, driver updates, and customer support, to address any specific questions or concerns you may have about your Ugee tablet.
Now that you have the knowledge and tools at your fingertips, it’s time to dive into the creative world of digital art with your Ugee drawing tablet. Embrace the versatility, precision, and efficiency it offers, and let your imagination run wild. Happy creating!