Introduction
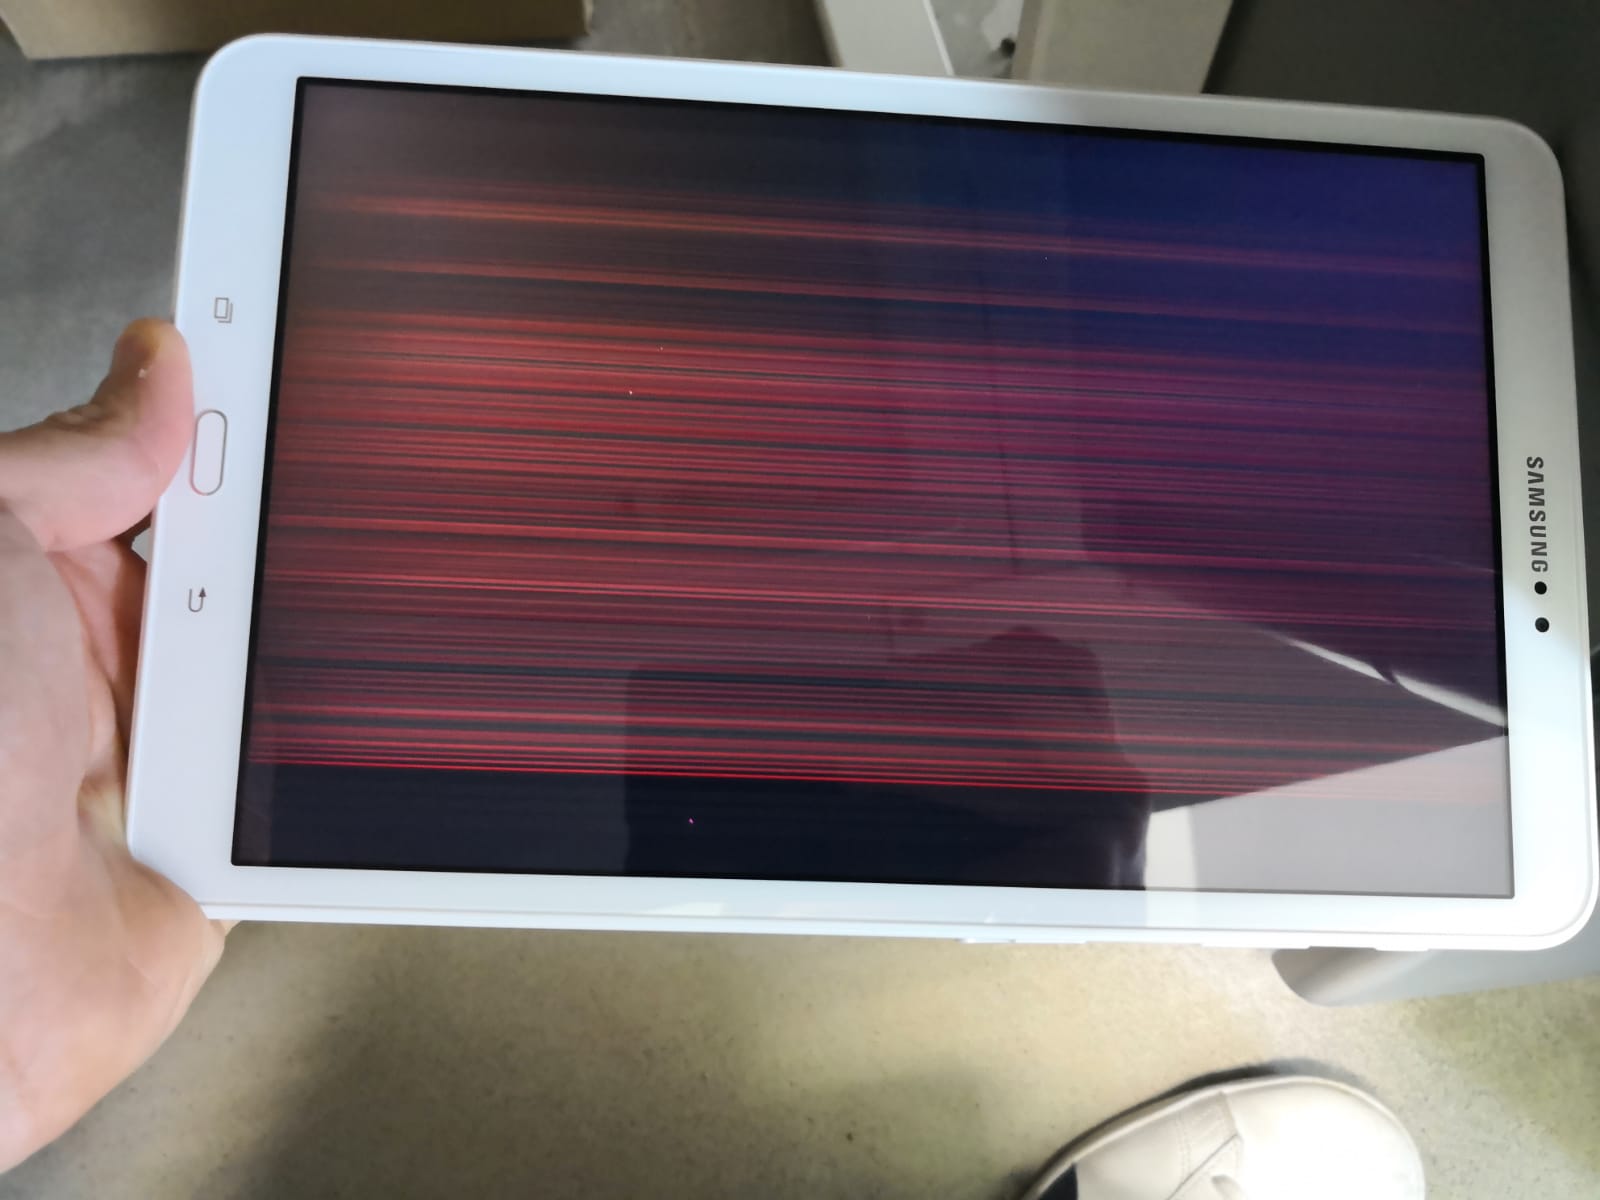
Accidents happen, and if you find yourself with a cracked or broken screen on your Digiland tablet, despair not! With a little patience and the right guidance, you can fix it yourself and save money on costly repairs or replacements. Whether you dropped the tablet or it suffered a mishap, this guide will walk you through the steps to fix a Digiland tablet screen.
A broken screen doesn’t have to spell the end of your tablet’s functionality. By following the steps outlined in this article, you’ll be equipped with the knowledge and tools needed to replace the damaged screen and have your Digiland tablet back up and running in no time.
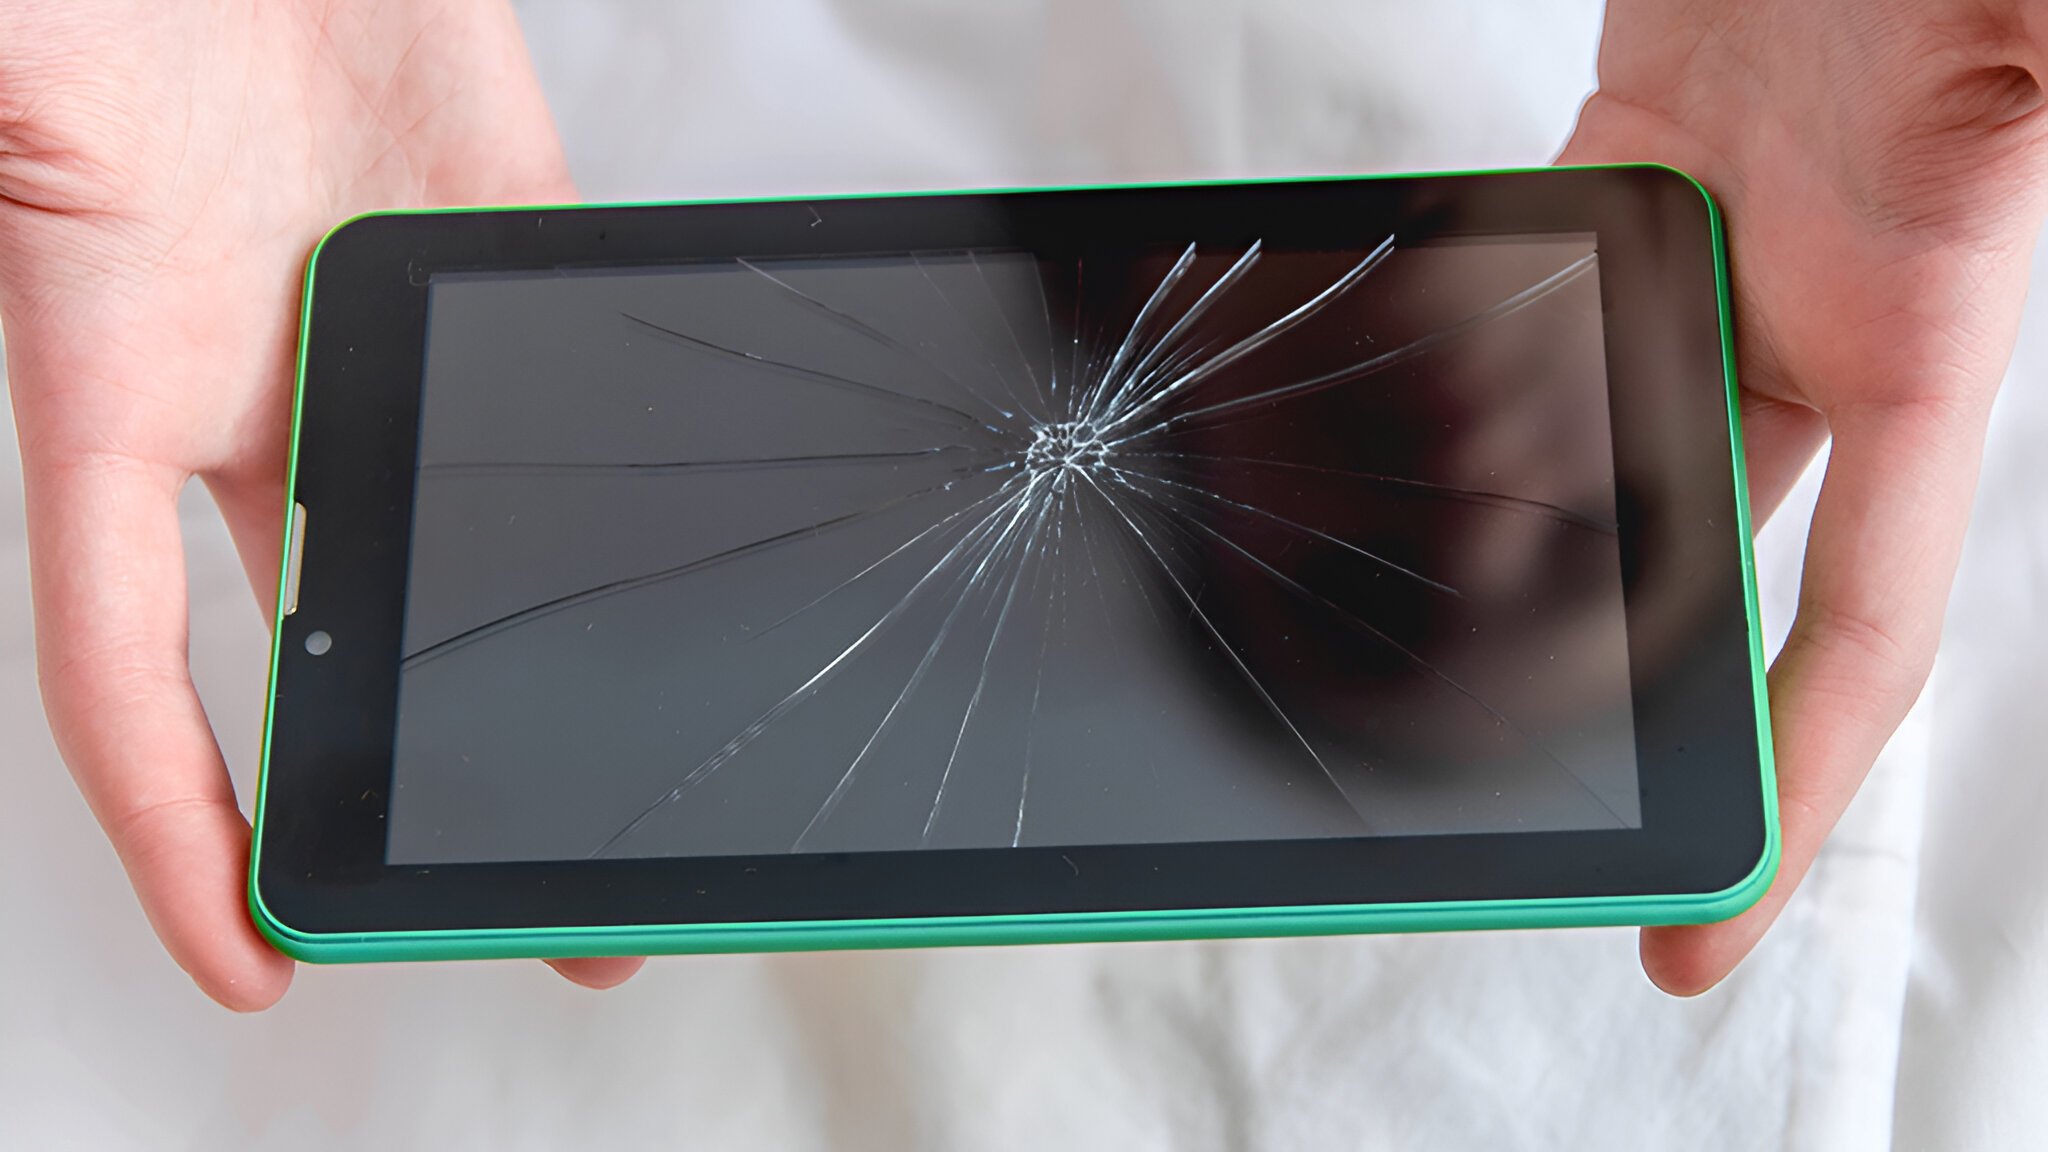
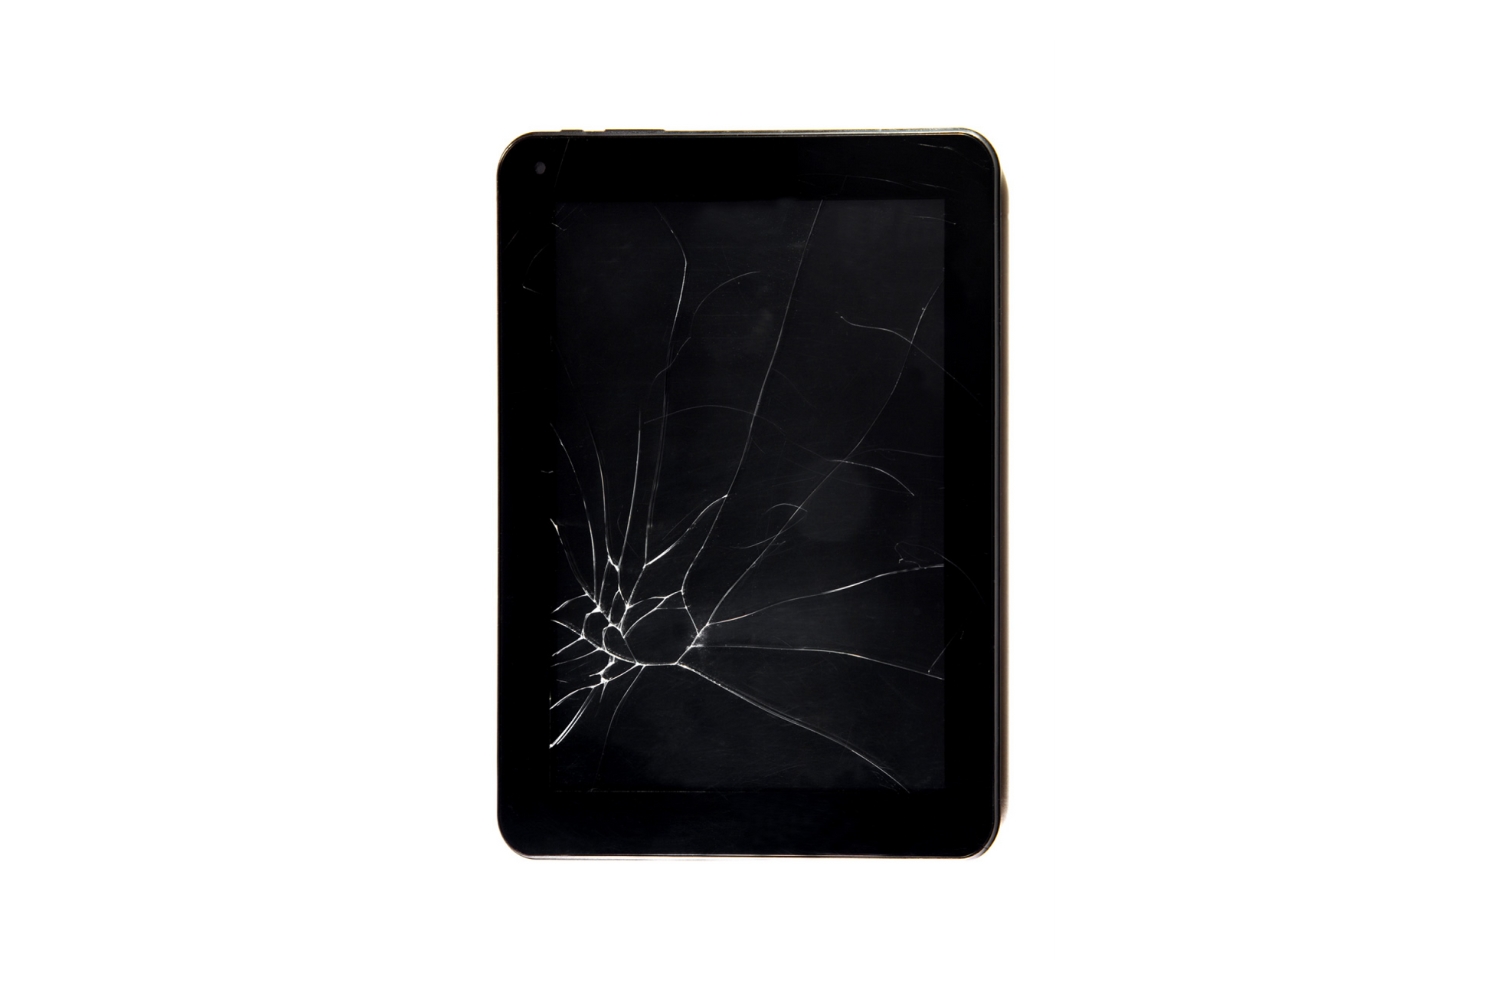
Before we dive into the fixing process, it’s essential to assess the damage. Is the screen simply cracked, or is it completely shattered? This will help determine the level of repair required and whether you can fix it yourself or need professional assistance.
From gathering the necessary tools to removing the broken screen and installing the new one, we will guide you through each step of the process. Don’t worry if you’re not experienced with electronics or DIY repairs – this guide is designed to be accessible to beginners while providing detailed instructions for a successful screen replacement.
Remember, patience and attention to detail are key. Take your time to ensure each step is completed accurately, and don’t rush to avoid any accidental damage. Now, let’s get started on fixing your Digiland tablet screen!
Step 1: Assessing the Damage
The first step in fixing a Digiland tablet screen is to assess the extent of the damage. Carefully examine the screen to determine if it’s simply cracked or completely shattered. This will help you understand the severity of the repair required and decide whether it’s something you can handle yourself or if you need professional assistance.
If the screen is only cracked and the display and touch functionality are still intact, you may consider using a screen protector or tempered glass to prevent further damage. However, if the screen is completely shattered or the touch functionality is compromised, replacing the screen is your best option.
It’s important to note that different Digiland tablet models may have slightly different screen replacement procedures. Before proceeding, ensure you have the correct replacement screen compatible with your specific model. Check your device’s user manual or do a quick online search to find the compatible replacement screen.
Additionally, gather the necessary tools required for the screen replacement process. This typically includes a screwdriver set, a heat gun or hairdryer, a pry tool or plastic opening tool, and adhesive for securing the new screen.
Once you have assessed the damage and gathered the necessary tools, you are ready to move on to the next step of fixing your Digiland tablet screen. With careful attention to detail and following the step-by-step instructions in the subsequent sections, you’ll be well on your way to restoring your tablet’s functionality.
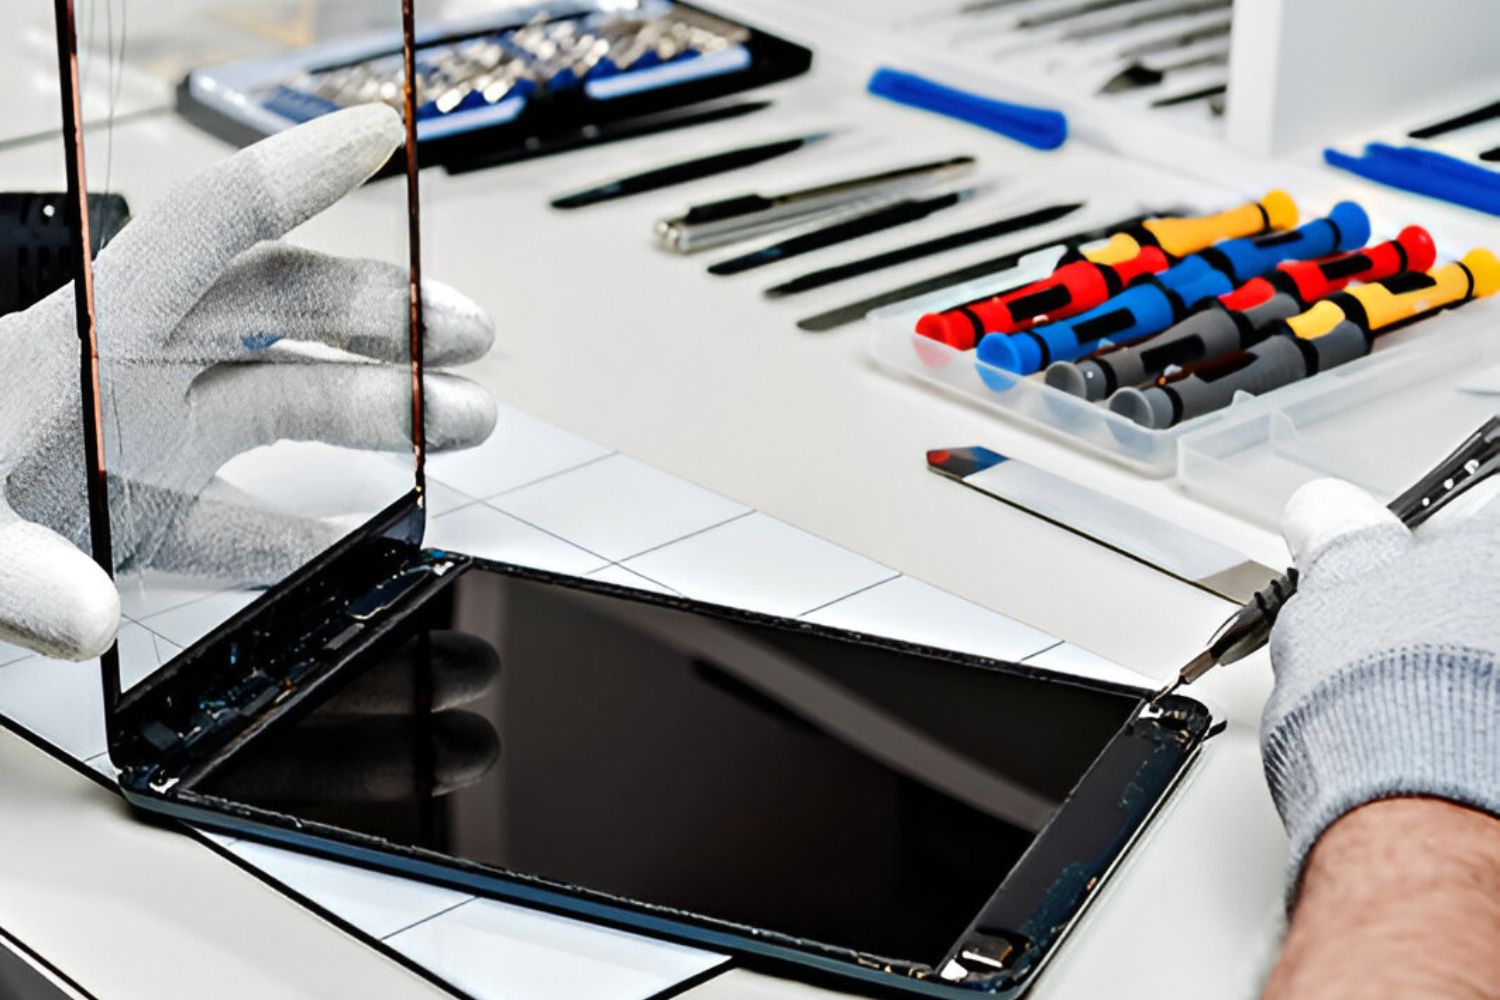
Step 2: Gathering the Necessary Tools
Before you dive into fixing your Digiland tablet screen, it’s essential to gather all the necessary tools. Having the right tools on hand will ensure a smooth and efficient repair process. Here are the tools you’ll need:
- Screwdriver Set: A set of small screwdrivers will be needed to remove the screws securing the device and the broken screen.
- Heat Gun or Hairdryer: You’ll need a heat gun or hairdryer to soften the adhesive that holds the screen to the frame. This will make it easier to remove the broken screen without causing any damage.
- Pry Tool or Plastic Opening Tool: A pry tool or plastic opening tool will be required to carefully separate the broken screen from the body of the tablet. It’s crucial to use a non-metallic tool to avoid scratching or damaging the device.
- Replacement Screen: Make sure to obtain a compatible replacement screen for your specific Digiland tablet model. Check the user manual or search online for the correct replacement screen.
- Adhesive: You’ll need adhesive to secure the new screen to the tablet. Double-sided adhesive tape or adhesive strips are commonly used for this purpose.
- Tweezers: Tweezers can be handy for handling small parts, such as screws, during the repair process.
Having all these tools readily available before you start the repair process will save you time and ensure that you can complete the task without interruptions.
Before proceeding to the next step, make sure to have a clear and well-lit workspace. It’s also a good idea to have a small container or organizer to keep track of the screws and other small parts you remove during the repair.
With the necessary tools and a prepared workspace, you’re now ready to move on to the next step – removing the broken screen from your Digiland tablet.
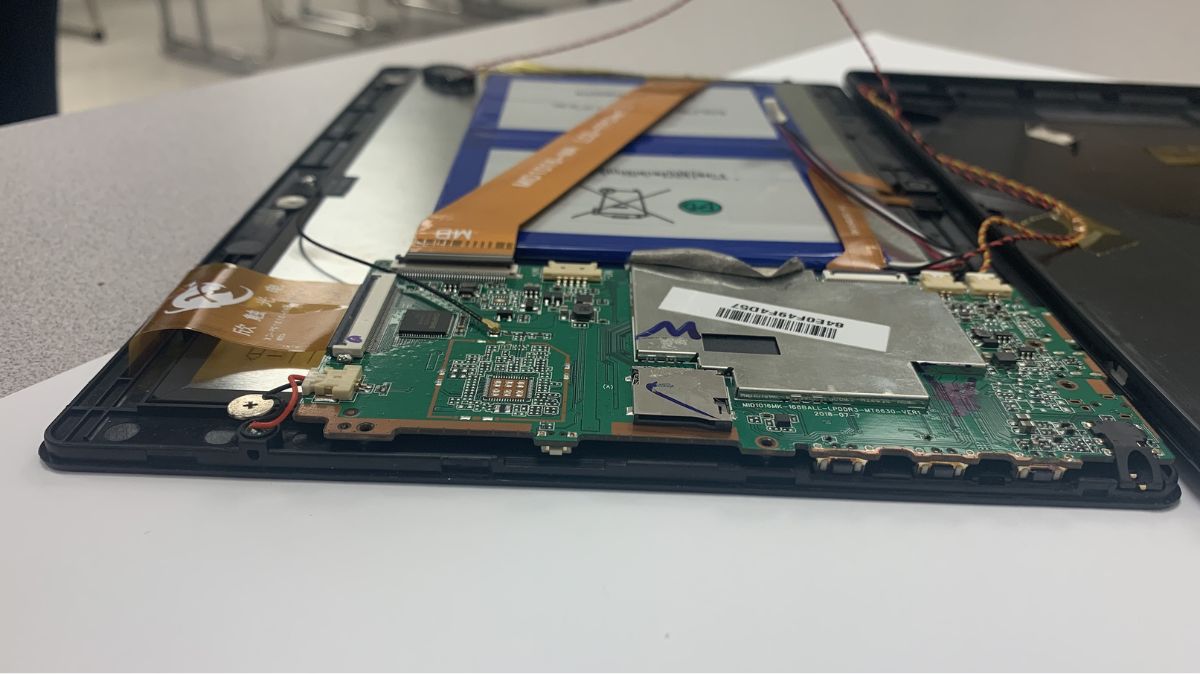
Step 3: Removing the Broken Screen
Now that you have gathered the necessary tools, it’s time to start removing the broken screen from your Digiland tablet. Follow these step-by-step instructions:
- Power off the tablet completely to avoid any potential electric shock or damage to the device.
- Use a screwdriver from your set to remove any screws holding the back cover or frame of the tablet. Keep these screws in a safe place as you will need them later.
- Next, use a heat gun or hairdryer on a low heat setting to warm up the edges of the broken screen. This will help soften the adhesive underneath.
- Take a pry tool or plastic opening tool and gently insert it between the screen and the frame of the tablet. Apply gentle pressure to separate the screen from the device. Be careful not to apply too much force to avoid damaging other internal components.
- Continue using the tool to carefully work your way around the edges of the screen. Gradually lift the broken screen away from the tablet’s body.
- As you lift the screen, you may encounter adhesive strips or double-sided adhesive tape. Peel these off gently as you go along to completely detach the broken screen.
- Once the broken screen is removed, set it aside and clean any remaining adhesive residue from the tablet’s frame using a mild adhesive remover or isopropyl alcohol and a soft cloth.
Take your time during this process and be patient to avoid any accidental damage. If you encounter any difficulties or resistance, apply a bit more heat and gently work your way around the screen again.
With the broken screen successfully removed, you’re now ready to move on to the next step – installing the new screen and restoring your Digiland tablet’s functionality.
Step 4: Installing the New Screen
With the broken screen removed, it’s time to install the new screen on your Digiland tablet. Follow these step-by-step instructions to ensure a successful installation:
- Take the replacement screen and remove any protective film or packaging.
- Inspect the new screen to ensure it matches the size and specifications of the original screen. Check for any connectors or cables that may need to be attached.
- If necessary, reattach any cables or connectors that were disconnected during the removal process. Be gentle and make sure they are properly aligned before securely attaching them.
- Apply adhesive to the back of the replacement screen. You can use double-sided adhesive tape or adhesive strips specifically designed for screen replacements.
- Carefully align the new screen with the tablet’s frame, ensuring that all edges and corners match up properly.
- Press down firmly on the new screen to secure it in place. Make sure the adhesive holds the screen firmly to the tablet’s body.
- If there are any screws that were removed earlier, use the screwdriver to reinsert them and secure the back cover or frame of the tablet.
Once the new screen is installed and securely attached, it’s important to test the device before fully reassembling it. Power on the tablet and check if the screen displays properly and the touch functionality works as expected.
If everything is functioning correctly, you can proceed to the final step. However, if you encounter any issues with the screen or touch responsiveness, double-check the connections and repeat the installation process if necessary.
Now that the new screen is successfully installed and tested, you’re almost done! Just one more step remains to complete the process and ensure the full restoration of your Digiland tablet.
Step 5: Testing the Device
After installing the new screen on your Digiland tablet, it’s crucial to thoroughly test the device to ensure that the screen and touch functionality are working properly. Follow these steps to perform a comprehensive test:
- Power on the tablet and check if the screen displays correctly. Look for any abnormalities such as discoloration, flickering, or dead pixels.
- Test the touch functionality by swiping, tapping, and using various gestures on different areas of the screen. Verify that the tablet responds accurately and without any lag.
- Open different applications and navigate through menus to check if all areas of the screen are responsive.
- Try typing on the virtual keyboard to ensure that all the keys register properly and there are no issues with sensitivity.
- If your tablet has a camera, test both the front and rear cameras to ensure they function correctly.
- Play audio and video files to check if the speakers and headphone jack are working as expected.
- Connect to Wi-Fi or mobile data to verify that the tablet can access the internet without any connectivity issues.
- Test the charging port and battery life by plugging in the charger and monitoring the tablet’s charging process.
If you encounter any issues during the testing phase, double-check the connections and make sure the new screen is properly installed. If the problems persist, consult the manufacturer’s documentation or seek professional help.
Once you are satisfied that the Digiland tablet is functioning correctly, you can proceed to reassemble the device. Carefully reattach the back cover or frame using the screws you removed earlier. Take your time to ensure that all components are securely fastened.
With the testing phase successfully completed and the tablet fully reassembled, you have successfully fixed the Digiland tablet screen! Enjoy using your tablet once again with its restored functionality.
Conclusion
Fixing a cracked or broken screen on your Digiland tablet doesn’t have to be a daunting task. By following the step-by-step process in this guide, you can save money on professional repairs and restore your tablet’s functionality on your own.
We started by assessing the damage and determining whether a screen replacement is necessary. Then, we gathered the necessary tools, ensuring we had everything required for a successful repair. We then moved on to removing the broken screen, navigating through each step with caution and attention to detail.
Once the broken screen was removed, we moved on to installing the new screen carefully, ensuring proper alignment and securing it in place. With the new screen in place, we thoroughly tested the device’s functionality, checking the screen and touch responsiveness, along with other features such as audio, cameras, and connectivity.
After successfully completing the testing phase, we took the final step of reassembling the tablet, securing the back cover or frame in place.
Now, armed with the knowledge and confidence gained from this guide, you have successfully fixed your Digiland tablet screen, saving yourself time and money on a professional repair. Remember, while the process may seem intimidating at first, careful attention to detail, patience, and the right tools can make all the difference.
Enjoy using your fully restored Digiland tablet and take pride in your DIY repair accomplishment. However, should you encounter any challenges or feel uncomfortable performing the repair yourself, it’s always a good idea to seek assistance from a professional technician.
With your Digiland tablet screen back in working order, you can once again immerse yourself in your favorite apps, games, and entertainment, and stay connected with the world at your fingertips.