Introduction
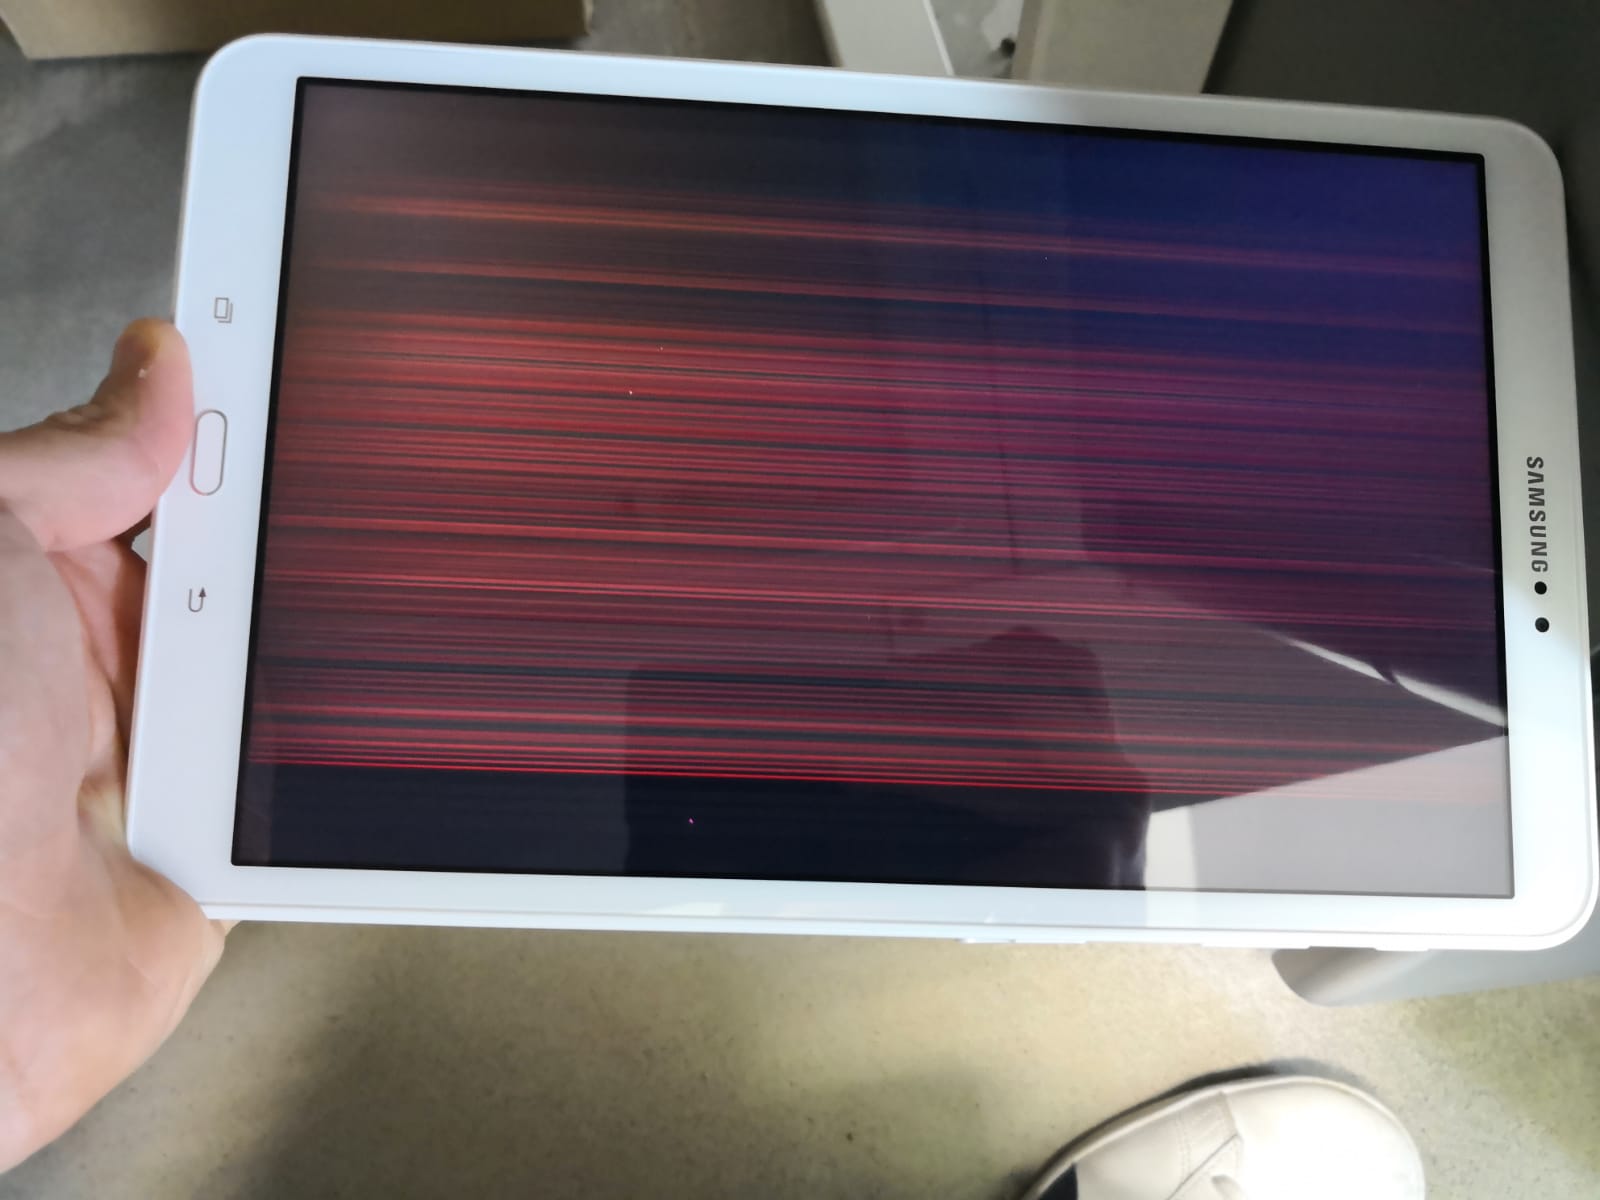
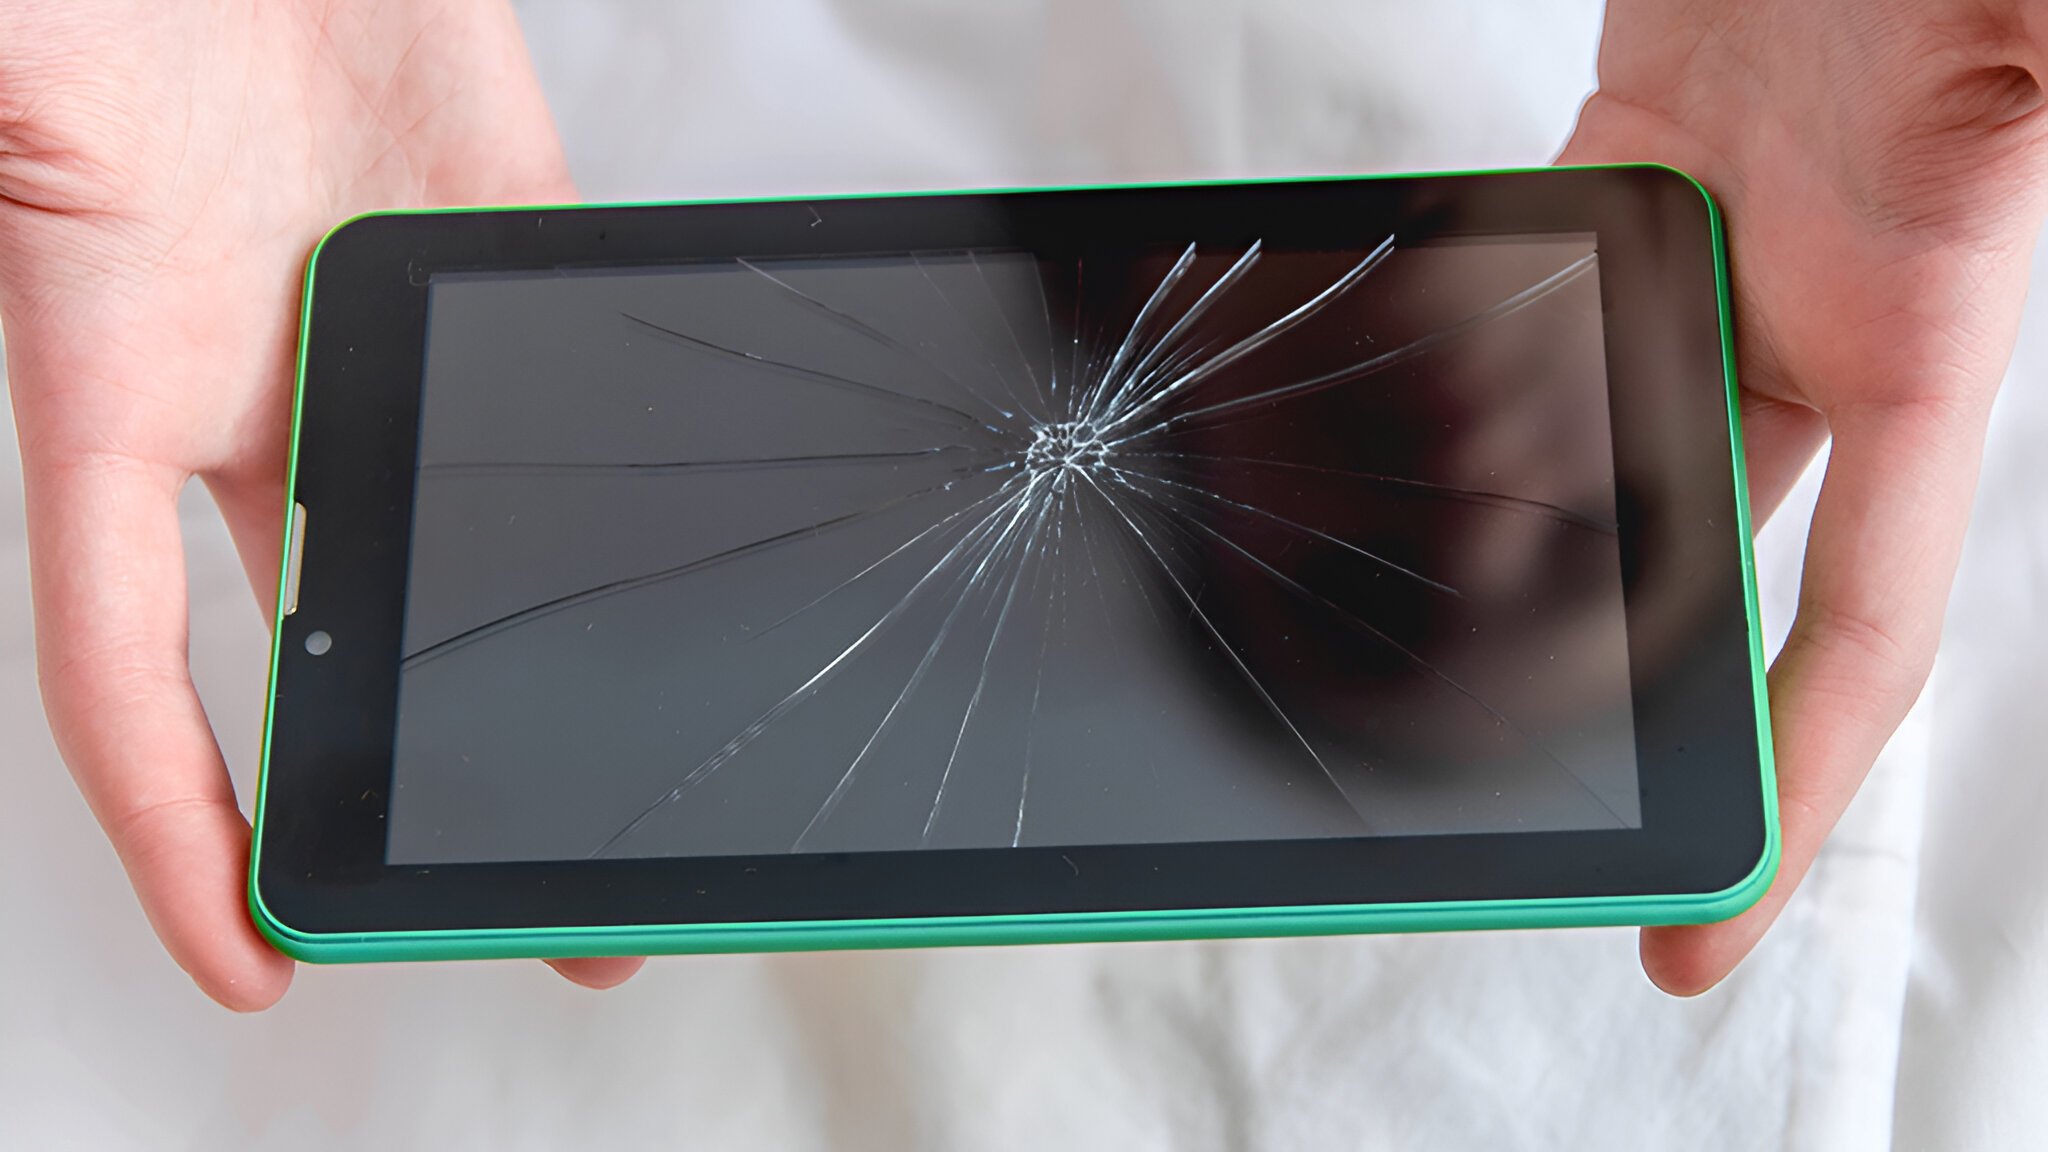
The screen of your tablet is one of its most crucial components, allowing you to interact with the device and engage in various tasks. However, it is not uncommon for tablet screens to face issues such as unresponsiveness, flickering, or even cracks due to accidental drops. These problems can be frustrating, but fortunately, there are several steps you can take to fix your tablet screen without having to rush to a repair shop.
In this guide, we will explore some effective troubleshooting methods to help you fix common tablet screen issues. It is essential to note that the procedures provided may vary slightly depending on the specific make and model of your tablet. Therefore, it is advisable to consult your device’s user manual or the manufacturer’s support website for more detailed instructions tailored to your tablet.
Whether you experience unresponsive touch screen actions, image distortion, or other display-related problems, there are steps you can take to address and resolve these issues on your own. Not only can these troubleshooting techniques potentially save you time and money, but they also empower you to gain a deeper understanding of your device’s functionality.
It is important to approach these troubleshooting methods systematically and methodically. Begin with the simplest solutions and only progress to the more complex ones if the issue persists. Remember to take precautionary measures and be gentle when performing any physical adjustments to avoid causing additional damage to your tablet.
Now that we have set the context, let’s explore the various troubleshooting methods you can try to fix your tablet screen issues. Remember to follow the instructions carefully and do a thorough test after each step to assess whether the problem has been resolved.
Check for Physical Damage
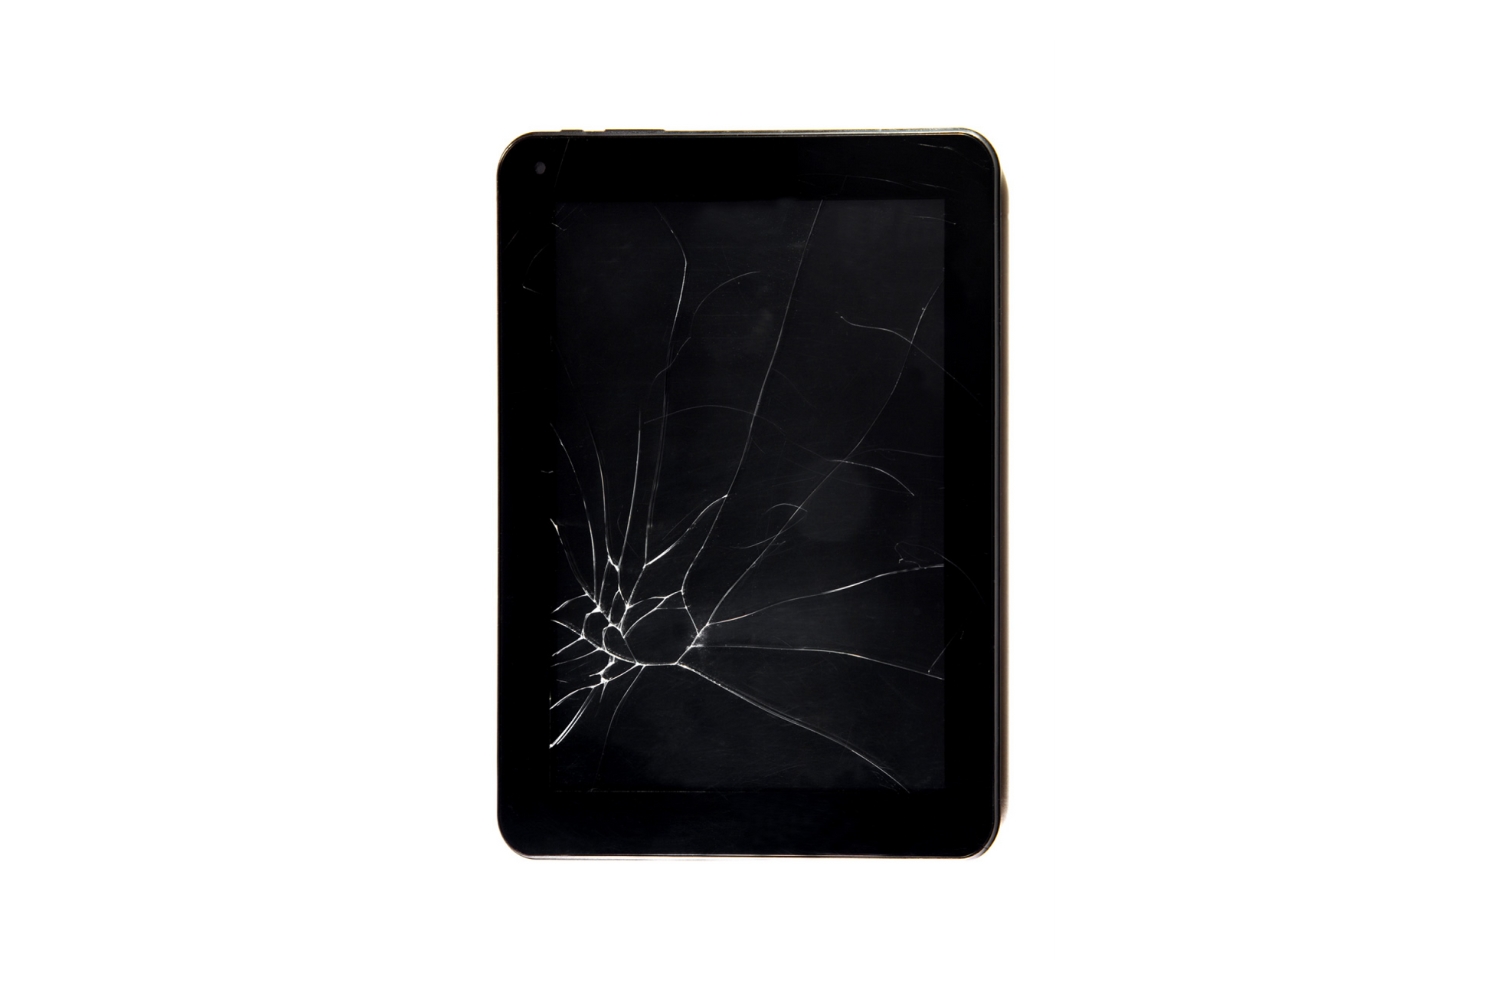
The first step in troubleshooting your tablet screen issues is to check for any physical damage. Carefully examine the screen for cracks, scratches, or dents. Even minor damage can cause disruptions in the display’s functionality. If you notice any physical damage, it is advisable to seek professional repair services.
Additionally, check for any loose connections or cables. Make sure that the tablet’s power cable and any external display cables (if applicable) are securely plugged in. Sometimes, a loose cable connection can cause display problems.
Another important aspect to consider is the presence of any liquid damage. If your tablet has been exposed to water or any other liquid, it can cause irreversible damage to the screen and other internal components. In such cases, it is crucial to turn off the tablet immediately and seek professional assistance.
If you find that there are no visible signs of physical damage or liquid exposure, move on to the next troubleshooting step. Sometimes, the issue may be due to software or settings, and these can be resolved without physical repairs.
Remember to handle the tablet with care during this process, as excessive force or mishandling can further damage the screen or other delicate components.
Restart the Tablet
When facing issues with your tablet screen, a simple yet effective troubleshooting step is to restart the device. This action can help resolve temporary glitches or software conflicts that may be causing the screen problem.
To restart your tablet, press and hold the power button until a menu or options appear on the screen. Depending on your tablet model and software version, you may see options such as Power Off, Restart, or Reboot. Select the appropriate option to initiate the restart process.
Allow your tablet to power down completely before turning it back on. After the device has turned off, press and hold the power button once again to turn it back on. Wait for the tablet to boot up and check if the screen issue has been resolved.
In some cases, your tablet may not respond to the power button or may appear stuck. If this happens, you can perform a forced restart by simultaneously pressing and holding the power button and the volume down button (or another combination specific to your device) for about 10 to 15 seconds. This action will force the tablet to restart and may help resolve the screen problem.
Once the tablet has restarted, test the screen by performing various actions such as swiping, tapping, or typing. If the issue persists, proceed to the next troubleshooting step.
Adjust the Brightness Settings
Incorrect brightness settings can sometimes cause issues with the tablet screen. If the screen appears too dim or too bright, it is worth adjusting the brightness settings to see if it resolves the problem.
To adjust the brightness settings, swipe down from the top of the screen to access the notification panel or settings menu. Look for the brightness slider or icon, which is typically represented by a sun or similar symbol. Adjust the slider to increase or decrease the brightness level according to your preference.
Alternatively, you may find the brightness settings within the Display or Display & Brightness section of the tablet’s settings menu. Navigate to the settings app and look for these options to make the necessary adjustments.
Sometimes, the auto-brightness feature can cause fluctuations in screen brightness based on ambient lighting conditions. If this feature is enabled, consider disabling it and manually adjusting the brightness to a comfortable level.
After adjusting the brightness settings, observe the tablet screen for any improvements. Test different brightness levels to find the optimal setting that suits your needs. If the screen issue persists or worsens, proceed to the next troubleshooting step.
It is important to note that if the screen remains completely dark or unresponsive to any adjustments, it may indicate a more severe hardware problem. In such cases, it is best to seek professional assistance for further diagnosis and repair.
Calibrate the Screen
If you are experiencing touch-related issues with your tablet screen, such as unresponsive or inaccurate touch responses, calibrating the screen may help resolve the problem. Screen calibration involves resetting the touch sensitivity settings to ensure accurate and precise touch input.
To calibrate the screen, go to the tablet’s settings menu and navigate to the Display or Display & Brightness section. Look for the option to calibrate or adjust touch sensitivity. The exact location of this setting may vary depending on your tablet model and software version.
Once you find the touch calibration option, follow the on-screen instructions. Typically, this involves tapping on specific targets or dots that appear on the screen. Make sure to accurately and firmly tap on each target as prompted.
After completing the touch calibration process, test the screen by performing various touch actions such as tapping, swiping, or pinching to zoom. Check if the touch responses have improved and if the screen is now more accurate and responsive.
If the touch-related issues persist even after calibrating the screen, it is advisable to proceed to the next troubleshooting step. This may indicate a more complex software or hardware issue that requires further attention.
It is worth noting that screen calibration may not be available on all tablet models or software versions. If you cannot find the touch calibration option or if it does not resolve the issue, continue to the next troubleshooting step.
Update the Tablet’s Software
Outdated software can sometimes cause compatibility issues and lead to screen problems on your tablet. It is crucial to keep your tablet’s software up to date to ensure optimal performance and to address any known bugs or glitches.
To check for software updates, go to the tablet’s settings menu and look for the System or Software Update section. Within this section, you should find an option to check for updates or to enable automatic updates.
If an update is available, follow the on-screen instructions to download and install the latest software version. Make sure to connect your tablet to a stable Wi-Fi network and ensure that it has sufficient battery power before starting the update process.
During the update, the tablet may restart multiple times, and the screen may temporarily go blank or display a progress bar. Be patient and let the update process complete. Avoid interrupting the update or turning off the tablet during this time as it can lead to software corruption.
After the update is complete, test the tablet’s screen to check if the issues have been resolved. If the screen problems persist, move on to the next troubleshooting step.
It is essential to regularly check for software updates and install them promptly as they often contain essential bug fixes and performance improvements. Keeping your tablet’s software up to date not only helps resolve screen issues but also enhances overall device security and functionality.
If your tablet is already running the latest software version and the screen problems persist, there may be underlying hardware or software conflicts. In such cases, it is advisable to proceed to the next troubleshooting step or contact technical support for further assistance.
Perform a Factory Reset
If you have tried the previous troubleshooting steps and are still experiencing persistent screen issues on your tablet, performing a factory reset may help resolve the problem. A factory reset restores your tablet to its original factory settings, erasing all data and customized settings in the process.
Before proceeding with a factory reset, it is crucial to back up any important data or files from your tablet. This includes photos, videos, documents, and any other personal files that you don’t want to lose. You can back up your data by connecting your tablet to a computer or using cloud storage services.
To perform a factory reset, go to the tablet’s settings menu and navigate to the System or General section. Look for the option to reset or erase all data. Depending on your tablet model and software version, this may be labeled as “Factory Data Reset” or “Reset Device.”
Before initiating the reset process, take some time to read through the on-screen warnings and instructions. Understand that a factory reset will delete all data on your tablet, including apps, settings, and accounts. Once you are ready to proceed, confirm and initiate the reset.
The factory reset process may take some time to complete, and your tablet may restart multiple times. During this process, the screen may display various messages or indicators. Allow the reset process to finish without interruption.
After the factory reset is complete, your tablet will be restored to its original state. Set up your tablet as you would during the initial setup process, including connecting to Wi-Fi, signing in to your accounts, and configuring preferences. Test the screen to see if the previous issues have been resolved.
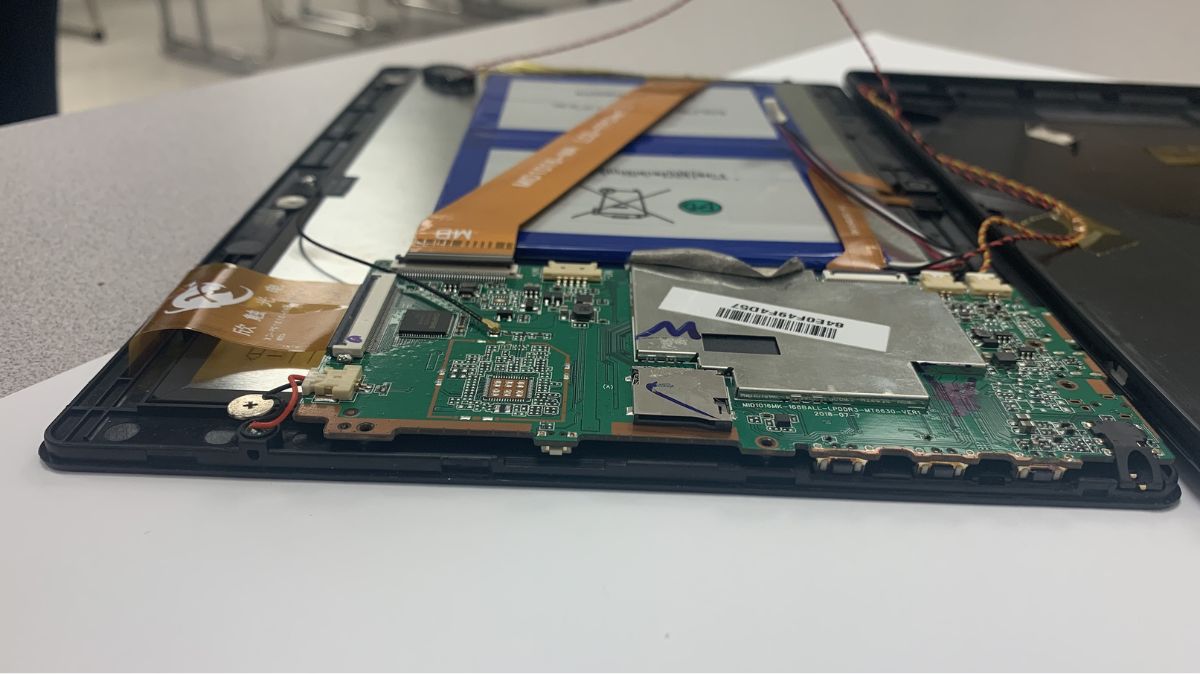
If the screen problems persist even after performing a factory reset, it is advisable to seek technical assistance from the tablet’s manufacturer or authorized repair services. There may be underlying hardware issues that require professional diagnosis and repair.
Note that performing a factory reset should only be considered as a last resort, as it erases all personal data and settings from your tablet. Therefore, it is crucial to exhaust other troubleshooting methods and ensure that you have backed up any important data before proceeding with a factory reset.
Contact Technical Support or Repair Services
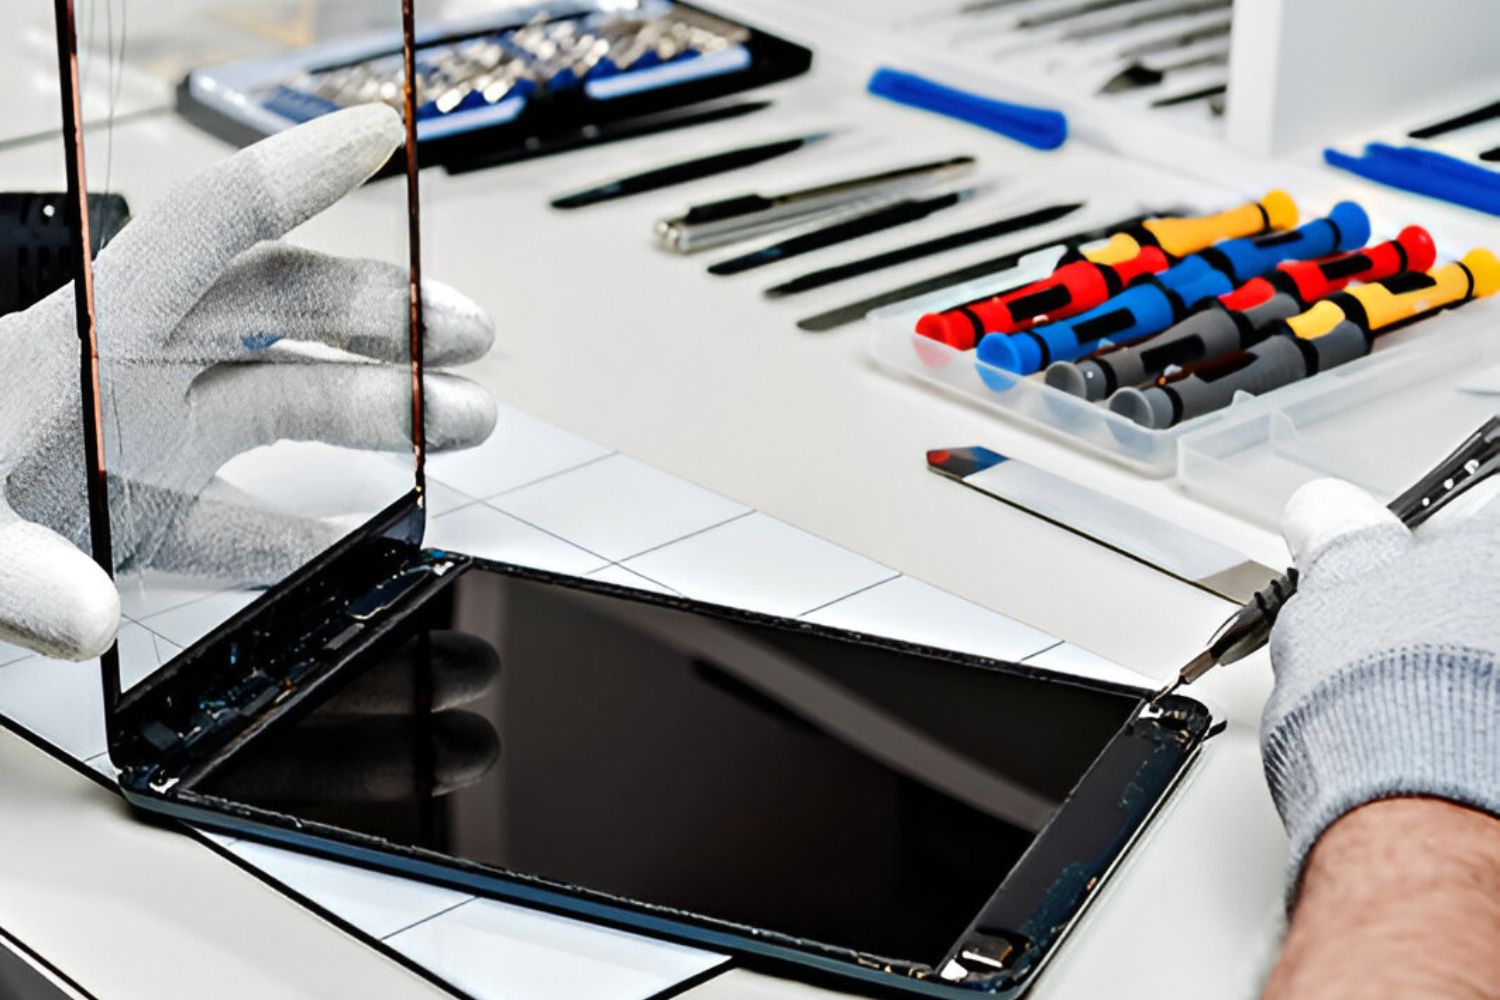
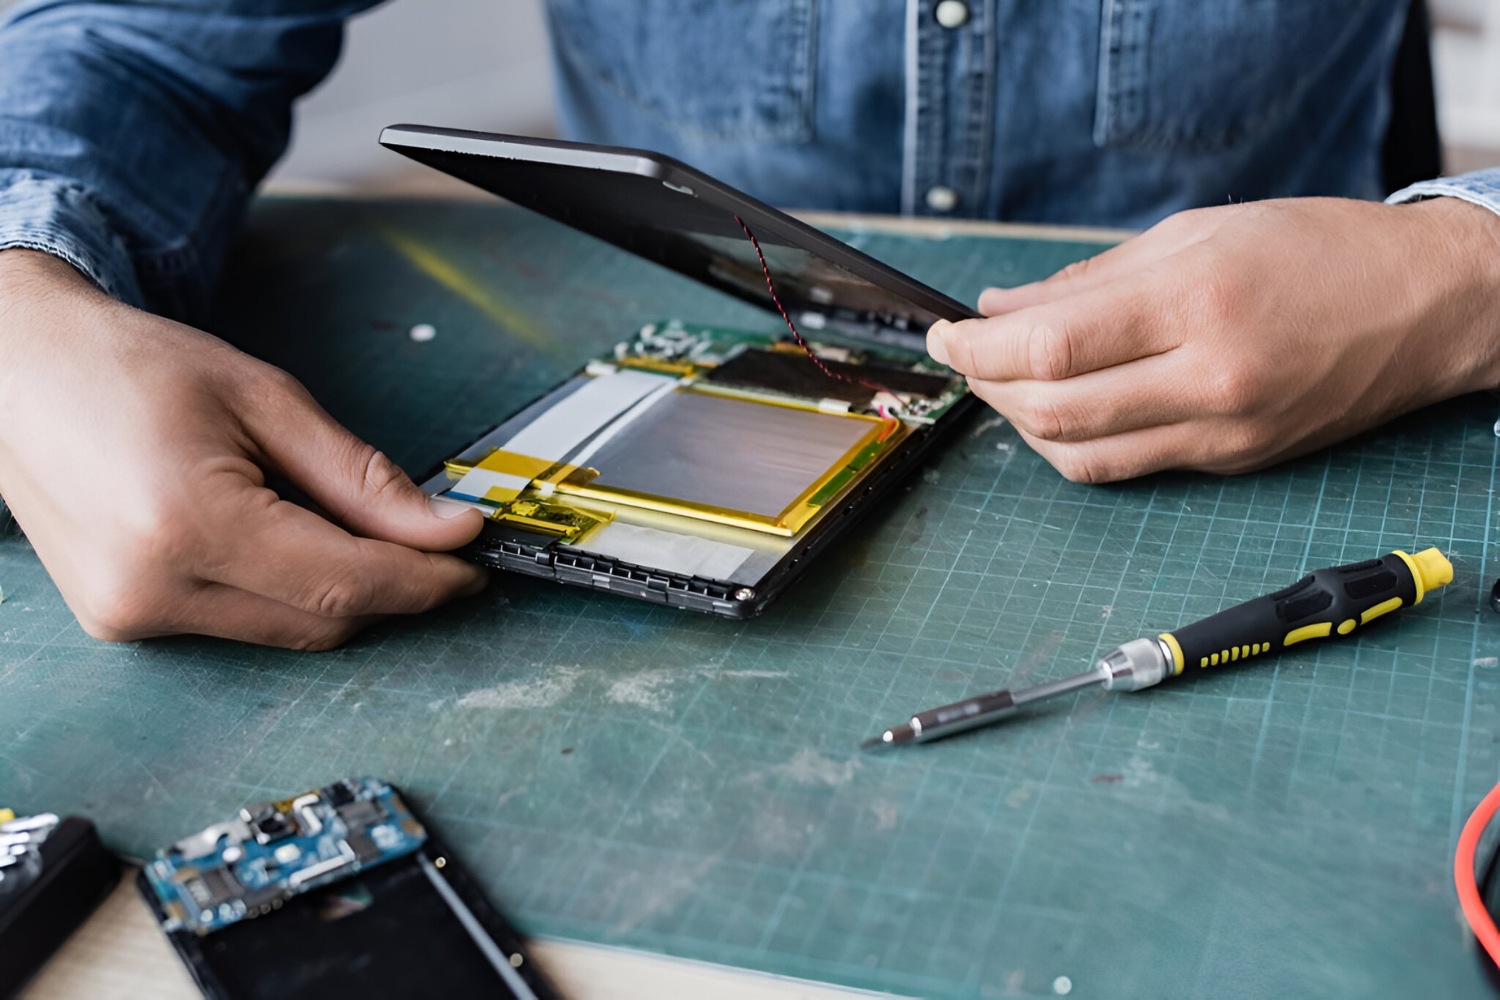
If you have exhaustively tried the previous troubleshooting methods and the screen issues on your tablet persist, it may be time to seek professional assistance. Contacting technical support or a reputable repair service can provide the expertise needed to diagnose and fix the underlying problem.
Start by reaching out to the tablet’s manufacturer or official technical support channels. They can provide guidance, suggest additional troubleshooting steps specific to your tablet model, or advise on the next course of action.
When contacting technical support, be prepared to provide detailed information about the issue you are facing, any troubleshooting steps you have already taken, and the specific tablet model and software version you are using. This information will help the support team understand the situation and provide appropriate assistance.
If the tablet is still under warranty, technical support may offer repair or replacement options, depending on the nature of the issue. They may also direct you to authorized repair centers or provide instructions for sending the device for servicing.
If the tablet is no longer under warranty or if you prefer to seek independent repair services, look for reputable repair centers that specialize in tablet or mobile device repairs. Ensure that the technicians are experienced and skilled in handling your specific tablet model.
When contacting a repair service, inquire about their expertise, turnaround time, and any associated costs. Ask for a detailed diagnosis of the problem and a transparent breakdown of the repair expenses before proceeding. This will help you make an informed decision regarding the repair process.
Remember to follow any instructions given by technical support or the repair service provider to ensure a smooth and hassle-free resolution to your tablet screen issues. Be patient throughout the process, as repairs may take some time depending on the severity of the problem and the availability of replacement parts.
By seeking professional assistance, you can gain peace of mind knowing that experts are addressing the screen issues and working towards a solution. They have the necessary tools, knowledge, and resources to diagnose and fix the underlying cause, potentially restoring your tablet’s screen to its optimal functionality.
Conclusion
Dealing with tablet screen issues can be frustrating, but by following the troubleshooting steps outlined in this guide, you can attempt to resolve the problem on your own. From checking for physical damage to performing a factory reset, these methods cover a range of potential solutions.
Starting with a thorough inspection of the screen for physical damage and loose connections, you can rule out any obvious causes. Restarting the tablet and adjusting the brightness settings allow you to address software-related issues that may be affecting the screen functionality.
If screen responsiveness is an ongoing issue, calibrating the screen can help recalibrate touch sensitivity. Updating the tablet’s software ensures that you have the latest bug fixes and improves overall performance.
In some cases, a factory reset may be necessary to resolve persistent screen problems. However, it is important to back up your data before proceeding, as a factory reset erases all personal information and settings from your tablet.
If none of the troubleshooting steps have resolved the screen issues, contacting technical support or a reputable repair service is the next recommended course of action. They can provide professional assistance, diagnose the underlying problem, and offer appropriate solutions or repairs.
Remember that every tablet is unique, and the exact steps or options may vary depending on your specific device. Always consult the user manual or manufacturer’s support website for device-specific instructions.
By following these troubleshooting methods and seeking professional assistance when needed, you can increase the chances of resolving tablet screen issues and enjoying a fully functional and responsive device once again.