Introduction
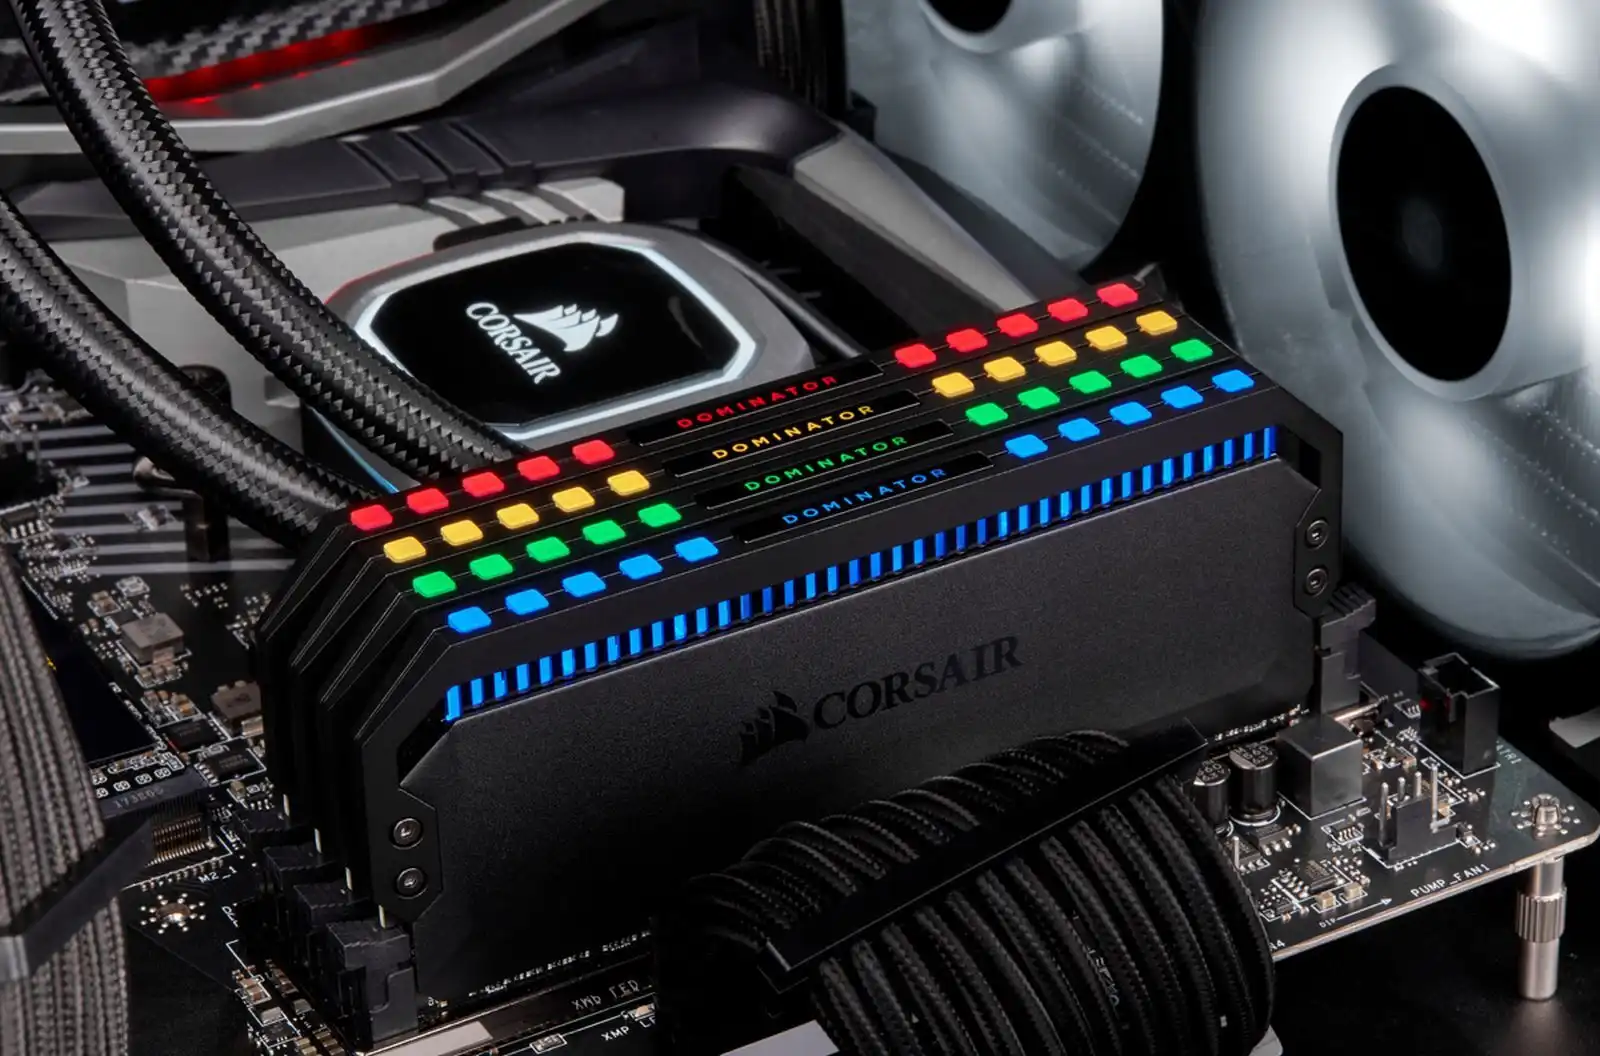
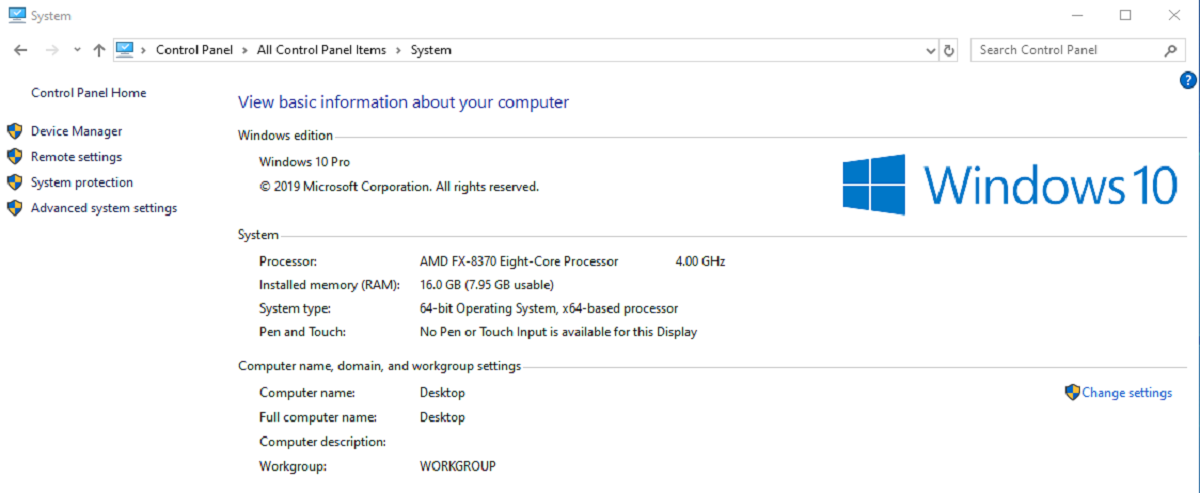
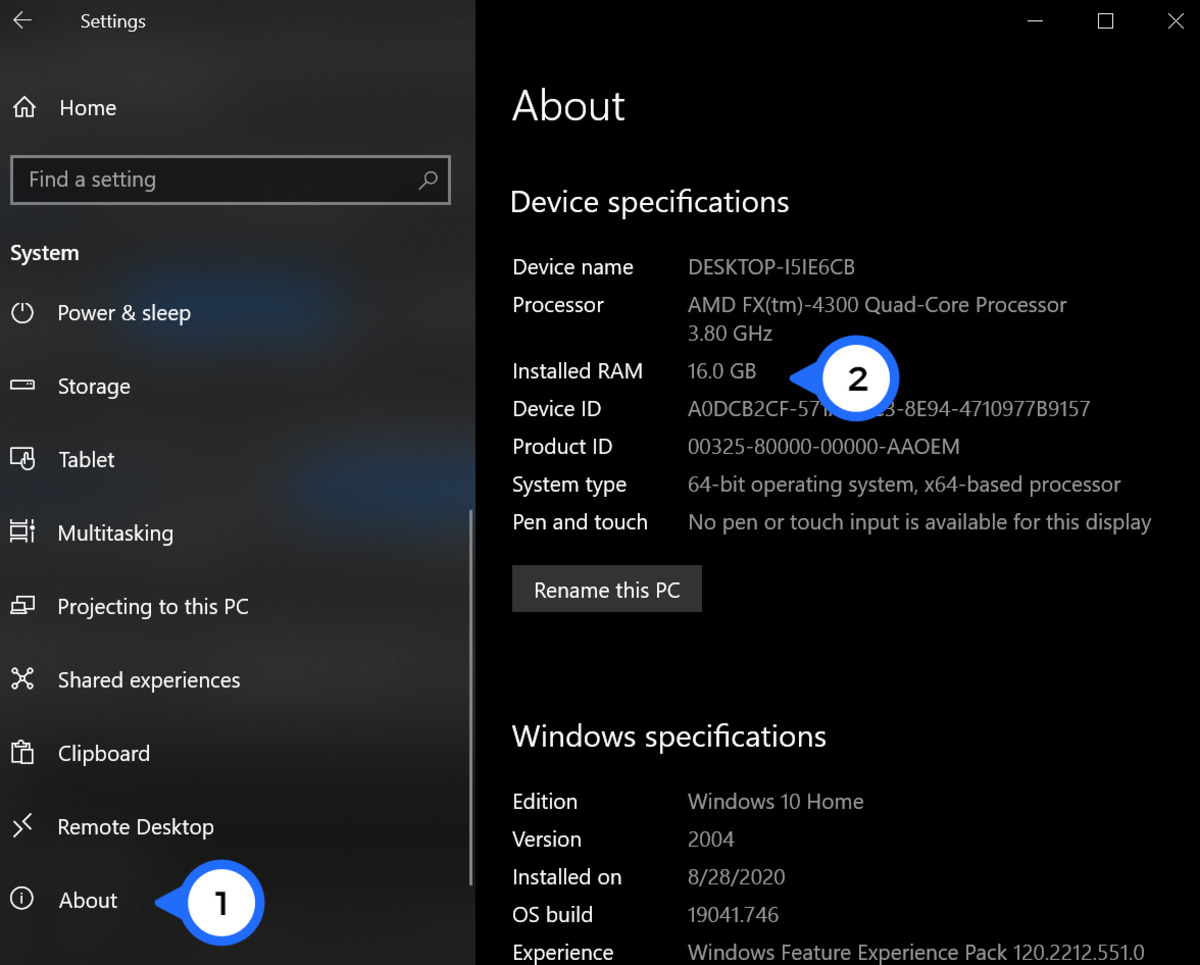
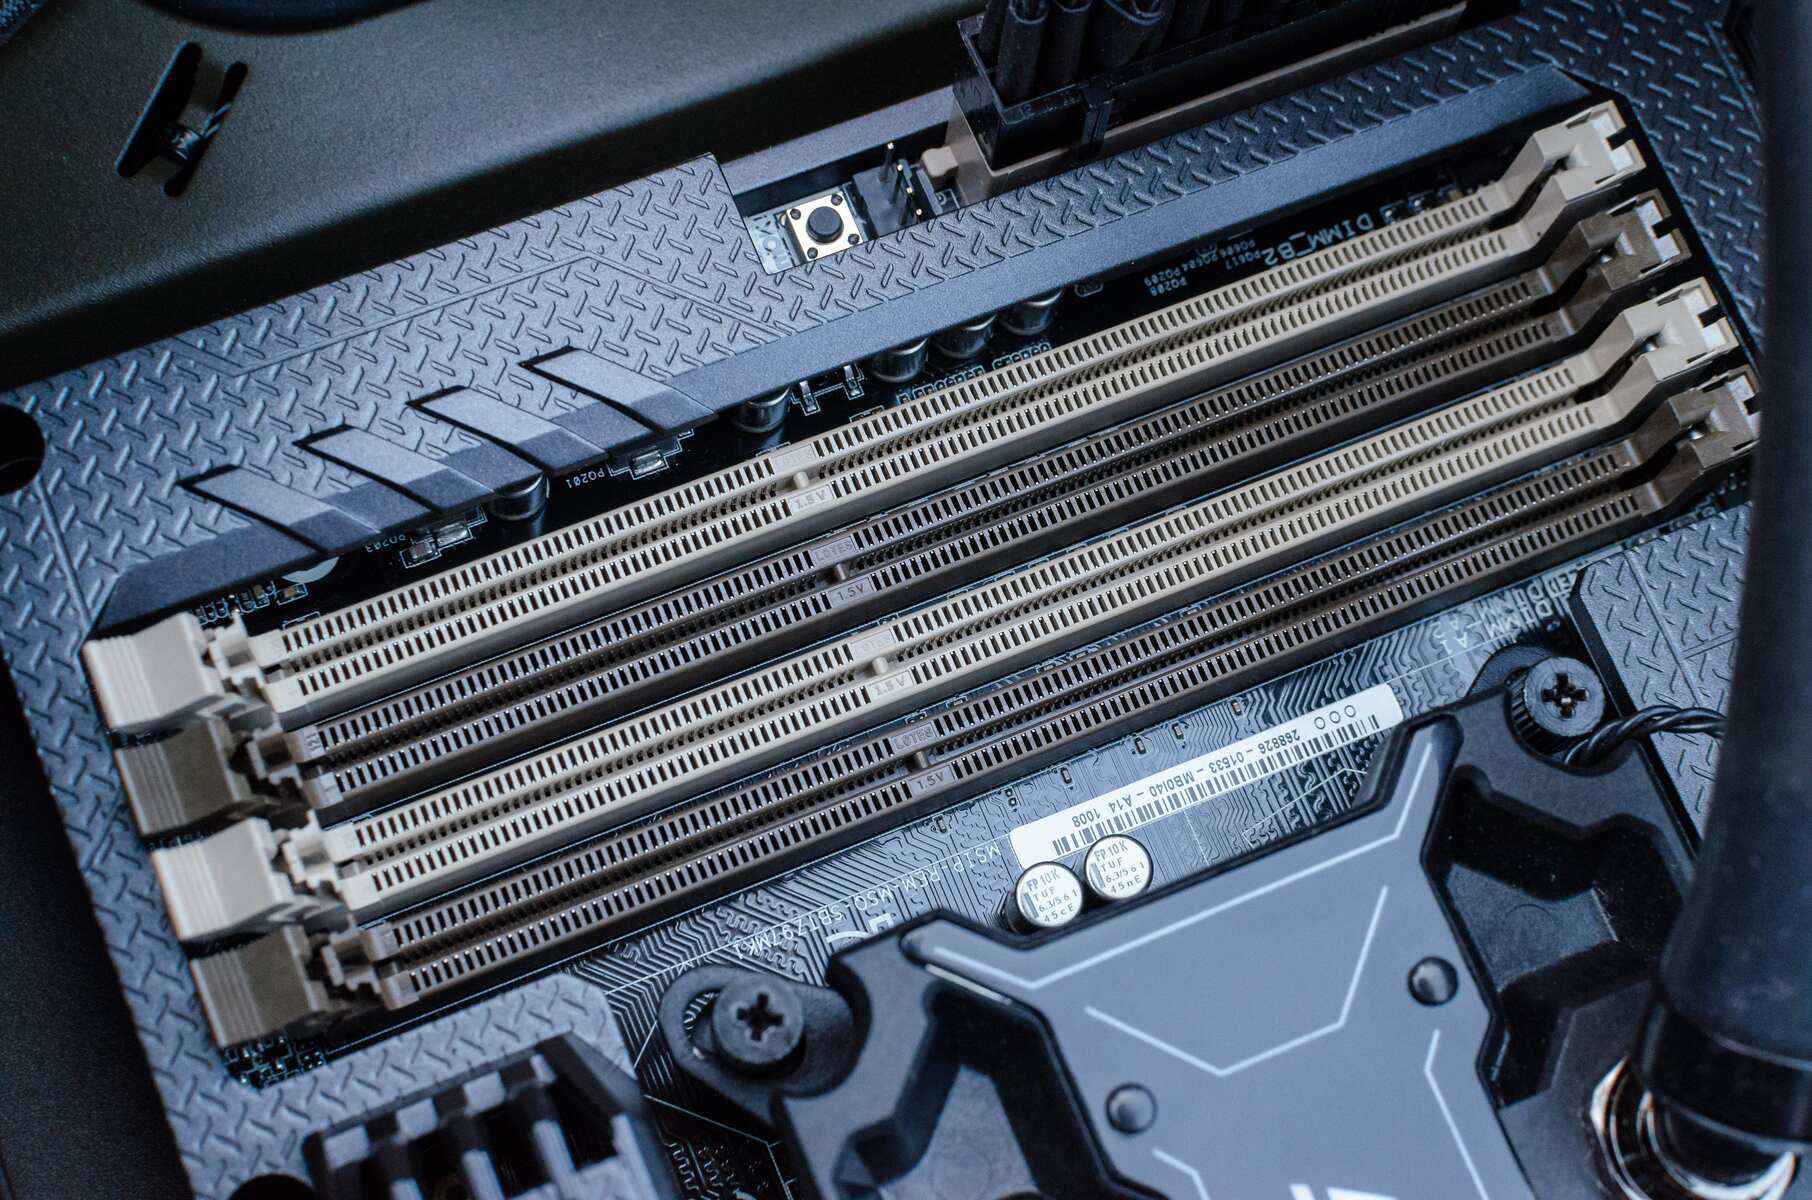
Welcome to our guide on how to find out what RAM you have. Random Access Memory, or RAM, is an essential hardware component in your computer that plays a crucial role in its performance. Knowing how much RAM your system has and its specifications can be helpful when troubleshooting issues, upgrading your computer, or installing new software. In this article, we will provide you with various methods to check your RAM on different operating systems, such as Windows, Mac, and Linux. We will also explore the option of using third-party software to gather more detailed information about your RAM. Additionally, we will briefly explain the key specifications related to RAM, such as speed, type, and capacity. By the end of this guide, you will have all the necessary knowledge to determine the type and amount of RAM installed in your computer.
Whether you are a casual computer user or a tech-savvy enthusiast, understanding your system’s RAM configuration is essential. Knowing the type and capacity of your RAM can help you determine if your computer can handle intensive tasks like gaming, video editing, or running multiple applications simultaneously. Furthermore, if you are considering an upgrade, being aware of your current RAM specifications will allow you to make informed decisions about purchasing compatible modules.
Checking your RAM is a straightforward process, and it doesn’t require any technical expertise. You can perform the task using built-in tools provided by your operating system or rely on third-party software for more detailed information. Regardless of your operating system or computer knowledge, this guide will help you identify and understand the RAM installed on your system.
So, let’s get started with the various methods you can use to find out what RAM you have on Windows, Mac, and Linux!
Checking RAM on Windows
Windows provides several built-in tools that allow you to check the amount of RAM installed on your system. Here are two simple methods you can use:
Method 1: Task Manager
Task Manager is a handy utility on Windows that not only displays information about running processes but also provides system performance details, including RAM usage. To access Task Manager, you can right-click on the taskbar and select “Task Manager” from the menu, or use the keyboard shortcut “Ctrl + Shift + Esc.” In the Task Manager window, click on the “Performance” tab, where you will find the total amount of RAM displayed under the “Physical Memory” section.
Method 2: System Information
Windows also has a built-in System Information tool that provides detailed information about your computer’s hardware and software configurations, including RAM specifications. To access System Information, you can press the “Windows + R” keys on your keyboard to open the Run dialog box, then type “msinfo32” and hit Enter. In the System Information window, expand the “Components” category in the left sidebar, and select “Memory.” The right panel will display the total installed physical memory (RAM) along with other details like the type and speed of the memory modules.
These built-in tools should provide you with all the necessary information about the installed RAM on your Windows computer. However, if you need more detailed information, such as the manufacturer and part number of your RAM modules, you can consider using third-party software like CPU-Z or Speccy.
Now that you know how to check your RAM on Windows let’s move on to the next section where we will explore how to check RAM on Mac.
Checking RAM on Mac
If you’re a Mac user, there are a few different methods you can use to check your RAM. Here are two simple ways to do it:
Method 1: About This Mac
The easiest way to check your RAM on a Mac is by using the “About This Mac” feature. To access it, click on the Apple menu in the top-left corner of the screen and select “About This Mac.” In the new window that appears, click on the “Memory” tab. Here, you will find information about the total amount of RAM installed, the type of memory modules, and the speed at which they are running.
Method 2: System Profiler
Another way to check your RAM on a Mac is by using the System Profiler utility. To access it, go to the “Applications” folder, open the “Utilities” folder, and then launch “System Information.” Once the System Information window opens, navigate to the “Hardware” section in the left sidebar and click on “Memory.” The right panel will display detailed information about your RAM, including the total installed memory, the number of memory slots in use, and the specifications of each memory module.
These built-in methods should provide you with all the necessary information about your RAM on a Mac. If you require more advanced details about your RAM or want to monitor its usage in real-time, you can also consider using third-party software like iStat Menus or Memory Clean.
With that, you now know how to check your RAM on a Mac. In the next section, we will explore how to check RAM on Linux-based systems.
Checking RAM on Linux
If you are using a Linux-based operating system, there are various commands and tools available to check the RAM on your system. Here are two commonly used methods:
Method 1: Using Command Line
One of the simplest ways to check your RAM on Linux is by using the command line. Open a terminal and enter the command “free -h“. This command will display information regarding your total, used, and available memory, along with other details such as swap memory usage.
Method 2: Using System Monitor
Linux distributions often have a built-in system monitoring tool that provides detailed information about various system resources, including RAM. The tool might be called “System Monitor,” “Task Manager,” or something similar, depending on the Linux distribution you are using. You can usually find it in the system menu or by searching for it using the application launcher. Once you open the system monitoring tool, look for a section that displays memory or RAM-related information. It should provide you with details such as total memory, used memory, and memory usage by specific applications or processes.
While these methods should be sufficient to check your RAM on most Linux systems, you can also explore other command-line tools like “top” or “htop” for more advanced monitoring and analysis of your system’s memory usage.
Now that you know how to check your RAM on Linux, let’s move on to exploring the option of using third-party software for more detailed information on RAM.
Using Third-Party Software to Check RAM
In addition to the built-in tools provided by operating systems, there are various third-party software options available that can provide more detailed information about your RAM. These tools often offer advanced features and additional insights into your system’s memory configuration. Here are a few popular options:
CPU-Z
CPU-Z is a widely-used utility that provides comprehensive information about various hardware components, including RAM. It displays details such as the memory type, frequency, timings, and capacity. CPU-Z is available for free and is compatible with Windows. Simply download and install the application, and it will provide you with all the necessary information about your RAM.
Speccy
Speccy is another powerful system information tool developed by CCleaner. It provides detailed information about your computer’s hardware, including RAM. Speccy displays information like memory type, speed, module configuration, and even the temperature of your RAM modules. It is available for both Windows and Mac, and you can download it from the official website.
hwinfo
hwinfo is a command-line utility available for Linux-based systems. It provides detailed information about various hardware components, including RAM. By running the command “sudo hwinfo --short --memory“, you can retrieve information about your system’s memory, including capacity, speed, and type.
These are just a few examples of the many third-party software options available to check your RAM. Remember to download software from trusted sources and be cautious of any potential malware or bloatware that may come bundled with the software. Always check reviews and ratings before downloading and installing any new applications on your system.
Now that you are aware of various third-party software options, let’s move on to the next section, where we will briefly discuss the key specifications related to RAM.
Understanding RAM Specifications
When it comes to understanding your computer’s RAM, it’s essential to have a basic understanding of the key specifications related to it. Here are some important factors to consider:
Capacity
The capacity of your RAM refers to the total amount of memory your computer has. It is typically measured in gigabytes (GB) or terabytes (TB). The more capacity your RAM has, the more data it can hold and access quickly, allowing for smoother multitasking and faster performance.
Type
RAM comes in different types, such as DDR3, DDR4, and DDR5. The type indicates the generation of the RAM and its compatibility with a specific system architecture. It’s crucial to ensure that any new RAM you purchase or install is compatible with your computer’s motherboard and supports the correct type.
Speed
RAM speed, measured in megahertz (MHz), determines how quickly data can be read from or written to the memory. Higher RAM speeds generally result in faster performance, especially in tasks that involve accessing large amounts of data.
Timing
RAM timing refers to the latency or delay between the processor requesting data from the RAM and the RAM providing the requested data. It is represented by a series of numbers, such as CL16-18-18-36. Lower timing numbers generally indicate better performance, as the data will be accessible quicker.
ECC and Non-ECC
ECC stands for Error Correcting Code, which is a feature found in some RAM modules. ECC RAM is designed to detect and correct errors in data transmission, ensuring data integrity and system stability. Non-ECC RAM, on the other hand, does not have this error correction capability. The choice between ECC and non-ECC RAM depends on your needs and the specific requirements of your system.
By understanding these specifications, you can ensure compatibility and make informed decisions when upgrading or replacing your computer’s RAM. Always consult your system’s documentation or seek professional advice if you are unsure about the compatible RAM types and specifications for your computer.
Now that you have a basic understanding of RAM specifications, we can conclude this guide. By following the methods described in this article, you can easily check your RAM on different operating systems and gather the necessary information to make informed decisions regarding your computer’s memory configuration.
Conclusion
Knowing the specifications and details of your computer’s RAM is crucial for optimizing its performance, troubleshooting issues, or upgrading the memory. Throughout this guide, we discussed various methods for checking RAM on different operating systems, including Windows, Mac, and Linux. We explored built-in tools such as Task Manager and System Information, as well as third-party software like CPU-Z and Speccy, that provide more detailed information about your RAM.
Understanding RAM specifications, such as capacity, type, speed, timing, and ECC/non-ECC capability, allows you to make informed decisions when upgrading or replacing your computer’s memory. It is essential to ensure compatibility with your system and consider your specific needs and requirements.
By regularly checking your RAM and staying aware of its capabilities, you can ensure optimal performance and address any issues that may arise. Whether you are a casual user or a tech enthusiast, having a basic understanding of your computer’s RAM configuration empowers you to make informed decisions and optimize your computing experience.
We hope this guide has provided you with valuable insights into finding out what RAM you have and understanding its specifications. Remember to consult your system’s documentation or seek assistance when necessary to ensure compatibility and successful RAM upgrades or replacements.
With this knowledge, you are well-equipped to explore and harness the capabilities of your computer’s RAM, improving its performance and ensuring a smooth and efficient computing experience.


