Introduction
Welcome to this handy guide on how to find the RAM on Windows 7! RAM (Random Access Memory) is an essential component of every computer, as it plays a crucial role in determining its performance and multitasking capabilities. Whether you are a casual user wanting to check your system’s specifications or a tech enthusiast looking to upgrade your RAM, understanding how to find this information on Windows 7 is essential.
In this article, we will explore various methods to help you easily locate the RAM on your Windows 7 machine. Whether you prefer using built-in tools or the command line, we have you covered. So, let’s dive in!
Note: The methods provided here are specifically for Windows 7 operating system. If you are using a different version of Windows, the steps may vary.
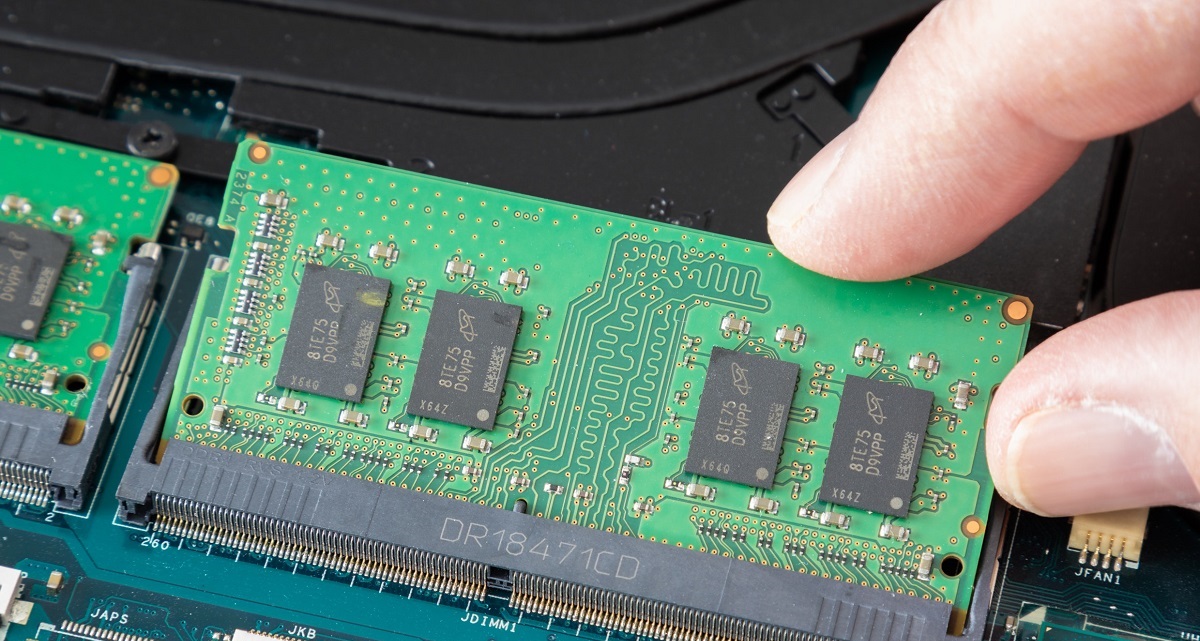
Before we begin, it’s important to note that there are two types of RAM: physical RAM and virtual RAM. Physical RAM refers to the actual memory modules installed in your computer, while virtual RAM, also known as the page file, is a portion of the hard disk space used as temporary memory storage. In this guide, we will focus on finding information about the physical RAM installed in your Windows 7 system.
Now that we have a clear understanding of what RAM is and its significance, let’s explore the different methods through which you can find the RAM on your Windows 7 computer. Whether you are a novice or an experienced user, there is a method suitable for your needs.
Method 1: Using System Properties
One of the easiest ways to find the RAM on your Windows 7 computer is by using the System Properties window. Follow these simple steps:
- Right-click on the “My Computer” or “Computer” icon on your desktop or in the Start Menu and select “Properties.”
- A new window will open, displaying basic information about your computer. Look for the section labeled “System” or “System Information.”
- Under this section, you will find the total amount of RAM installed on your computer, typically listed as “Installed Memory (RAM).” The value will be displayed in megabytes (MB) or gigabytes (GB).
This method provides a quick and straightforward way to find the amount of RAM installed on your Windows 7 system. However, it only gives you the total installed memory and does not provide detailed information about the RAM modules or their specific specifications.
Keep in mind that the System Properties window provides other useful information about your computer, such as the processor type and speed, the operating system version, and the computer name. It’s a handy tool for getting a general overview of your system’s specifications.
Now that you know how to find the RAM using the System Properties window, let’s explore another method that provides more detailed information about your RAM configuration.
Method 2: Using Task Manager
Another convenient way to find the RAM on your Windows 7 computer is by utilizing the Task Manager. Follow these steps:
- Right-click on the taskbar at the bottom of your screen and select “Task Manager” from the context menu. Alternatively, you can press
Ctrl + Shift + Escto open the Task Manager directly. - The Task Manager window will open, displaying several tabs. Click on the “Performance” tab.
- Under the “Performance” tab, you will see various categories such as CPU, Memory, Disk, and Network. Click on the “Memory” category to view detailed information about your computer’s memory usage.
- In the “Memory” section, you will find the total amount of RAM installed, labeled as “Physical Memory (MB)” or “Total.” The value will be displayed in megabytes.
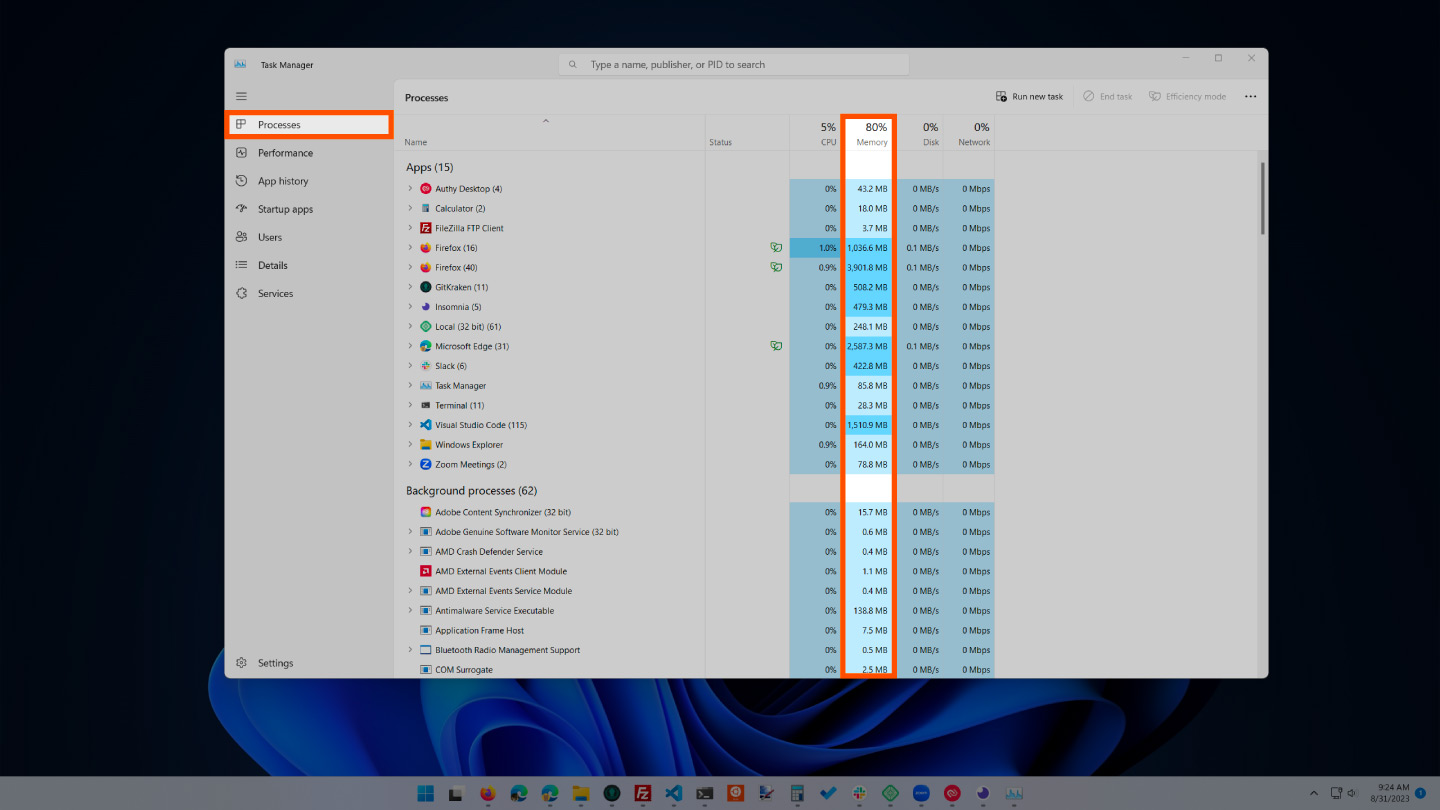
Using Task Manager not only provides you with information about the total installed RAM but also allows you to monitor its usage in real-time. You can observe the amount of memory being used by different applications and processes, helping you to identify resource-intensive programs that may be causing your system to slow down.
Additionally, Task Manager provides a visual representation of memory usage through graphs and charts, allowing you to easily analyze trends and patterns. This can be particularly useful when troubleshooting performance issues or deciding if an upgrade is necessary.
Now that you know how to find the RAM using Task Manager, let’s explore another method that involves using the command line interface.
Method 3: Using Command Prompt
If you prefer using the command line interface, you can find the RAM on your Windows 7 computer using the Command Prompt. Follow these steps:
- Open the Command Prompt by clicking on the Start button, typing “cmd” into the search box, and selecting “Command Prompt” from the search results.
- Once the Command Prompt window opens, type the following command:
wmic memorychip get capacity - Press the Enter key to execute the command.
- The Command Prompt will display a list of the RAM modules installed on your computer, along with their capacities. The capacity will be displayed in bytes.
Using Command Prompt provides you with a more detailed breakdown of the RAM installed on your system. It not only shows you the total amount of RAM but also lists individual RAM modules and their respective capacities. This can be particularly useful if you want to know the specifications of each RAM module or if you are planning to upgrade your memory.
Keep in mind that the values displayed by Command Prompt are in bytes. To convert them into a more user-friendly format (e.g., megabytes or gigabytes), you can divide the values by 1,048,576 for megabytes or by 1,073,741,824 for gigabytes.
Now that you know how to find the RAM using Command Prompt, let’s explore another method that takes advantage of PowerShell.
Method 4: Using PowerShell
If you prefer a more powerful and flexible command-line tool, you can find the RAM on your Windows 7 computer using PowerShell. Follow these steps:
- Open PowerShell by clicking on the Start button, typing “powershell” into the search box, and selecting “Windows PowerShell” from the search results.
- Once the PowerShell window opens, type the following command:
Get-WmiObject -Class "Win32_PhysicalMemory" | Select-Object -Property Capacity - Press the Enter key to execute the command.
- PowerShell will display a list of installed RAM modules, along with their capacities. The capacity will be displayed in bytes.
Using PowerShell provides you with even more flexibility and control over retrieving information about your RAM. You can customize the command to display additional properties, such as the manufacturer or serial number of the RAM modules, by adjusting the Select-Object command and specifying different properties.
PowerShell also allows you to filter, sort, and format the output in various ways, making it a powerful tool for analyzing and managing your computer’s memory resources.
Now that you know how to find the RAM using PowerShell, let’s explore another method that involves using the System Information tool.
Method 5: Using System Information Tool
The System Information tool in Windows 7 provides a comprehensive overview of your computer’s hardware and software configuration, including detailed information about your RAM. Follow these steps:
- Click on the Start button, type “system information” into the search box, and select “System Information” from the search results.
- The System Information window will open, displaying various categories on the left-hand side.
- Expand the “Components” category and click on “Memory”.
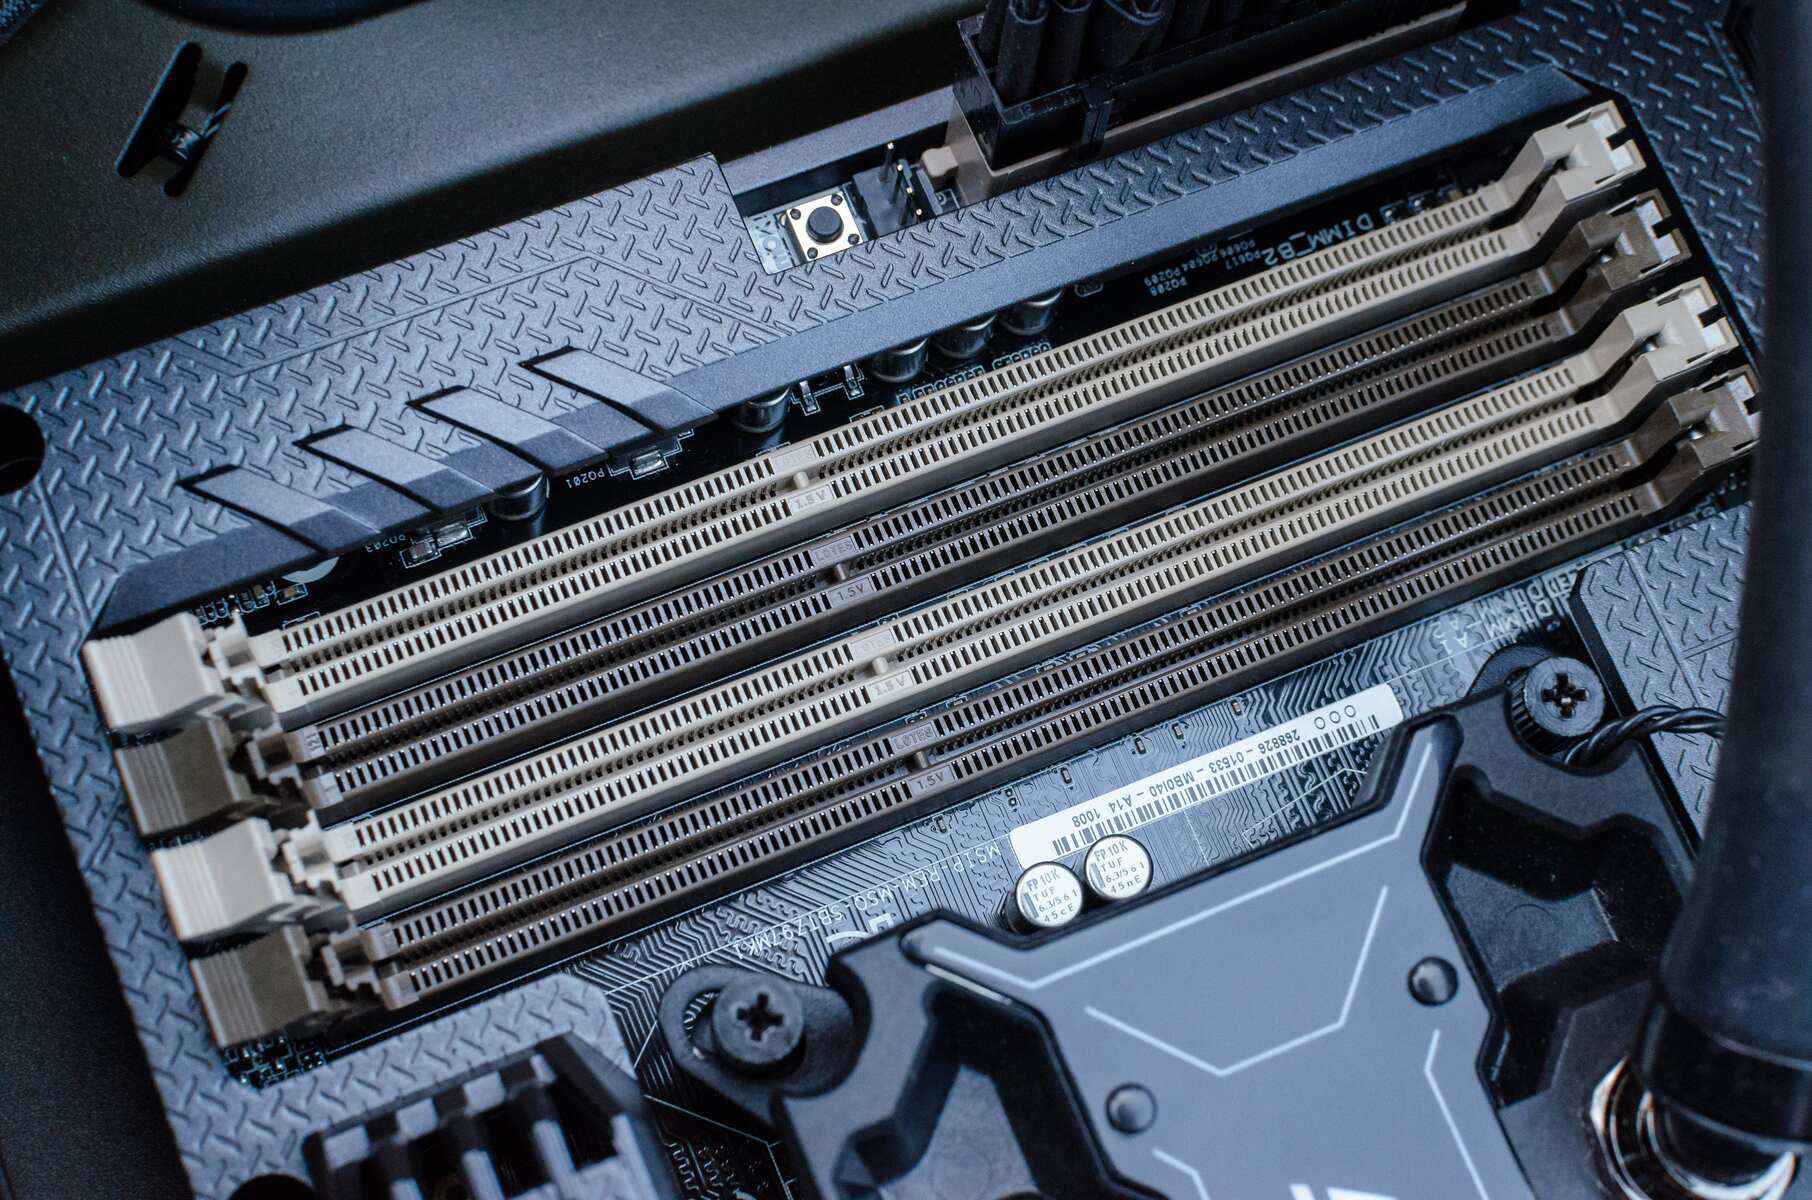
- On the right-hand side, you will find detailed information about your RAM, including the total installed memory, memory slots, and the type and speed of the RAM modules.
The System Information tool provides a wealth of information about your computer’s RAM configuration, making it particularly useful for more advanced users and systems that require detailed specifications.
In addition to RAM, you can explore other categories in the System Information tool to access information about other hardware components, software environment, and system configuration.
Now that we’ve covered various methods to find the RAM on Windows 7, you can choose the one that best suits your preferences and needs. Whether you prefer using built-in tools like System Properties or Task Manager, or command-line tools like Command Prompt or PowerShell, you can easily retrieve information about your system’s RAM configuration.
Knowing the amount of RAM installed on your computer is essential for understanding its capabilities, ensuring optimal performance, and identifying any upgrade requirements. So, go ahead and use these methods to learn more about your Windows 7 machine!
Conclusion
Finding the RAM on your Windows 7 computer is a straightforward process, thanks to the various methods available. Whether you prefer using built-in tools like System Properties or Task Manager, or command-line tools like Command Prompt or PowerShell, each method provides a convenient way to retrieve information about your system’s RAM configuration.
Through the System Properties window, you can quickly find the total amount of installed RAM. Task Manager allows you to monitor real-time memory usage and analyze resource-intensive applications. Command Prompt provides a detailed breakdown of RAM modules, while PowerShell offers flexibility and customization options. Lastly, the System Information tool provides a comprehensive overview of your system’s hardware and software configuration, including detailed information about your RAM.
Knowing the amount of RAM installed on your Windows 7 computer is crucial for understanding its capabilities and ensuring optimal performance. You can use this information to troubleshoot performance issues, determine if an upgrade is necessary, or make informed decisions when working with resource-intensive applications or multitasking.
By following the methods outlined in this guide, you can easily find the RAM on your Windows 7 machine and gain a better understanding of its memory configuration. Whether you are a casual user or a tech enthusiast, having this knowledge empowers you to make informed decisions about your computer’s memory requirements.
Now that you have the tools and knowledge at your disposal, go ahead and explore the different methods to find your RAM on Windows 7. Happy computing!