Introduction
Welcome to the world of computers where every component plays a crucial role in determining the performance and capabilities of your machine. One such vital component is Random Access Memory, or RAM, which acts as the temporary workspace for your computer. The amount of RAM your computer has directly affects how many programs can be run simultaneously and how efficiently they can operate.
If you’re using the Windows 7 operating system, you might be curious about the maximum amount of RAM your computer can handle. Knowing this information can help you make informed decisions when it comes to upgrading your RAM for improved performance.
In this article, we will guide you through the process of determining the maximum RAM capacity of your Windows 7 computer. We will explore different methods, including checking system information, using third-party software, and consulting the manufacturer’s website or motherboard specifications. With this knowledge in hand, you’ll be able to make the right choices when it comes to upgrading your RAM.
So, let’s dive into the world of RAM and uncover the secrets of your computer’s memory capacity!
Understanding RAM
Before we delve into the process of checking the maximum RAM capacity of your Windows 7 computer, let’s take a moment to understand what RAM is and how it functions.
Random Access Memory (RAM) is a type of computer memory that allows data to be stored and retrieved by the computer’s processor quickly. Unlike your computer’s hard drive, which provides long-term storage for files and programs, RAM provides temporary storage that your computer can access rapidly.
When you launch a program or open a file, the necessary data is transferred from the hard drive to the RAM. This allows your computer’s processor to quickly access and process the data, resulting in faster program execution and smoother multitasking.
RAM acts as a bridge between your computer’s processor and other components. It holds the data that your processor needs to perform tasks and allows for quick retrieval and manipulation of that data. The more RAM your computer has, the more data it can hold, which ultimately improves overall performance.
RAM comes in different capacities, such as 2GB, 4GB, 8GB, and so on. It is important to note that each computer has a maximum RAM capacity, which is determined by factors like the computer’s architecture and motherboard specifications.
Now that we have a basic understanding of what RAM is and how it functions, let’s proceed to the next section, where we will explore various methods to check the maximum RAM capacity of your Windows 7 computer.
How to Check the Maximum RAM Capacity in Windows 7
Now that we are familiar with the importance of RAM and its role in your computer’s performance, let’s move on to the process of determining the maximum RAM capacity of your Windows 7 machine.
There are several methods you can use to check the maximum RAM capacity. We will explore three common approaches:
- Checking System Information: Windows 7 has a built-in system information tool that provides detailed information about your computer’s hardware and software. To access this tool, press the Windows key + R to open the Run dialog box, type “msinfo32” and press Enter. In the System Information window, navigate to the “System Summary” category on the left panel and look for the “Installed Physical Memory (RAM)” field. Here, you will find the total installed RAM on your computer.
- Using the Crucial System Scanner: Crucial, a trusted manufacturer of memory modules, offers a System Scanner tool that can determine the maximum RAM capacity of your computer. Simply visit the Crucial website and download their System Scanner tool. Run the tool on your computer, and it will provide detailed information about your system’s RAM capacity and compatible upgrade options.
- Using the Manufacturer’s Website: Another reliable method is to visit the website of your computer’s manufacturer. Look for the support or product page specifically for your model. From there, navigate to the specifications section, where you should find detailed information about the maximum RAM capacity supported by your device.
By utilizing one or more of these methods, you can easily determine the maximum RAM capacity of your Windows 7 computer. Armed with this knowledge, you’ll be able to make informed decisions about upgrading your computer’s memory to enhance its performance.
In the next section, we will explore how to check the motherboard specifications, which is another crucial factor in determining the maximum RAM capacity of your Windows 7 computer.
Checking System Information
One of the easiest ways to check the maximum RAM capacity of your Windows 7 computer is by using the built-in System Information tool. This tool provides comprehensive information about your computer’s hardware and software, including the installed RAM.
To access the System Information tool, follow these steps:
- Press the Windows key + R on your keyboard to open the Run dialog box.
- Type “msinfo32” in the Run dialog box and press Enter.
- The System Information window will open, displaying various categories on the left panel.
- Click on the “System Summary” category, and on the right side, you will find details about your computer’s hardware.
- Look for the “Installed Physical Memory (RAM)” field, which displays the total amount of RAM installed on your computer.
By following these simple steps, you can quickly find out the installed RAM capacity of your Windows 7 computer.
It’s important to note that the system information tool provides information about the currently installed RAM, not necessarily the maximum capacity supported by your computer. To find the maximum RAM capacity, you may need to refer to the manufacturer’s website or consult the motherboard specifications, which we will explore in the next section.
Now that you know how to check the installed RAM through the System Information tool, let’s move on to the next method, which involves using the Crucial System Scanner to determine the maximum RAM capacity of your Windows 7 computer.
Using the Crucial System Scanner
If you want a convenient and reliable method to determine the maximum RAM capacity of your Windows 7 computer, you can use the Crucial System Scanner. Crucial is a well-known manufacturer of memory modules, and their System Scanner tool can provide detailed information about your system’s RAM capacity and compatible upgrade options.
Follow these steps to use the Crucial System Scanner:
- Visit the Crucial website in your web browser.
- Look for the “System Scanner” or “Memory Upgrade Advisor” section on the Crucial homepage.
- Click on the corresponding link to access the System Scanner tool.
- On the System Scanner page, you will see a button that says “Scan My Computer”. Click on it to initiate the scanning process.
- The scanner will analyze your system’s hardware and provide you with comprehensive details about your current RAM configuration and the maximum RAM capacity supported by your computer.
The Crucial System Scanner is a user-friendly tool that takes the guesswork out of determining the maximum RAM capacity of your Windows 7 computer. It provides accurate and specific information tailored to your system, allowing you to make informed decisions about upgrading your RAM for enhanced performance.
In the next section, we will explore another method to check the maximum RAM capacity by visiting the manufacturer’s website.
Using the Manufacturer’s Website
Another reliable method to determine the maximum RAM capacity of your Windows 7 computer is by visiting the website of your computer’s manufacturer. This approach allows you to access accurate and detailed information directly from the source.
Follow these steps to find the maximum RAM capacity using the manufacturer’s website:
- Open your web browser and navigate to the official website of your computer’s manufacturer.
- Look for the support or product page specific to your computer model.
- Once on the appropriate page, search for the specifications or technical details section.
- Within the specifications, you should find information about the maximum RAM capacity supported by your computer.
Manufacturers often provide comprehensive information about the hardware specifications of their products, including the maximum RAM capacity. By consulting the manufacturer’s website, you will have accurate and up-to-date information regarding your computer’s RAM limitations.
Keep in mind that the maximum RAM capacity can vary depending on the specific model and configuration of your computer. Therefore, it’s essential to ensure you’re viewing the correct information for your specific model on the manufacturer’s website.
Now that we’ve explored how to check the maximum RAM capacity using the manufacturer’s website, let’s move on to the next method, which involves checking the motherboard specifications.
Checking the Motherboard Specifications
If you want to dive deeper into determining the maximum RAM capacity of your Windows 7 computer, checking the motherboard specifications is a reliable method. The motherboard is a fundamental component that determines various aspects of your computer’s capabilities, including its RAM capacity.
Follow these steps to check the motherboard specifications:
- Power off your computer and open the case to access the motherboard.
- Locate the model number and manufacturer name printed on the motherboard itself.
- Once you have this information, close the case and power on your computer.
- Open your web browser and search for the manufacturer’s website.
- Navigate to the support or download section of the website.
- Search for your specific motherboard model using the information you obtained earlier.
- Once you find your motherboard model, look for the specifications or technical details section.
- Within the specifications, you should find information about the maximum RAM capacity supported by your motherboard.
Checking the motherboard specifications is a more direct approach to determine the maximum RAM capacity, as it provides information specifically tailored to your computer’s hardware. By consulting the manufacturer’s website, you can accurately ascertain the RAM limitations of your Windows 7 computer.
Keep in mind that some motherboards may have limitations imposed by the chipset or other factors. Therefore, it’s important to ensure that the motherboard specifications align with your computer’s overall architecture and configuration.
With the knowledge obtained from checking the motherboard specifications, you will have a clear understanding of the maximum RAM capacity of your Windows 7 computer.
Now that we have explored various methods to check the maximum RAM capacity, let’s move on to the next section, where we will discuss the process of upgrading the RAM on your computer.
Upgrading the RAM
If you have determined that your Windows 7 computer has room for a RAM upgrade, you may be wondering about the process of actually upgrading the RAM. Upgrading your computer’s RAM can significantly improve its performance, allowing for smoother multitasking and better overall responsiveness.
Here are the general steps to upgrade your RAM:
- Research and purchase compatible RAM modules: Before you begin, ensure that you purchase RAM modules that are compatible with your computer’s architecture and motherboard specifications. Check the maximum RAM capacity and the type of RAM supported (e.g., DDR3, DDR4) for accurate compatibility.
- Power off your computer and unplug it from the power source: It’s essential to turn off your computer and disconnect it from the power source to avoid any electrical damage during the upgrade process.
- Open the computer case: Depending on your computer model, you may need to remove screws or release clips to open the case. Refer to your computer’s manual or manufacturer’s website for detailed instructions on how to access the RAM slots.
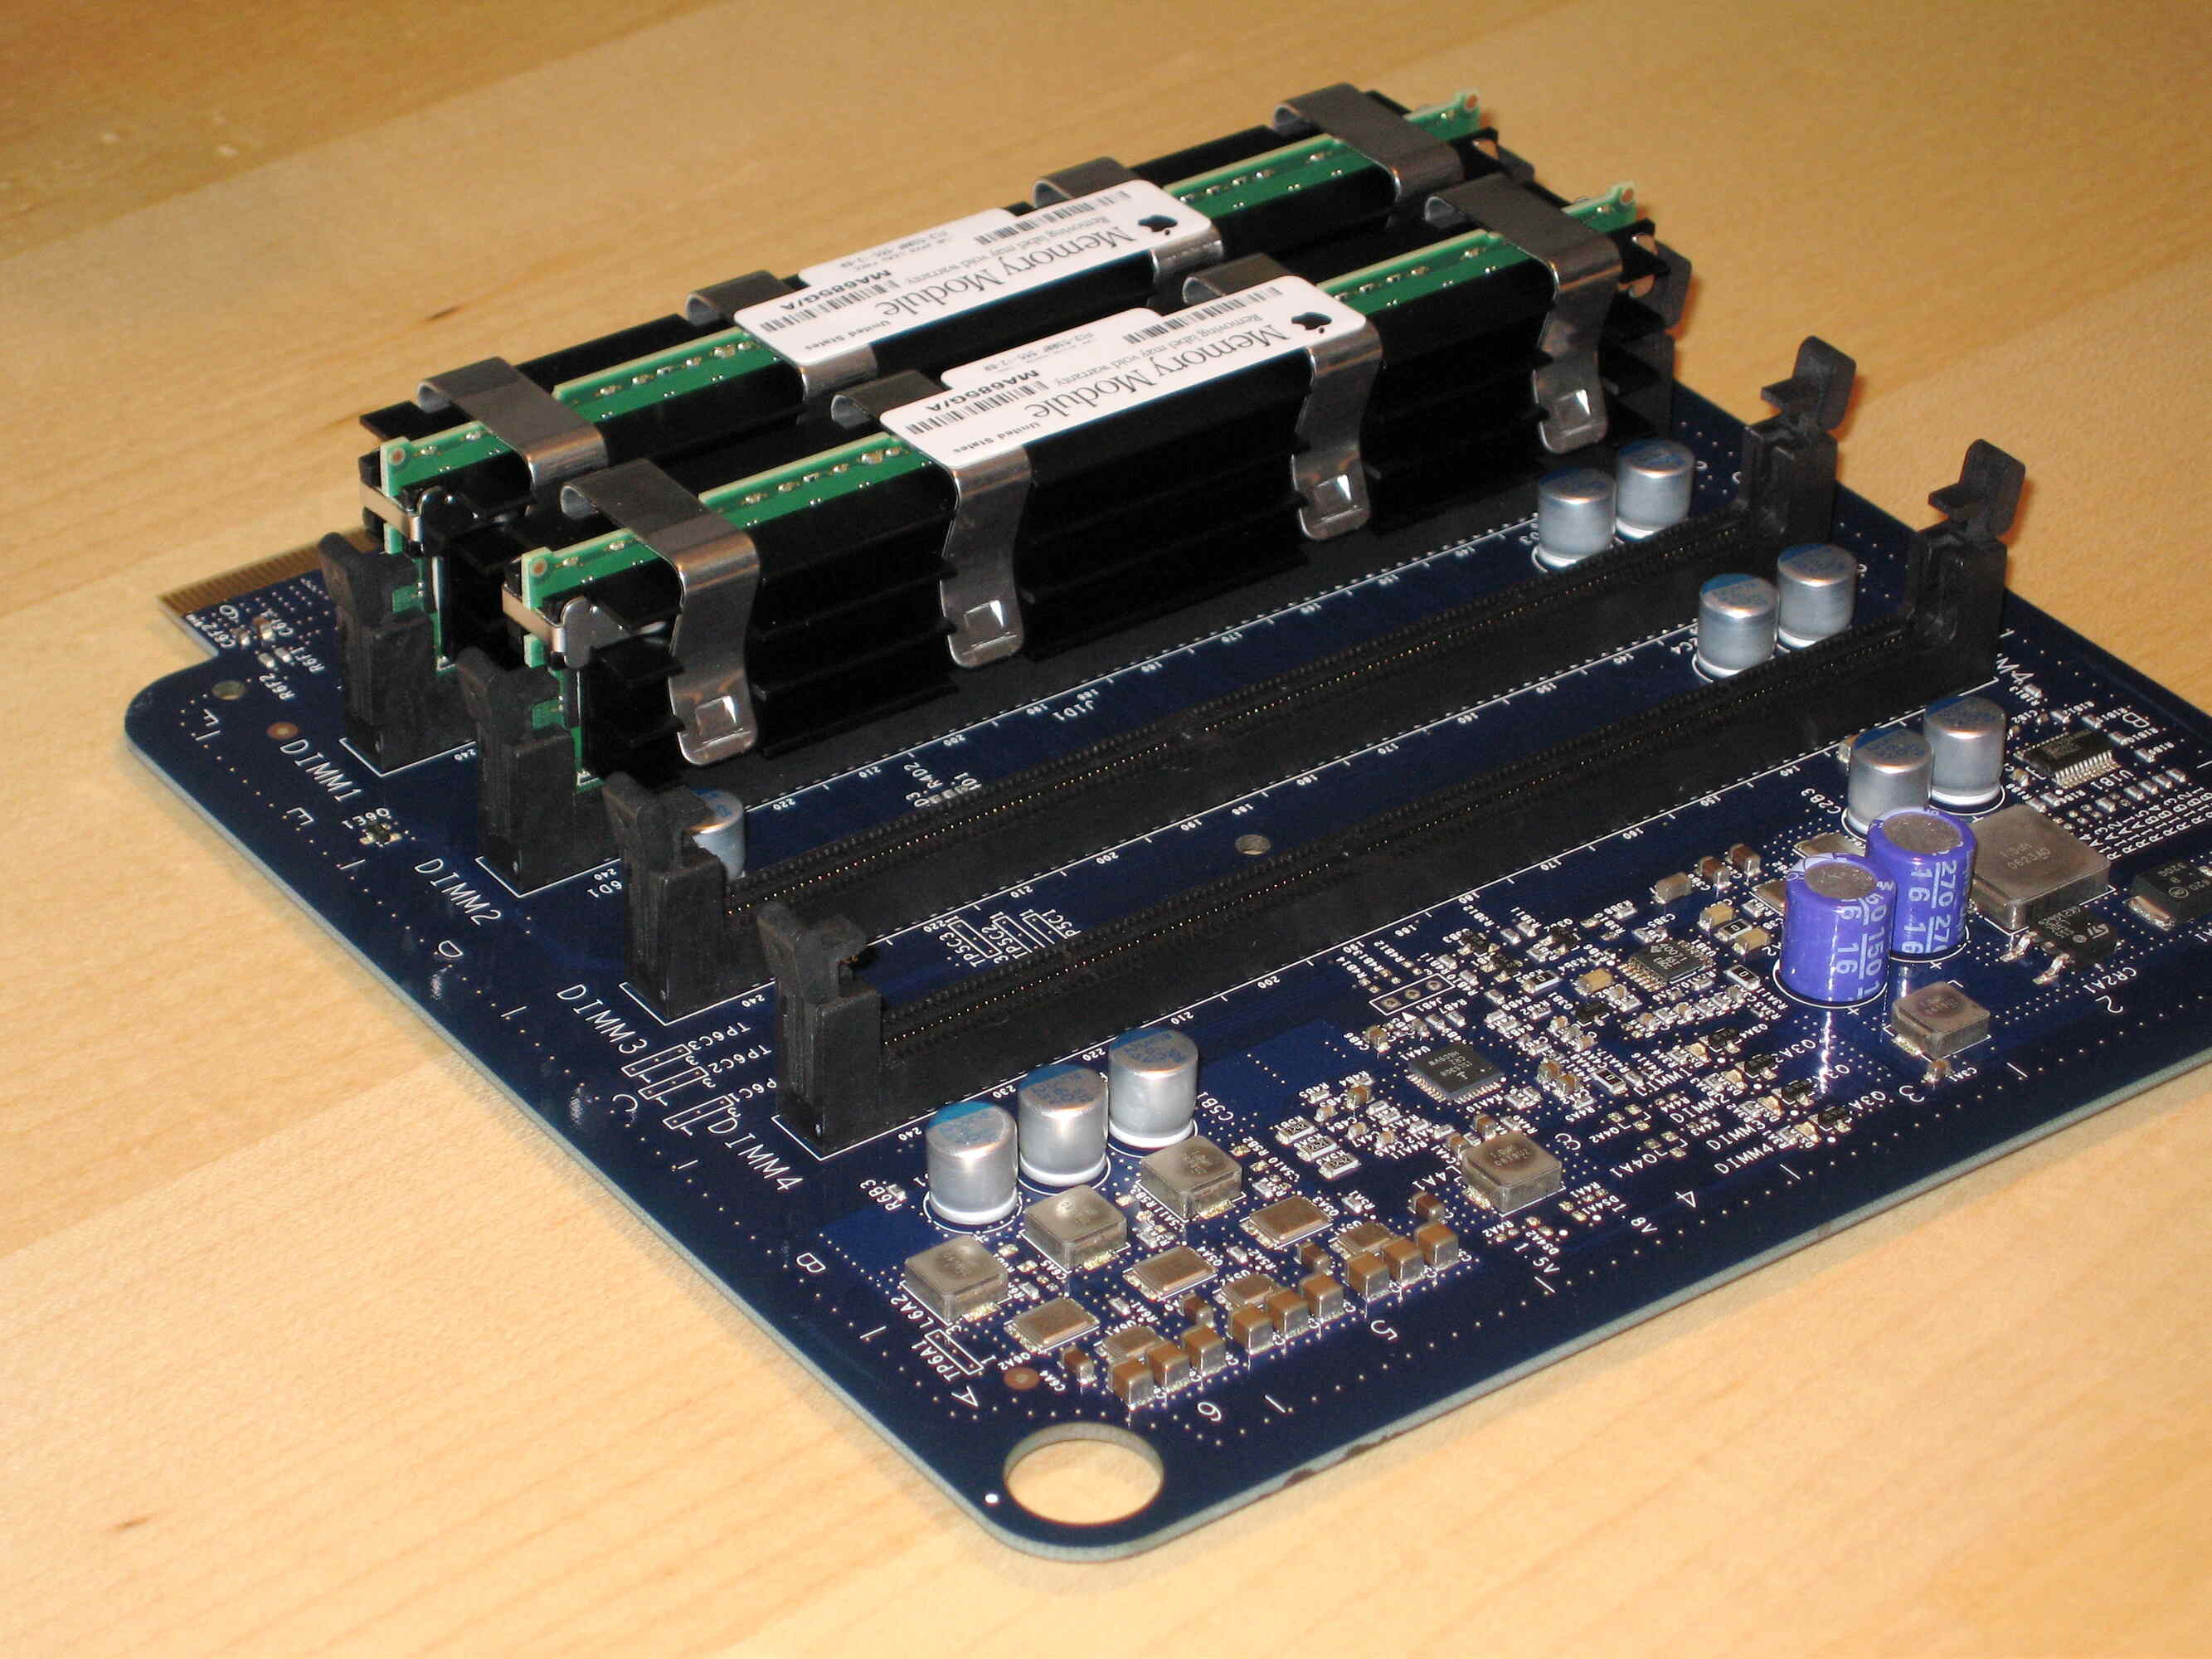
- Locate the RAM slots: The RAM slots are typically long, rectangular slots on the motherboard. They may be labeled or color-coded to indicate the proper installation order.
- Remove the existing RAM modules (if necessary): If your computer has all the RAM slots occupied, you will need to remove the existing RAM modules to make room for the new ones. Gently push apart the clips on the sides of the module and lift it out.
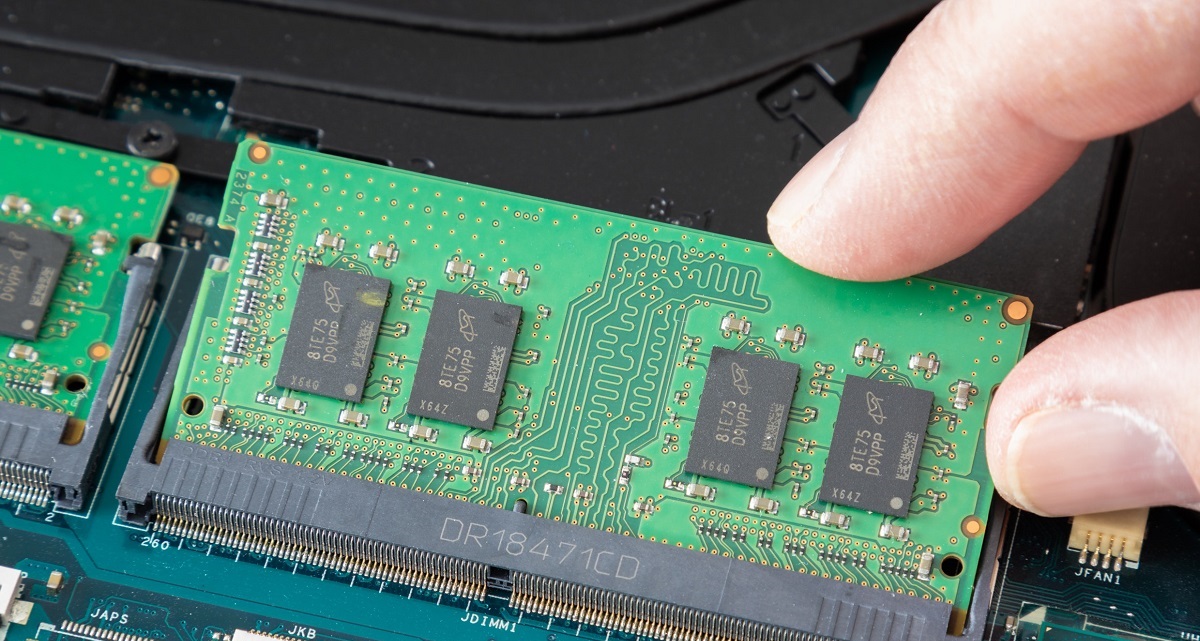
- Install the new RAM modules: Carefully align the notches on the new RAM modules with the slots on the motherboard. Firmly press down on both ends of the module until the clips lock into place.
- Close the computer case: Once the new RAM is installed, close the computer case, making sure all connections are secure.
- Power on your computer: Plug in your computer and turn it on. The system should automatically detect the new RAM modules and adjust the settings accordingly.
- Verify the new RAM: To confirm that the new RAM has been installed correctly and is functioning properly, you can check the system information again or use third-party software for a more detailed analysis of your computer’s memory configuration.
It’s essential to follow these steps carefully and refer to your computer’s manual or the manufacturer’s website for specific instructions and guidelines regarding RAM installation.
By upgrading your computer’s RAM, you can enjoy improved performance and smoother operation when running multiple programs or handling resource-intensive tasks. Be sure to consult with an expert or an authorized technician if you have any concerns or difficulties during the upgrading process.
In the following section, we will wrap up our discussion with a summary of the information covered in this article.
Conclusion
Understanding the maximum RAM capacity of your Windows 7 computer is essential for optimizing its performance. In this article, we explored various methods to check the maximum RAM capacity, including using system information, the Crucial System Scanner, and consulting the manufacturer’s website or motherboard specifications.
By checking the system information, you can quickly find the installed RAM capacity. The Crucial System Scanner provides accurate and specific information tailored to your system, making it an easy and convenient option. Consulting the manufacturer’s website allows you to access detailed information about your computer’s specifications, including the maximum RAM capacity. Lastly, checking the motherboard specifications provides more direct information about the RAM limitations.
If you find that your computer can accommodate a RAM upgrade, the process of upgrading involves purchasing compatible RAM modules and following the necessary steps to install them correctly. Upgrading your RAM can significantly enhance your computer’s performance, allowing for smoother multitasking and improved responsiveness.
Remember to consult the documentation or seek expert advice if you have any concerns or difficulties during the RAM upgrade process.
With a clear understanding of your computer’s maximum RAM capacity, you can make informed decisions about upgrading your RAM to optimize your Windows 7 computer for better performance.
Thank you for reading this article, and we hope it has provided you with valuable insights into checking and upgrading the RAM capacity of your Windows 7 computer.