Introduction
Welcome to our comprehensive guide on understanding the RAM limitations in Windows 7 64-bit. If you’re a Windows user, you’ve probably heard the term RAM (Random Access Memory) mentioned quite frequently. RAM plays a crucial role in how your computer performs, as it directly impacts the speed and efficiency of your system.
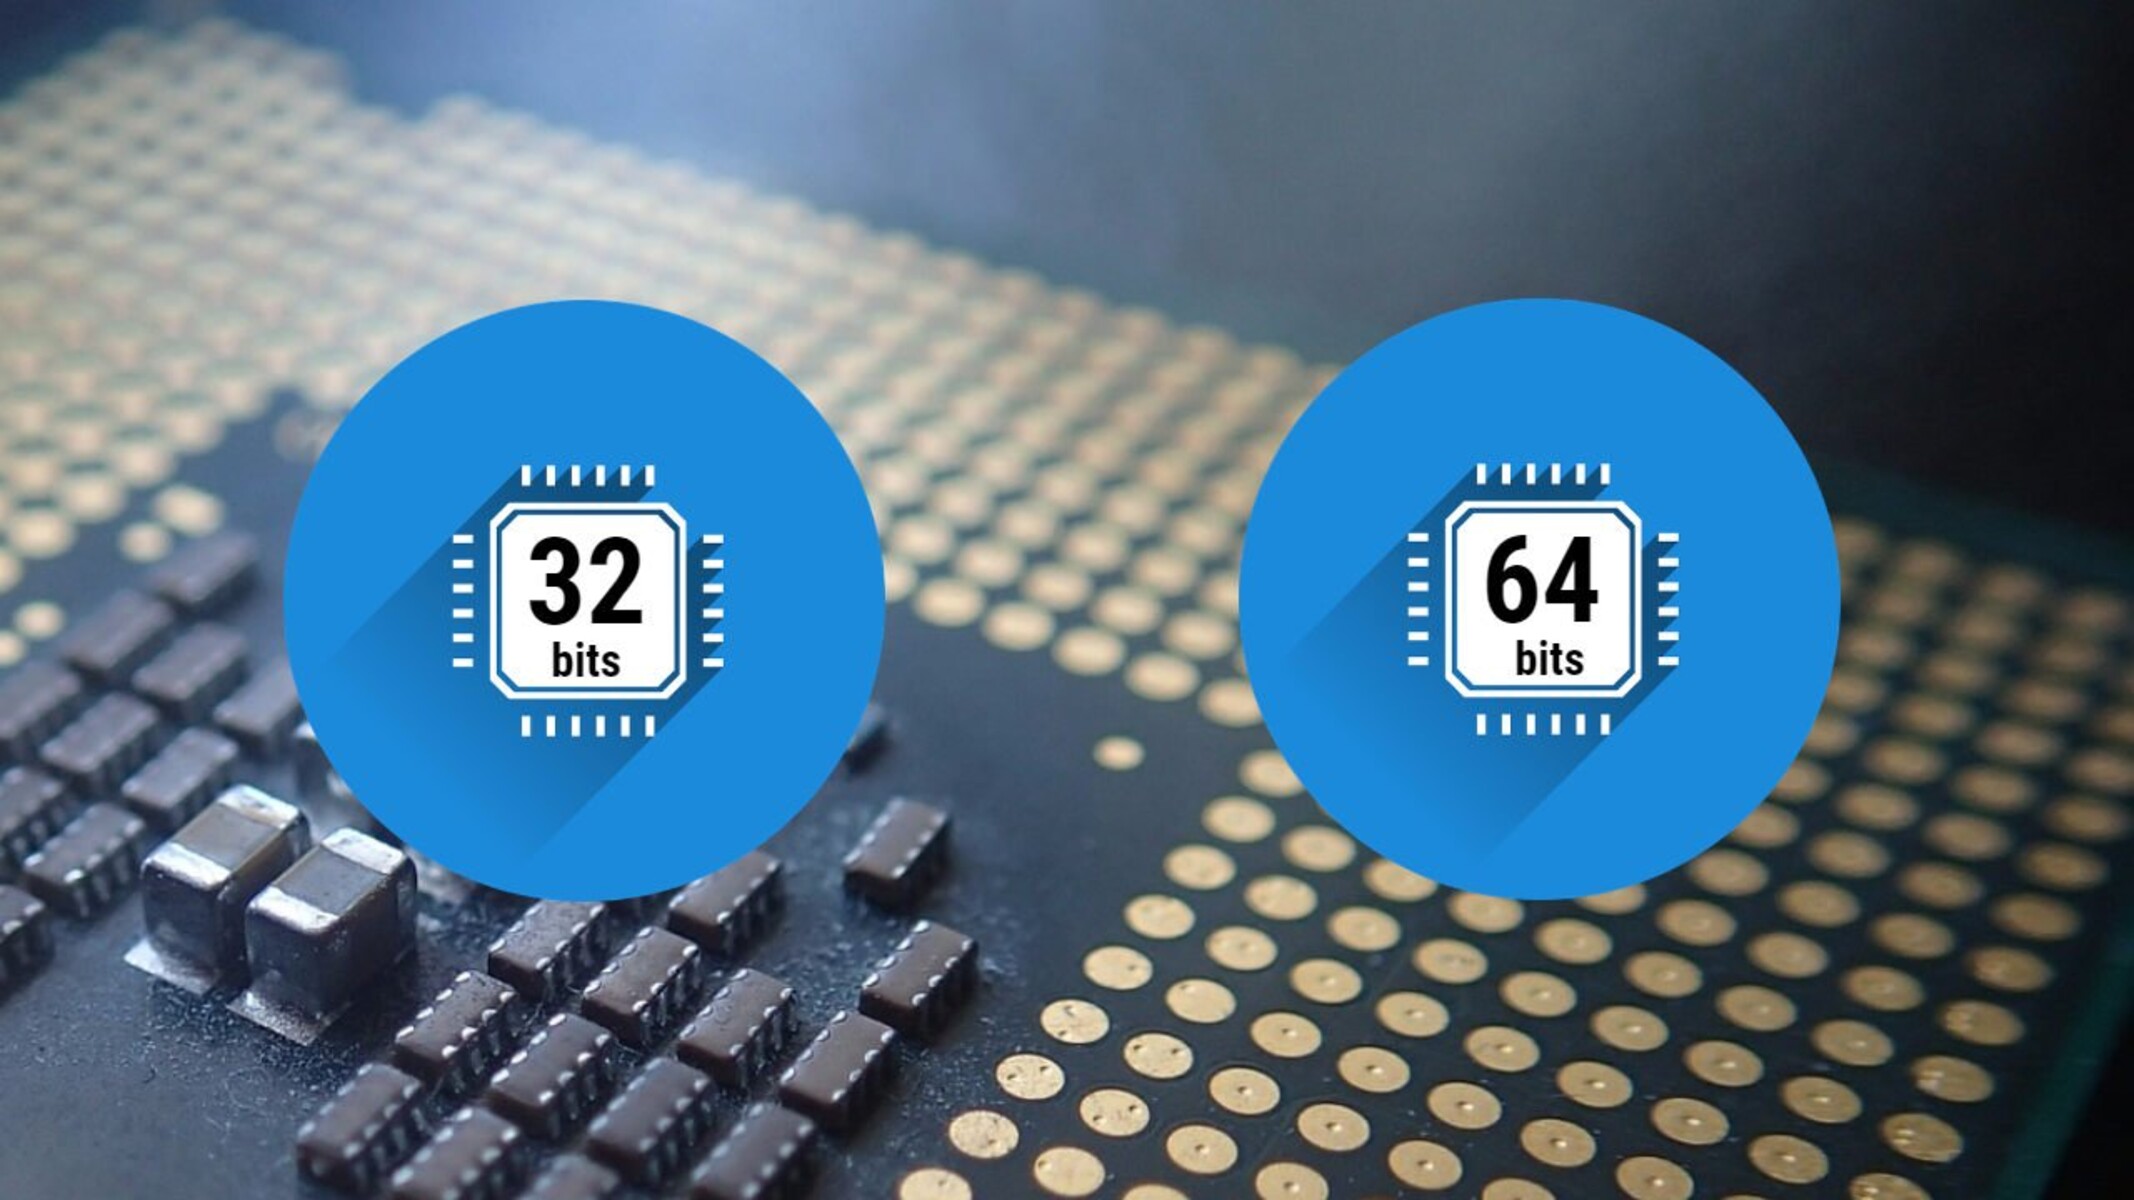
Windows 7, one of the most popular operating systems to date, is available in both 32-bit and 64-bit versions. The 64-bit version offers several advantages over its 32-bit counterpart, including better performance and increased access to system resources. However, it’s essential to understand the limitations that come with running Windows 7 in a 64-bit architecture, especially regarding RAM support.
In this article, we will delve into the factors that affect RAM support in Windows 7 64-bit and discuss how to maximize the available RAM for optimal system performance. Whether you’re a longtime Windows user or a newcomer to the platform, this guide will equip you with the knowledge needed to make informed decisions about your computer’s RAM configuration.
Understanding RAM Limitations in Windows 7 64-Bit
Before we delve into the specifics of RAM limitations in Windows 7 64-bit, let’s first understand what RAM is and why it is important for your computer’s performance.
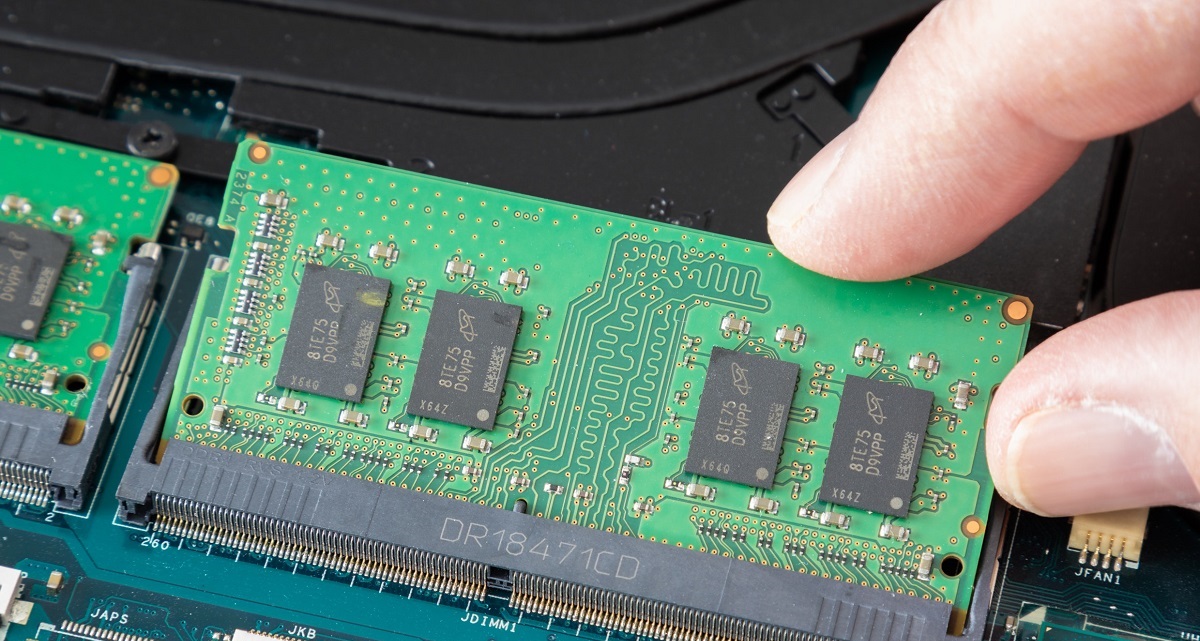
RAM, or Random Access Memory, is a type of computer memory that stores data that is actively being used by the operating system, applications, and processes. It serves as a temporary workspace where files and data can be accessed quickly by the computer’s processor. The more RAM your system has, the more efficiently it can handle multiple tasks simultaneously.
Windows 7 64-bit, as the name suggests, is designed to run on processors that are capable of processing 64 bits of data at a time. This architecture allows the operating system to access more memory than its 32-bit counterpart, which is limited to 4GB of RAM. In theory, a 64-bit system can support a vast amount of RAM, but in reality, there are limitations imposed by both hardware and software.
One critical factor that determines the maximum amount of RAM supported by Windows 7 64-bit is the edition you are running. The Starter and Home Basic editions have a RAM limit of 8GB, while the Home Premium edition supports up to 16GB. The Professional, Enterprise, and Ultimate editions can handle a maximum of 192GB of RAM.
Another important consideration is the RAM support provided by the motherboard and processor. Even if your edition of Windows 7 64-bit allows for a specific amount of RAM, your hardware may impose additional limitations. For example, if your motherboard only supports a maximum of 32GB of RAM, you won’t be able to take full advantage of the 192GB limit set by the operating system.
Furthermore, certain applications and processes in Windows 7 may have their own RAM requirements. While the operating system itself needs a minimum of 2GB to function adequately, additional memory is necessary to accommodate resource-intensive tasks such as gaming, video editing, and running virtual machines. It’s important to consider these requirements when determining the ideal amount of RAM for your system.
In the next section, we will explore the default RAM limit in Windows 7 64-bit and discuss how you can potentially exceed these limitations to maximize your system’s performance.
Factors Affecting RAM Support in Windows 7 64-Bit
Several factors come into play when determining the amount of RAM that Windows 7 64-bit can support. Understanding these factors will help you make informed decisions when upgrading your system’s RAM configuration. Let’s explore the key factors that affect RAM support in Windows 7 64-bit:
- Edition of Windows 7: The edition of Windows 7 that you are running plays a significant role in determining the maximum amount of RAM supported. As mentioned earlier, the Starter and Home Basic editions have lower RAM limits compared to the Professional, Enterprise, and Ultimate editions.
- Hardware Limitations: The maximum RAM support is also influenced by your hardware configuration. The motherboard and the processor you have determine the upper limit of RAM that can be installed. It’s crucial to consult your motherboard and processor documentation to ensure compatibility and maximum supported memory capacity.
- System Architecture: Windows 7 64-bit is designed to work with a 64-bit processor architecture. While this architecture allows for access to larger RAM sizes, it’s important to note that a 32-bit application running on a 64-bit operating system is still subject to the 32-bit application’s RAM limitations.
- Available System Resources: Apart from the physical RAM support, other system resources can also impact RAM usage. These resources include the size of the page file and drivers loaded into memory. It’s important to optimize these resources to ensure efficient usage of available RAM.
- Application Requirements: Certain applications, particularly resource-intensive ones like video editing software or virtual machines, may have their own RAM requirements. It’s essential to consider these requirements when determining how much RAM you need for your system to function smoothly with these applications.
By understanding these factors, you will be able to determine the maximum amount of RAM your Windows 7 64-bit system can support and make informed decisions when upgrading your system’s memory configuration. In the next section, we will discuss the default RAM limit set in Windows 7 64-bit and explore potential methods to exceed these limitations.
Default RAM Limit in Windows 7 64-Bit
When it comes to the default RAM limit in Windows 7 64-bit, the edition of the operating system you are using plays a significant role. Different editions of Windows 7 64-bit have varying maximum RAM support. Let’s take a closer look at the default RAM limits for each edition:
- Starter and Home Basic Edition: These editions have a default RAM limit of 8GB. This limit provides sufficient memory for everyday computing tasks, such as web browsing, word processing, and multimedia playback.
- Home Premium Edition: The Home Premium edition of Windows 7 64-bit has a default RAM limit of 16GB. This higher limit is beneficial for users who engage in more resource-intensive activities, such as gaming or working with large media files.
- Professional, Enterprise, and Ultimate Editions: These editions offer a significantly higher default RAM limit of 192GB. This allows for extensive multitasking and resource-intensive tasks, making them suitable for power users, professionals, and enterprise environments.
It’s important to note that while these default RAM limits are set by the respective Windows 7 64-bit editions, your hardware configuration may impose additional limitations. The motherboard and processor you have determine the upper limit of RAM that can be installed, so it’s crucial to ensure compatibility and maximum supported memory capacity.
Additionally, the operating system itself requires a minimum of 2GB of RAM to function adequately. However, for optimal performance, especially when running multiple applications or performing demanding tasks, it is recommended to have more RAM than the minimum requirement.
In the next section, we will explore how to potentially exceed these default RAM limits in Windows 7 64-bit by utilizing the Physical Address Extension (PAE) feature.
Upgrading RAM Limit in Windows 7 64-Bit – Physical Address Extension (PAE)
If you need to exceed the default RAM limits in Windows 7 64-bit, you can explore the option of using Physical Address Extension (PAE). PAE is a memory management feature that allows 32-bit operating systems to access more than 4GB of RAM. While Windows 7 64-bit already supports higher RAM capacities by default, PAE can be used to further increase the system’s memory limit.
To utilize PAE in Windows 7 64-bit and increase the RAM limit, the following requirements must be met:
- The computer’s processor must support PAE technology.
- The Windows 7 64-bit edition being used must be compatible with PAE. Typically, the Professional, Enterprise, and Ultimate editions support PAE, while the Home editions do not.
To check if your processor supports PAE, you can use a tool like CPU-Z or consult the official documentation provided by the processor manufacturer. If your processor supports PAE and you are using a compatible edition of Windows 7 64-bit, you can proceed with enabling PAE to increase the RAM limit.
Enabling PAE involves editing the Windows boot configuration. Here are the steps to enable PAE:
- Open the Command Prompt as an administrator.
- Enter the following command:
bcdedit /set {current} nx AlwaysOn. This command enables the No-Execute (NX) protection feature. - Enter the following command:
bcdedit /set {current} pae ForceEnable. This command enables the PAE feature. - Restart your computer for the changes to take effect.
Once PAE is enabled, Windows 7 64-bit will be able to address more than the default RAM limits. However, it’s important to note that while PAE allows for increased RAM access, individual processes may still have their own limitations due to the operating system’s memory management. This means that a single process may not be able to utilize the entire extended RAM limit provided by PAE.
It’s recommended to assess your specific requirements and consult with software vendors to ensure compatibility and optimal performance when using PAE to increase the RAM limit in Windows 7 64-bit.
In the next section, we will discuss how to check and verify the RAM limit in Windows 7 64-bit to ensure that the changes are properly implemented.
How to Check and Verify RAM Limit in Windows 7 64-Bit
After making changes to the RAM limit in Windows 7 64-bit, it’s essential to verify whether the modifications have been successfully implemented. There are multiple methods you can use to check and verify the RAM limit in your system. Let’s explore some of the most common approaches:
- System Properties: The easiest way to check the RAM limit in Windows 7 64-bit is through the System Properties window. To access this, right-click on the “Computer” icon on your desktop or in the Start menu, and select “Properties.” In the System Properties window, you will find information about your computer’s RAM, including the installed memory (RAM) and the system type (64-bit operating system).
- Task Manager: The Task Manager provides real-time information about your system’s performance, including memory usage. To open the Task Manager, right-click on the taskbar and select “Task Manager” or press Ctrl+Shift+Esc. In the Task Manager window, navigate to the “Performance” tab and click on “Memory.” Here, you can see the total physical memory and how much is currently in use.
- Third-Party Tools: Several third-party software tools provide detailed information about your system’s hardware, including RAM limits. Tools such as CPU-Z, Speccy, and HWiNFO can provide comprehensive information about your installed RAM, motherboard, and processor, including any limitations that may be in place.
By using these methods, you can easily check and verify the RAM limit in your Windows 7 64-bit system. Ensure that the displayed RAM limit matches the changes you made or the limitations imposed by your hardware and operating system configuration.
It’s important to keep in mind that exceeding recommended or supported RAM limits can have potential consequences. It’s crucial to consult with hardware and software documentation, as well as software vendors, to ensure the compatibility and optimal performance of your system when making changes to the RAM limit.
In the following section, we will address some frequently asked questions (FAQs) about RAM support in Windows 7 64-bit to provide further clarification and assistance.
Frequently Asked Questions (FAQs) about RAM Support in Windows 7 64-Bit
Here are some commonly asked questions about RAM support in Windows 7 64-bit:
- Q: What happens if I exceed the supported RAM limit in Windows 7 64-bit?
A: Exceeding the supported RAM limit may result in unstable system performance or compatibility issues. It’s crucial to check the hardware documentation and consult with software vendors to ensure optimal performance and compatibility. - Q: Can I mix different types or sizes of RAM modules in my Windows 7 64-bit system?
A: While you can technically mix different types or sizes of RAM modules, it’s generally recommended to use the same type and size for optimal performance. Mixing RAM modules may result in decreased performance or compatibility issues. - Q: Can I allocate specific amounts of RAM to certain applications?
A: Windows 7 64-bit has built-in memory management that dynamically allocates RAM to running processes. While you can’t directly allocate specific amounts of RAM to individual applications, you can prioritize certain applications using tools like the Task Manager or third-party software. - Q: How can I free up RAM when my system is running slow?
A: If your system is running slow due to high memory usage, you can try closing unnecessary applications and processes, clearing temporary files, and restarting your computer. This will free up RAM and improve system performance. - Q: Can I upgrade my Windows 7 32-bit to 64-bit to take advantage of greater RAM support?
A: To upgrade from a 32-bit to a 64-bit version of Windows 7, you need to perform a clean installation. This means you will need to backup your files, uninstall the 32-bit version, and then install the 64-bit version. Be aware that some older hardware or software may not be compatible with the 64-bit edition.
These are just a few of the common questions related to RAM support in Windows 7 64-bit. If you have any more queries or concerns, it’s recommended to consult official documentation, hardware vendors, and software developers for precise and up-to-date information.
Now that you have a better understanding of RAM support in Windows 7 64-bit, including limitations, upgrading options, and verification methods, you can make informed decisions about optimizing your system’s memory configuration.
Conclusion
Understanding the RAM limitations in Windows 7 64-bit is essential for maximizing your computer’s performance. By knowing the factors that affect RAM support, such as the edition of Windows 7, hardware limitations, system architecture, available resources, and application requirements, you can make informed decisions when it comes to upgrading your system’s memory.
Windows 7 64-bit offers higher default RAM limits compared to its 32-bit counterpart. The edition of Windows 7 determines the default RAM limit, ranging from 8GB to 192GB. However, it’s essential to consider any additional limitations imposed by your hardware configuration, as well as the requirements of specific applications or processes.
If you need to exceed the default RAM limits, you can explore the option of enabling the Physical Address Extension (PAE) feature. PAE allows 32-bit operating systems to access more than 4GB of RAM, but it’s necessary to ensure compatibility with your processor and operating system edition.
After making changes to the RAM limit, it’s crucial to verify the modifications by using methods such as the System Properties, Task Manager, or third-party software. Checking the displayed RAM limit ensures that the changes have been successfully implemented and align with your system’s configurations.
Lastly, it’s important to keep in mind that exceeding recommended or supported RAM limits may result in compatibility issues or unstable performance. Consult hardware documentation, software vendors, and consider the specific requirements of your system to ensure optimal performance and compatibility.
By understanding the RAM limitations in Windows 7 64-bit and considering the various factors involved, you can make informed decisions about your system’s memory configuration, resulting in improved performance and efficiency for your Windows 7 64-bit computer.


