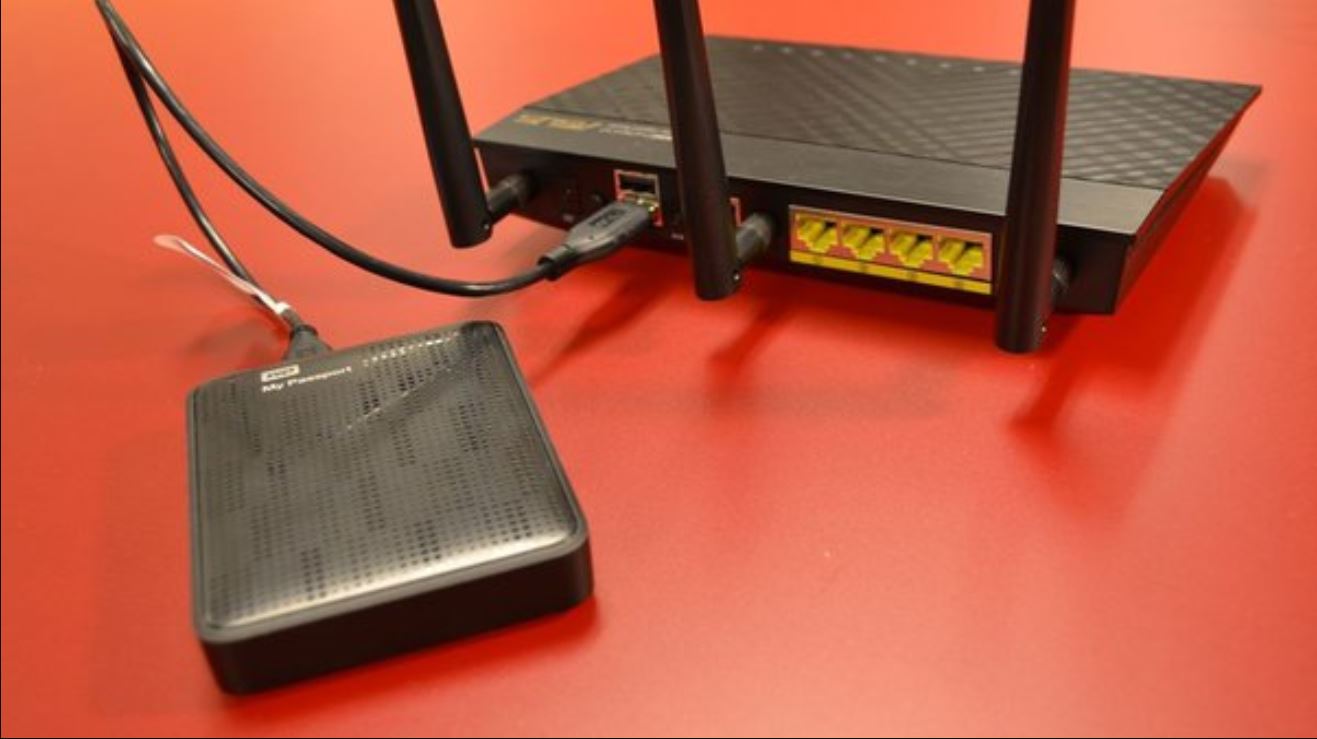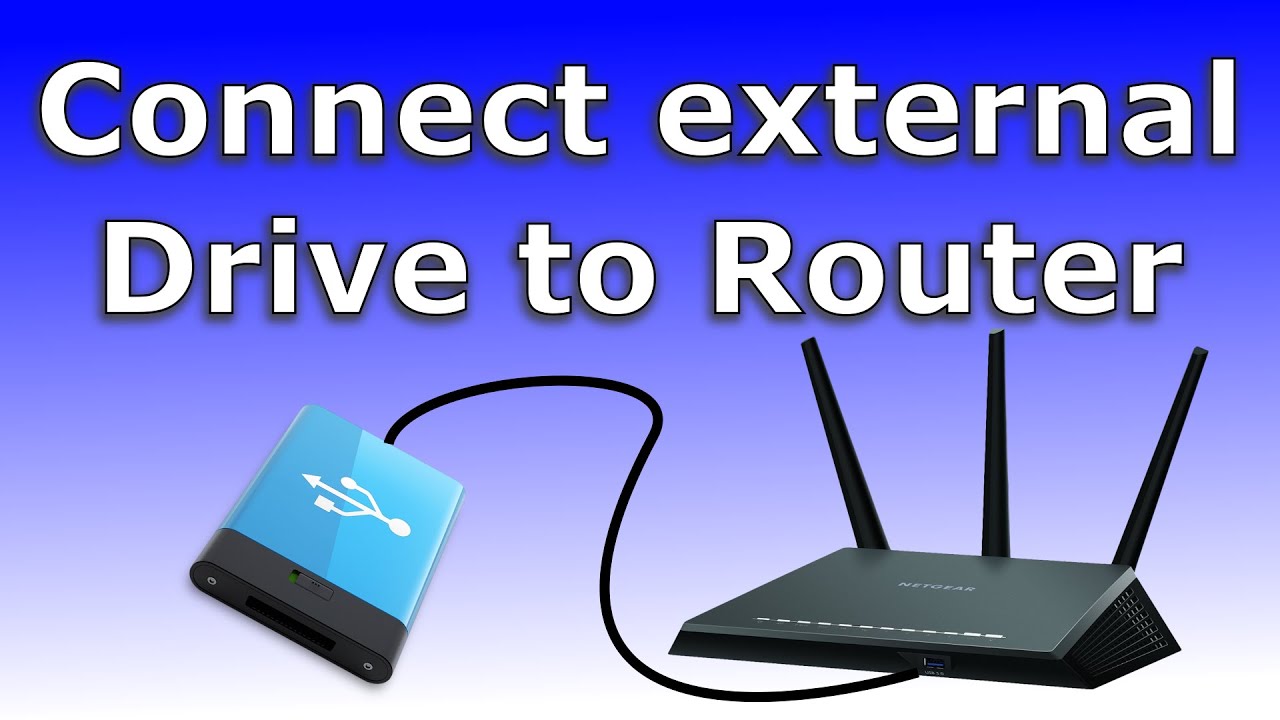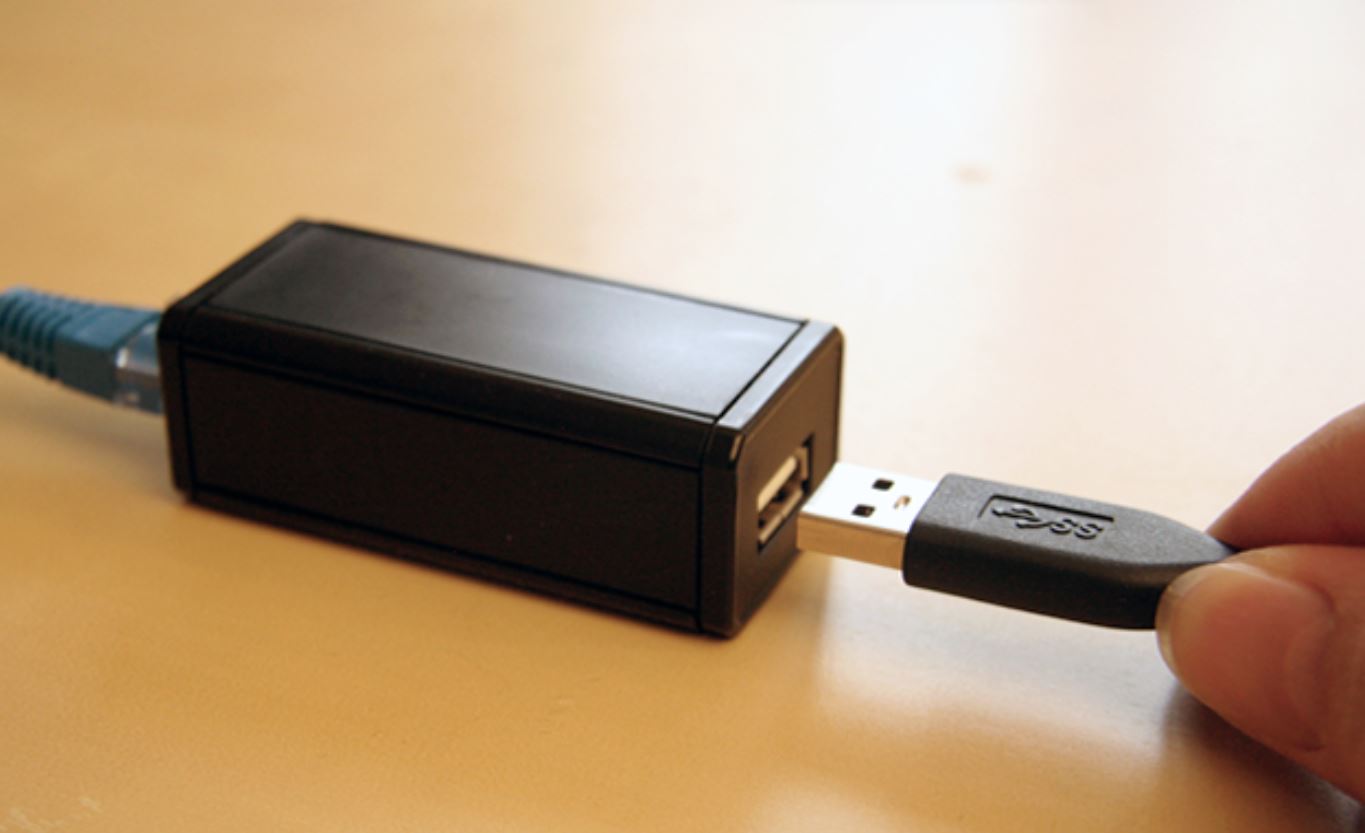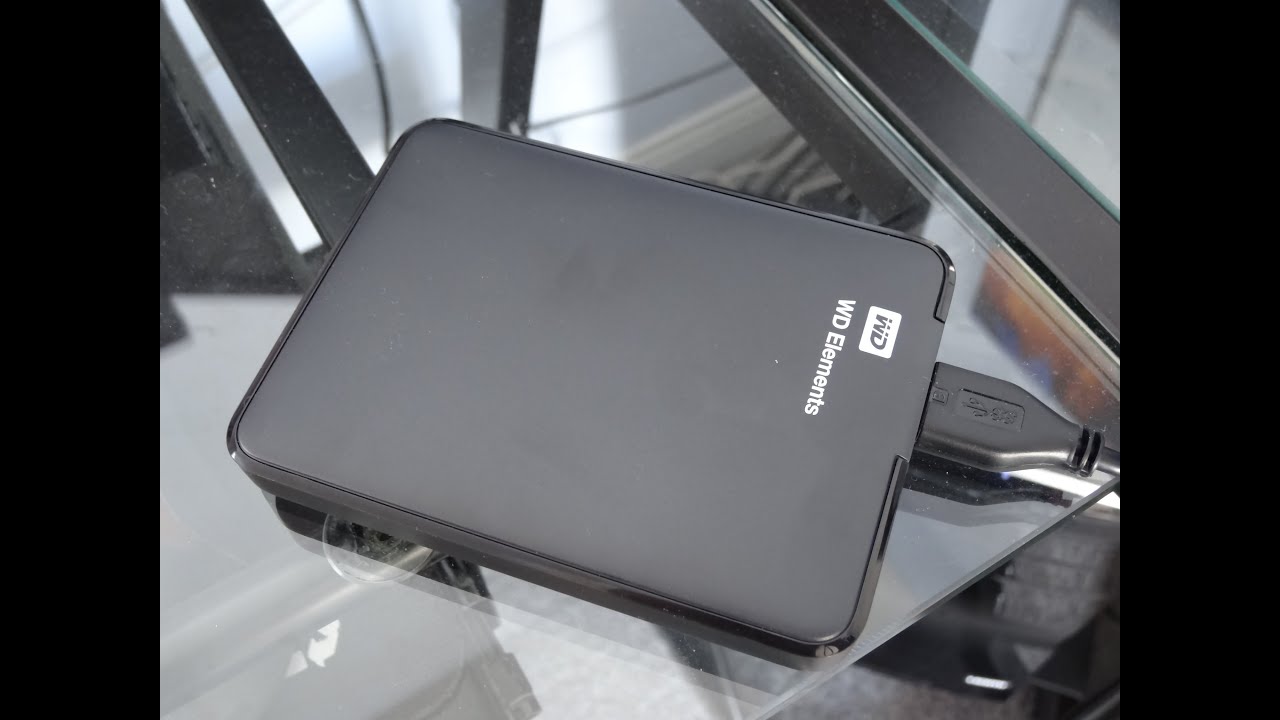
To connect an external hard drive to your home network, plug the USB drive directly into your router's USB port and configure the router's built-in file-sharing settings. This turns any standard external drive into network-accessible storage that every device on your Wi-Fi can reach without moving the drive from room to room.
Step 1: Connect the drive to your router's USB port
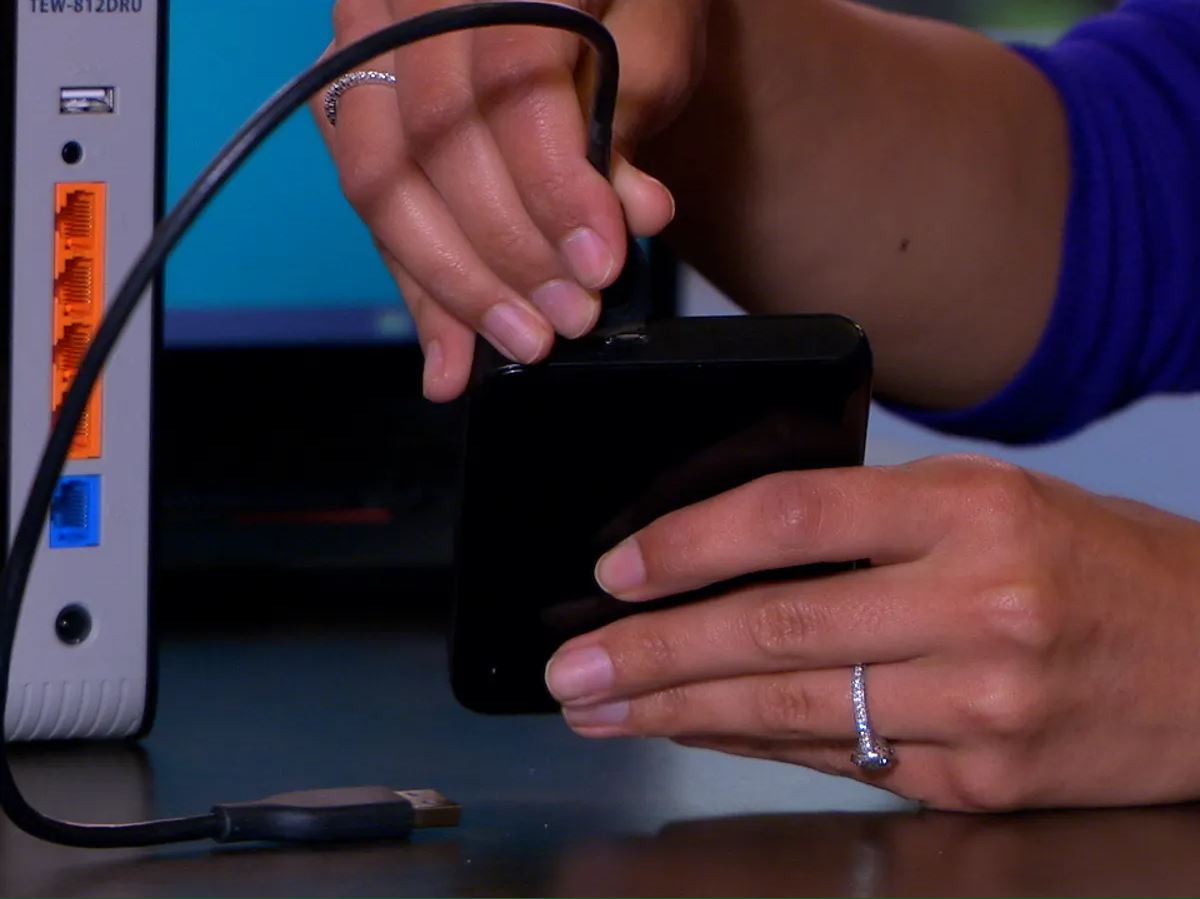
Physically plug the external hard drive into an available USB port on your router. Most modern routers accept drives formatted with NTFS, FAT32, exFAT, or HFS+, though some manufacturers like ASUS recommend formatting the drive to NTFS using the router's own utility for best performance. Power on the drive if it requires external power, many portable drives draw power directly from the router's USB port.
Step 2: Enable file sharing in your router's settings
- Open a web browser on any device connected to your network and enter your router's IP address (commonly 192.168.0.1 or 192.168.1.1) or its hostname (such as tplinkwifi.net or asusrouter.com).
- Log in with your router's admin username and password.
- Look for a section labeled "USB Settings," "Storage Settings," "File Sharing," "USB Application," or "ReadySHARE." The exact name varies by brand, but the goal is to find the menu that controls the USB port.
- Enable the option that turns on file sharing over the network, this typically activates Samba (SMB) or FTP protocols so other devices can see the drive.
Once enabled, the router will assign the drive a network address.
Step 3: Set up security with a username and password
Within the same USB settings menu, locate the option for "Secure Sharing" or "Access Control." Enable it and create at least one user account with a username and password. This prevents anyone on your network from accessing the drive's contents without credentials. You can set separate permissions per user, read-only access for family members who only need to view files, and read-write access for those who need to add or delete data. Save the changes before exiting the router's admin page.
Step 4: Access the shared drive from Windows or macOS
On Windows
- Open File Explorer and click "Map network drive" in the toolbar.
- In the "Folder" field, type the router's IP address preceded by two backslashes, for example,
\\192.168.0.1\or\\tplinkwifi.net\. - Check "Connect using different credentials" if you want to enter the username and password you created in Step 3.
- Click "Finish." Windows will prompt you for the credentials; enter them and the drive will appear as a new letter in File Explorer.
On macOS
- Open Finder and select "Go" > "Connect to Server" from the menu bar.
- Enter the router's IP address using the SMB protocol, for example,
smb://192.168.0.1. - Click "Connect," then enter the username and password you set up in the router's settings.
- The shared drive will mount on your desktop and appear in Finder's sidebar under "Locations."
To have it mount automatically every time you start your Mac, add the drive to your Login Items in System Settings > General > Login Items.
Understanding the limits of router-based storage
Router-based network storage works well for everyday tasks like sharing documents between computers, streaming music or video to a smart TV, and keeping a central backup folder for the household. However, it has real limitations compared to a dedicated NAS device. Transfer speeds are slower because the router's processor and memory are shared with its primary job of routing network traffic. You won't get features like RAID redundancy, advanced remote access without extra configuration, or the ability to run apps like a media server or download manager. If you need to use a Lacie external hard drive with this setup, simply plug it into the router's USB port, Lacie drives use standard file systems and are recognized the same as any other USB drive. A dedicated NAS device offers robust network storage with features like RAID, better performance, and advanced management, and can also connect external USB or eSATA drives for expansion or backup. Always safely remove the USB drive through the router's interface before physically disconnecting it to prevent data corruption.
\nRelated reading: How To Connect External Hard Drive To Router.